


How to Make a Gnome House For the Holidays

Every Christmas home needs a DIY gnome house! Instead of buying or building one of these adorable Christmas gnome houses, you can make your own using a jar and clay. Here's how!
Follow along to make a gnome house out of polymer clay just in time for the holidays.
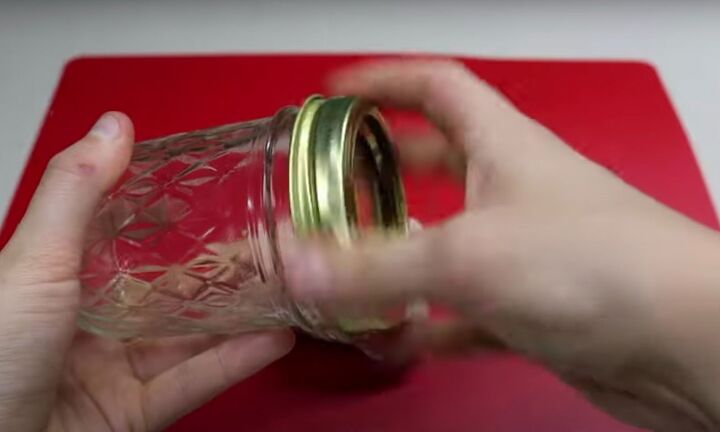
1. Disassemble a Mason jar
To start making my Christmas gnome house I took the bottom off of a small mason jar and put it off to the side.
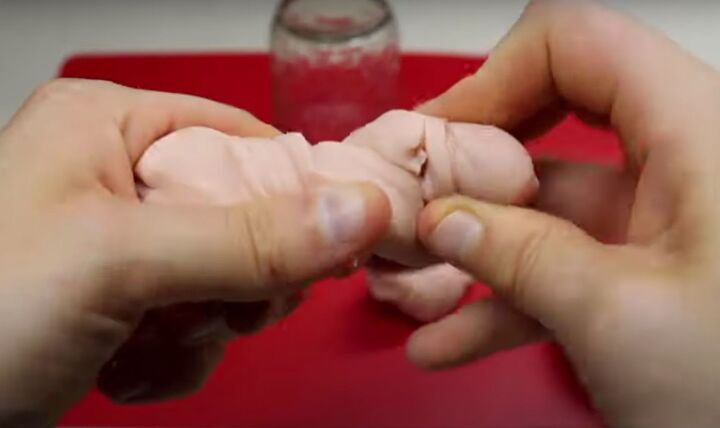
2. Prep the Polymer clay
Next, I prepped my polymer clay by twisting it around to heat and soften it up.
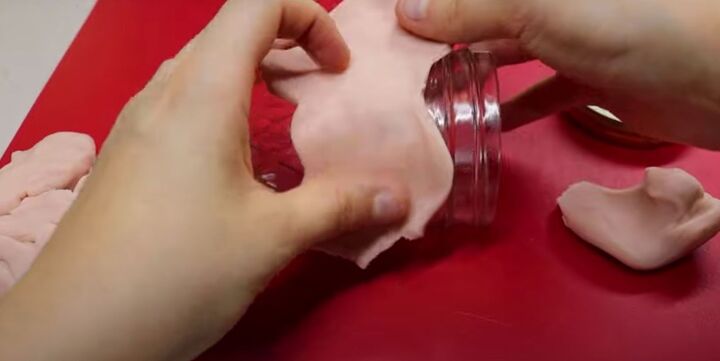
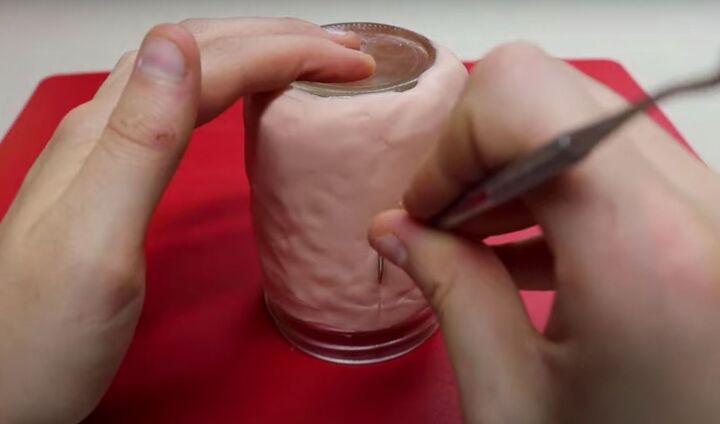
3. Press the clay on the jar
With the clay soft, I started to flatten it out and press it onto the jar. Be sure not to go over the screw lines of the jar.
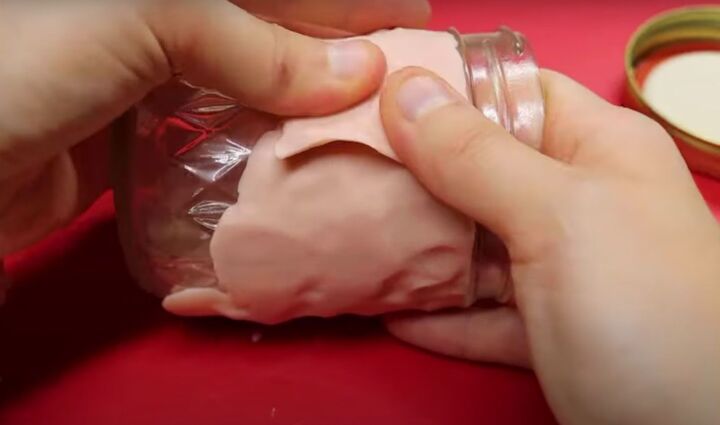
I continued to add clay and shape it until I had the jar covered to the top. I made sure it was nice and smooth,
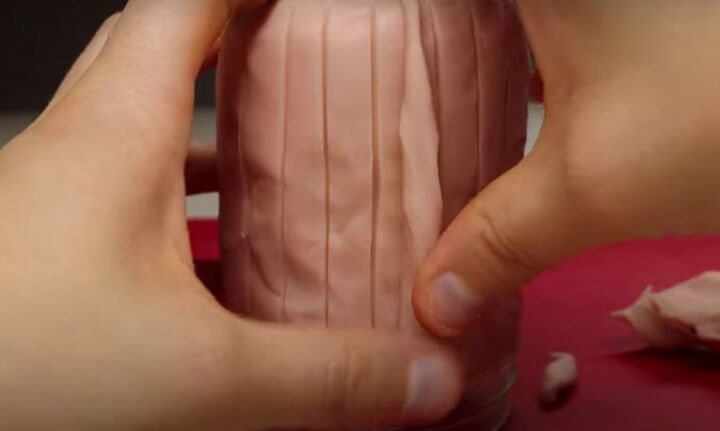
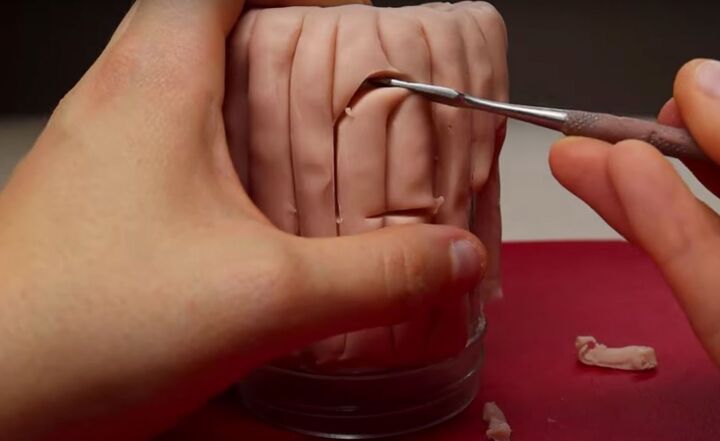
4. Add details to make it look like wood
Then I made lines from the bottom to the top. These were my guide for where I wanted to add fake wood logs made from more clay.
To make the wood logs, I rolled pieces of clay and then stretched them from the bottom to the top of the jar. I pressed down on both ends to stick them to the first layer of clay.
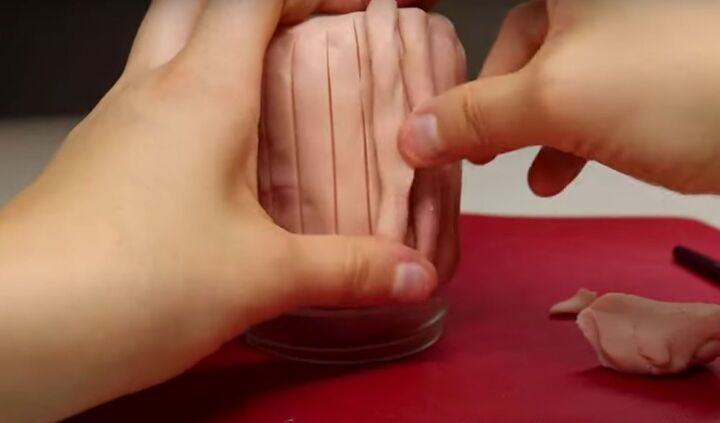
I kept doing this until the entire jar was covered in little log pieces.
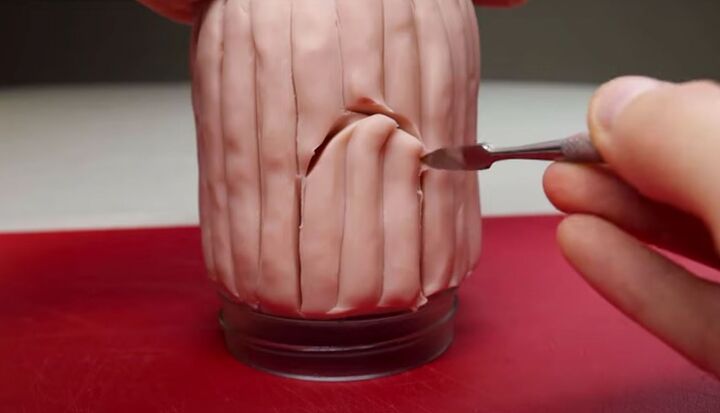
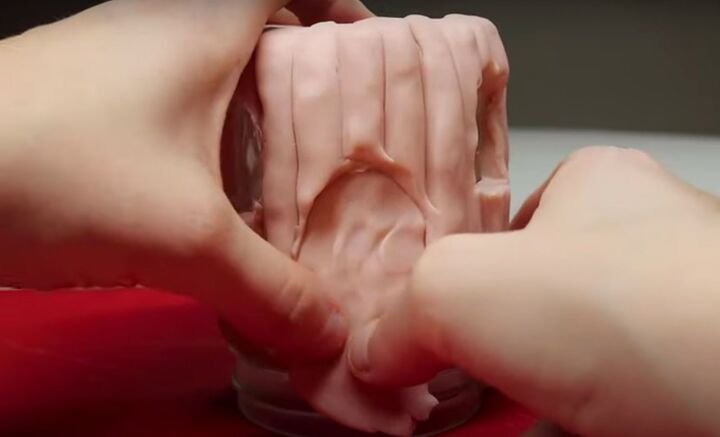
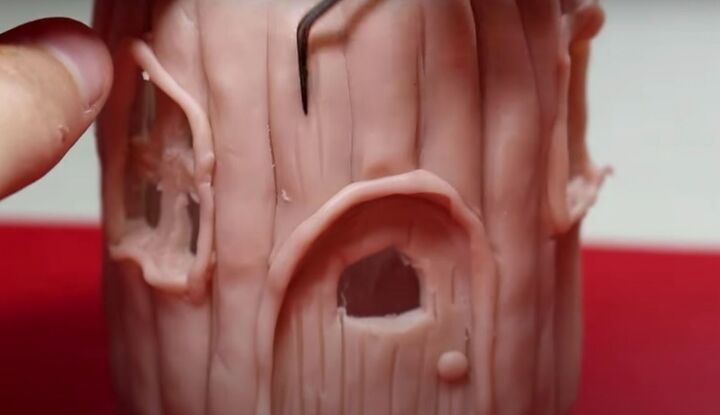
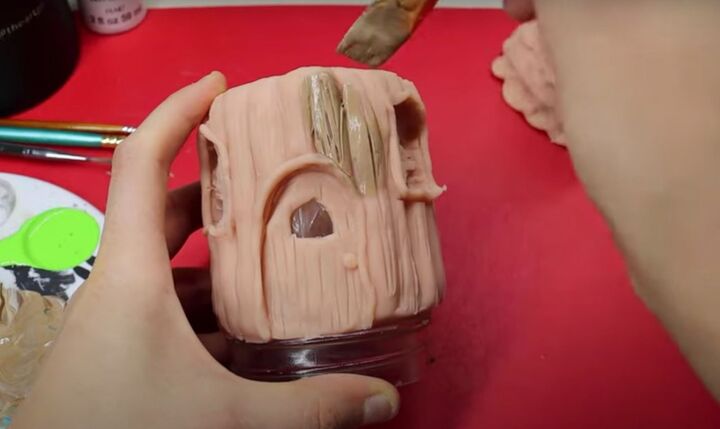
5. Carve out the gnome house door
Next, I had to decide how to make the gnome house door. I went midway up the jar and cut the clay in the shape of a door. I removed the piece in the center of the door.
6. Make the windows
To make some windows, I little squares about an inch by an inch and removed all of the clay from them.
I then went back and pushed a very thin layer of clay into the window and door holes...
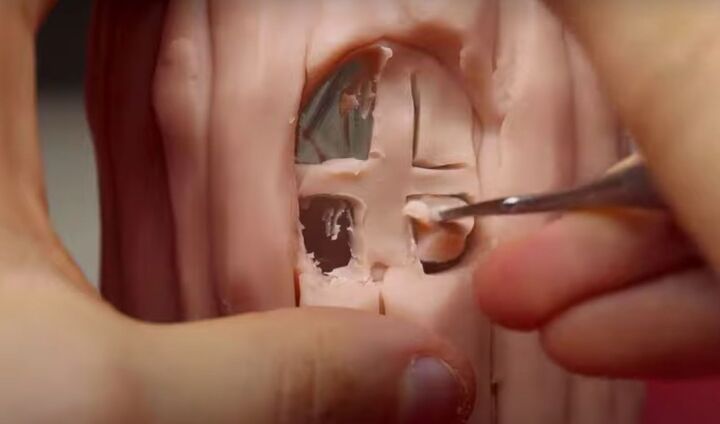
...and cut out small amounts for window panes. When you put lights into your jar, it will light up the windows and make it look like someone is home.
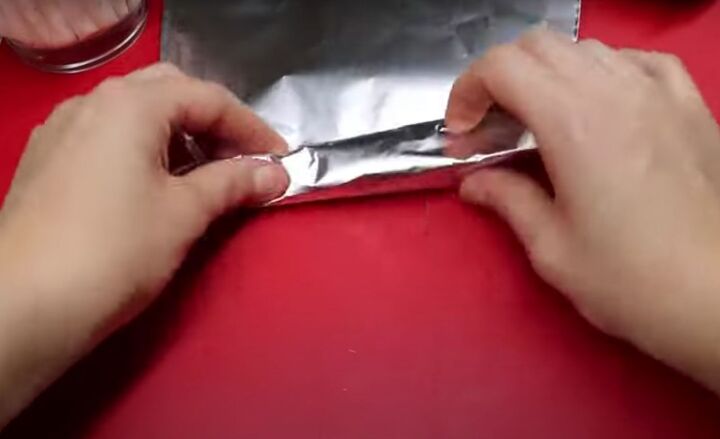
7. Make the roof
Next, I grabbed 2 feet of tin foil to make the gnome house roof. I just rolled it up and then pressed the top of the cone until it was smooth. I also flattened out the bottom by pressing it down on the table.
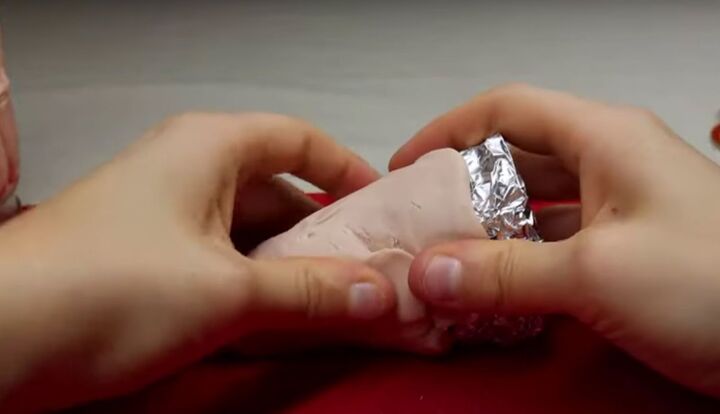
When I had a shape I liked, I wrapped the cone in clay and rolled it on the table to smooth it out. Be sure not to put any clay on the bottom of the cone and make sure that the size fits on the top of the jar.
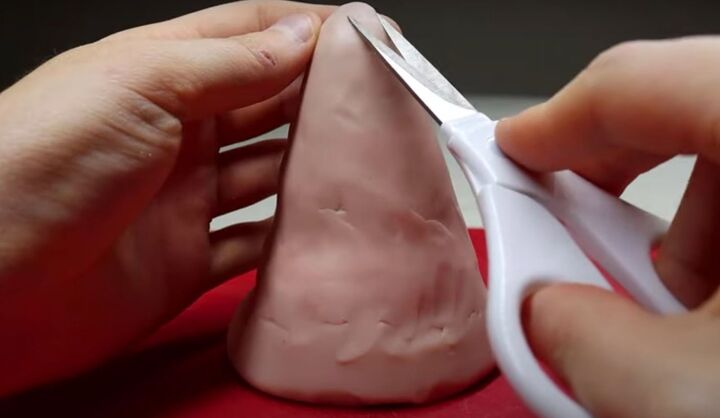
To make the cone look more like a tree, I took a pair of small scissors and made snips all around the tree starting at the top and working down.
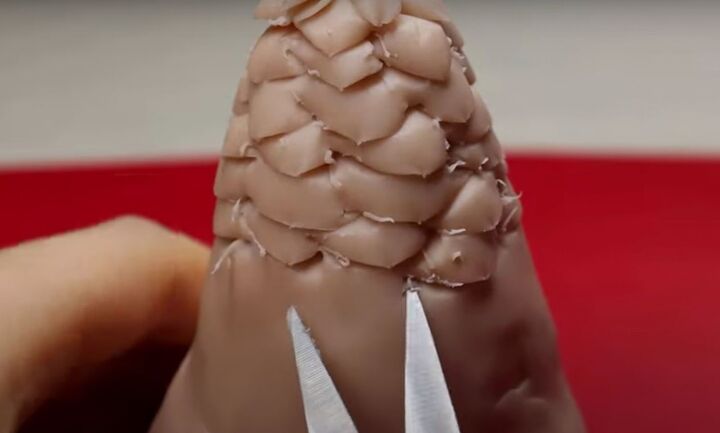
After I had the tree covered in these little cut marks, I used a sculpting tool to lift each of the pieces up a small amount to give the tree a little shape.
8. Add the final details
I also created small lines in the tree branches with the sculpting tool and on the logs to mimic wood.
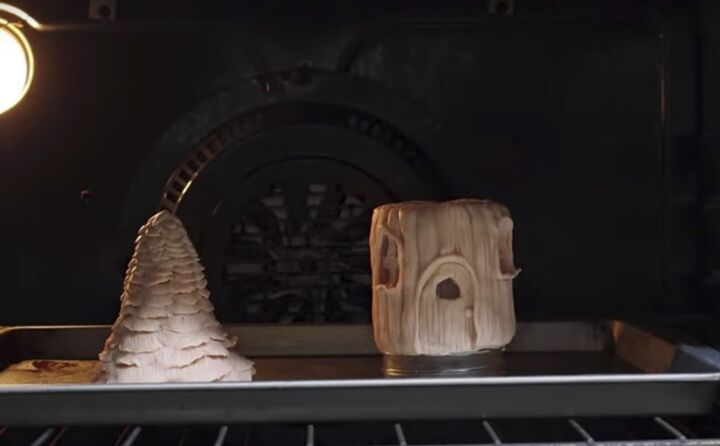
9. Bake
When my clay was also formed and ready to go, I placed both pieces in the oven. Your piece may be different but mine took about 15 minutes in total to bake.
10. Paint
After the pieces had finished baking and cooling, I started to paint them. Since the bottom was going to be a tree trunk, a light brown worked well for the base coat.
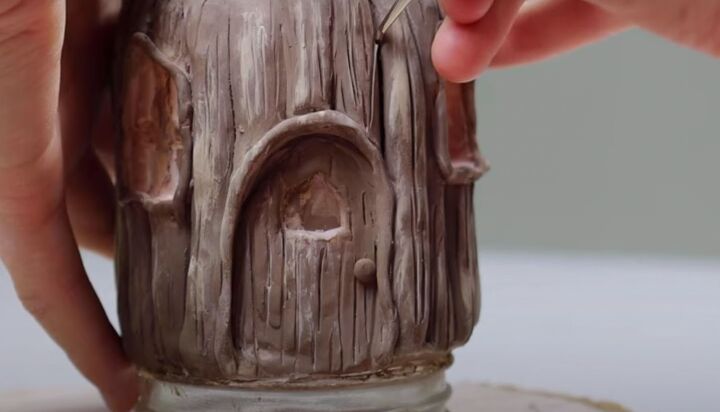
I then added some highlights and a little black in the lines of the bark.
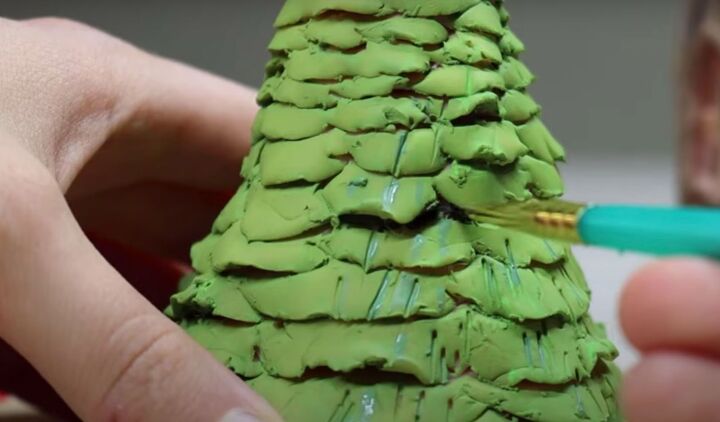
For the top, I painted it green so that it looked like an evergreen tree.
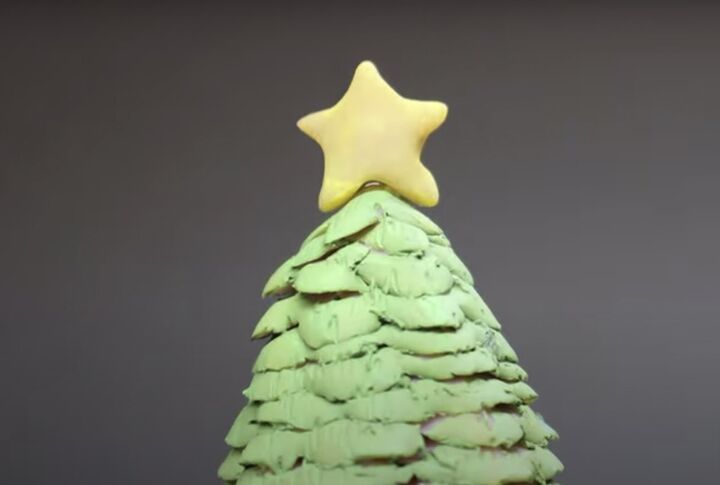
I finished the evergreen off with a little start that I stuck on with hot glue.
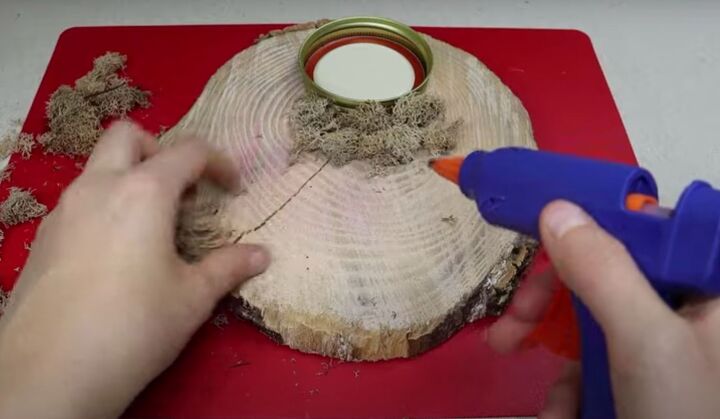
11. Attach to a base
Since this was going to be a Christmas tree gnome house, I found a base to display it on and covered it with moss.

12. Spray with faux snow
Once I had everything down that I wanted, I gave the moss, the base of the gnome house, and the tree a little spray with some fake snow. Be sure to do this in a well-ventilated area or outside.
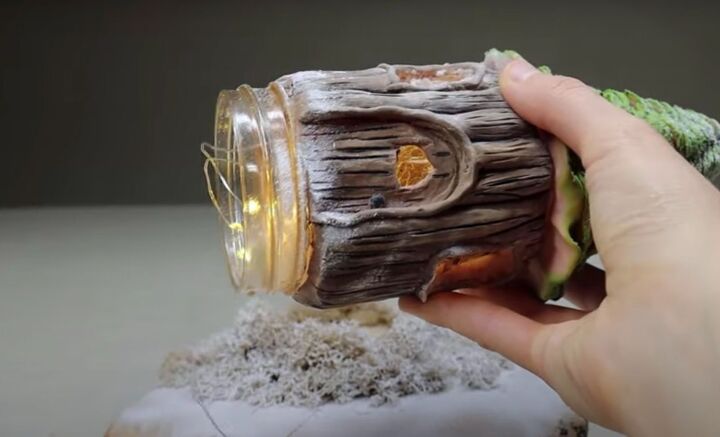
13. Fill the jar with fairy lights
Finally, I filled the jar with some fairy lights.

Christmas gnome house
This cute little Christmas gnome house will add warm light to any room this winter. You can also even hide some candy in it, or maybe even a small present.
DIY Christmas Decorations
Comments
Join the conversation
-
Love this for my K classroom so much! Will make like three or four, for our window ledge, in different sizes & find some inexpensive mini gnome characters to stand outside or “peek” out windows (from inside the jar “windows”)! Thank you-your inspired idea has inspired MORE ideas!!!
-
just adorable!how you could look at a mason jar and come up with this is SO creative!


Frequently asked questions
Have a question about this project?