


How to Make a Mini DIY Christmas Tree
Today, I have this amazing Mini DIY Christmas Tree! I absolutley love it and I truly hope you will too. Of course, I have a quick video on it which you can watch below. Also, who else adores Christmas decor? I am way too excited but I digress. Let’s get into the DIY!
Watch the replay: https://fb.watch/8SLY1ujVTH/
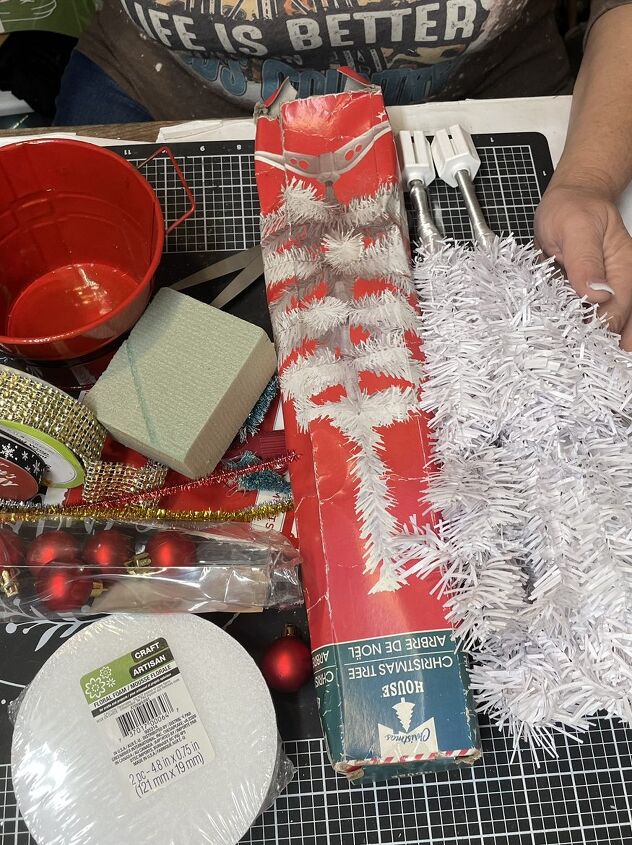
Firstly, let’s get a supply list:
- Little Tree from Dollar Tree
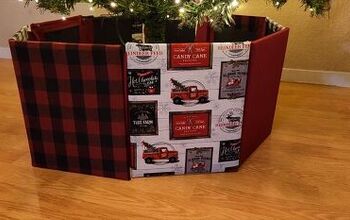
- Foam Board
- Bucket
- Ribbon/trim
- Ornaments
- Pipe Cleaners
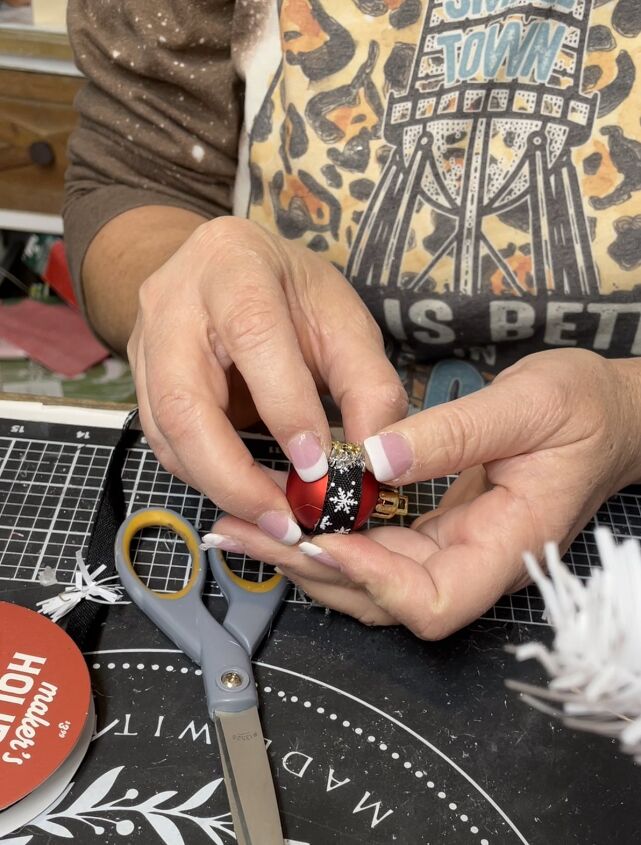
Secondly, I want to first show how I made the ornaments. I first took some ribbon and hot glued it around the ornament. Then, I put a cute embellishment and wrapped a pipe cleaner around. Now, it looks like a little belt buckle. Also, to note, I made quite a few of these.
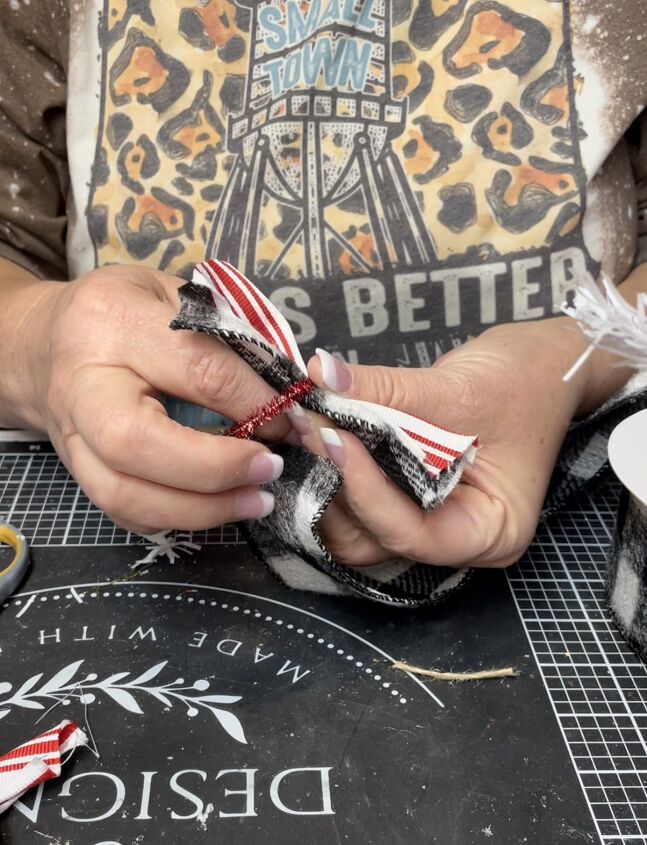
Thirdly, I last minute made some bows for ornaments too. I simply did this by combining two types of fabrics that went with the theme, but this is optional. Afterwards, I secured the bow with a pipe cleaner, which I also used to secure it to the tree.
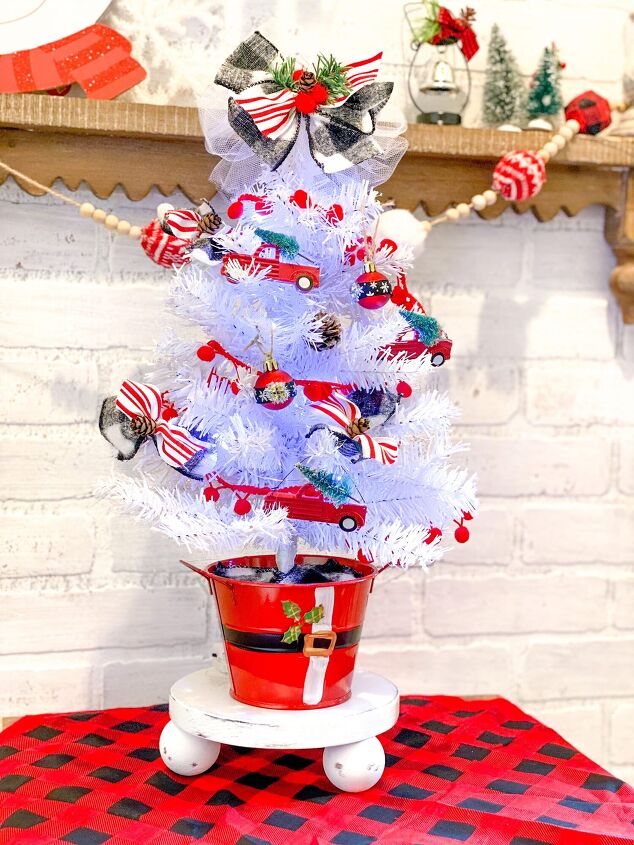
Finally, you can put your finishing touches on the tree! I added some trucks and ribbon that I got from the Dollar Tree but you can use anything. Of course, I adore this cute little Mini DIY Christmas Tree. It was such a fun and simple DIY but adds so much to the decor. I don’t know about you all but I also love using the color white. I feel like it’s such a neutral but chic color.

With that, I hope you’ll check out the blog for more DIYs like this. We’re also on social media, give us a follow by clicking on the sidebar icon. I can’t wait to see what you’ll make with this idea, let me know what else you’d like to see.


Frequently asked questions
Have a question about this project?