


How to Make a Wood Sign

I love when I can make my own custom decor items, and this one was not only easy to do, it is the perfect addition to my holiday decor. Take a look at how I did it using dollar store items.

These are the cuts you'll need:
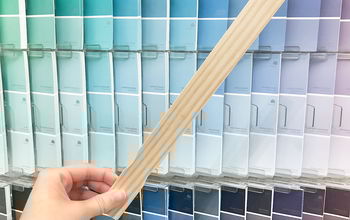
1x2” 2 @ 16” 2@ 12”
I used a piece of 1/4”‘plywood 12”x16”
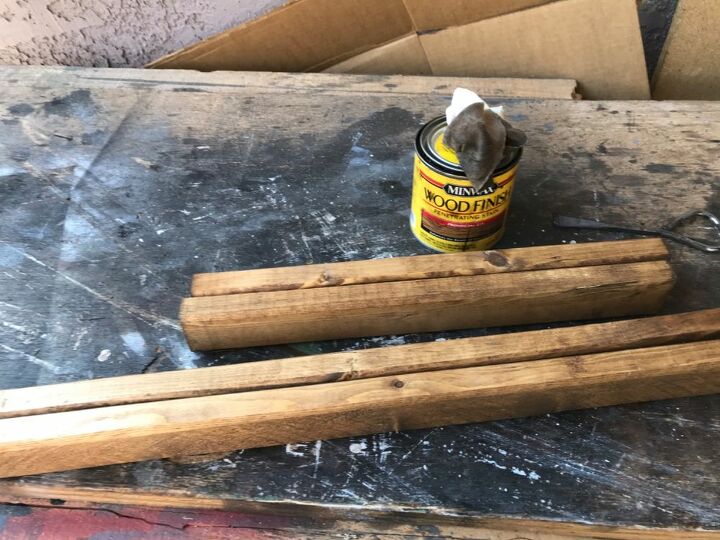
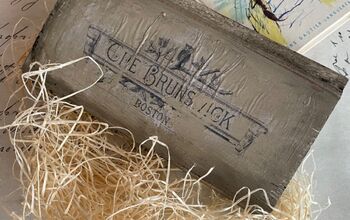
The first thing I did as laid out the pieces and gave them all a nice stain.
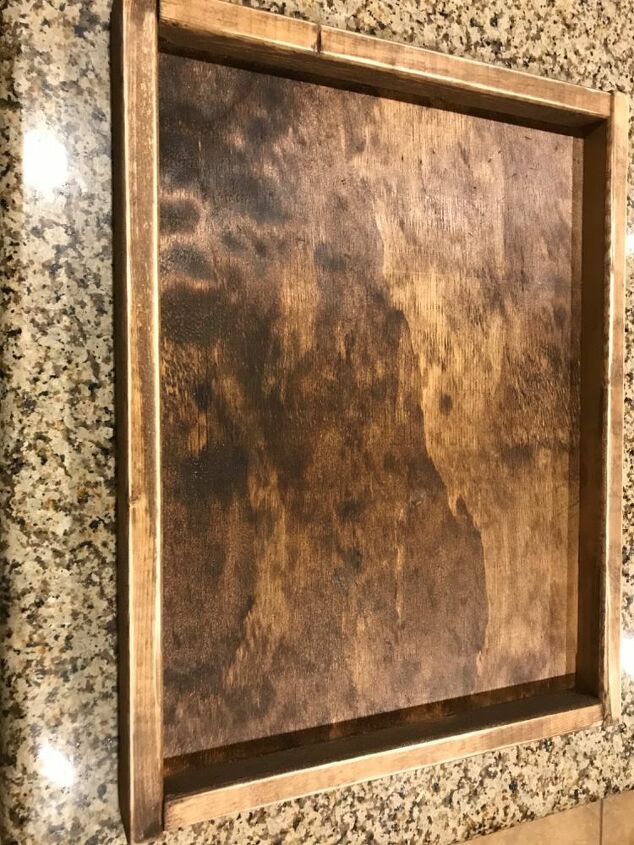
Once the stain is dry, it's time to start assembling. I used my cuts to frame the plywood. Using my nail gun, and tah dah, it's framed!
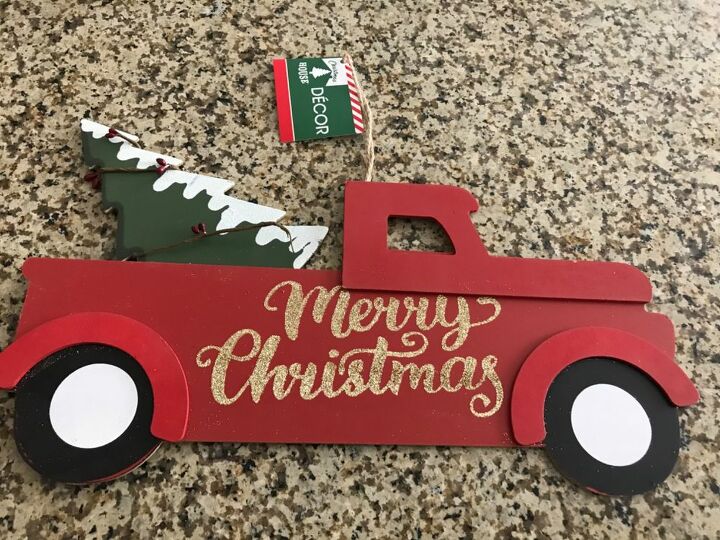
Next, I used this cute truck sign which I grabbed at the dollar store for you guessed it- $1!
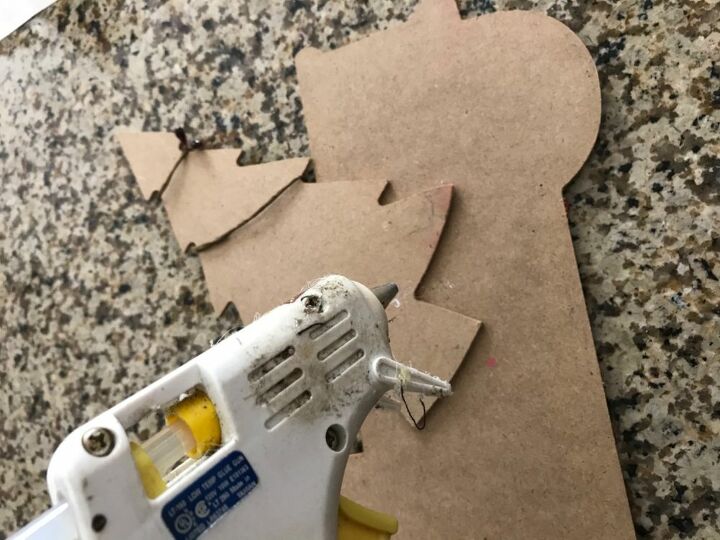
I flipped it over and hot glued it into place.
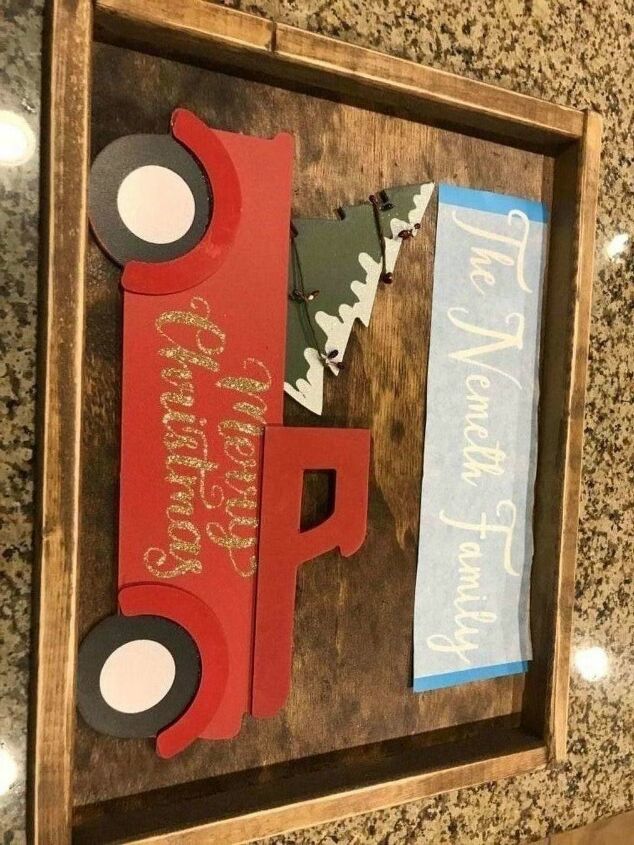
Next I made a vinyl stencil with my family name on it and painted it on with some white chalk paint. That's all! Under 30 minutes, and the project is done!
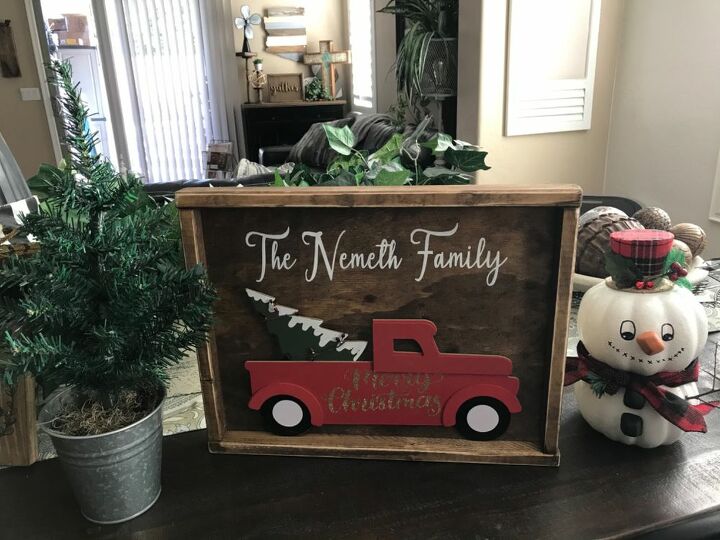
These make great gifts, and are so easy to make. I hope you enjoyed this tutorial and give it a try yourself. Check out my projects on Gilbert Marketplace


Comments
Join the conversation
-
I love your family sign!! Looks great!
-
Absolutely love this! Thank you for sharing.


Frequently asked questions
Have a question about this project?
This is darling. I am obsessed with lil red trucks. Super cute idea I can do with my grandsons