Stencil How To: DIY Christmas Table Decor for Your Holiday Dinner

Royal Design Studio
by Royal Design Studio
It's the most wonderful time of the year! Family get-togethers, parties, and dinners are being planned with anything green, red, and made with love. Royal Design Studio stencils are here to help you serve up holiday magic and create a one of a kind table for the holidays that's made from the heart not just store bought!
Read on to learn how to Stencil table runners and placemats from my new Jennifer Rizzo Christmas Stencil Collection.
stencils
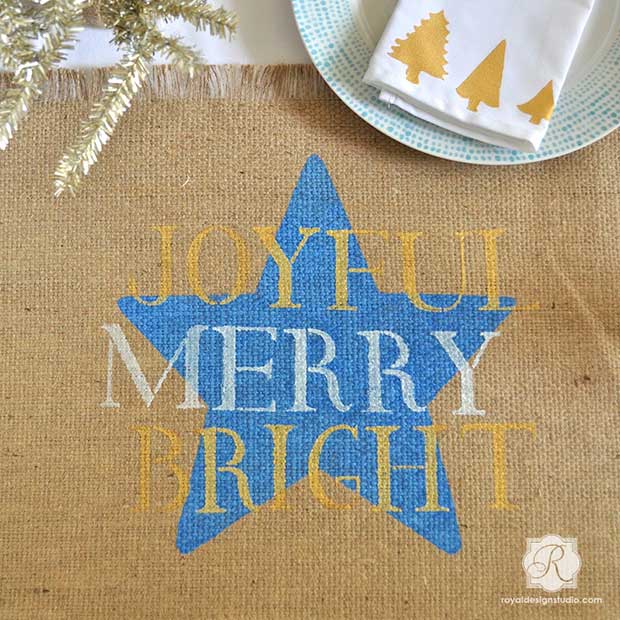
Placemats that are Merry and Bright


Supplies:


Premade burlap placemats


Shining Star Christmas Stencil and Classic Letter Christmas Stencil


Royal Stencil Crmes in Royal Blue, Bright Gold, and Pearl Oyster


Painter's Tape


1" Stencil Brush


Step One: Position and tape the Shining Star Christmas Stencil in the center of the placemat and stencil it with Royal Blue. Remember to offload paint off your brush before stenciling!


Step Two: Stencil the letters for MERRY in the center of the star using the Classic Letter Christmas Stencil in Bright Gold and Pearl Oyster. Start with the middle letters and work your way out in either direction. Let dry. Note: We recommend that you use a ruler and chalk to create guidelines for stenciling individual letters.


Step Three: Stencil the letters for JOYFUL and BRIGHT above and below MERRY using the same technique. Let dry.
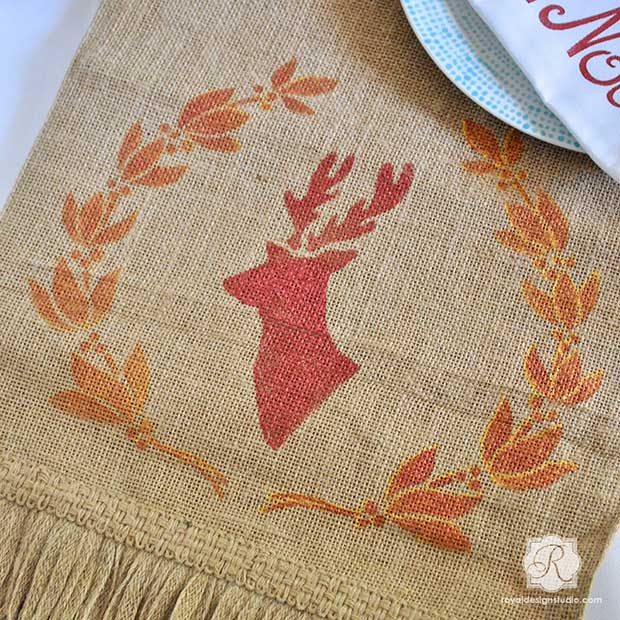
Rudolph the Rustic Table Runner


Supplies:


Premade burlap table runner


Holiday garland Christmas Stencil and Reindeer Christmas Stencil


Royal Stencil Crmes in Renaissance Red and Bright Gold


Painter's Tape


1" Stencil Brush


Step One: Position the Reindeer Christmas Stencil on the table runner and tape it across at the base of the deer head.


Step Two: Stencil the deer head portion with Royal Stencil Crme in Renaissance Red. Note: We recommend offloading. Remember to load your brush with paint, and then offload on a piece of paper towel before stenciling.


Step Three: Position the Holiday Garland Christmas Stencil on one side of the reindeer head and stencil with Royal Stencil Crme in Bright Gold.


Step Four: Clean the stencil and flip it over to stencil the opposite side. Let it dry before reuse.


Step Five: Repeat steps Three and Four with the Holiday Garland Christmas Stencil. This time use the Renaissance Red. Stencil lightly with a near dry brush. Blend well. This creates a shaded effect. Let dry.
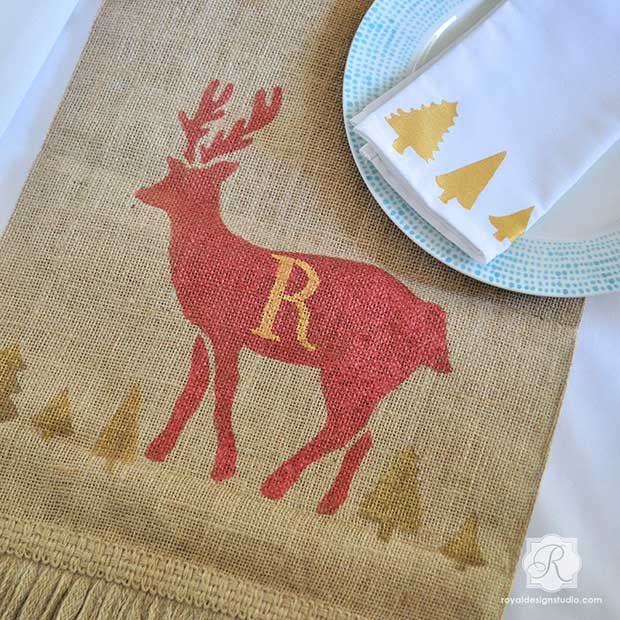
Winter Wonderland Monogramed Table Runner


Supplies:


Premade burlap table runner


Reindeer Christmas Stencil, Standing Trees Christmas Stencil, and Classic Letter Christmas Stencil


Royal Stencil Crmes in Renaissance Red, Bright Gold, and Antique Gold


1" Stencil Brush


Step One: For this project, we stenciled the entire Reindeer Christmas Stencil on the table runner in Renaissance Red. Let dry.


Step Two: Stencil portions of the Standing Trees Christmas Stencil in Antique Gold at each side of the reindeer's feet.


Step Three: Stencil a monogram of your choice using the Classic Letter Christmas Stencil in Bright Gold. Let dry.
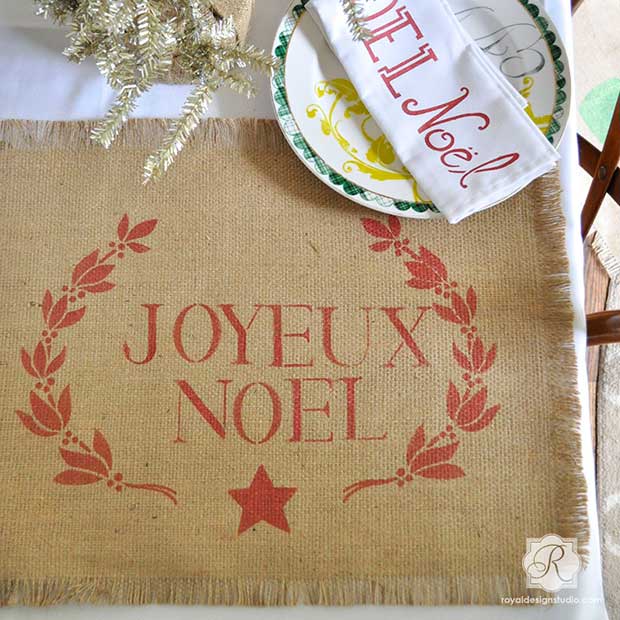
Joy to the World and Your Placemats


Supplies:


Premade burlap placemats


Royal Stencil Crme in Renaissance Red


Holiday garland Christmas Stencil, Classic Letter Christmas Stencil, Marching Stars Christmas Stencil


1" Stencil Brush


Step One: Stencil the letters for JOYEUX NOEL using the Classic Letter Christmas Stencil in Renaissance Red. Start with the middle letters and work your way out in either direction. Let dry.


Step Two: Stencil one star from the Marching Stars Christmas Stencil right below the lettering.


Step Three: Stencil the Holiday Garland Christmas Stencil on one side. Clean the stencil and flip over to stencil the other side. Let dry.


Christmas decor doesn't have to come from a store Maybe it can mean a little bit more. Want some more Christmas-themed DIY fun? Check out our blog Paint + Pattern!
Frequently asked questions
Have a question about this project?
Comments
Join the conversation
 2 comments
Next