


DIY PVC Pipe Christmas Decor for Your Front Porch and Yard.
You probably know by now how much I love making my PVC art and I'm so excited to finally share my Christmas themed PVC pieces!
All of these PVC pipe projects make such a fun and unique gift idea for just about anyone on your list.
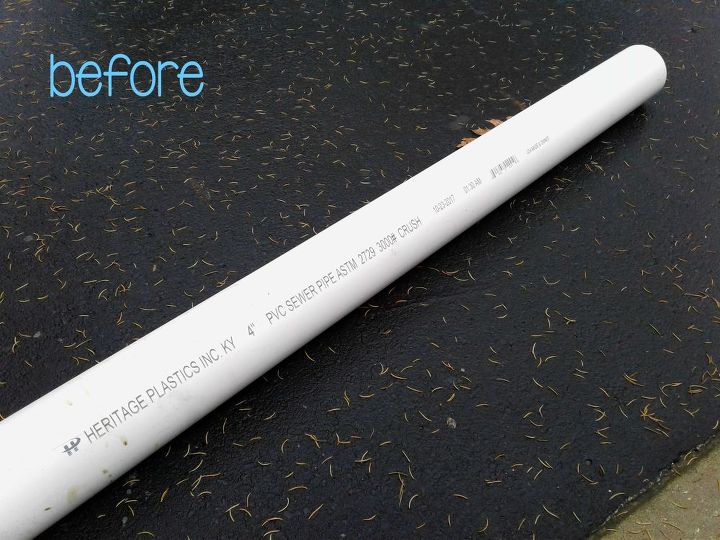
You will need a 4" schedule 40 plumbing pipe. You can find these pipes are your local home improvement store. They usually come in 10' long sections, but I have seen some available at a smaller size. I always buy the full 10" long pipe because I make a lot of pieces out of PVC pipe.
Then, draw out a pattern on paper first, or draw a pattern right onto the pipe. This is by far the worst part of the entire project - coming up with a pattern. I wasted a lot of time, paper and even more PVC coming up with a pattern that by the time it was reshaped, it actually looked decent.

Then you will need a jig saw to cut out your pattern. I guess I never took pictures of cutting out any of my Christmas patterns, but you can get the idea. Put on your protective eye wear and then use your jig saw to cut out the entire pattern until you are left with one solid piece of PVC pipe.
Once you have your piece cut out, use a file or some sandpaper to smooth out all the rough edges.
Now is also a good time to remove all of your manufacturers ink markings. You can either rub it off with some acetone or use a sander to sand it off.
Next you will need your heat gun to reshape your pipe. Starting at one section at a time, aim your heat gun toward the area you want to reshape. Heat it up so that it's warm enough and starts to become pliable. With heat protective gloves on your hands, reshape the piece how you would like it to look and hold it in place until it has cooled.
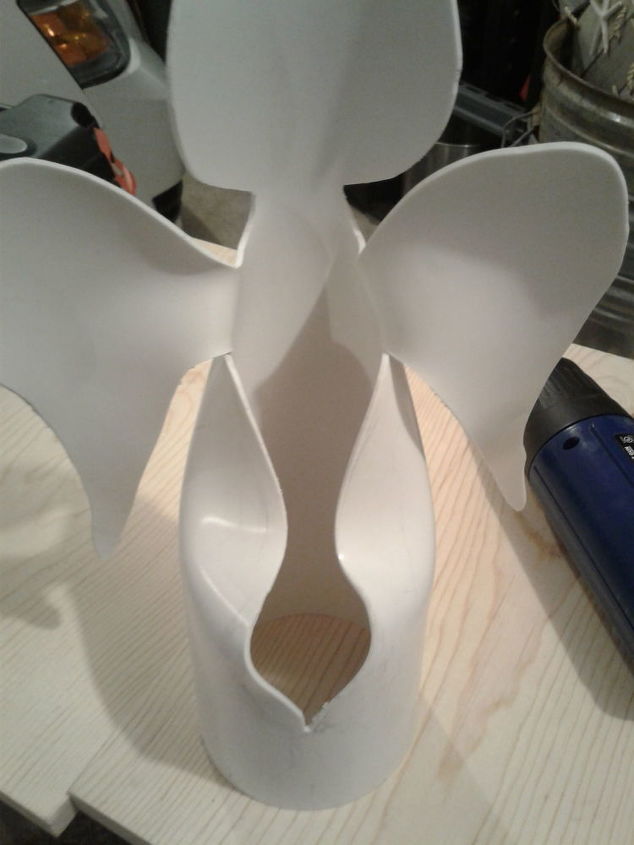
Here is the back view of my angel so you can see how I gave her more of an angled shape to look like she was wearing a gown.
For her head I heated it up and pressed it between 2 wood boards to cool so that it cooled flat.
The wings I made mostly flat, with a little bit of a flare on the edges to look more life-like.

Then it's time to paint her. For this piece I used spray paint meant for plastic for her wings and some acrylic paint and a permanent paint marker for her face.
Once you have her completely painted, give her 2 coats of an acrylic spray sealer to help protect the paint.
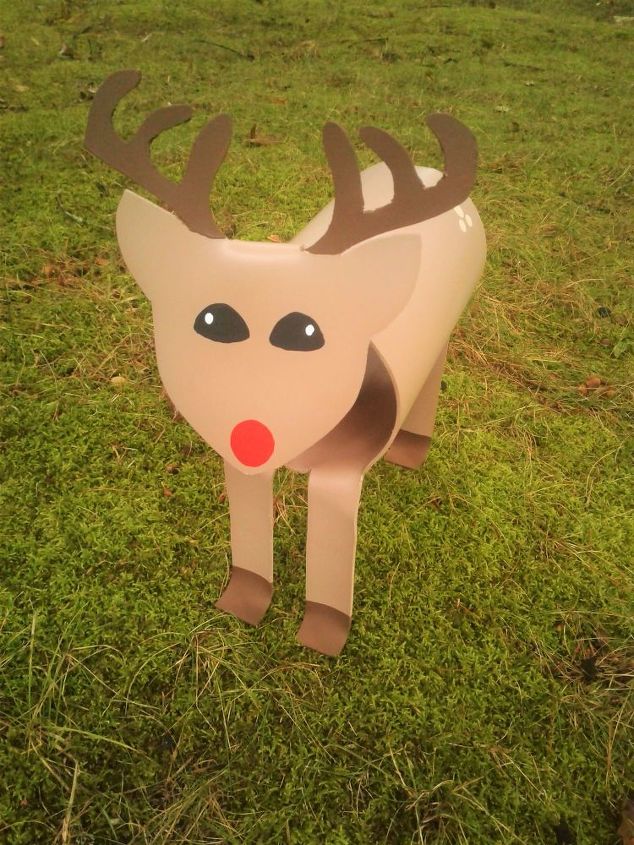
Here's our adorable little Rudolph, who can also be the rest of Santa's reindeer if you paint his nose black! :)

Santa is sitting on our front porch greeting all of our visitors with a "Ho, Ho, Ho!"
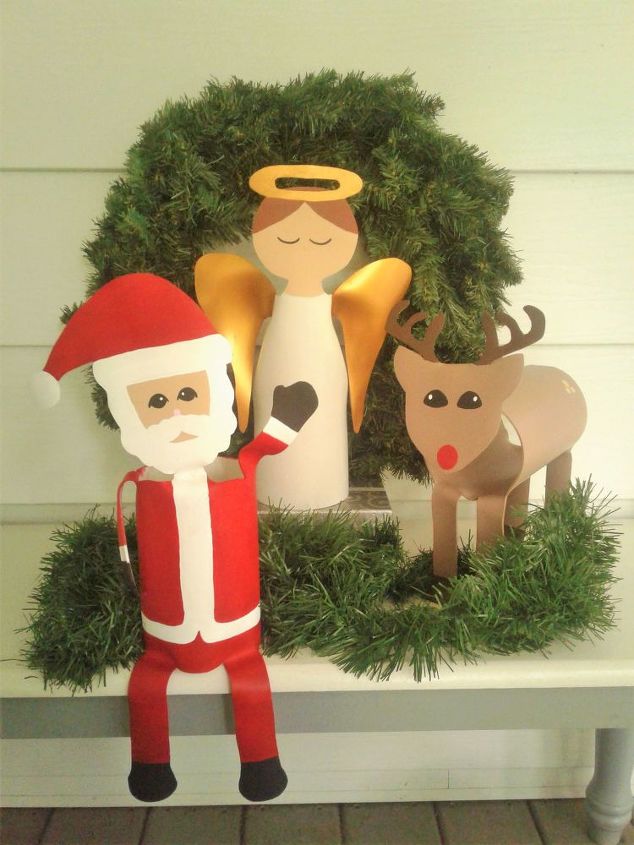
Here you can see all of my finished Christmas themed pieces - Santa, the angel and of course, Rudolph.


Frequently asked questions
Have a question about this project?