


The Trick to Perfect Christmas Bows—Every Time!

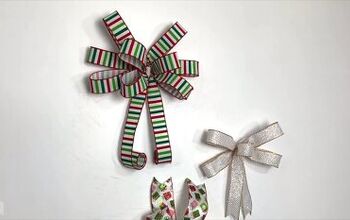
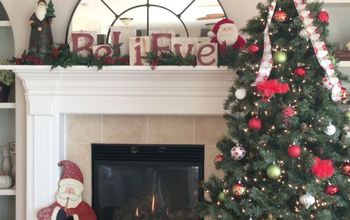
One of the most characteristic Christmas decorations you can DIY is the over-the-top, colorful, puffy ribbon bow.
There are plenty of tricks and hacks for tying the perfect bow, but we’ve just learned of a tool that will help you tie your most professional bows yet. No hurting hands, just perfect bows—every time.
Hometalk may receive a small affiliate commission from purchases made via Amazon links in this article but at no cost to you.
DIY Christmas ideas
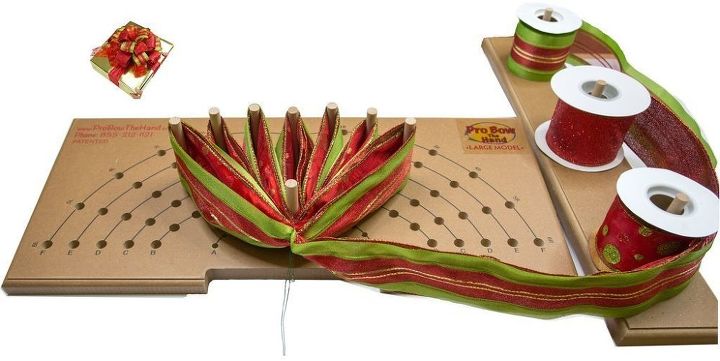
This is the Pro Bow: The Hand Bow Maker. You can use it to make beautiful bows for gifts and decorations. Here's how it works:
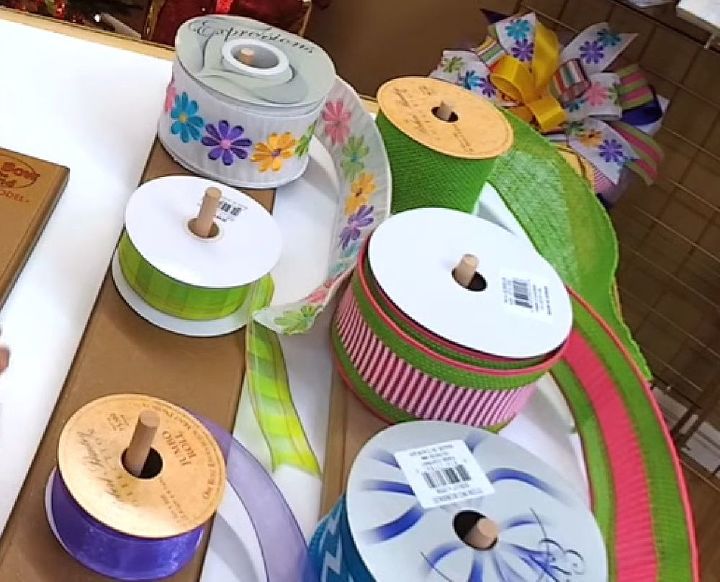
Step 1: Gather your ribbons
You'll need a few different ribbons to make that bow nice and puffy, so grab a few of your favorite rolls and set them up on a wide, flat surface. Your dining room table will work great!
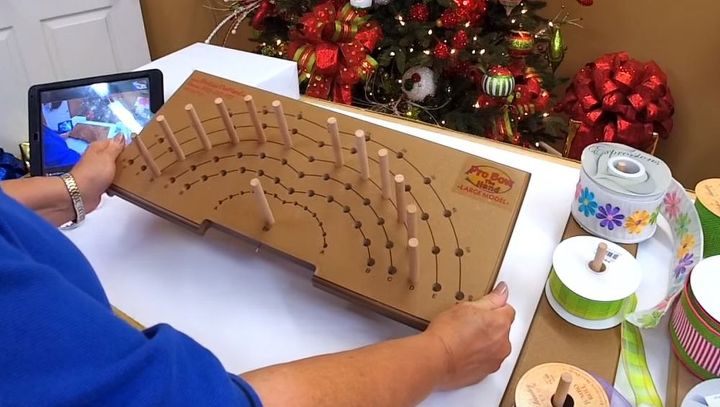
Step 2: Set up your Pro Bow
For the Terri Bow, you’ll need “Fingers” 1 - 6 set up on your Pro Bow, for both the right and left sides. Don’t forget your “Base Finger” peg as well.
You’ll also want 2 Pro Bow Spool Holders to hold a total of 6 ribbons for the Terri Bow. I like to use 1 inch ribbon for my first 2 ribbons, and 2 inch ribbon for the other 4.
Step 3: Tie on your first ribbon
Measure a “tail” on your first ribbon, about 3 - 5 inches long. It doesn’t have to be exact, you can always cut it later.
- I like to use my Pro Bow to measure it, so I’ll take the first ribbon on the spool and will pull it to the edge of my Pro Bow.
- Then, pinch the ribbon where it lines up with the Base Finger, and wrap it once with your precut 26 gauge wire.
- Wrap the wire two times around the ribbon.
- Then secure the ribbon to the Base Finger by wrapping the wire around the Base Finger several times, starting around the left side of the peg.
Don’t push your ribbon all the way down on the pegs, keep it secure about halfway down the pegs.
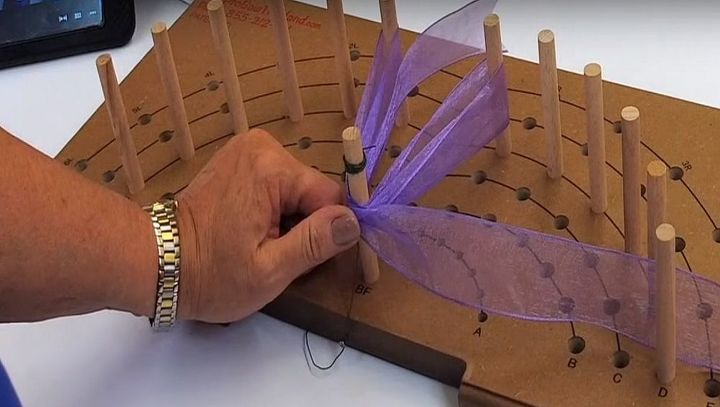
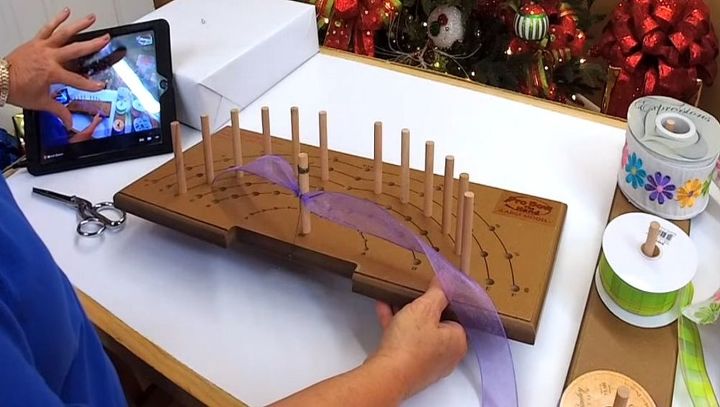
Step 4: Start wrapping
- Next, continue with Ribbon 1, by gently wrapping it around Right “Finger” 1, and bring it back down to the Base Finger.
- At the Base Finger, twist your ribbon and hold it secure against the Base Finger, as you bring Ribbon 1 up and wrap it around Left Finger 1, bringing it back down to the Base Finger.
- As you bring the ribbon back down, once again, twist and hold secure on the Base Finger.
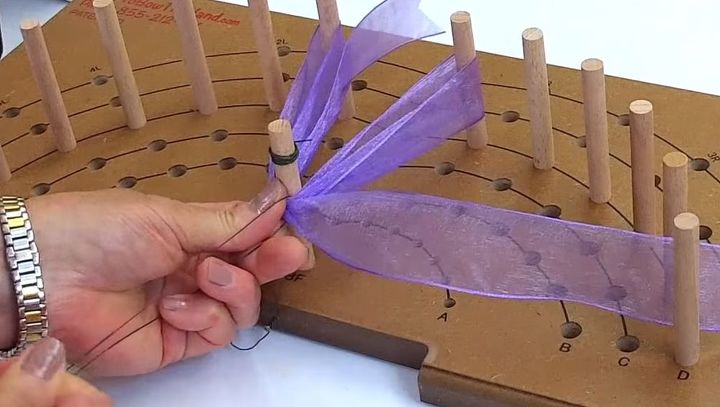
Step 5: Secure with a wire
- Keeping the ribbons and twists secure against the Base Finger with your thumb, grab your second pre-cut wire -- I like to call this my little helping hand.
- Lay the wire between Left Finger 1 and Right Finger 1, letting it fall on the right side of the Base Finger.
- Lift the top of the wire, and pull it tight onto the bow, around the right side of the Base Finger.
- Twist the wire once onto the ribbon to secure the ribbon, pulling nice and tight.
- Once the wire is secure, measure another equal tail to the first one (again, I like to measure to Row C or the end of the board), fold the ribbon in half to give it a dovetail, and snip with scissors.
That’s all there is to it! We’re going to use this same technique for each additional ribbon, stacking each ribbon until we’ve used all six ribbons. That’s it, it’s that easy!
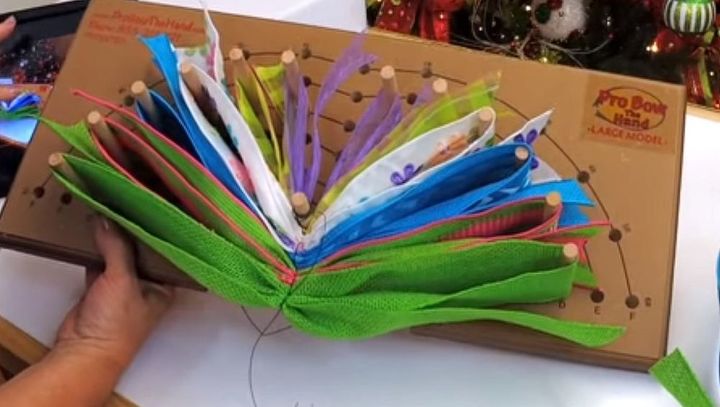
Step 6: Repeat
Repeat the above steps for each ribbon, wrapping ribbon around consecutive fingers as you go; Ribbon 2 should be wrapped around R Finger 2, down to Base Finger, twist, then back up to L Finger 2, down to Base Finger, twist and secure. Continue with this pattern until you complete Ribbon 6.
Be sure to measure your tails a little longer each time to keep in size with each round. If you’re using any ribbon that clearly has a top and a bottom of the ribbon, make sure to keep the bottom side of the ribbon facing the bottom of the board, as this will be the bottom of your bow.
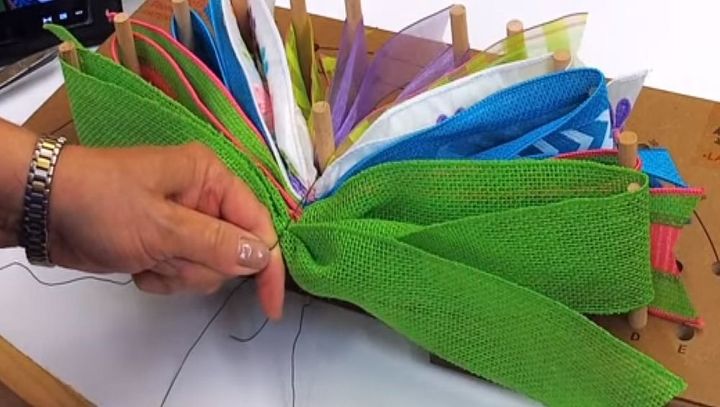
Step 7: Remove your bow from the Pro Bow
Once you’ve used all 6 ribbons, you’re ready to take your bow off of the Pro Bow. To do this, you’ll need to remove the first wire we put on the Pro Bow to secure your bow.
We wrapped it onto the Base Finger in a clockwise motion, now you’ll want to unwrap it in a counterclockwise direction. Unwrap it from the Base Finger and push up from the bottom of the bow to further tighten the bow. You want to tighten up the bow as much as you can.
Take the other side of the same wire, bring it up and pull to tighten again, then twist the two sides of the same wire together to secure onto the bow. Now take your 2nd wire, the helping hand, and wrap it around the first wire a few times as well.
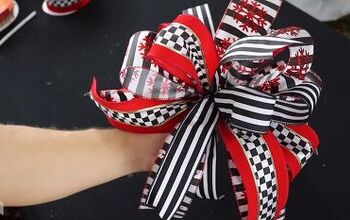
Your Terri Bow is complete! Lift gently off the Pro Bow and your perfect Terri Bow is made!
Step 8: Use the Fluff Box on your finished bows
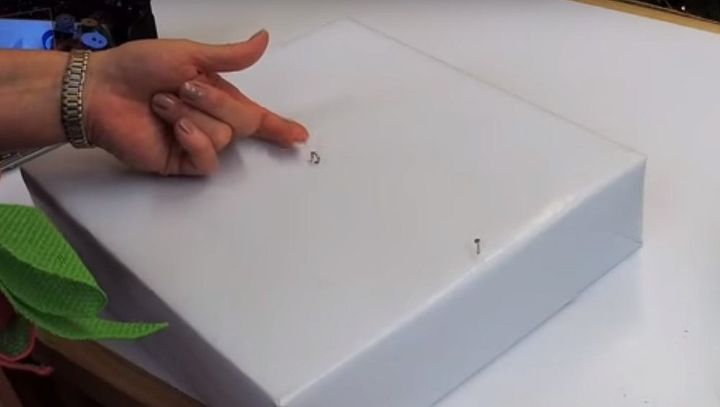
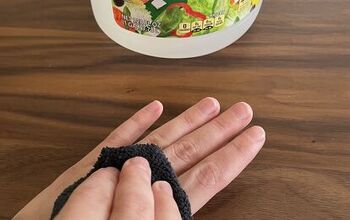
This is an easy way to fluff your bows once they’re complete. You can order one online or you can make one easily yourself. You’ll need a piece of wood, an eye hook, and a nail to make your own.
All the details can be found here: https://www.youtube.com/watch?v=Z4AHx4rJiFE)
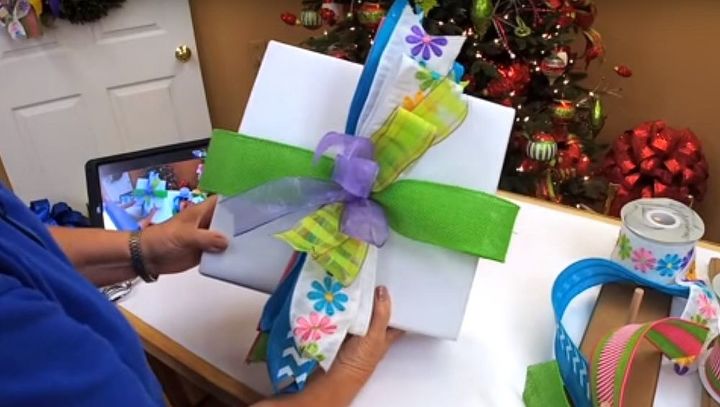
Secure your Terri Bow to your Fluff Box, by sliding the wire onto the eye hook, and attaching any longer piece of wire to the nail. I always start fluffing the Terri Bow from the bottom.
Take the bottom tail (From Ribbon 6), and separate the loops and tails, on alternate sides of the box; loop, tail, loop, tail, creating an “X” with the loops and tails.
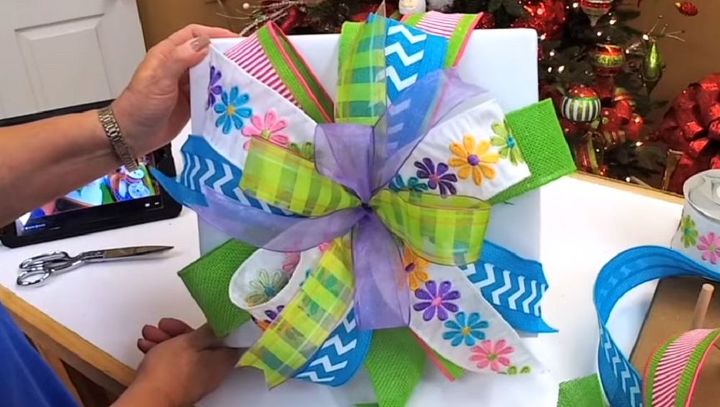
The great part of the fluff box is that you can use both hands to fluff your bow. As you separate your wide ribbon, run your hands down it slightly to give it a bit of a curl.
Check out that depth and dimension as you fluff your bow!
To see more Pro Bow free tutorials for other perfect bows, or to order the Pro Bow or fluff box, please see their website at www.probowthehand.com
There are plenty of tricks and hacks for tying the perfect bow, but this will help you tie your most professional bows yet. No hurting hands, just perfect bows—every time.
Comments
Join the conversation
-
Ty! What great explanation enjoyable plus I learned about something nu Pro Bow see C See you on U-Tube🎄
-
Tried to order but it says they are unavailable. Hope to see them back in stock soon 😊


Frequently asked questions
Have a question about this project?