


DIY Easter Egg Piñata Surprise - 804 Sycamore
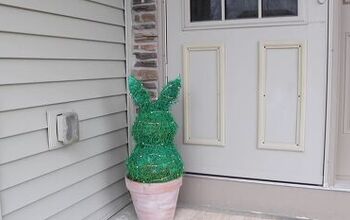
This DIY craft is a fun project to do with kids and it's a new way to present Easter goodies instead of using a cute basket. You can paint and decorate your paper mache egg anyway you want, the sky is the limit. This is also a great project to upcycle old newspaper and the rest of the supplies except maybe balloons are common household items. You can also make any size of egg you want - well as large as your balloon will go~
In
DIY Easter Egg Piñata Surprise
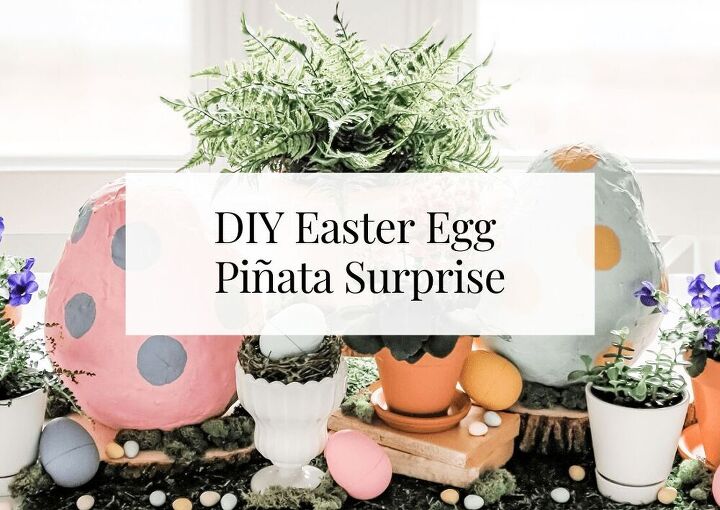
Have you even thought about Easter? Is it too soon? It’s difficult to not at least consider Easter when all the stores are selling all my favorite candy! I love Easter, and not just because of the candy, but the reason behind this holiday is so dear to me. I also love the spring weather surrounding it, the adorable Easter outfits, and of coarse the décor and Easter baskets. I wanted to do something unique and fun this year for the girls’ baskets. There are a ton of cute ideas on Pinterest, but with an imaginative six-year old, I wanted a little bit of interaction. That’s when I thought to do a DIY Easter Egg Piñata surprise, instead of a traditional basket.
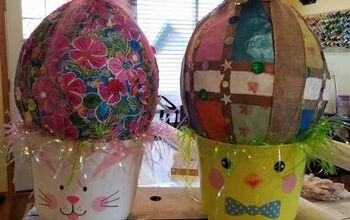
I quickly noticed that there are some adorable Easter Egg Piñatas on Pinterest, but they very much look like traditional piñatas. I wanted the egg to hold my girls’ Easter surprises and then they’d have to break them open, like a piñata, to reach the goodies. And while I love the piñata fringe, I just wanted the look of a huge paper maché egg. So that’s what I did, it was so fun and easy, and I learned some tips along the way to make it easier for anyone who gives this a go.
If you want that perfect egg shape, then this DIY craft will drive you bonkers. Just saying. But the basic egg shape is fun and gets the point across.
DIY Easter Egg Piñata Surprise – How To:
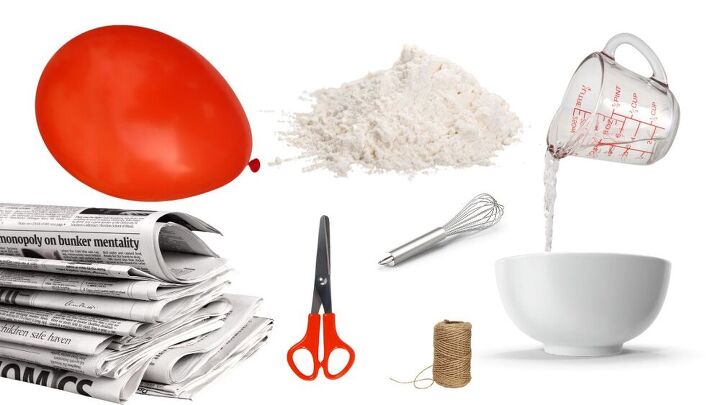
- Gather and prepare all your supplies on a work surface that can get messy.
- I made my DIY Easter egg piñata surprise under a chandelier so that I could hang the balloon to dry afterwards.
- Cut rectangular pieces of newspaper, roughly 2″ x 5″ pieces work well.
- Blow up a balloon.
- Mix 1 cup of flour with 1 cup of warm water. Use a whisk to thoroughly blend it into a paste.
- Dip a piece of newspaper into the paste and scrape off excess using your fingers.
- Apply the newspaper to the large end of the balloon first and smooth out.
- Repeat steps 5 and 6, being sure to slightly layer the pieces of newspaper covering the bottom 3/4 of the balloon.
- Make sure all the 3/4 section of the balloon is covered.
- Tie the string to the chandelier and then the end of the balloon so it can hang to dry. The paste may drip, so make sure something is underneath it.
- Once completely dry, carefully cut the string, and pop the balloon.
- Now that you have a partial pinata, you can add some Easter grass and whatever goodies inside.
- Be sure to not completely fill the 3/4 shell because you need some room for the other balloon.
- Hold the other balloon partially inside the 3/4 shell and begin blowing it up. Once the balloon is touching the perimeter of the 3/4 shell, you can tie off the balloon.
- Then repeat steps 5 and 6 to completely cover the new balloon – leave the balloon knot out. You’ll need to overlap the new pieces over the 3/4 shell too.
- Once completely dry, carefully pop the balloon. You may not be able to remove the balloon – it doesn’t matter.
- You can add one more small piece of newspaper to cover the very top hole using paste or glue stick.
- Paint and decorate!
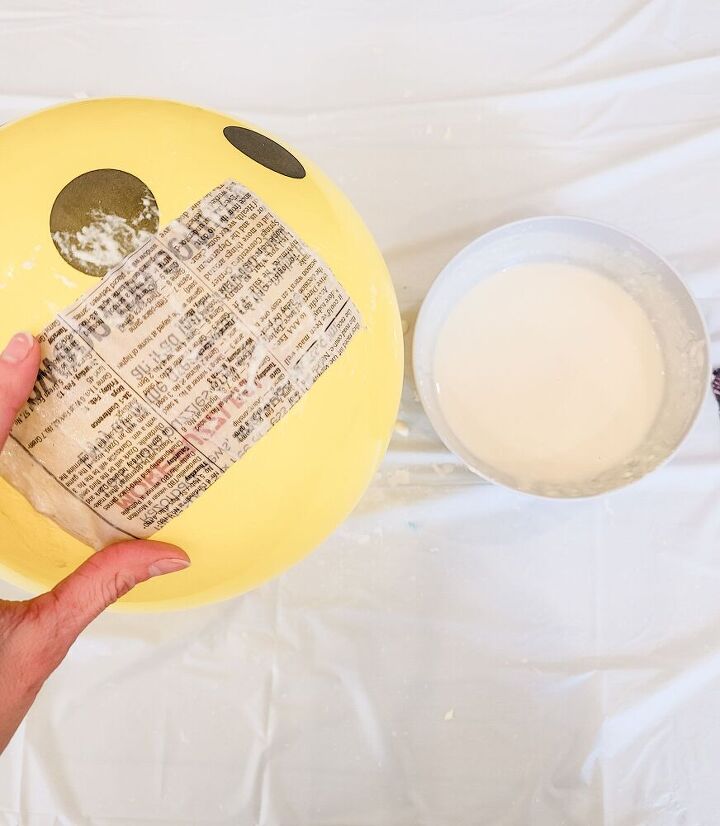
When I used 2" x 4" newspaper pieces, I got great coverage and the pieces were easy to apply. Not too big or small. I used very warm water to help dissolve my flour - gotta get those clumps out.
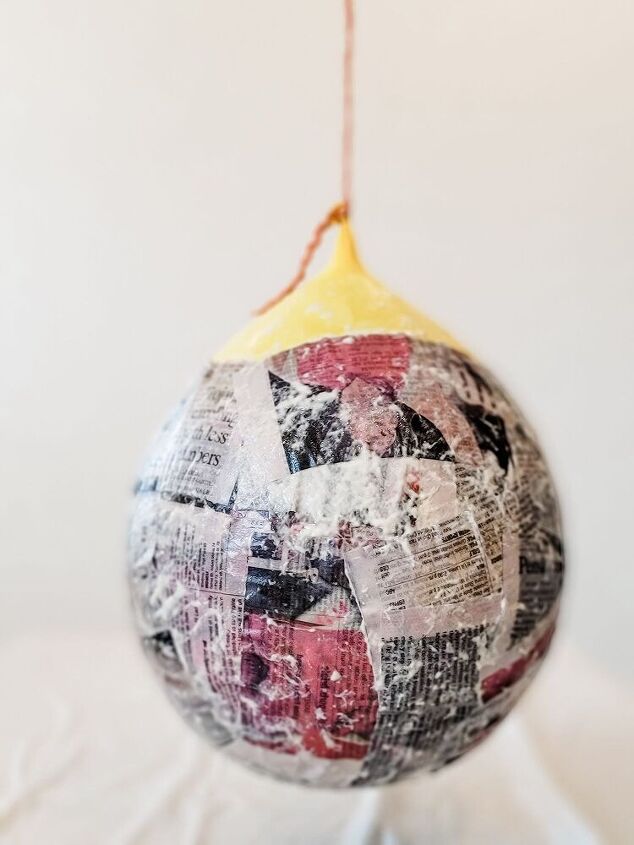
You don't have to hang the balloon to dry, but this way allows it to keep it's shape. However, unless you paper mache several layers, it will flatten a bit on the bottom even after it's dry. So, use this to your advantage and prop up the balloon how you want once it's dry and setting on it's own. A little flat spot helps it to stand up.
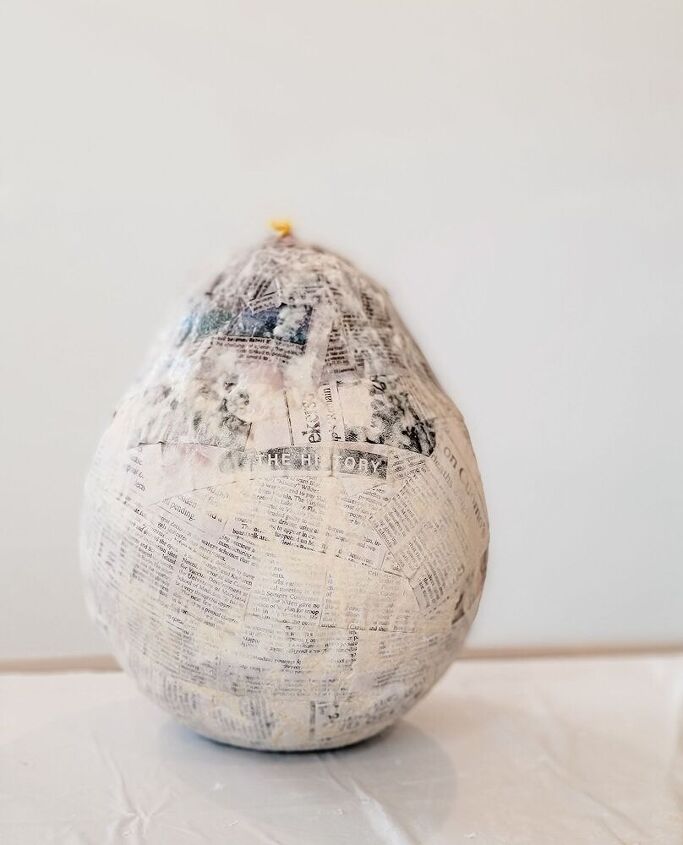
Once the top half is dry, you can cut the balloon. I took a piece of newspaper large enough to cover the hole and then some and just attached it with a glue stick.
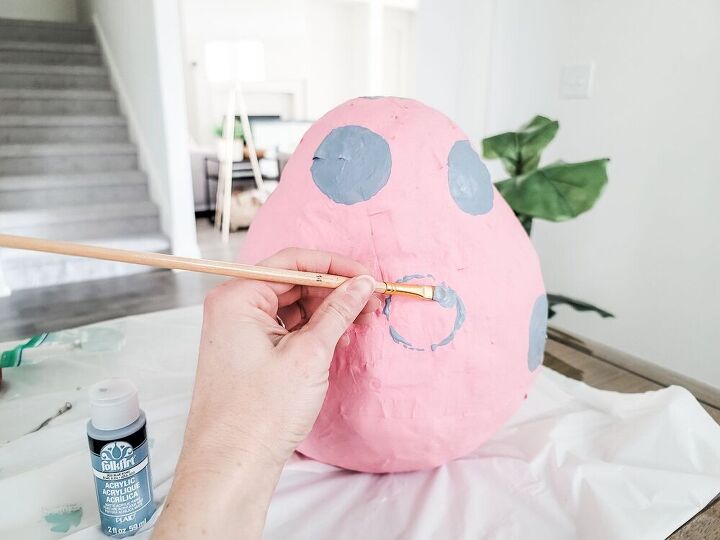
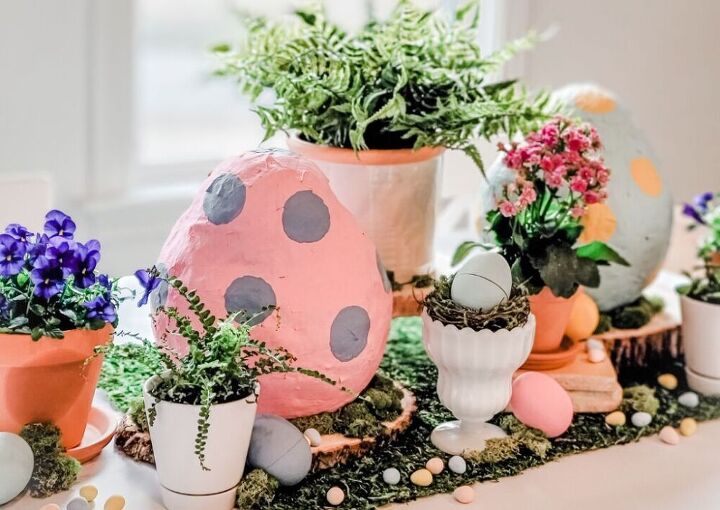
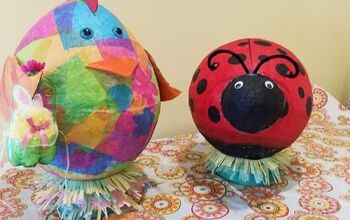
To quickly paint the polka dots, I just dipped a little espresso cup in paint and stamped the circle shape onto my pinata. Then I used a paint brush to fill in the dot. This way is so much easier for me to create good circles – otherwise they’d be polka ovals! You could decoupage cute Easter clipart, glue pom poms or lace, you could cut fringe using crepe paper to get the adorable pinata look – the decorating possibilities are endless. I did simple polka dots in each daughter’s favorite colors.
DIY Easter Egg Piñata Surprise – Video:
Be sure to check out my video showing the steps above and hit that Like button~ The short video shows me adding goodies to the bottom shell and then how to blow up the balloon to get the top shape. Sometimes it’s easier to learn by watching – it’s a short watch!
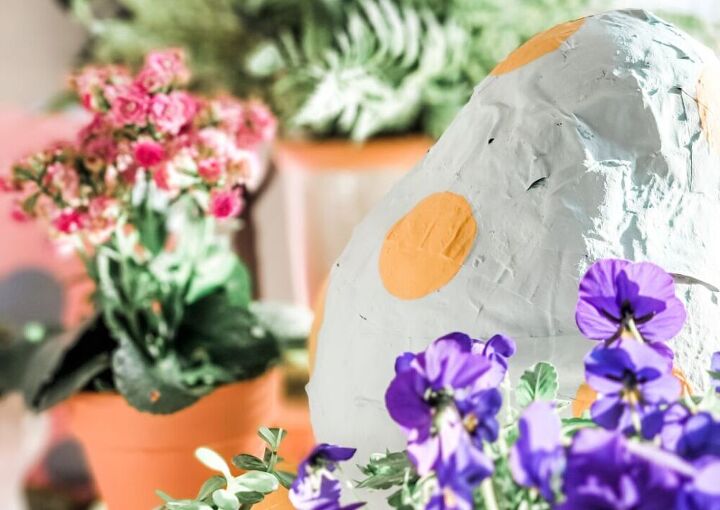
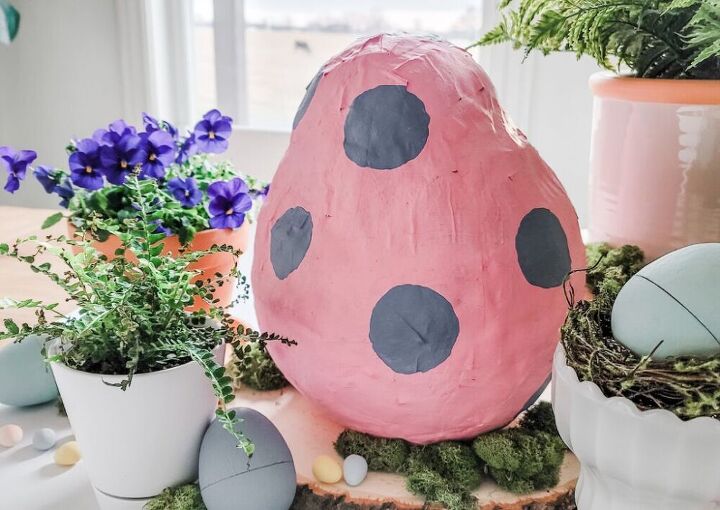
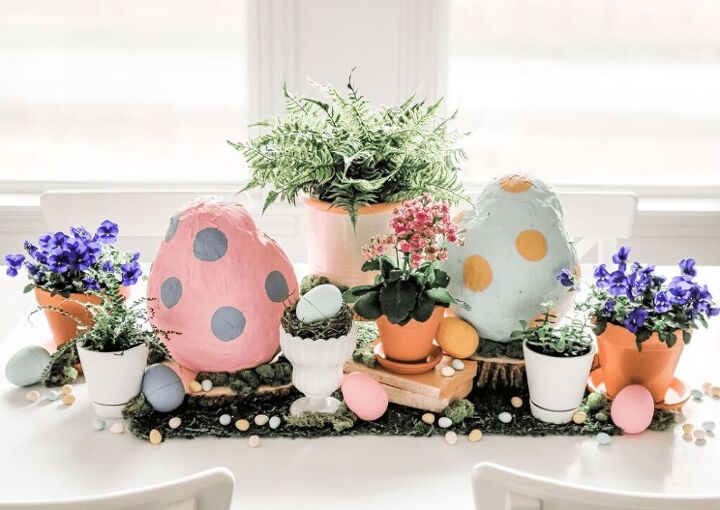
DIY Easter Egg Piñata Surprise
I cannot wait to watch my girls bust open these crazy DIY Easter Egg Piñata Surprises! A few things to consider, you could have your kiddos make their own egg pinata (it’s a fun craft for all ages and saves you some time), you can blow up the balloon as little or as big as you want, be sure to overlap the newspaper pieces enough to support the shape (I’ve already had a few little cracks), and be aware that the bottom where the egg sits will flatten (so prop it up in a way you want it to stay). I would do this craft again, and I’m excited to see how my daughters decide to crack open their DIY Easter Egg Piñata Surprise! Please subscribe to my blog to get weekly decorating and DIY inspiration! And I’d love to connect with you on Instagram @804_Sycamore
https://804sycamore.com/charming-diy-farmhouse-egg-stand/
https://804sycamore.com/easy-easter-hostess-gift/


Comments
Join the conversation
-
have done this for several years for gkids they love it this year they will be decorated with a sleeping fox and a dino egg. they are 8 and 11 now they love them
-
Oh yes I’m inspired. My g sons getting older but that doesn’t mean they don’t like Easter baskets or fun. Since they love baseball I’d make a little bit heftier and give them a bat in back yard to have fun. They love piñatas for birthdays. This is just perfect rather than egg hunt they are too old for (unless eggs filled with $’s)


Frequently asked questions
Have a question about this project?
If it’s a piñata then how will you hang it up when it’s time to break it open?
What kind of paint did you use on the Egg itself