Dollar Store Etched Mirror

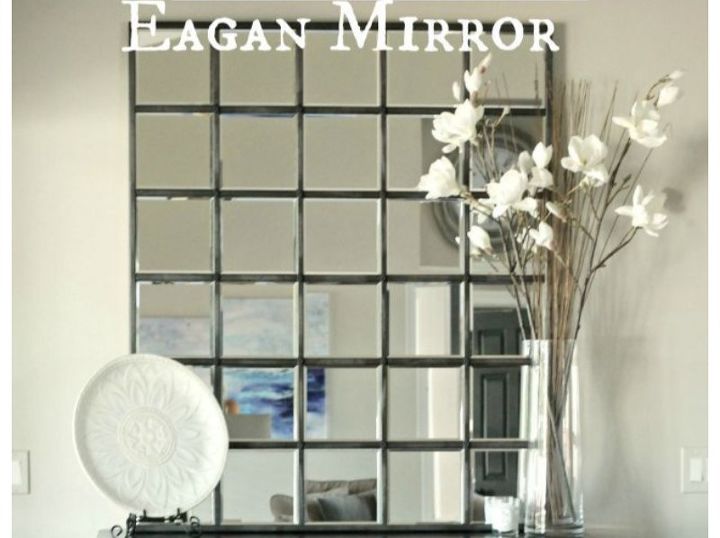
I was inspired by the DIY Pottery Barn mirror hacks that were being made and shared, except I wasn't going to copycat it exactly. It just gave me the idea that a larger mirror could be made from a bunch of smaller ones. The estimated cost that I saw was $700 for the original Eagan mirror and $200 for the knockoff ! Yikes, a hit to the wallet either way!
I apologize for not having a photo but I recycled a cheap decor picture, basically all it was just an image wallpapered onto MDF board. It would be perfect for the backing because it had black edges and the hanging slots were already pre-drilled as it was bought. The remaining supplies needed for this project I already had at home as well, shown below.
I laid out the mirrors onto the MDF board and I was able to make a grid with the mirrors of 3 across and 4 down. It used up the entire space not allowing me to have any gaps like the Eagan mirror, but that's okay I just went with it. The reflection is hard to escape when trying to get a photo of a mirror so bare with me showing you my ceilings!
Once I had the placement figured out I glued them in place with the liquid nails, note that a little goes a long way once the mirrors are pressed onto the base. I let that dry for 24 hours before doing the next phase.
I decided to etch an inspirational quote with the aid of a stencil onto the mirrors. First, I put the rubbing alcohol on a clean rag and wiped over all of the mirror surface to ensure it was clean before the next step. I then sprayed the back of the stencil with the spray adhesive and centered it onto the mirror, this would prevent any leaks of the cream underneath the stencil.
Now is the time to apply the Etching Cream over the lettering on the stencil ensuring that you don't get cream anywhere else on the mirror.
* NOTE: Follow directions as printed on the Etching Cream, you'll need to wear safety glasses and rubber gloves because it is corrosive.
After the time had elapsed for the cream development I used cold, wet paper towels to wipe off most of the cream. Then I peeled off the stencil and continued to wipe with a rag that I kept rinsing off with cold water until I got the mirror all clean.
The instructions say to rinse off the cream with cold water but with the MDF board underneath I didn't want to take a chance of it maybe getting wet between the mirror seams.
Once it was all wiped and shined it was ready to inspect, I was pretty pleased that the lettering stayed crisp and clean. Sometimes I just amaze myself even if no one else is amazed, hahah!
Now I can hang it on the wall for display and hopefully it'll inspire me each day when I look in the mirror and read the quote!
Enjoyed the project?
Resources for this project:
See all materialsComments
Join the conversation
-
 Denise Hardy
on Jan 11, 2019
It looks stunning Sea Trace Creations - I love the idea also with your stencilled quote :) well done
-
 Skilled Thrifty Creatives
on Apr 28, 2019
Thanks so much Denise, personal creativity often gets added on to a project after its in progress.
-
-
-
 Miss Daisy
on Dec 26, 2023
I love it and want to make one.
-











Frequently asked questions
Have a question about this project?
Is it heavy ? how do you hang it up ? maybe a piece can be added onto the back ?