


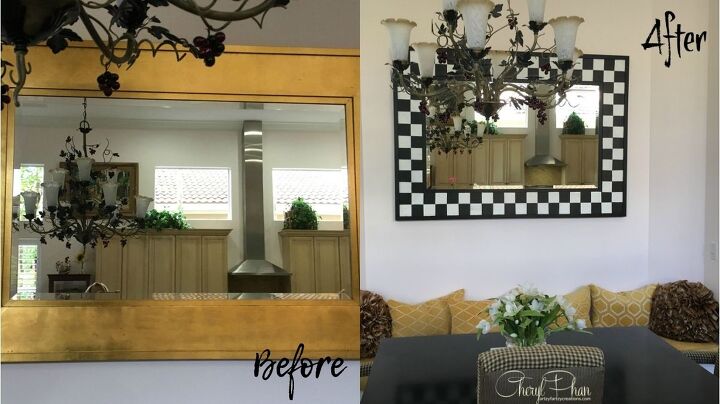
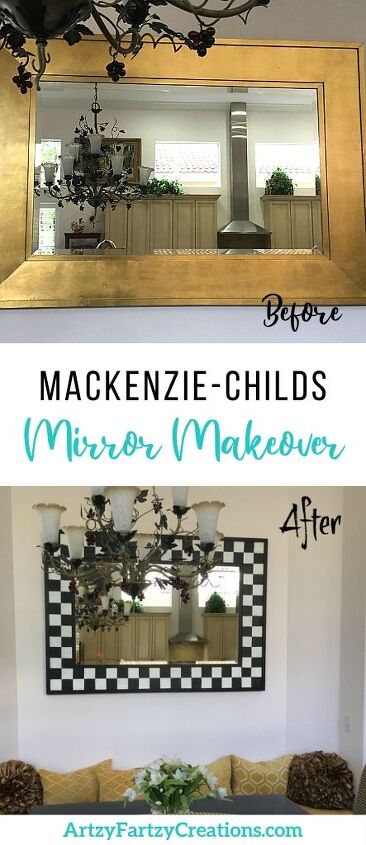
Mackenzie-Childs Mirror Makeover

Mackenzie-Childs is known for its collection of high-end tableware and furniture and can be a bit pricey for the average person, but that doesn’t mean you can’t have the look of this energetic design in your home.
I love Mackenzie-Childs. It’s fun, happy, and whimsical, and it’s so easy to replicate.
Take a look at this mirror.
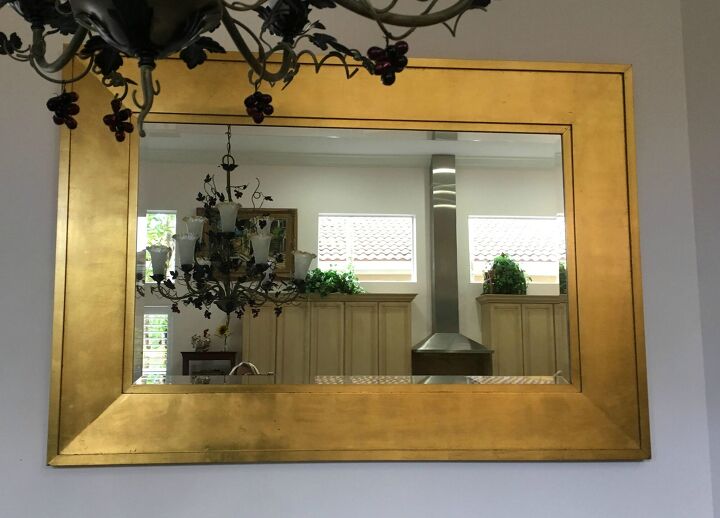
Although gold is the trending color right now it really didn’t work with my décor.
I like things that pop and have character. So this mirror was going to get a makeover.
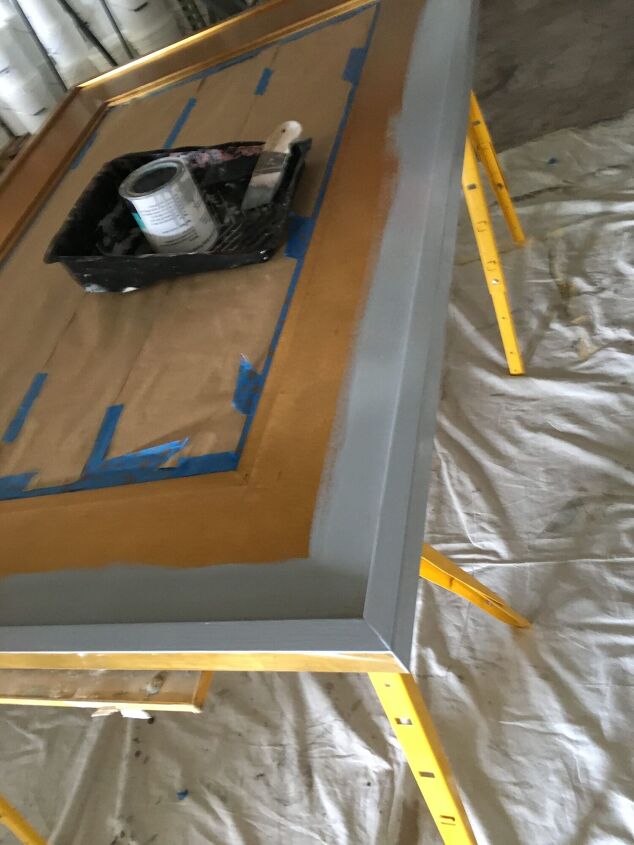
The first thing I did was cover the mirror with paper, so I didn’t get paint on it.
Then I painted it with Stix Primer. As you can see, I tinted the primer in a medium gray color. It’s a little trick I use when I’m painting with dark colors. It gives it better coverage. You can ask your local hardware store to tint it for you or you can add a little black universal tint to the primer and do it yourself.
Once that is dry, paint it with black paint. You can use any sheen Flat, eggshell, or gloss. I used a gloss finish on this project.
Let it dry 6-8 hours before going on to the next step.

Next, you want to measure the area. Find your center and tape it off.
Then measure the length and decide how big you want your squares to be, so they are even when you get to the end.
I made a paper templet to guide me along the way to ensure they were all even.
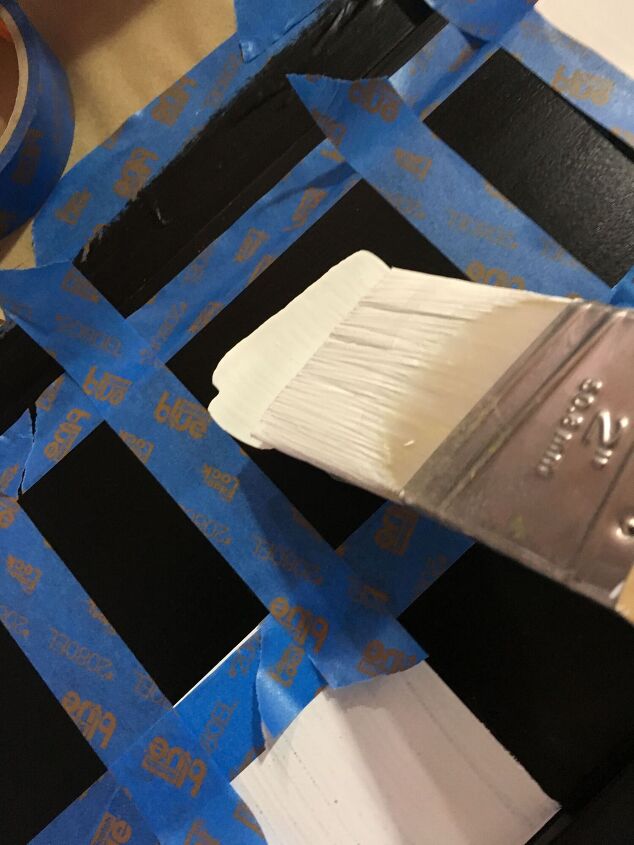
Tape off the squares and paint every other one.
Again, you can use any paint sheen you desire.
Once they are all painted remove the tape.
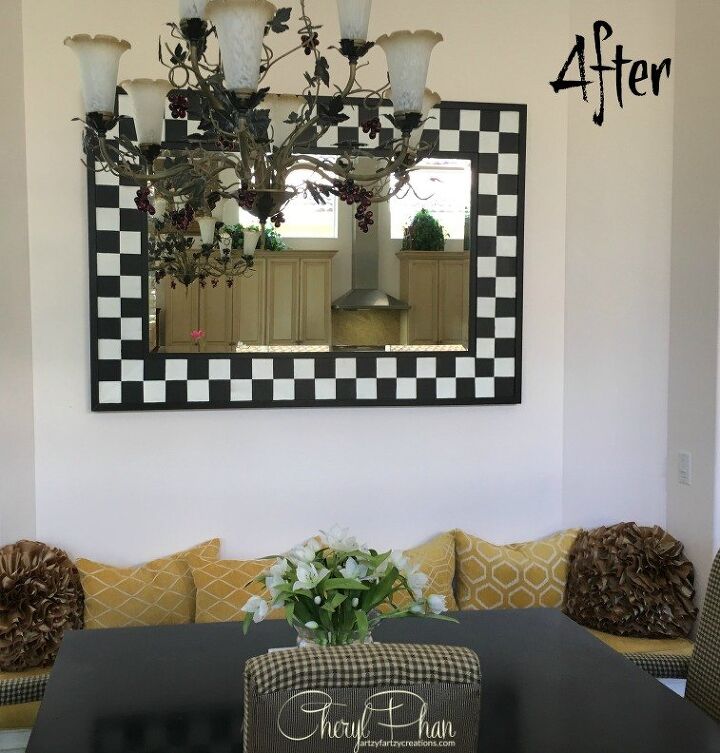
And here you have it. A beautiful Mackenzie-Childs look-alike mirror.
Wasn’t that fun? This design concept can be done on furniture, accent pieces or just about anything you can think of.
If you want to learn more Tricks and Tips get my blog HERE.
P.S. If you’re a creative that is interested in learning how to turn your hobby into a business, I would love to invite you to join “ First Things First” How to turn your passion into a paycheck in 30 days. Hope to see you there.
Blessings
Cheryl

Comments
Join the conversation
-
Actually, I like both mirrors a lot!


Frequently asked questions
Have a question about this project?
Love the project! But I was wondering why you painted the black and then the white when the background was that light gray. Wouldn't it be better to paint the black on top of the white rather than vice versa? How many coats of white did it take to cover up the black paint? That's what I was thinking when I read the post. Just seemed backwards to me. STILL - LOVE the project!