


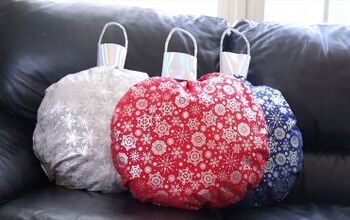
How to Make Cozy, Cute, Pillows With Love Knots
These Cute, Cozy macrame-inspired pillows are surprisingly easy to make. Macrame inspired lovers knots replace hearts. Use Pink for Valentine's Day or colors to match the nursery or your tween girl's room.
We can always use more throw pillows, right?
And aren’t these the sweetest — and subtle! Rather than overt hearts, I chose to go with Lovers Knots.
And it sure is fun to dust off the old macrame skills in an updated way.
HINT:
When making pillow covers, I try to be consistent in sizes. This way I only store the covers during their off season, not the bulky pillow forms. Off comes a Christmas cover, on goes this new Valentine’s Day throw pillow cover. Then It will be replaced with a Spring or Easter cover.
By keeping them subtle, they can stay in the decor game longer if you wish.
Materials and Supplies:
MATERIALS: (these are not affiliate links, just adding them to help you get a quicker start)
- Plain Pillow Cover (I use IKEA Gurli 20 x 20 Covers) OR
- Fabric and Zipper to Make Your Pillow Cover
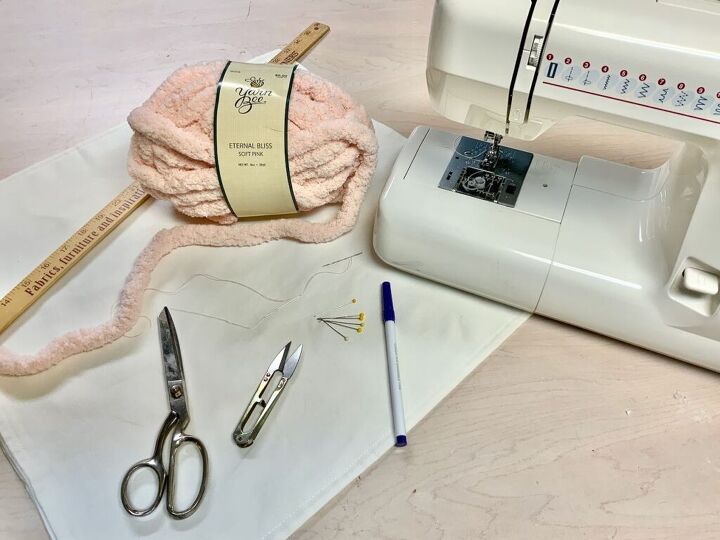
- Super Thick Yarn, I used this Yarn Bee yarn from Hobby Lobby
SUPPLIES:
- Sewing Machine, optional (very easy to hand sew also)
- Scissors
- Thread
- Needle
- Pins
- Ruler
- Marking Pen or pencil
Step 1) Cut Fabric if You are Making Your Own Cover
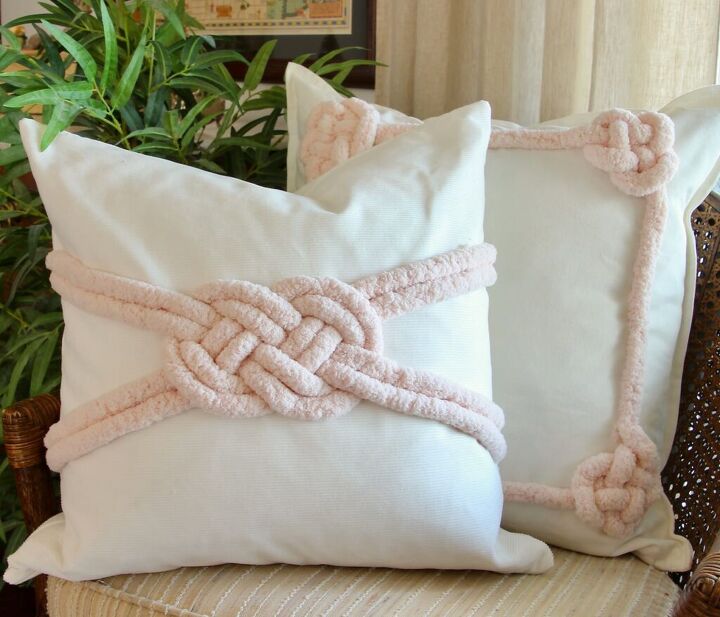
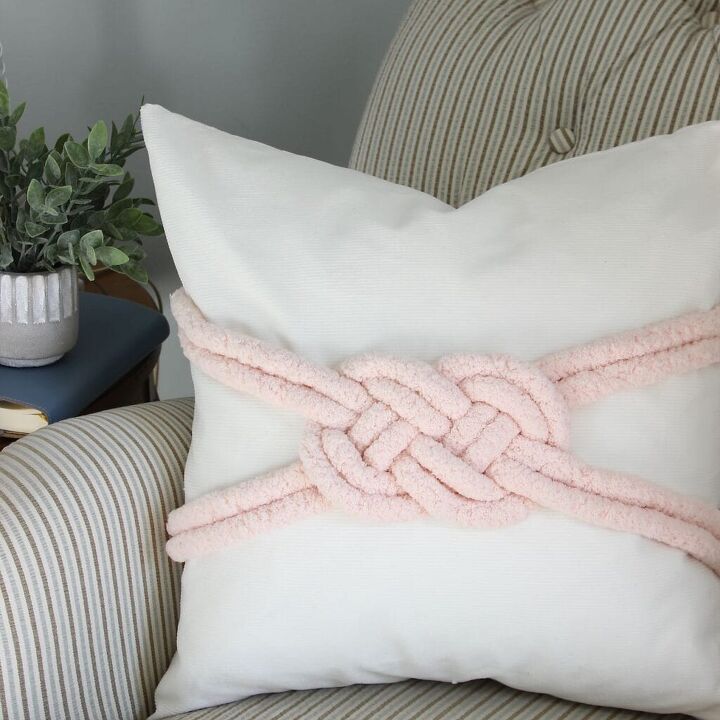
I made my own cover out of pinwale corduroy for the Center Double Knot Pillow because I wanted the four yarns tails to disappear into the seam.
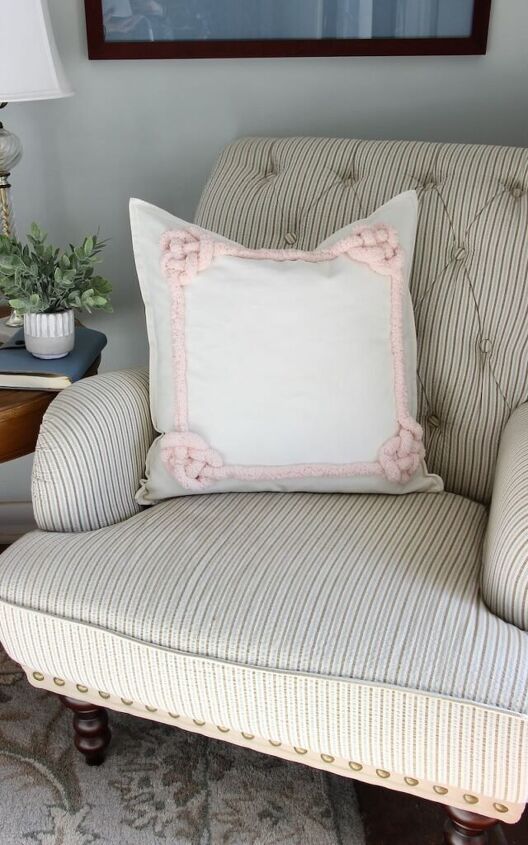
I used an IKEA cover for the Inset Frame Pillow.
Step 2) Cut Your Yarn
INSET FRAME PILLOW:
I used one long 8 ft. piece of yarn for my 20 X 20 pillow.
CENTER DOUBLE KNOT PILLOW:
Cut four pieces of yarn. For my 20 X 20 pillow I cut 4 ft lengths (and this was very generous)
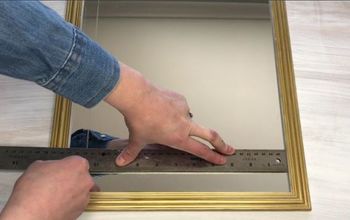
Step 3) Mark Your Yarn Placement
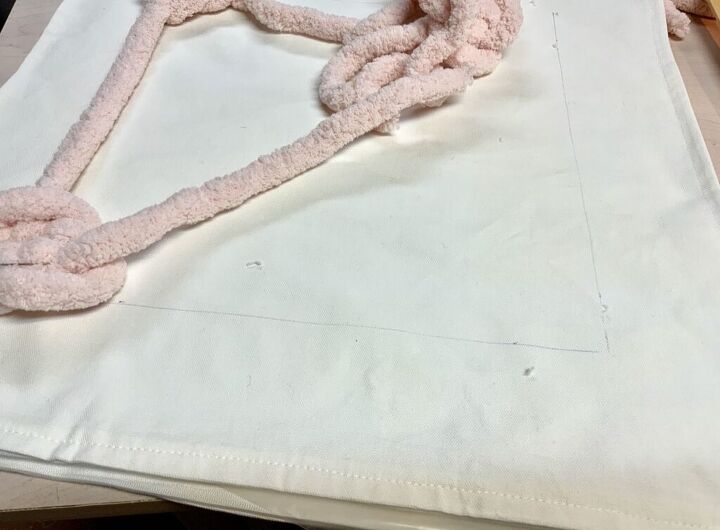
INSET FRAME PILLOW:
Using a disappearing fabric marker (a light pencil line will work just fine for this), I marked a stitch line. i decided on 3 1/2-inches in from the stitch lines on the Ikea cover.
CENTER DOUBLE KNOT PILLOW:
With a small dot, mark the center of your pillow cover or piece of fabric. And then mark two spots for the tails along the side edges. I decided on 6-inches between the two pairs of tails. So I found center line and then marked 3-inches on each side
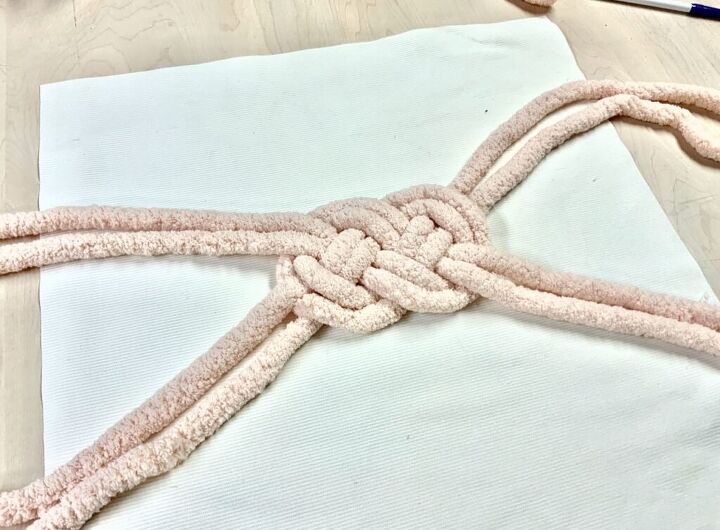
Step 4) Tie Your Knots
I used a You Tube video as a refresher. Search Josephine knot and you’ll find many options. I went by this video.
INSET FRAME PILLOW:
I used the “Tied With One End, Single Version”. I tied the first knot, laid it on my frame marking to determine where the second knot should land. Tie the second knot loosely. and then as you tighten it you can adjust for the length of the side. repeat for all four corners.
CENTER DOUBLE KNOT PILLOW:
I used the “Tied With Two Ends, Doubled Version”
Tied my knot as in the video.
Step 5) Stitch to Pillow
INSET FRAME PILLOW:
Once you have your knots tied. place them in each corner with the top loop of the triangle that doesn’t have a tail coming out of it should be facing out to the corner of the pillow. The two tails are the frame sides. Pin the knots in place. and hand tack them.
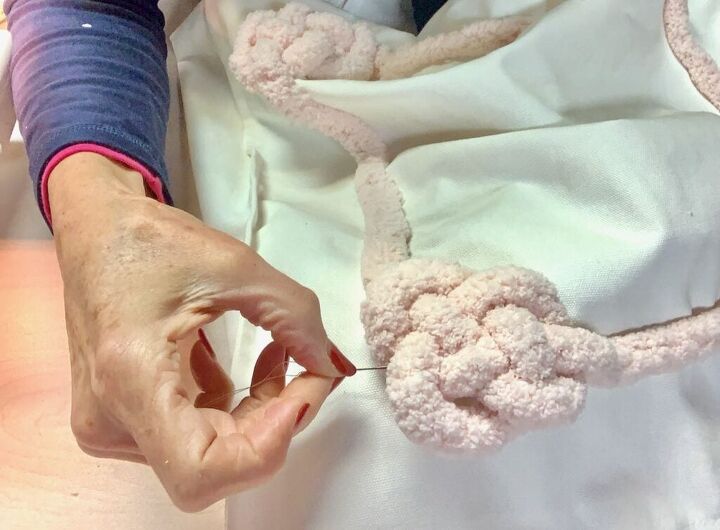
CENTER DOUBLE KNOT PILLOW:
Lay knot on the pillow with center point in the center of the knot. Lay the tails out carfully.
HINT: (do as I say, not as I did)
Yes, another learn from my woes. Fortunately I caught it before I had everything stitched down.
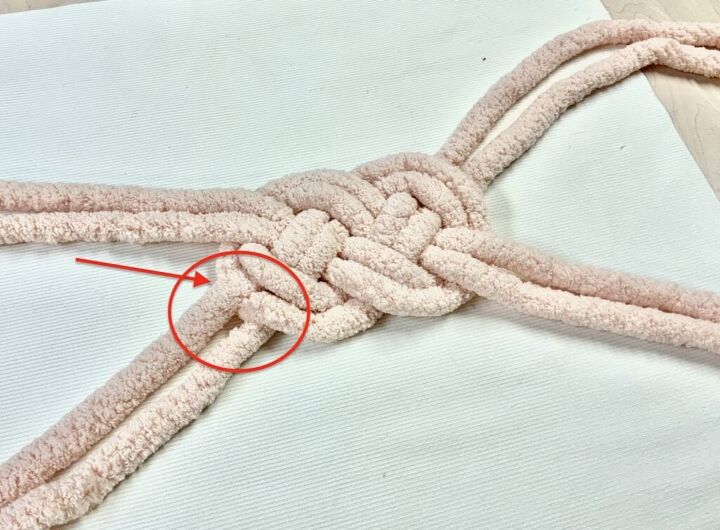
The two tails should both come over or come under the loops. And the over under alternates between pairs, NOT within a pair. See the problem, both of those tails should be coming out under the loops at that spot.
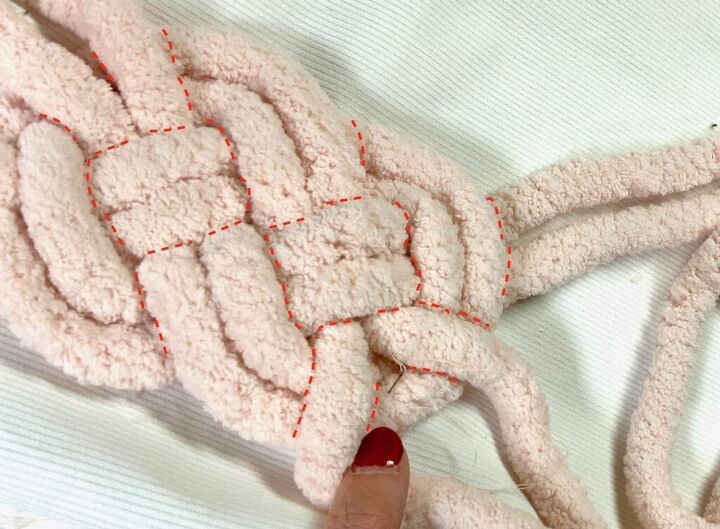
Now hand tack the center knot in place.
Tack wherever the yarn crossed under. I’ve marked the spots on the picture above to give you an idea.
Yep, this tacking is not meant to be pretty on the underside. Good thing you’re the only one that will see it!
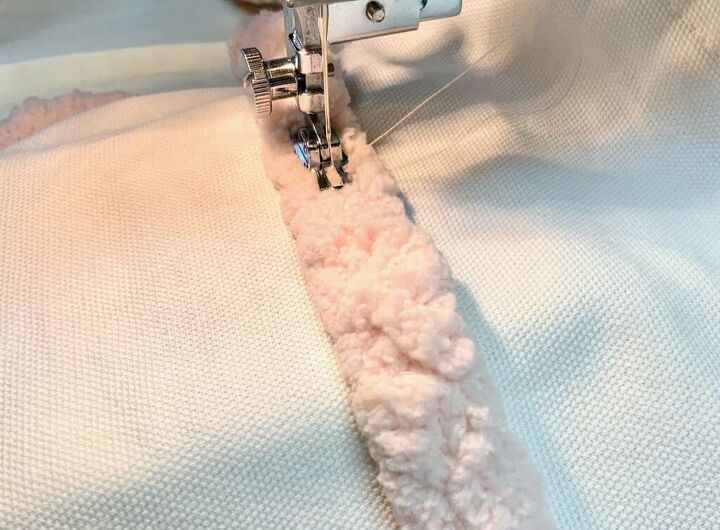
Now stitch the straight tails in place, either by machine or by hand.
Step 6) Optional. Finish the pillow cover
If you chose to make your own pillow cover, now is the time to finish the pillow.
Add an invisible zipper (by far the easiest zipper to install). If they make you nervous or you don’t have an invisible zipper foot. Have no fear! I have a tutorial on You Tube, right here.
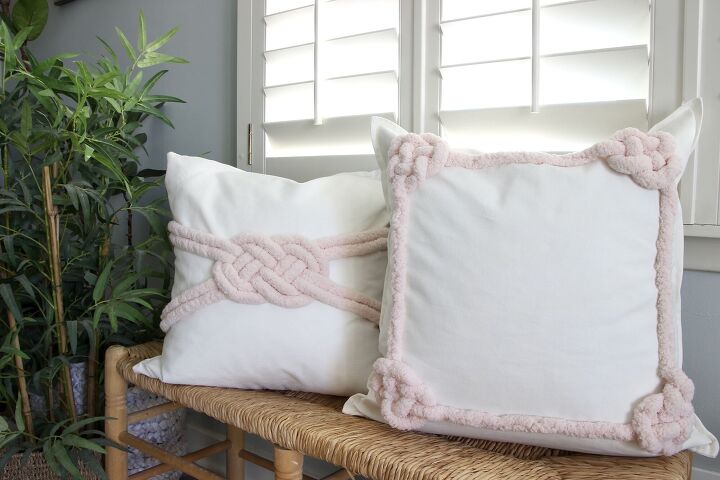
Aren't these the cutest? And so easy too! Wouldn't they make great additions to your throw pillow inventory?


Comments
Join the conversation
-
I’ve seen this been done in the trendy terra cotta, line-drawing style but your’s is more classic and the knot designs are superb!
-
Love your idea! Thank you for sharing!


Frequently asked questions
Have a question about this project?
I don't have a sewing machine, could it be attached with hot glue?