


How to Sew Throw Pillow Covers With No Zipper
Making your own throw pillow covers is an easy and inexpensive way to keep your decor looking fresh. They're easy to change and easy to store. Mix and match colors and patterns to keep your home looking fresh all year.
Follow these easy steps to make your own throw pillow covers that you can change as often as you want.
The pillow cover made in this project fits on like an envelope. No zippers, buttons, or other closures, making it easy to make, and easy to change.
1. Choose your pillow form.
You can use a pillow you already have, or buy a pillow form from a craft store.
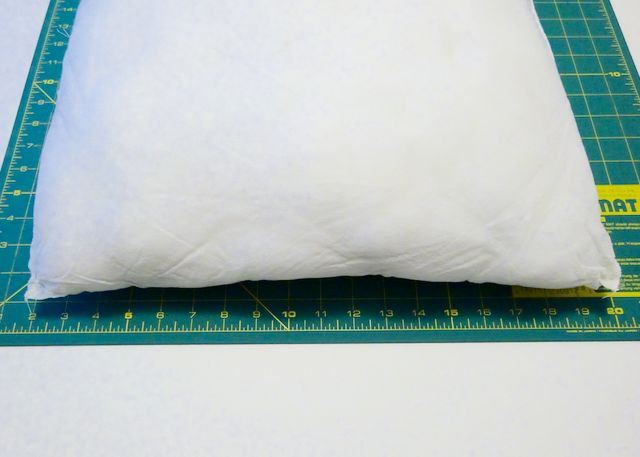
2. Measure the pillow.
(Skip this step if you buy a pillow form. The size will be noted on the packaging.)
a. Lay the pillow on top of a ruler or yard stick.
b. Smoosh it out a little, and eyeball the widest point. (I would call this one 18”)
(It’s OK to under estimate a little. This makes your pillows look plump.)
c. Measure both length and width.
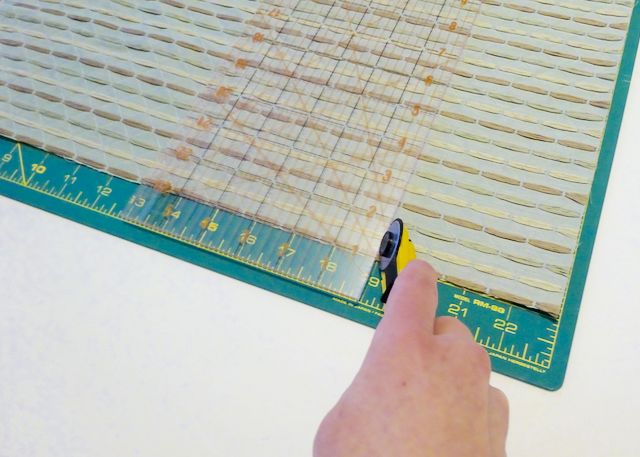
3. Cut the fabric.
You are going to make a pillow cover that is sort of like an envelope.
You will need a single piece of fabric with these dimensions:
1x pillow width + 1”
2x pillow length + 4”
For example, for my 18″ x 18″ pillow, I cut the fabric to 19″ x 40″. (Buy 2/3 yd. of 44" wide fabric.)
Choosing the fabric may be the hardest part of the project, but don’t worry. You can make lots of different covers, and swap them out as often as you want.

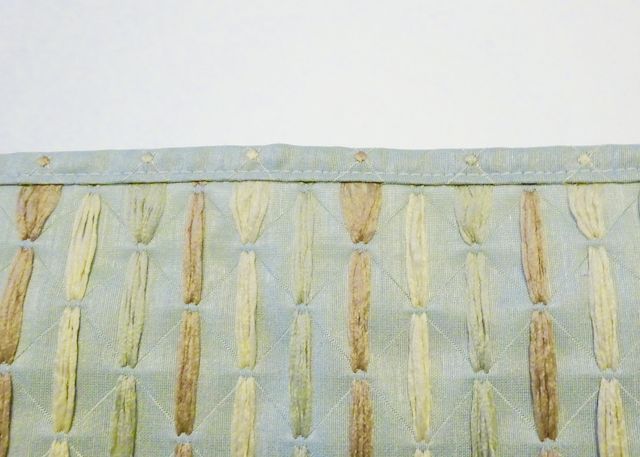
4. Finish the short edges.
The pillow cover is going to wrap around, overlap, and have a finished opening. To make these finished edges:
a. On one short edge, fold under 1/4” to the wrong side of the fabric.
b. Fold under 1/4” again, so the raw edge is completely tucked inside the fold.
c. Stitch close to the inner edge to hold the seam closed.
d. Repeat on the other short edge.
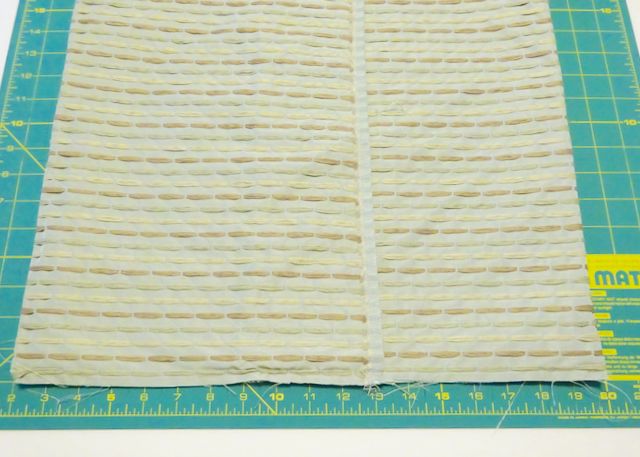
5. Stitch the long edges.
a. Lay your fabric out on a flat surface, right side up.
b. Fold one of the short edges in toward the center, so the wrong side of the fabric is now facing out.
c. Use your ruler and the measured length of the pillow to determine where to fold the other short edge. The short edges will overlap at the back by a couple inches.
d. Pin the long edges in place.
e. Stitch along both sides, 1/2” from the edge. Back stitch at the places where the short edges meet to add a little reinforcement.
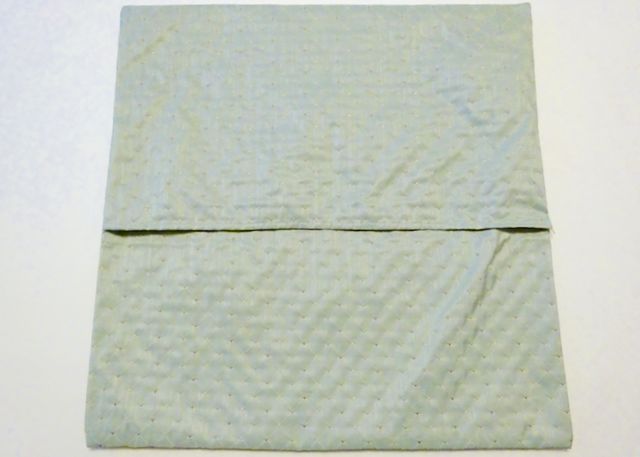
6. Turn the cover right-side out.
Flip the cover through itself, and use a tool to push out the corners. This cover will now slip easily on and off your pillow.
If you'd prefer to watch a video showing exactly how I did it, check out my tutorial. And I'd love if you subscribed to my channel!
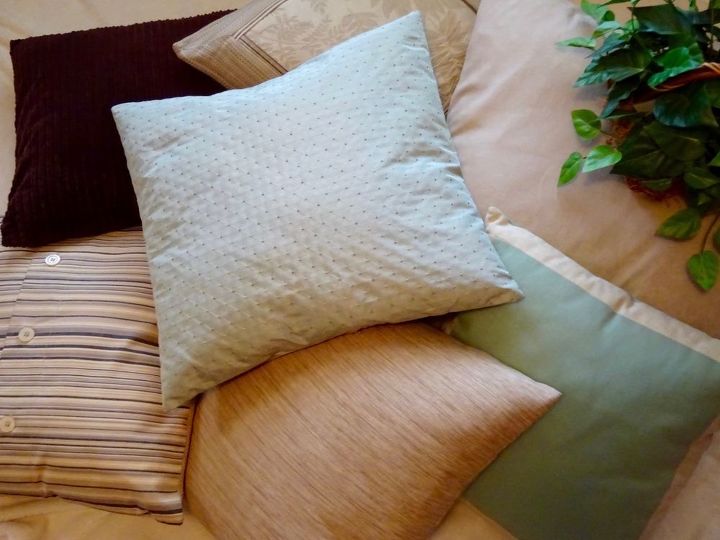
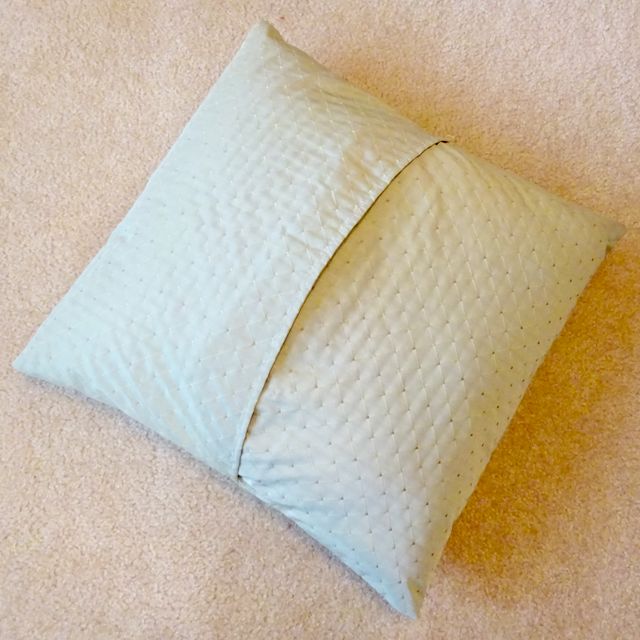
Make multiple covers for the same pillow to enjoy different looks throughout the year.
Changing the cover is much cheaper than buying a new pillow. Plus, the covers take up a fraction of the space of a pillow, so they’re easy to store.
Here's my tutorial on how to sew a zippered pillow cover.
You might be interested in my other sewing projects, too!

Comments
Join the conversation
-
Thanks for sharing this! Looks amazing!
-
Well done and clever name "Home Deconomics"!


Frequently asked questions
Have a question about this project?