


No Sew Pillow Cover

I am going to share with you my process for making an easy no sew pillow cover option that is quick and easy. It is a simple envelope style pillow cover using a little liquid stitch, an iron, and a little elbow grease.
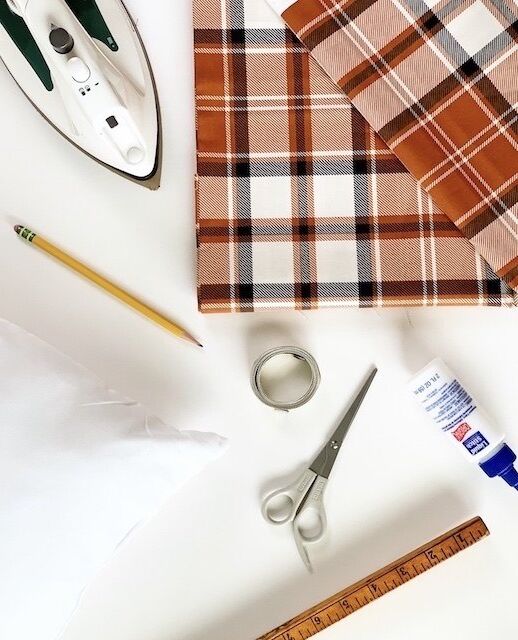
You will simply need to buy your fabric, a pillow insert, and some liquid stitch. You will also need a few items that you probably already have at home: a measuring tape, scissors, a pencil/fabric marker and an iron.
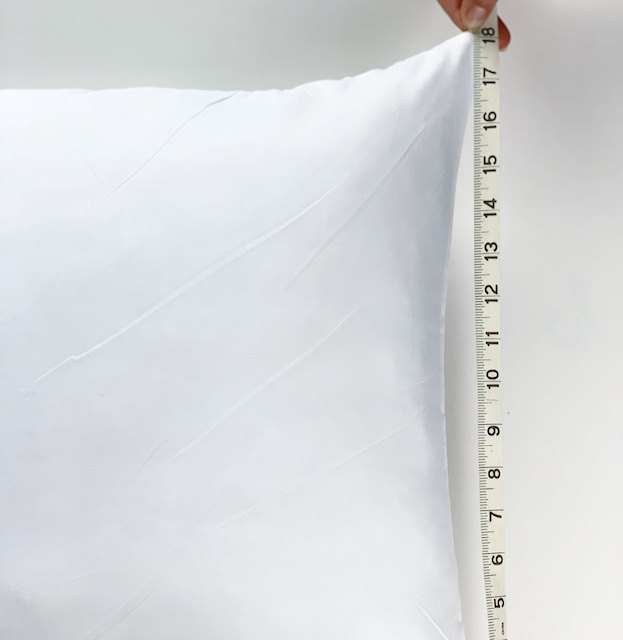
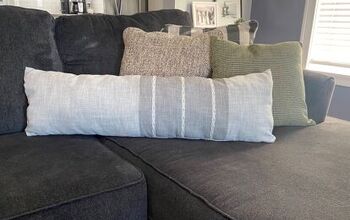
Take the measuring tape and confirm the measurements of your pillow so that you will know how long to measure your fabric. For this project, I am using an insert that is 18 x 18.

FRONT OF PILLOW - 1 section
For the front of the pillow you will cut a section of fabric exactly the same size as the pillow insert that you are using. I am using a 18 x 18 pillow insert so I will cut this section of the fabric the exact same size, 18 x 18. The size will help to ensure that the pillow will be nice and full and snug inside the pillow cover.
BACK OF PILLOW - 2 sections
For the back of the pillow you will cut two sections of fabric, each the exact same size. The width of these two sections will be the same as the width of the pillow insert you are using. To determine the height of these two sections you will use the following formula:
(Width of your pillow) + 6 ÷ 2 = the height.
For this particular pillow, my formula will look like this.
18 + 6 ÷ 2 = 12 inches in height
So, for the back of my pillow I will need to cut two sections of fabric that are 18 x 12.
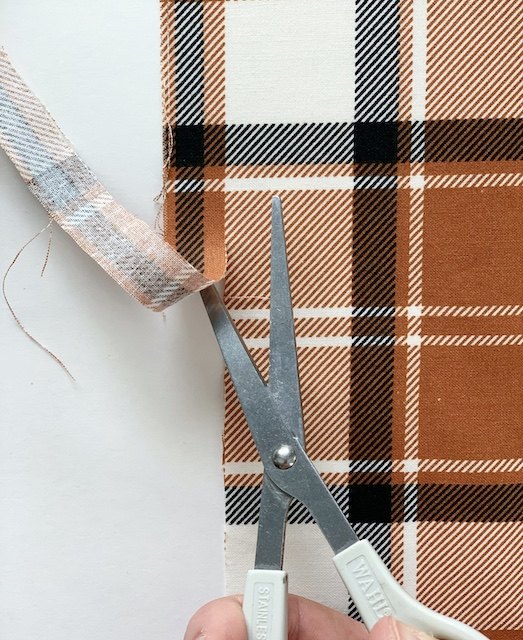
After you have measured your three sections of fabric, you will simply need to cut them out.
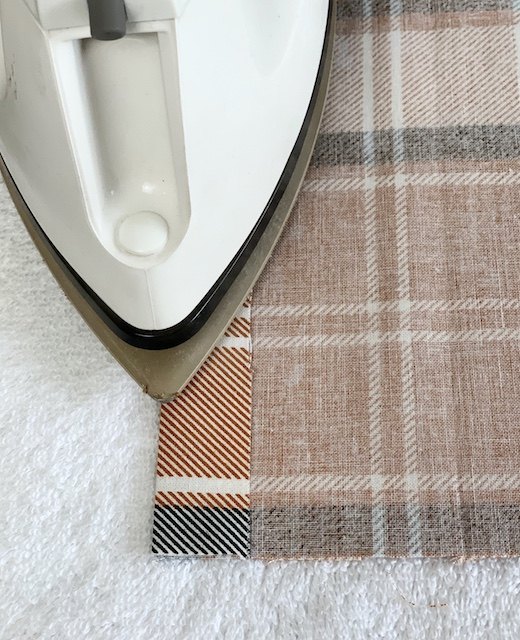
You will only need to hem the two back sections of fabric. I simply eyeball a small hem a little over a half an inch along the longer sides of the fabric. Then, with my iron on a medium setting, I iron the hem along each piece of fabric. These two sections will create the envelope.

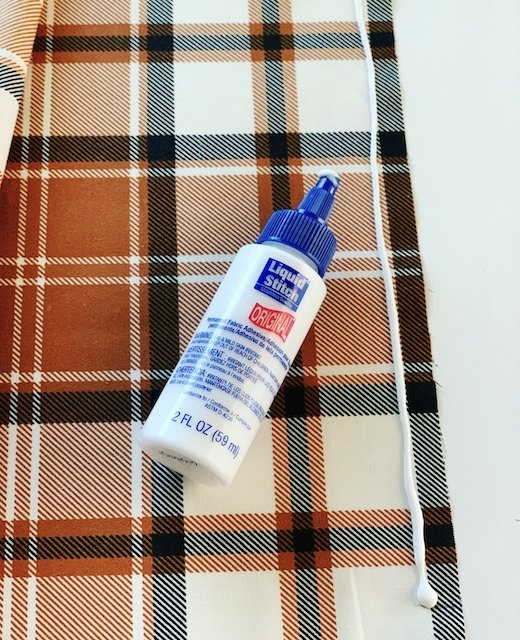
Take your liquid stitch and glue down the hem that you ironed. Don't worry if a bit of the liquid stitch seeps out a bit, it will dry clear.
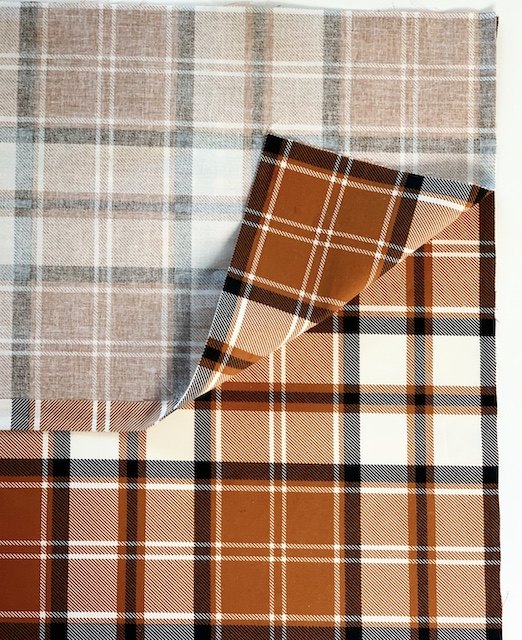
For this step, you will be assembling the pillow cover inside out. Place the front section of fabric FACE UP on your table. Then place both of the back sections on top of the front section, FACE DOWN.
Using a pencil or a fabric pen, place a line on the front section where the first back section ends. Next, add a line of glue on the front section of fabric all the way around the perimeter. Then, do the same for your second back section. It will overlap the first section - but that is what we want because we are making an 'envelope'. (See the blog for more details.)
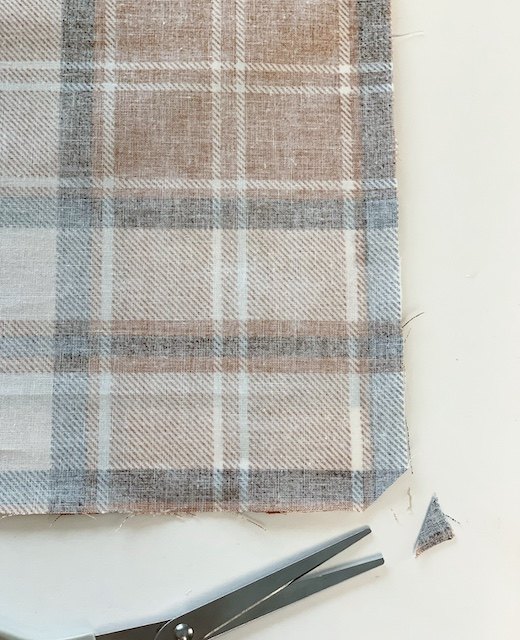
Being careful NOT to cut any areas where you applied the glue, give each corner a small snip. This will help to reduce the bulk in the corners of the pillow when we go to turn it inside out.
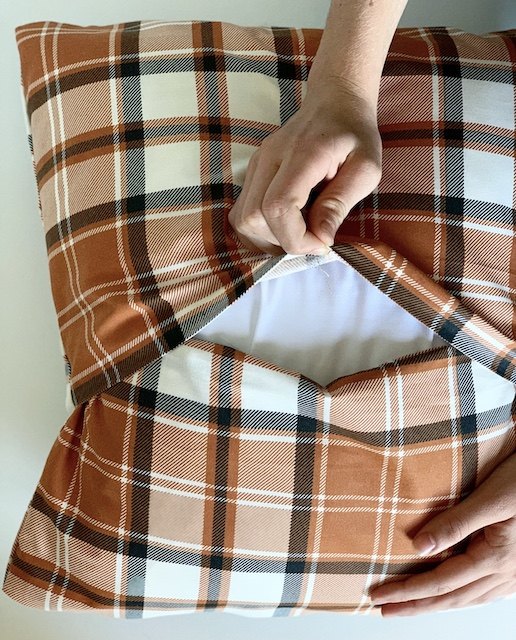
It will probably take a few hours for your pillow cover to dry. Once your pillow cover is completely dry and the liquid stitch has set, go ahead and turn your pillow cover right side out and use your fingers to poke out the corners to give them a really good 'shape'. Then, stuff in your pillow insert.
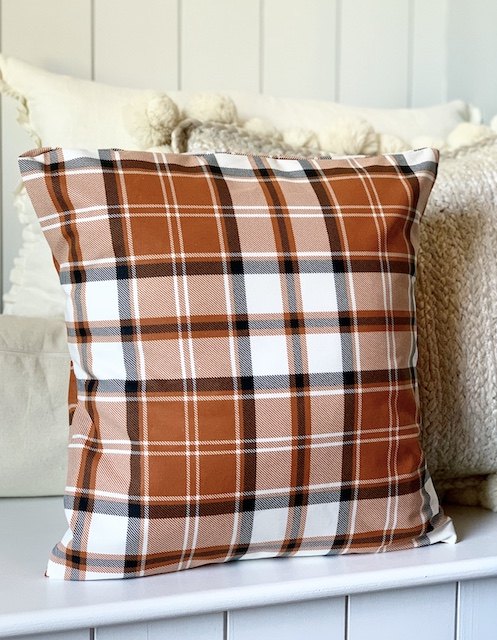
I am pretty excited with the way my no-sew fall pillow covered turned out. It was quite easy to make and it was very affordable. Most importantly, I won't have a bulky pillow to store when the fall season passes. I can simply take the pillow insert out and make a new cover for the Christmas season - wink!
Comments
Join the conversation
-
I really like the idea of being able to change the cover for different seasons! Also, this seems easy to do so I plan to give it a try.


Frequently asked questions
Have a question about this project?