


Stitch up a DIY Ice Dye Pillow
Today I’m showing you how to sew up your own DIY ice dye pillow. If you’ve already gone through my ice dyeing tutorial, you have some beautiful fabric that’s sporting that ice tie dye look. If you’re looking to learn how to ice dye, definitely check that out first!
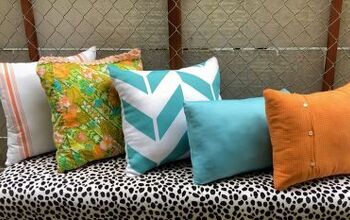
So what do you do with your awesome ice dyed fabric? All that gorgeous watercolor effect you’ve made deserves to be on display!
How about an easy no-zipper envelope style pillow? Let’s get it done!
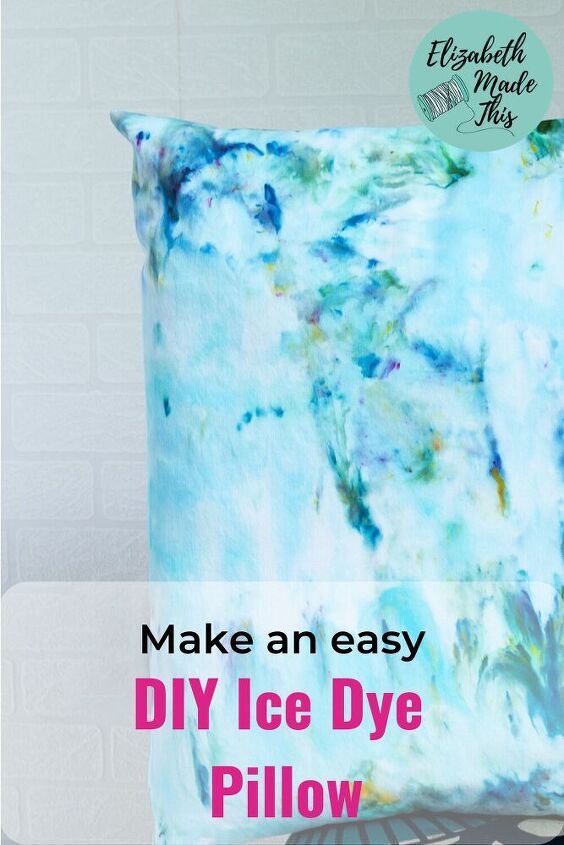
Table of Contents
Any level of sewist! There’s only straight-line sewing here, and there’s no zippers, so anyone from beginner all the way up can enjoy stitching up their own DIY ice dye pillows.
For another use of your fabric from your ice dyeing experiments, why not make up a 7 minute zipper bag? But onto making your pillows!
- 1 yard of ice dye fabric ( teach me how to ice dye–read the tutorial or sign up for the free Ice Dyeing Mini Course below!)
- pillow form or an old pillow that needs a makeover
- sewing machine, thread, scissors, ruler, chalk, iron
First measure your pillow’s length and width. Add 2″ to the length and 2″ to the width. Write down your measurements. For me, that’s 21″x21.5″.
For the front: Draw a rectangle on your fabric the size you just measured. Cut 1.
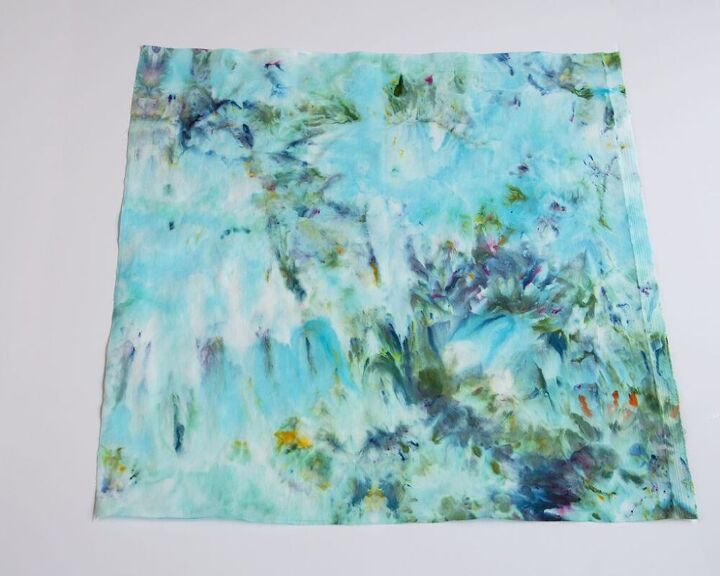
For the back: Fold one side of your cut rectangle in half. Add 4″ of width vertically to this smaller rectangle. Use your chalk and ruler to draw out 2 on your ice dyed fabric. That’s 14.5×21.5″. Cut 2 of these pieces.
Now we’re ready to sew up your ice dyed project!
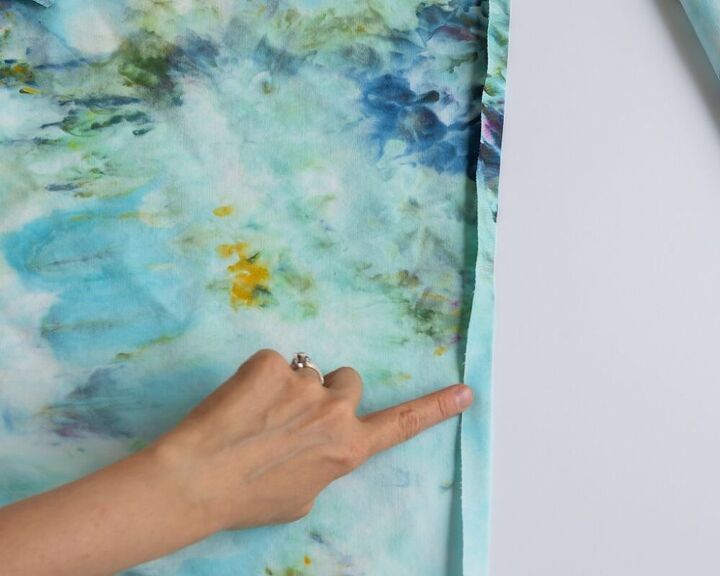
Press 1/2″ towards the wrong side of your fabric with your iron on the side you added width. Fold the hem 1/2″ more towards the wrong side and press again.
Do this for the second back piece.
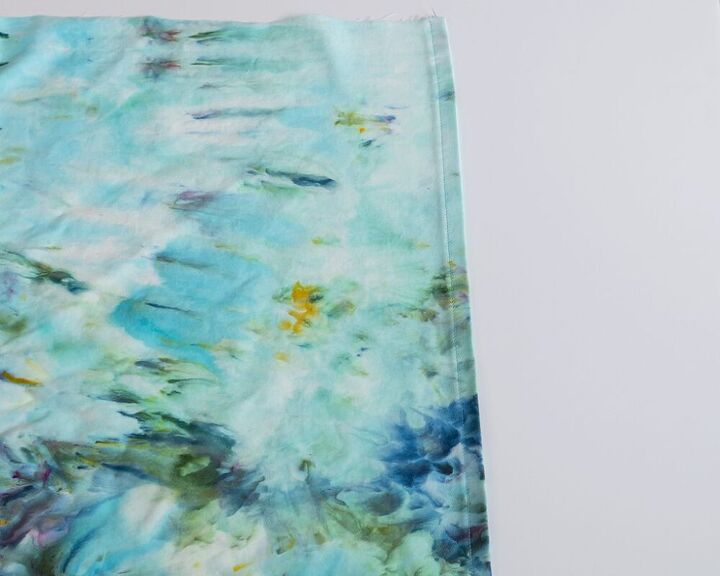
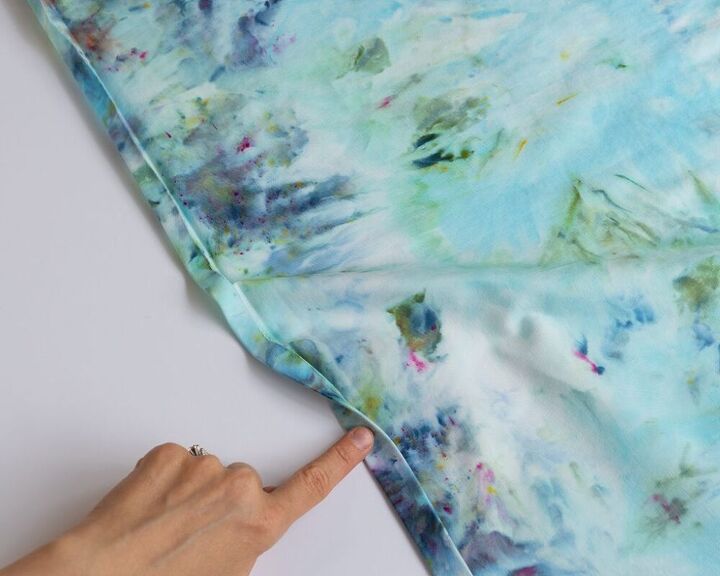
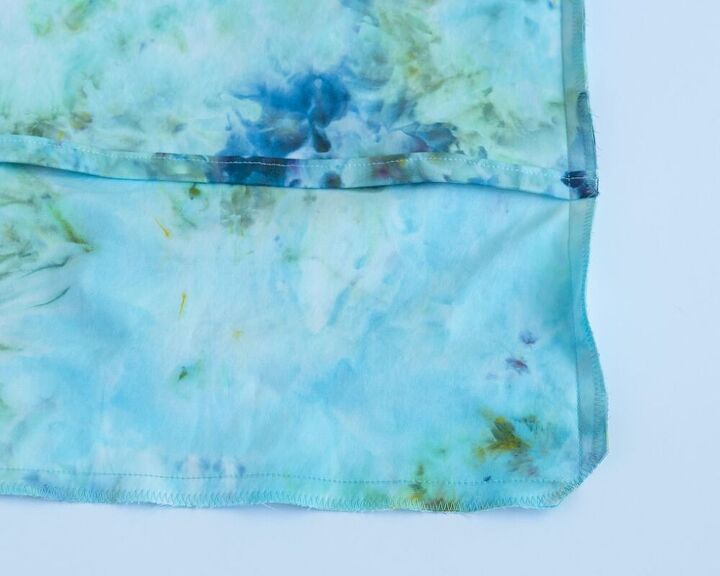
From the right side, sew top to bottom at 1/2″ seam allowance to sew down the hems.
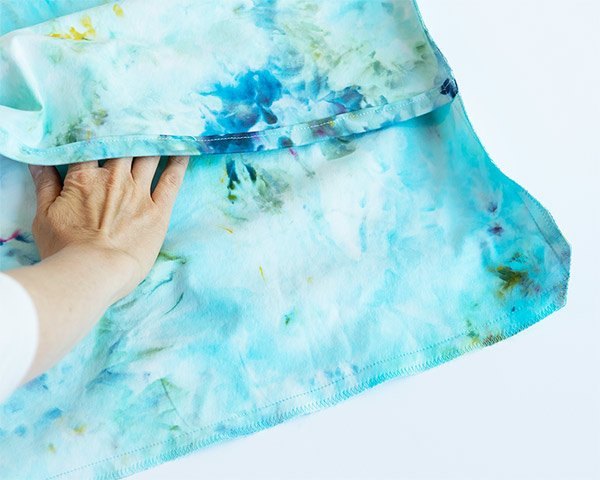
Set the front piece of your pillow right side up on your table. Match the back pieces on top of it right sides together with the front.
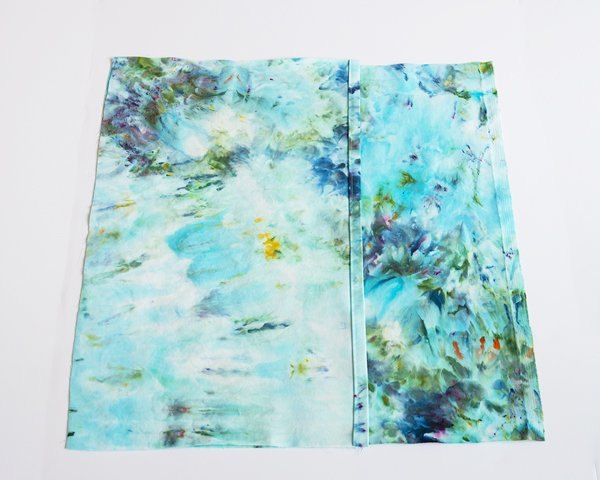
Overlap the back pieces so that all of the raw edges of the pillow pieces match.
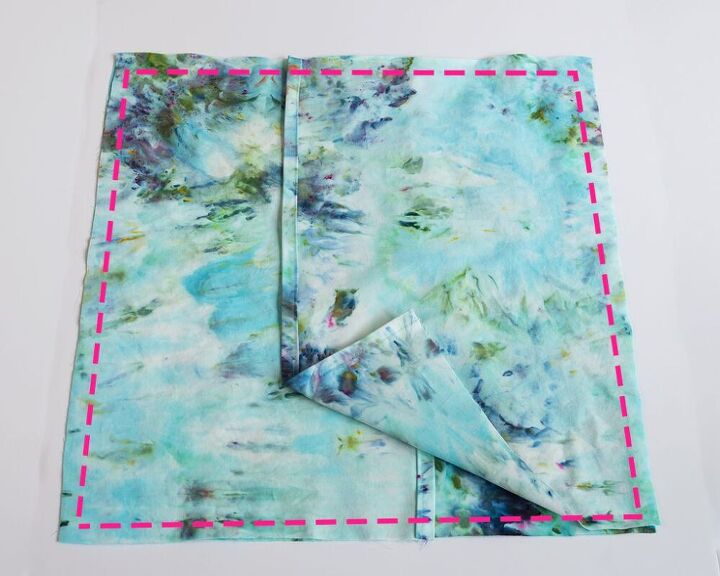
Sew with a 1/2″ seam allowance all the way around the pillow’s edges.
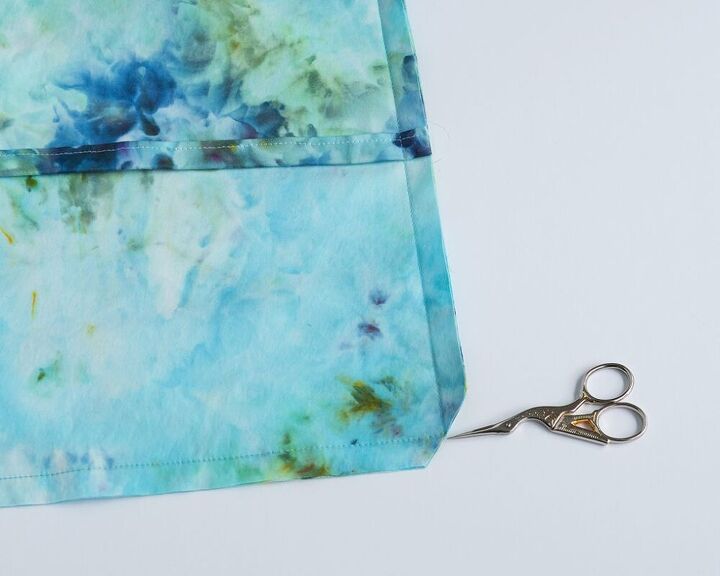
Clip the corners at an angle. Make sure you don’t clip into your stitches.
Finish the seam by sewing a zigzag stitch close to the edge all the way around the edges. If you have a serger, you can use a serger instead to finish the seams.
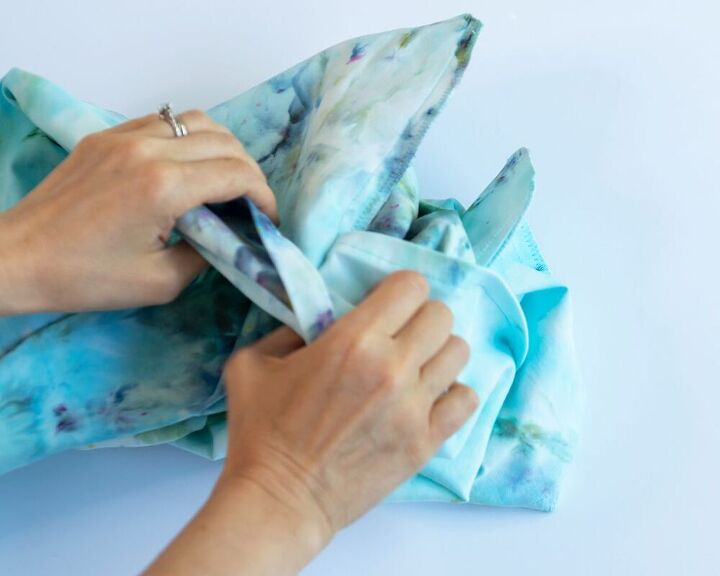
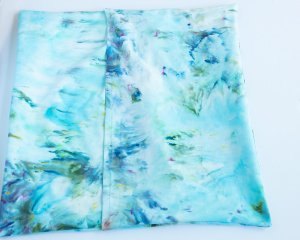
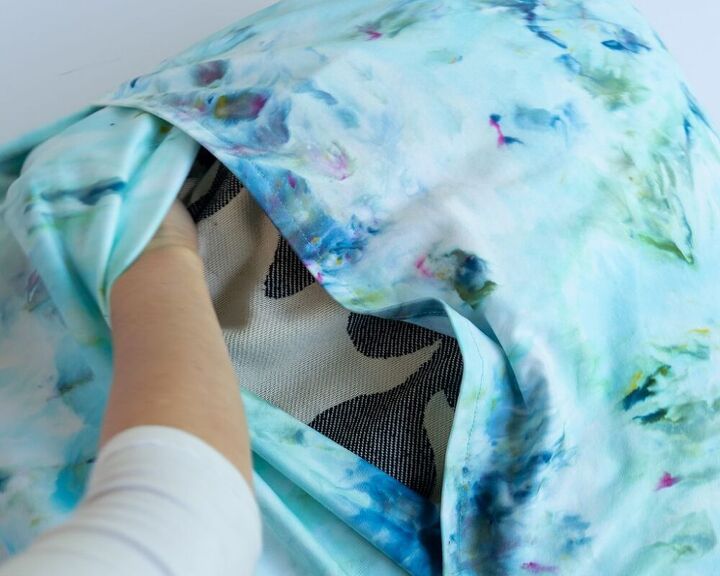
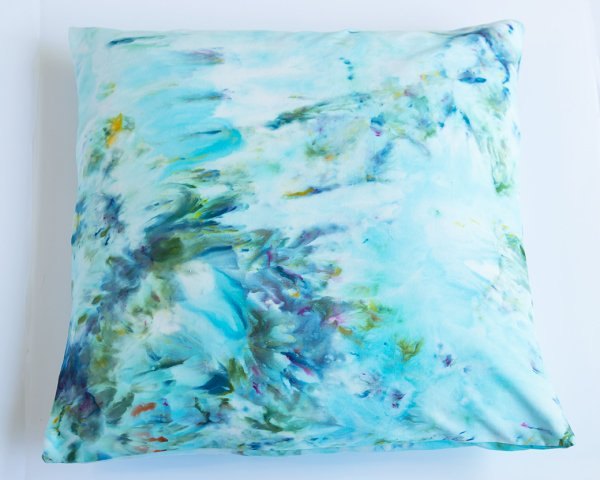
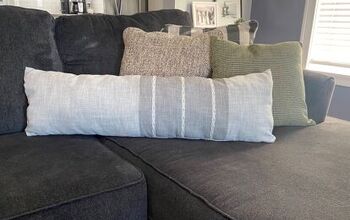
Flip the pillowcase to the right side through the overlapping back pieces. Gently poke out the corners with a chopstick. Give the pillowcase a good press, then finish up by popping the pillow form into your fresh ice dyed pillowcase.
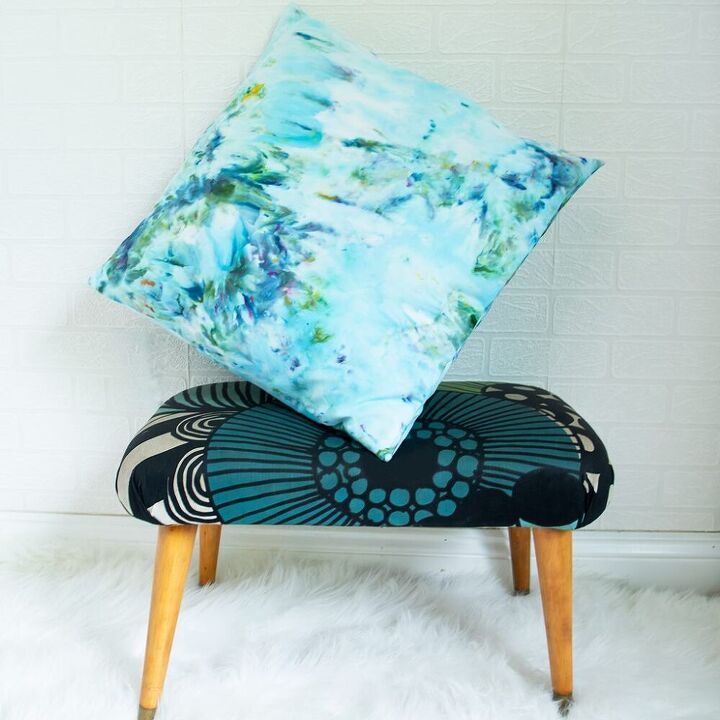
And’s that’s all there is to it. Your DIY ice dye pillow is done. How easy was that? Make a bundle or just one, but do find a nice new cozy spot for your new pillow!
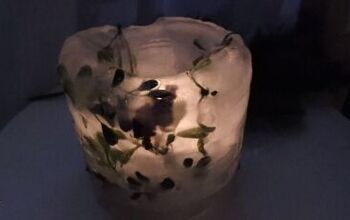
What else can you do with ice dye? Jazz up your jeans like I did with this ice dye denim jacket I’m working on.
Elizabeth Farr is the writer behind the Elizabeth Made This blog where she shares helpful sewing tips, step by step sewing tutorials and videos to help you explore your creativity through sewing. She has written sewing Eguides and patterns, been a featured teacher at Rebecca Page’s Sewing Summit and Jennifer Maker’s Holiday Maker Fest and her work has appeared in Seamwork and Altered Couture magazines. She also created a line of refashioned garments for SEWN Denver. When her sewing macchine isn’t humming, she’s playing and teaching violin, and hanging around a good strategic board game with her husband and 4 kids.

Comments
Join the conversation
-
Looks amazing! Thanks for sharing.
-
How do I get the directions for ice dying fabric?


Frequently asked questions
Have a question about this project?