


Mini Needle Felted Pumpkins
5 Materials
$20
20 Minutes
Easy
I’m back today with the how-to so that you can whip up a batch, bevy, flock (what do you call a bunch of pumpkins?) of these cuties.
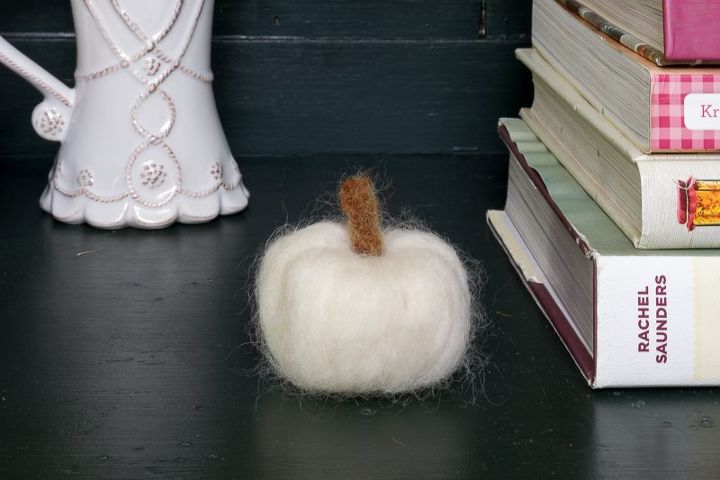
I initially planned to make a whole bunch of wee orange pumpkins, but after I made 8 of the orange ones I realized that I really wanted white ones. I’m decisive that way.
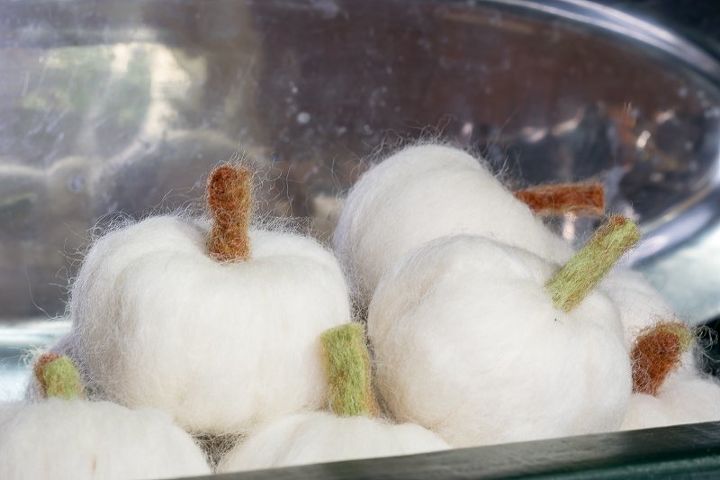
So…I set the orange ones aside and started making white ones…lucky for me we had some great binge watching to do.
While I was very happy that I made the bevy of white pumpkins, I still had 8 of the orange that I wanted to do something with. Seems 8 is just the magic number to fit around a 7″ embroidery hoop…
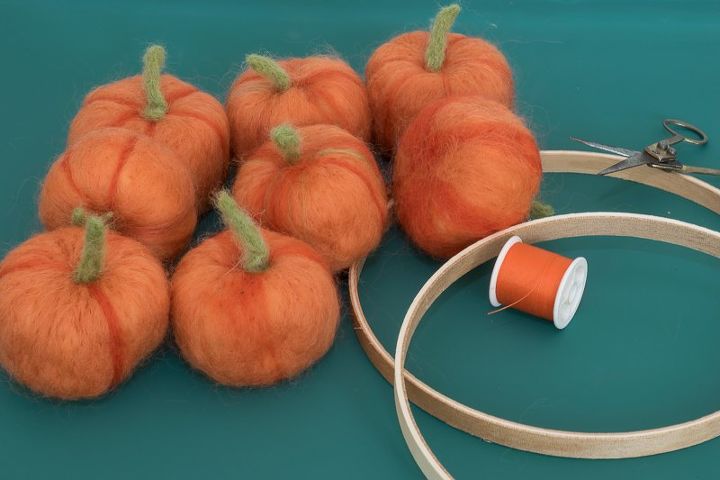
I attached the pumpkins with thread as opposed to glue because I thought I might want to use them for something else in the future.


What you need to make these Mini Needle Felted Pumpkins:
(I have links to all the supplies on my website, the link for the site is at the bottom of this post)
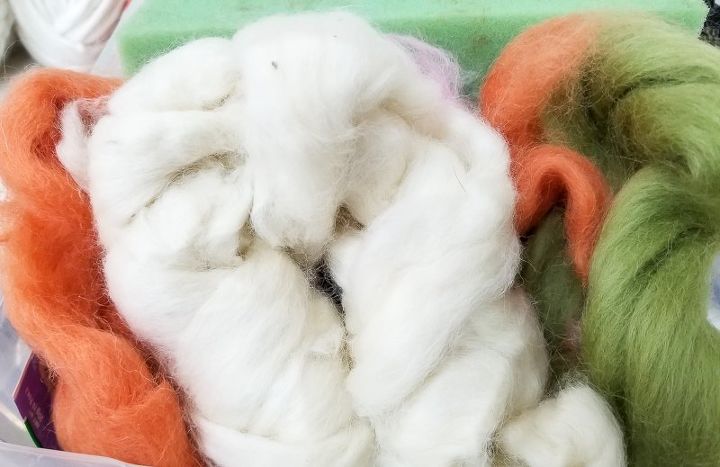
- Wool Roving in the colors you want. Here’s what I used:
- 2 shades of Orange,light and dark
- White
- Moss Green
- Brown
- Coarse Felting Needles
- Foam Pad. I went to my local fabric/upholstery store and purchased a scrap piece of dense foam. But you could order one from Amazon
- Finger Protection.
- Scrap wool yarn, 7 yards
How to Make Mini Needle Felted Pumpkins:
I've written out the steps and showed some photos, but I think it'll be much easier to learn by watching the video at the end of this post.
Wrap your scrap yarn around two fingers several times, then remove the wrap from your fingers and wrap the yarn perpendicular to the yarn you wrapped first.
You are trying to form a fat disk. Keep turning your disc while you wrap a couple of times to get your disk.
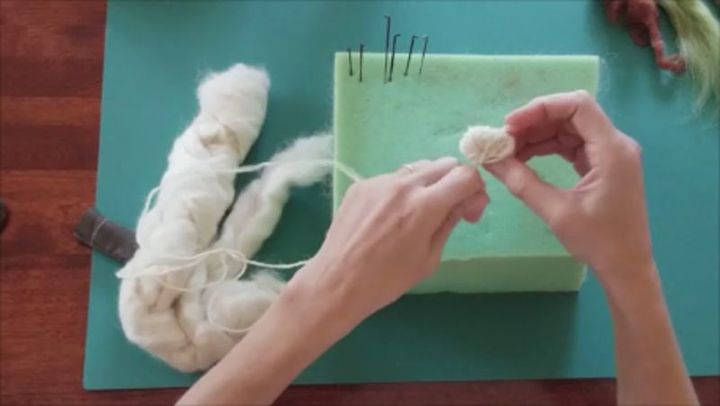
Rip off a couple chunks of yarn, about 4-5 inches long and wrap your yarn disk, using your needles to secure the roving to your disk.
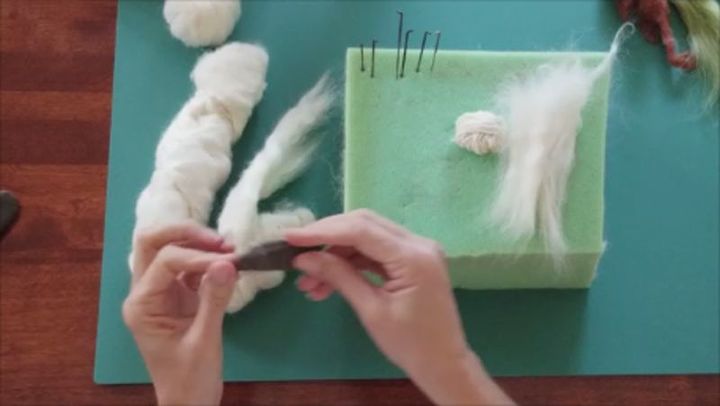
- Once your base is 1/2 to 3/4 what you want for your finished pumpkin size, you can start attaching the segments to get the contours for your pumpkin.
- Use your needles to make a good indentation where you stem will go. Attach your ‘sections’ just outside of your indentation.
- The roving should be about twice as long as the length from the indentation to the bottom of your pumpkin. You will fold the roving underneath and attach with the needle where it is bent in half to the bottom of the pumpkin.
- I prepared a video to show you how to make these pumpkins from start to finish because some things are just better explained that way! You can see that video towards the bottom of the post.
- Once your pumpkin is the size you want, start to work on your stem.
- Rip off a chunk of brown or green or a combination of both.
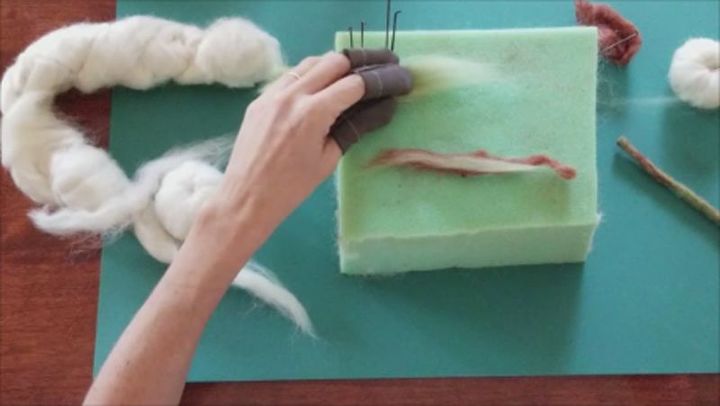
- If you are working with 2 colors, give it a twist to blend the colors.
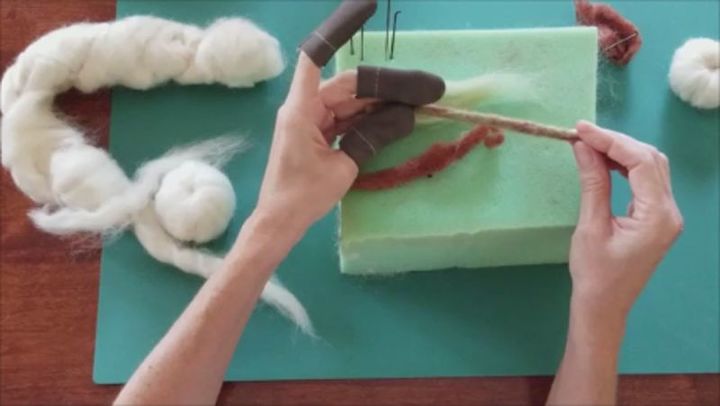
- Then work your needles up and down the ‘stem’ compacting the fibers. You will notice that the fibers will stick to the foam, especially when you first start out. As you continue to work the fibers will compact and won’t stick to the foam as much.
- Continue to turn the stem so that you needle all sides until it is well compacted, stiff and cylindrical. Cut off a wee bit for the stem length that you want.
- Use one needle to hold your stem to your pumpkin while you use another needle to attach the stem with a couple good jabs.
- For the orange ones…I just added a strip of the darker orange between each of the segments, with lighter strips on top of the segments sometimes as well…I just mixed it up. I even added a few strips of green here and there as well.
- This video will show the whole process from start to finish
{
"id": "4284290",
"alt": "",
"title": "",
"video_link": "https://www.youtube.com/embed/e-DYsvbBACE",
"youtube_video_id": "e-DYsvbBACE"
}
{
"width": 634,
"height": 357,
"showRelated": true
}
There you go...enjoy!

Want more details about this and other DIY projects? Check out my blog post!
Comments
Join the conversation
1 comment
-
Super cute! Thanks for sharing this :)


Frequently asked questions
Have a question about this project?