


Vintage Fall Decorations
7 Materials
$60
2 Hours
Easy
Is it fall yet?! I'm not sure about you, but I'm glad to see it's right around the corner. I'm going to celebrate with making these adorable vintage fall decorations!
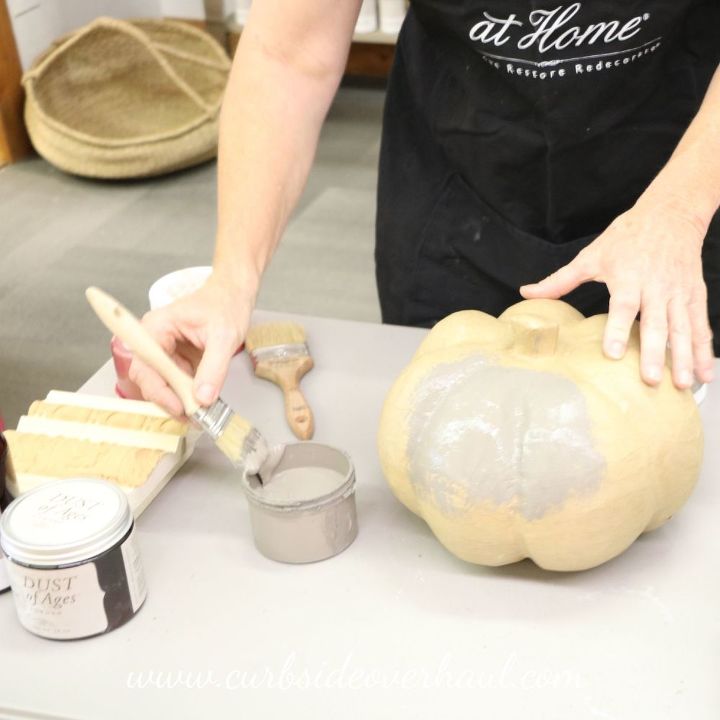
There is no prep work or cleaning involved with this project. We purchased new paper mache pumpkins and no cleaning was required since it was paper.
Our first step was paint a layer of One-Step Paint. I like to start with a darker color and apply a lighter color or brighter color, in this case, on top. The purpose of the base coat, is to create an accent color that will be seen through the cracks. Since most of this coat will not be visible you can paint quickly and there is no need for a second coat. Allow the base coat to dry completely before the next step.
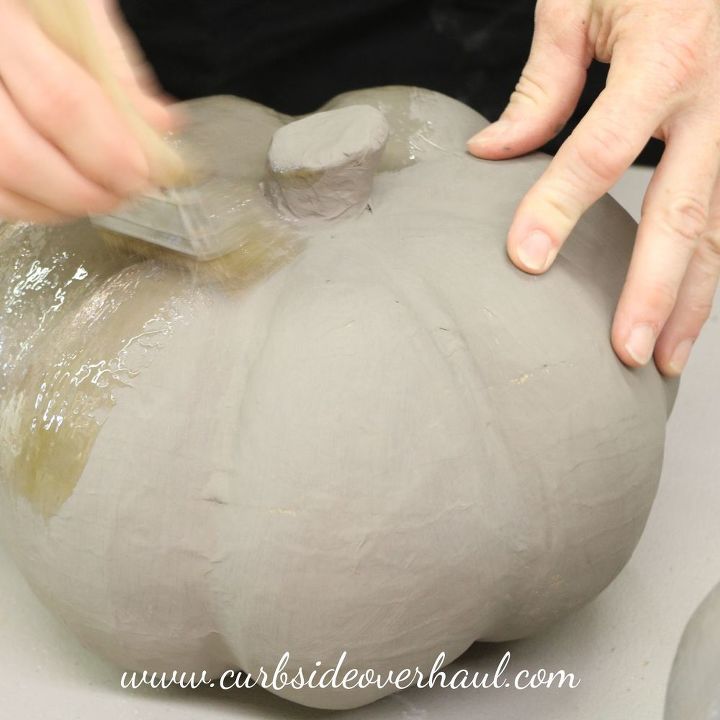
Shake the Cracked Patina well to make sure that all of the ingredients are mixed. This will also ensure the paint will crack evenly. Once the One Step chalk-based paint is dry, you will apply and even thin layer of Cracked Patina.
This goes on just like paint. If you would like to accent the stem and leave it the base color do not apply Cracked Patina to that area.
You will need to make sure that the Cracked Patina has dried before you apply your next coat of paint. It will take at least 30-45 minutes. You can allow it to dry overnight and apply the second coat of One Step the next day.
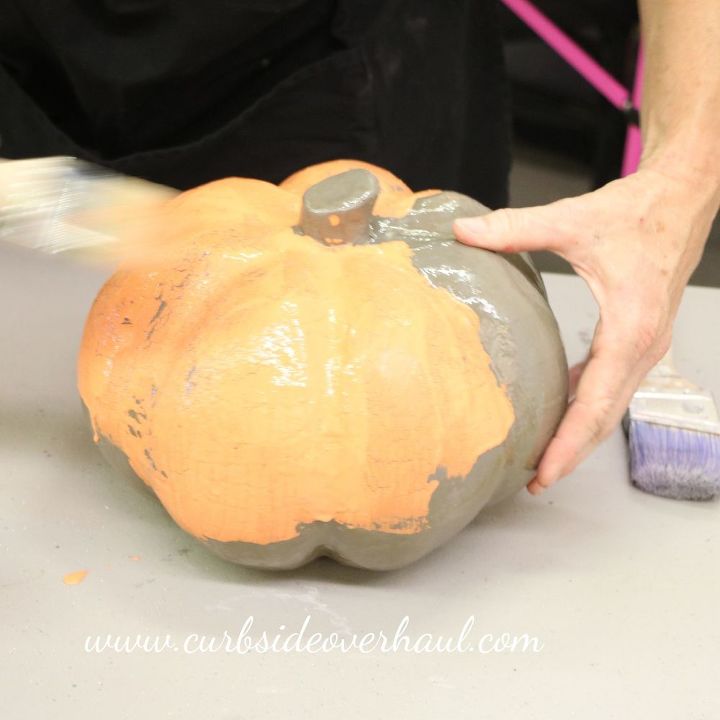
We added our next layer of One-Step Paint and pulled some of the paint, so the base coat would show through.
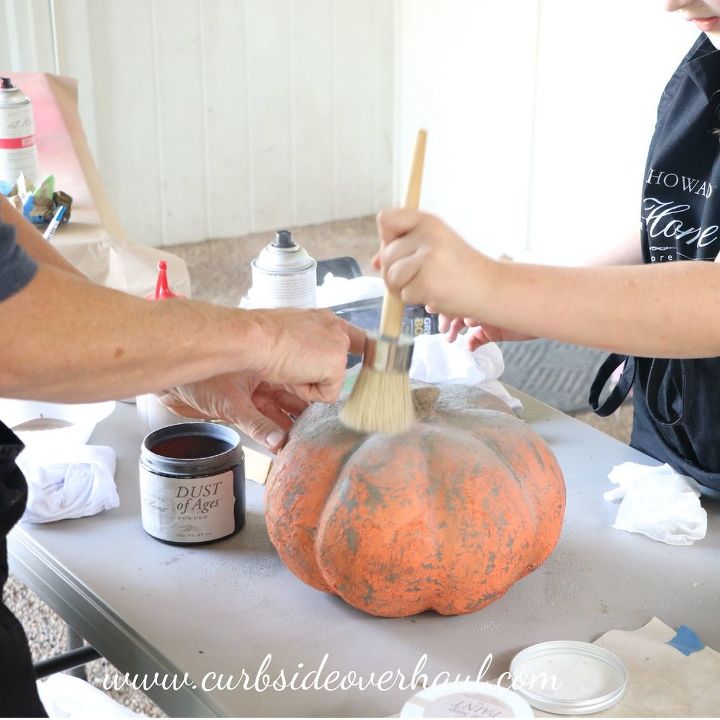
Finally, we added the finishing touches, which included Dust of Ages, Light and Dark Wax.
You can learn more about how to apply furniture wax here.
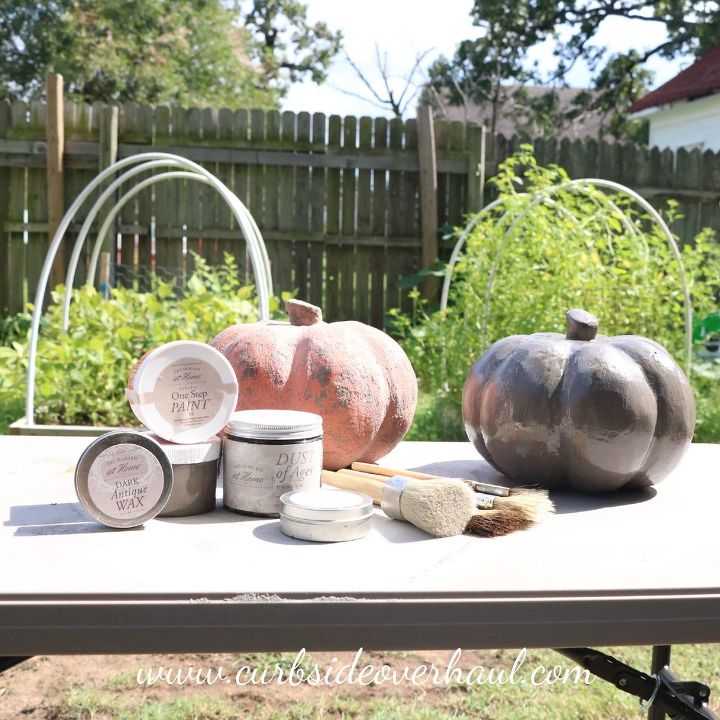
After just a couple of coats of paint and some finishing touches, we had these beautiful antiqued pumpkins. The best part is we can use the same paint and other supplies on other fall projects through out the season!
{
"id": "4159168",
"alt": "",
"title": "",
"video_link": "https://www.youtube.com/embed/ZXg82CQgXec",
"youtube_video_id": "ZXg82CQgXec"
}
{
"width": 634,
"height": 357,
"showRelated": true
}
Here is a short video to show the process of how we made our vintage pumpkins.
{
"id": "4159171",
"alt": "",
"title": "",
"video_link": "https://www.youtube.com/embed/j9he0IC6c38",
"youtube_video_id": "j9he0IC6c38"
}
{
"width": 634,
"height": 357,
"showRelated": true
}
If you want to learn more about the technique we used to apply the Light and Dark Furniture Wax to our pumpkins, check out this video!

Want more details about this and other DIY projects? Check out my blog post!
Comments
Join the conversation
1 comment
-
Start working from home! Great job for students, stay-at-home moms or anyone who needs an extra income.. You only need a computer and a reliable internet connection... Make $90 hourly and up to $12k a month... You can have your first check by the end of this week. Go this Site and START your work.. Good Luck.... http://www.Jobzon3.com


Frequently asked questions
Have a question about this project?