


4 Super Easy DIYs to Add a Vintage Look to Your Home
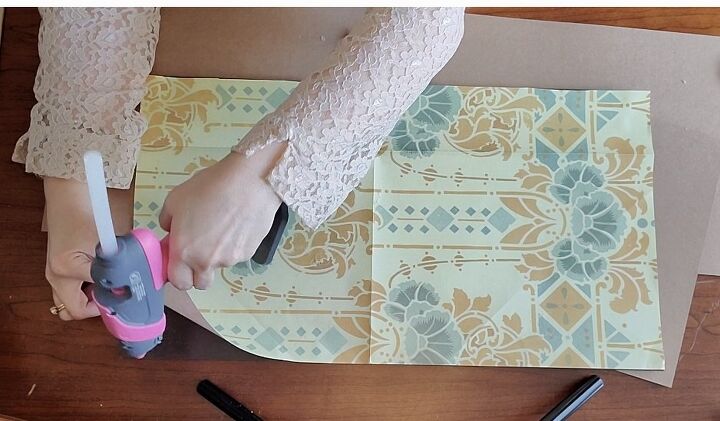
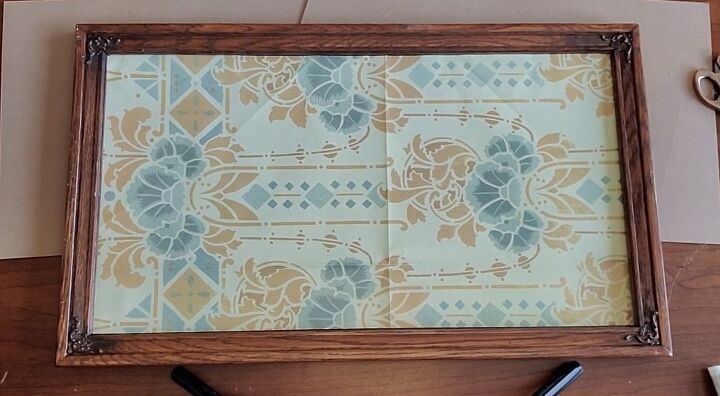
I acquired some beautiful Victorian patterned gift wrapping paper online at victoriantradingco.com many years ago.
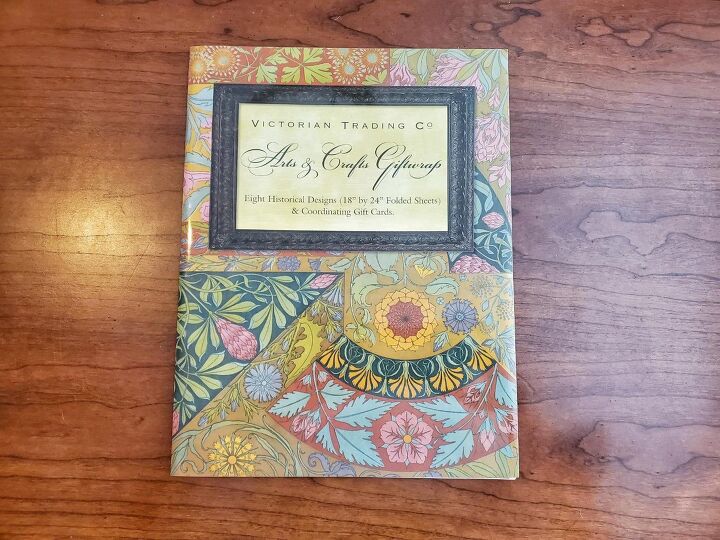
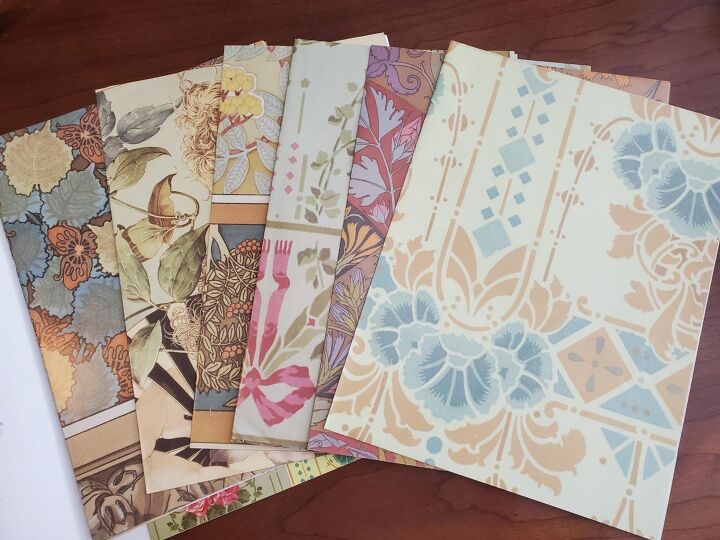
The paper is so pretty.
It deserves to be framed.
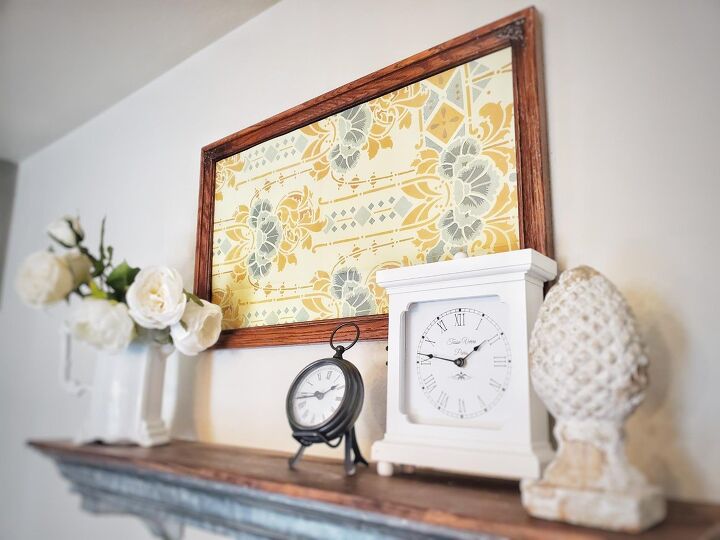
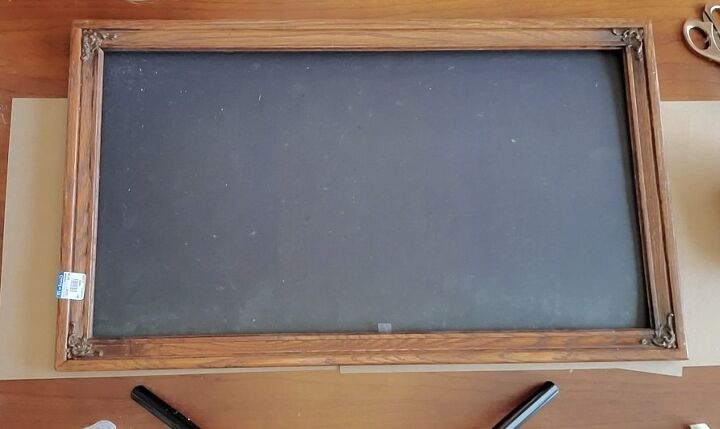
So, for my first DIY, I share how I took one of the sheets of wrapping paper and put it inside a gorgeous Goodwill frame.
So, that leads to the first of the 4 easy DIYs to add a vintage look to your home.
Make framed art.
What you will need for DIY
- Frame
- Victorian or vintage wrapping paper. Linking beautiful wrapping paper from Amazon, here.
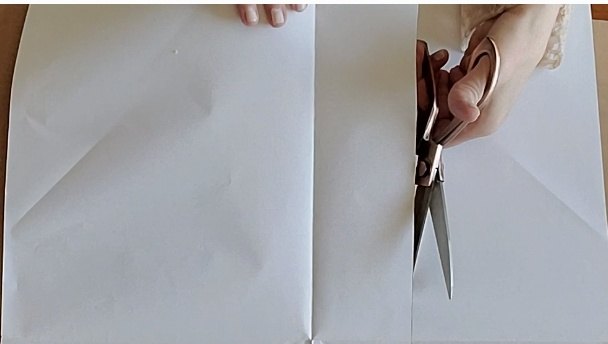
- Scissors
- Tape or hot glue gun
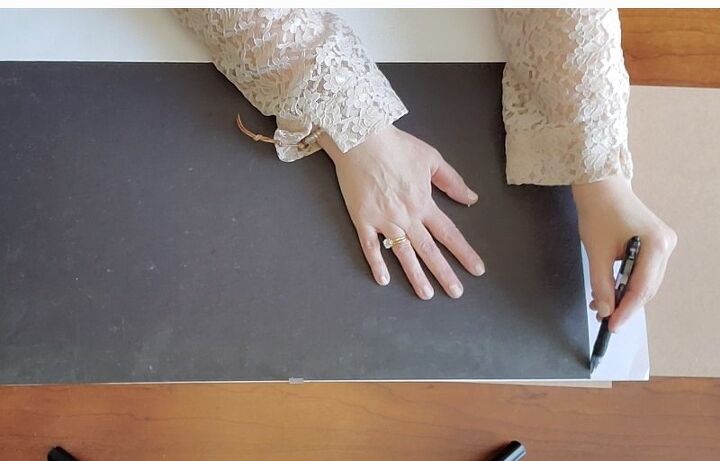
- Pen or pencil
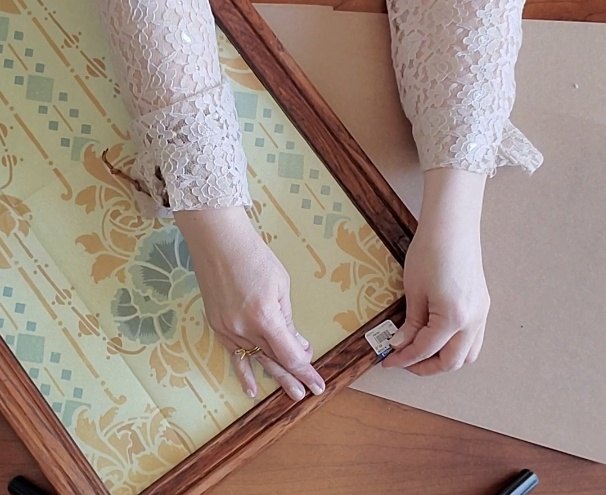
Was that easy or what?
Seriously, that is all it took.
That is one of the 4 super easy DIYs to add a vintage look to your home.
I love this simple DIY.
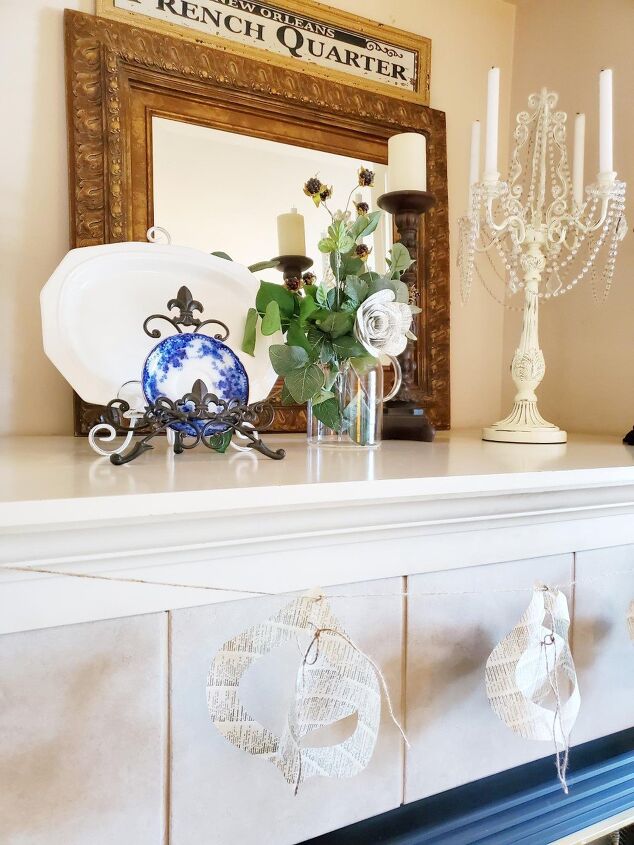
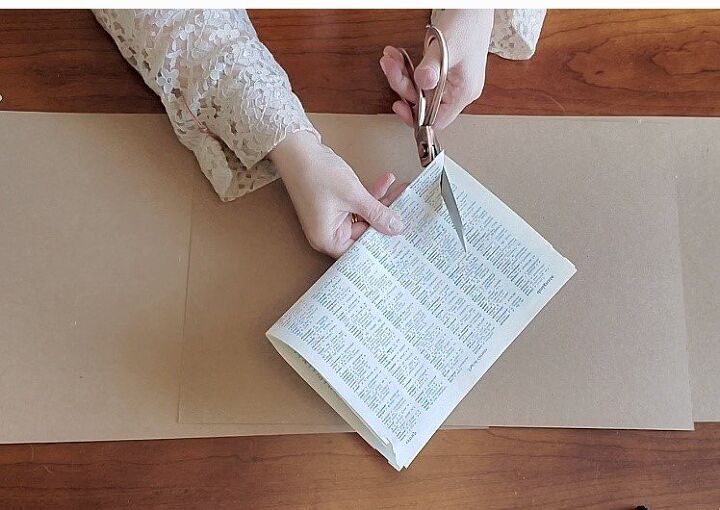
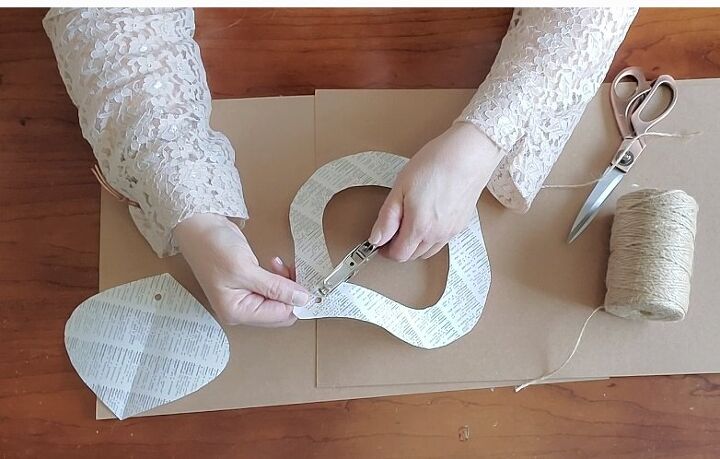
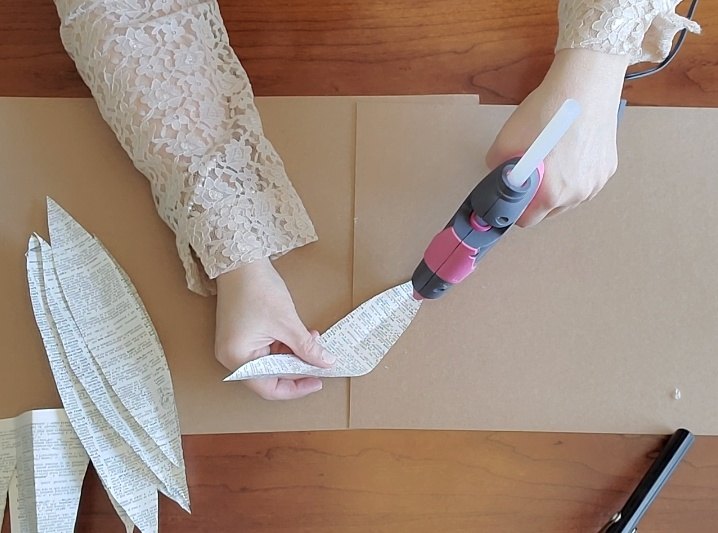
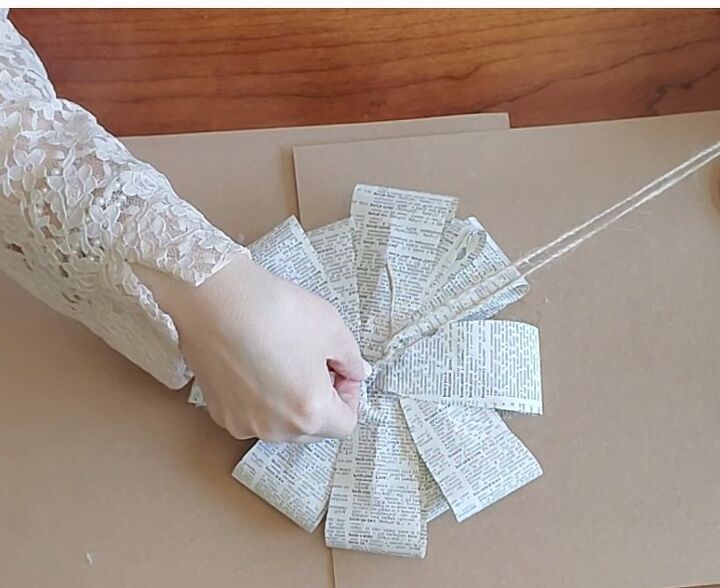
Make a garland.

This project is super easy but has some layers to get to the end results.
Follow the steps below and you’ll have a statement in your home before you know it.
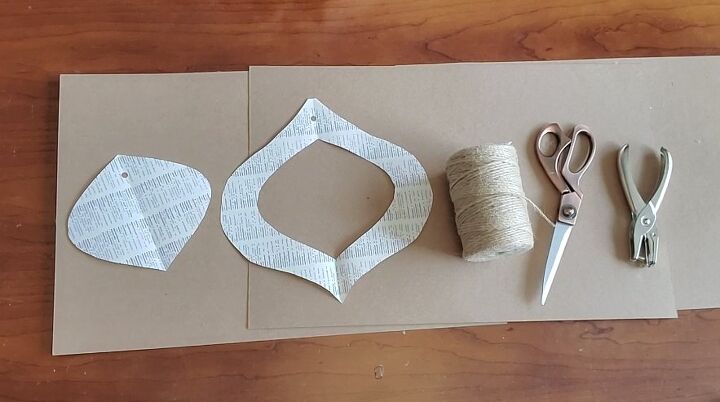
What you will need for DIY
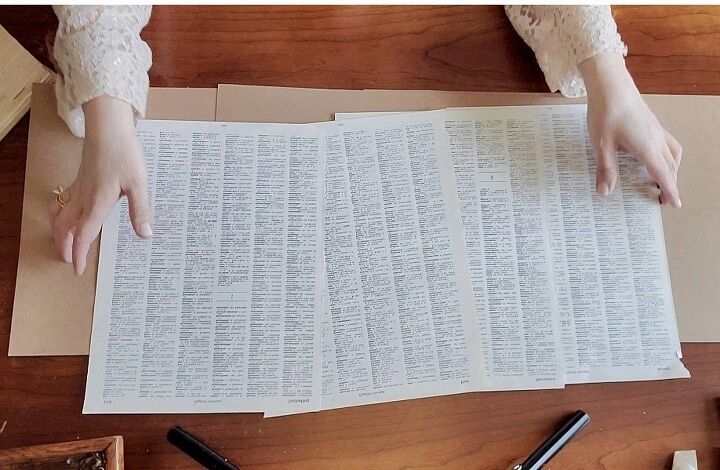
- 8 dictionary pages
- Jute Twine
- Scissors
- Hole Punch
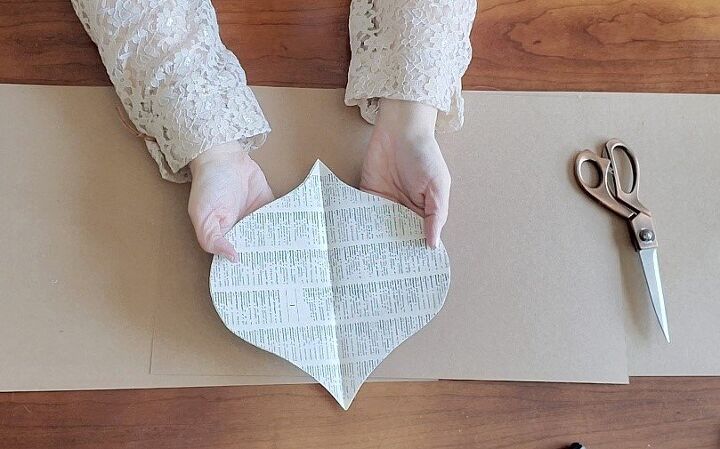
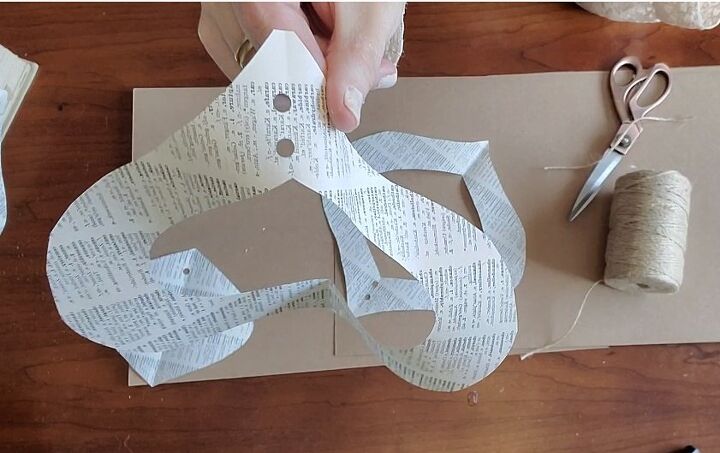
And one hole on top of the small lanceolate shape.
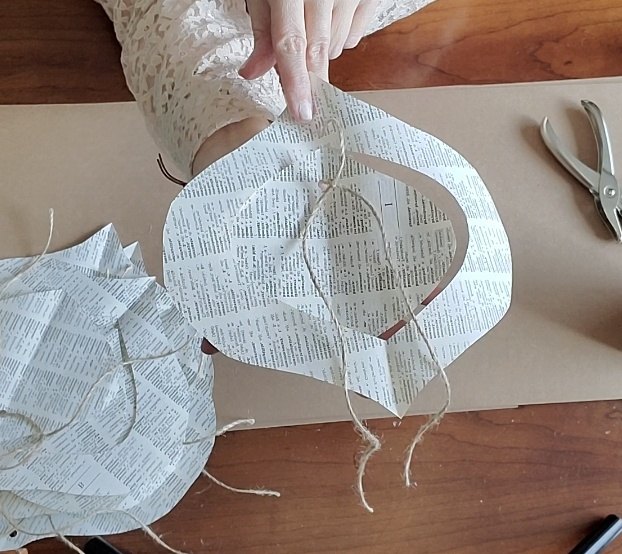
Making sure the loop is loose so the middle can easily move around.
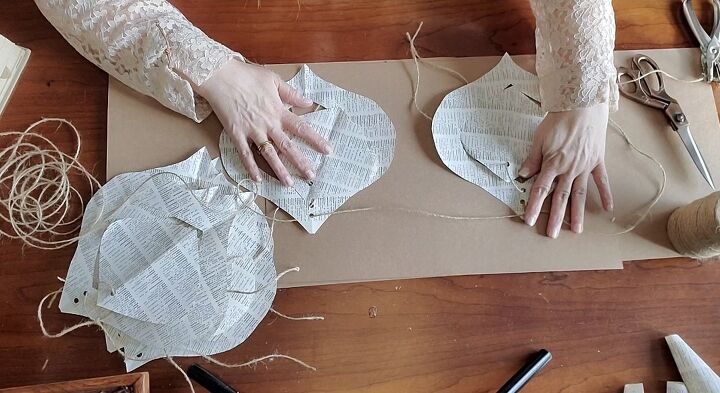
Second photo (above) shows what it will look like when done.
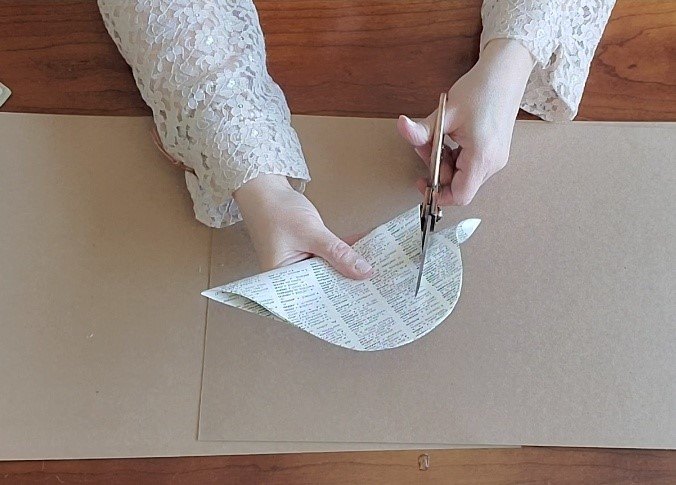
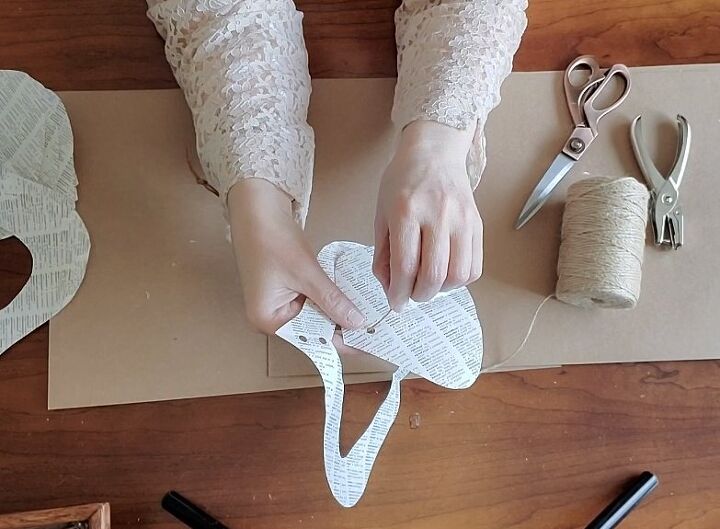
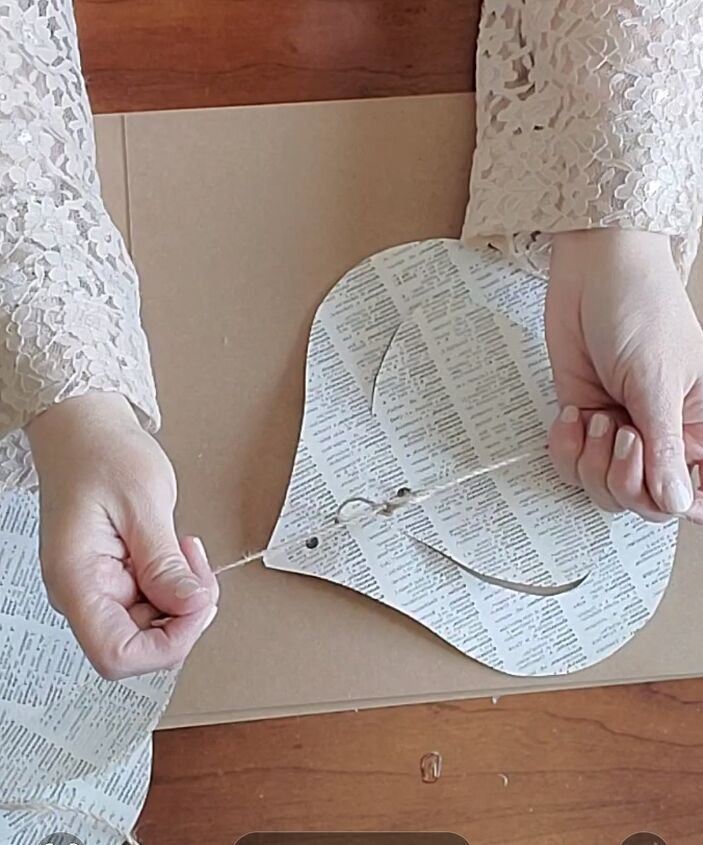
Lace the jute twine through the top hole of the larger shape.
Tie a knot to secure it.
Lay them beside each other as you go and measure 3 inches apart.
Repeat this until all 7 or 8 of the lanceolate are attached.
That is it!
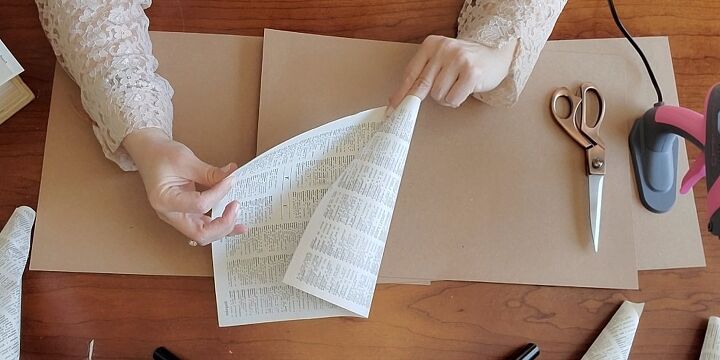
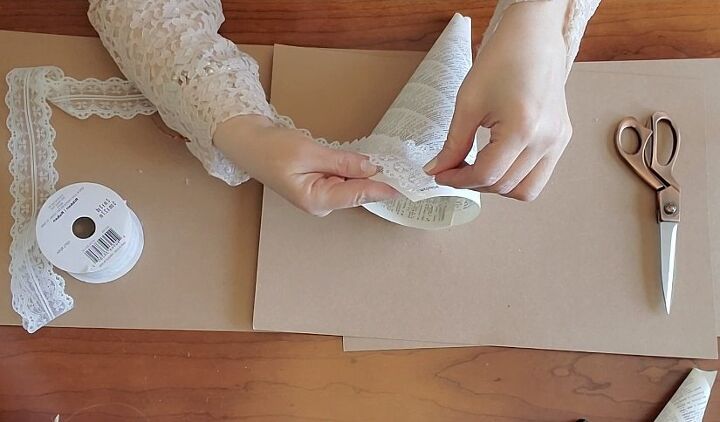
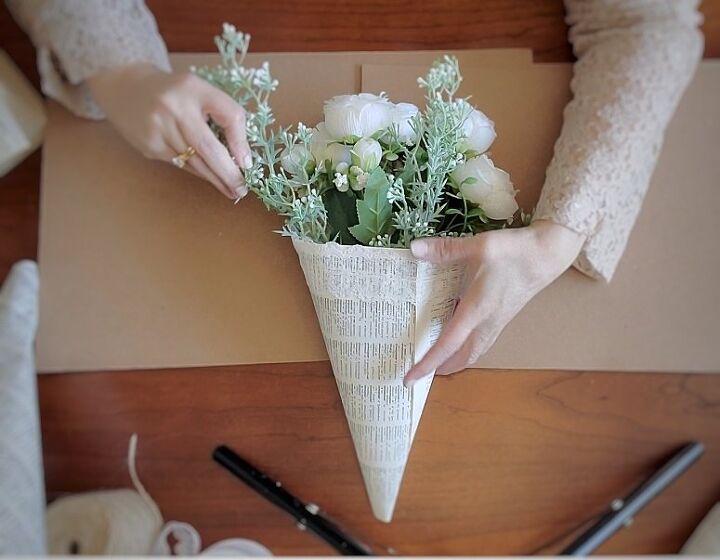
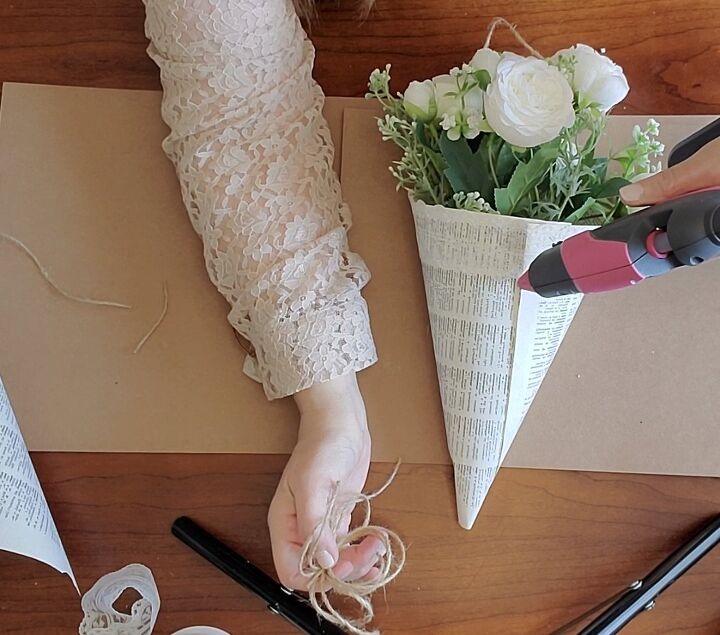
Make a cone floral arrangement.
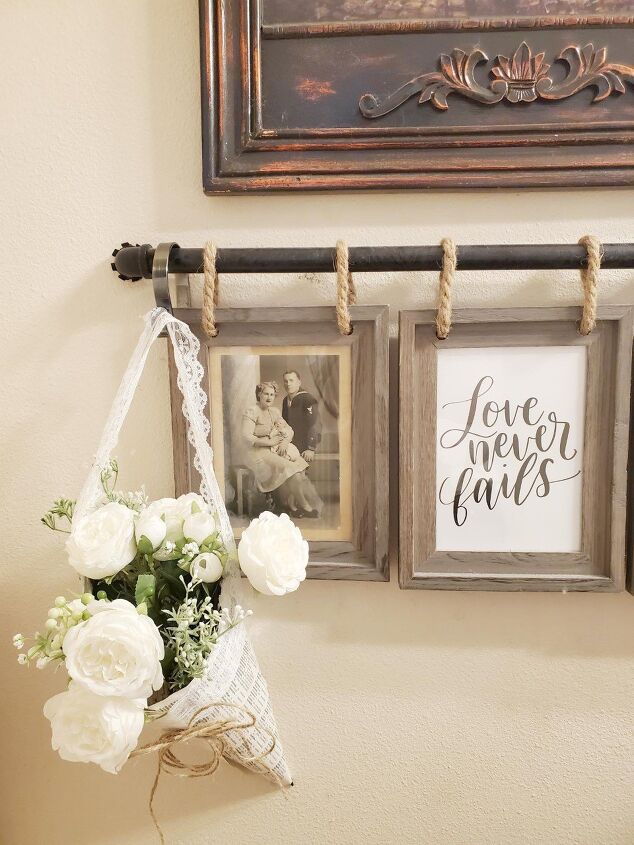
This floral DIY is such a sweet way to add a vintage look to your home.
It’s super easy!
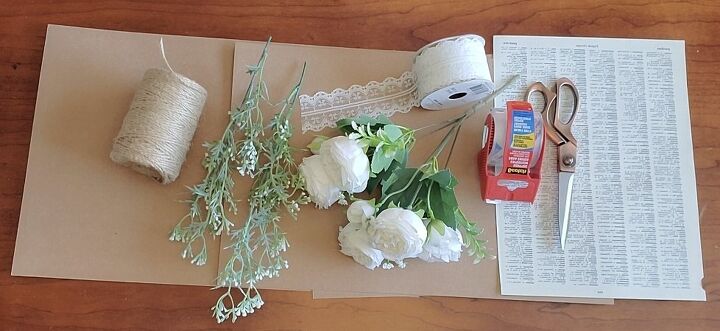
What you will need for DIY
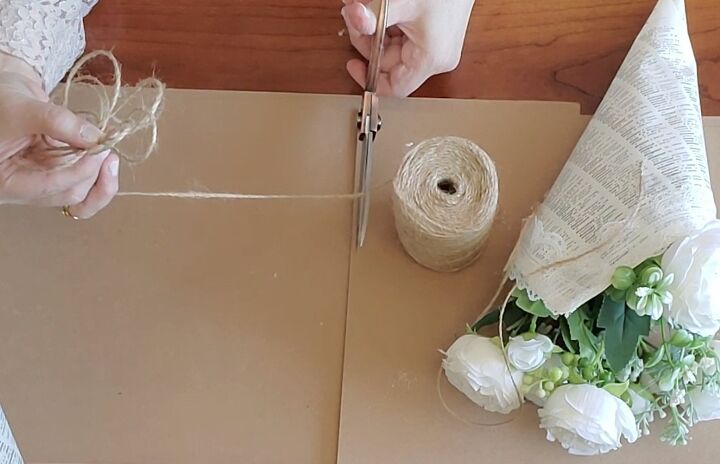
- Jute twine
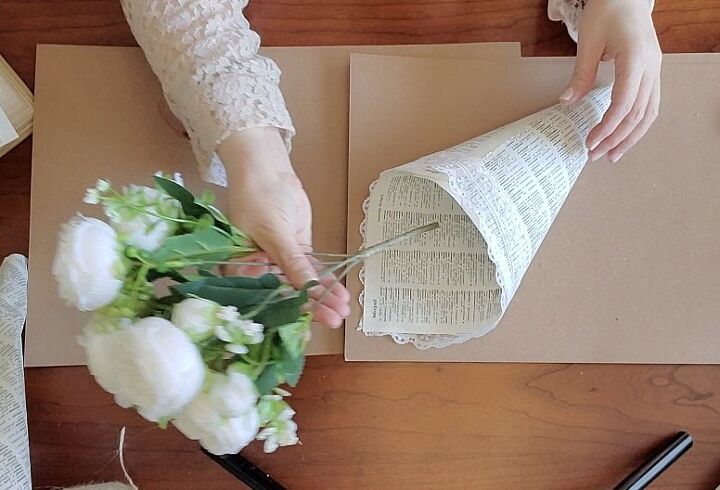
- 2 White Wildflower Stems
- Bunch of White Peonies
- 2 Inch Lace Ribbon
- Hot Glue Gun or Tape
- Scissors
- 1 Dictionary page
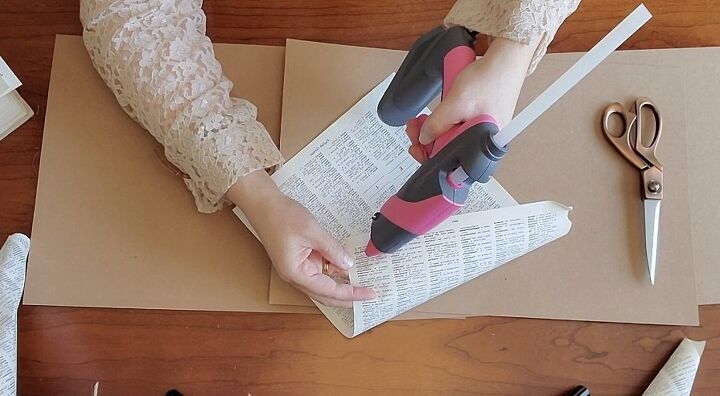
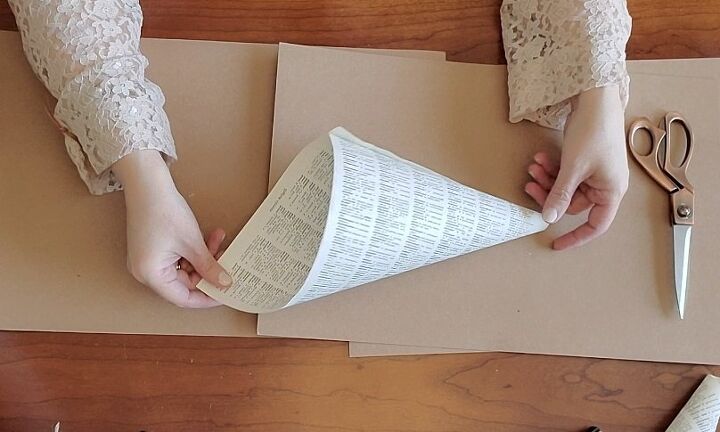
Tape or hot glue the edge to secure it.
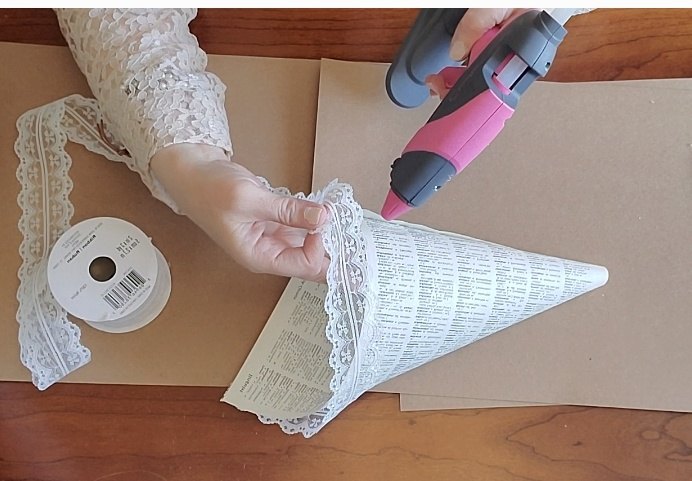
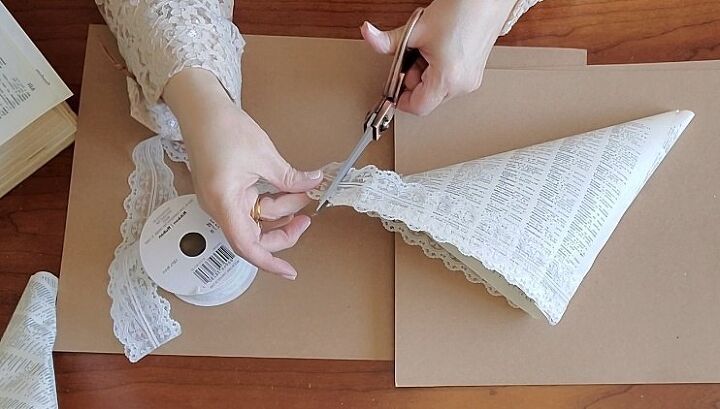
Cut it.
Then hot glue or tape the end of the lace to the cone.
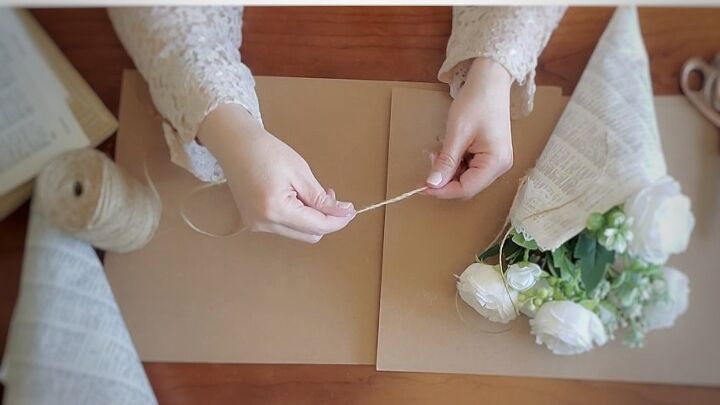
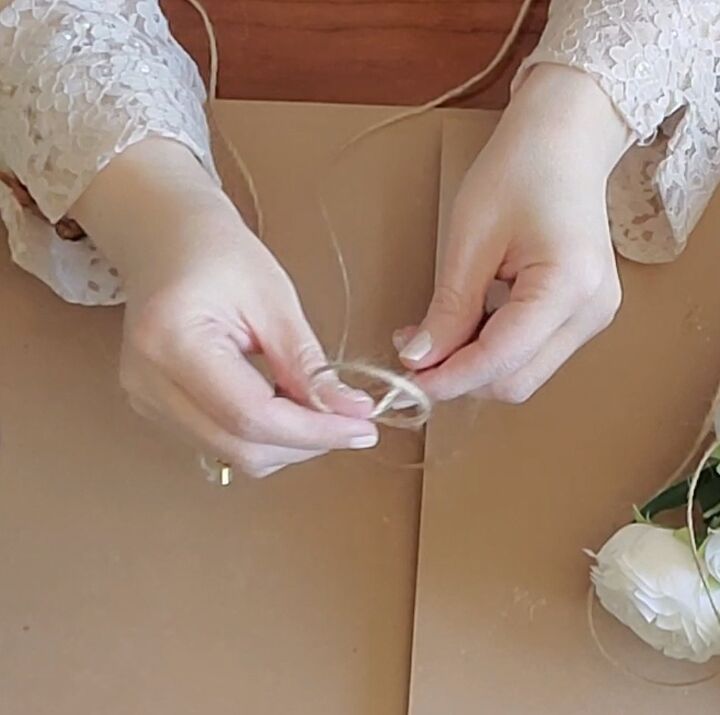
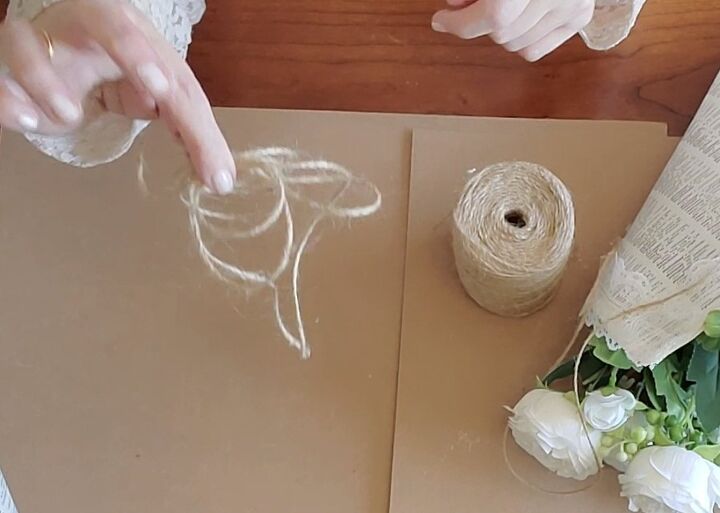
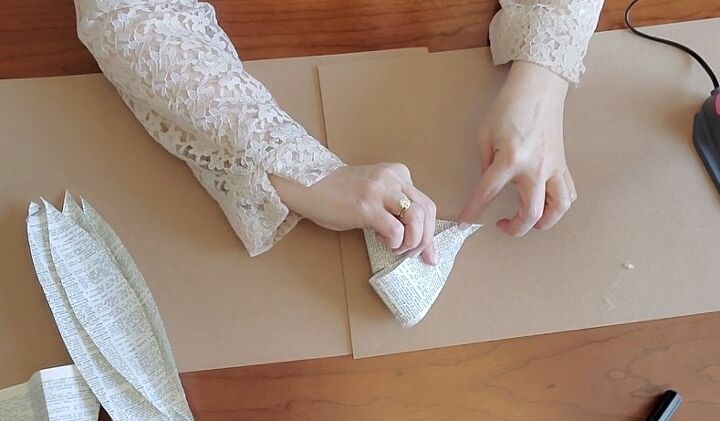
Make two inch circles.
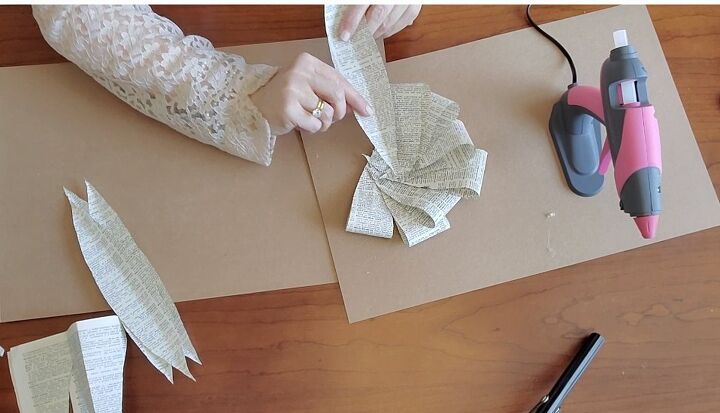
Looping over and over until you have 8 loops.
Making sure to keep your fingers in the middle to keep it together.
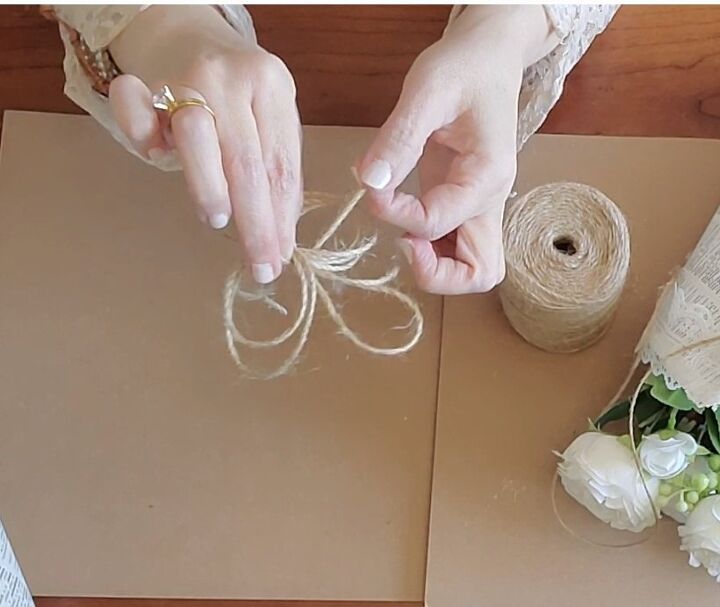
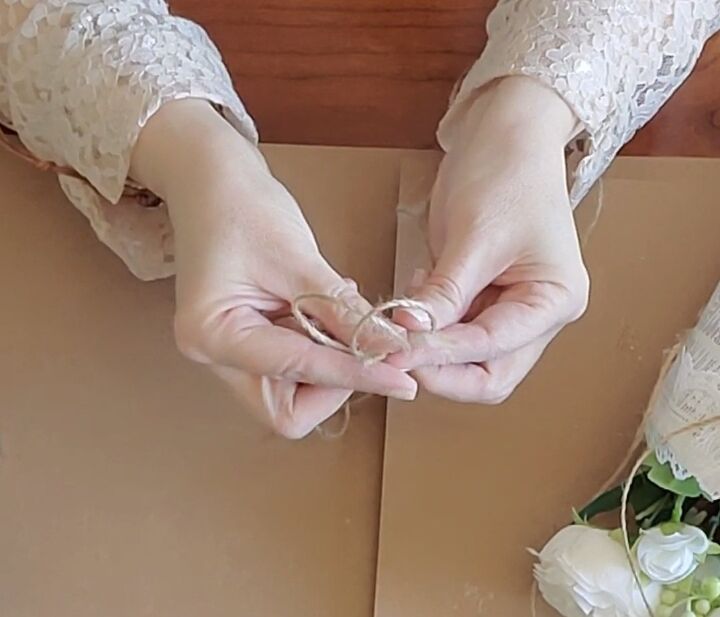
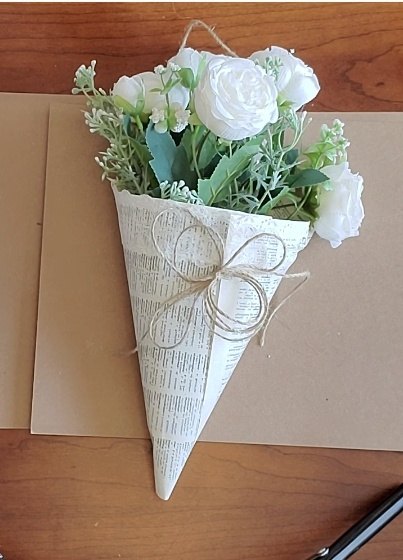
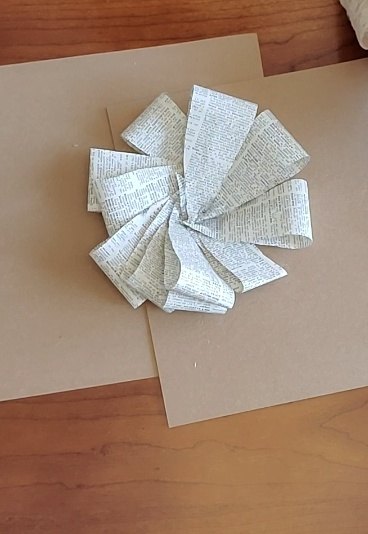
Cut a 5 to 6 inch piece of jute twine and tie the middle of the bow with it.
See photo below.
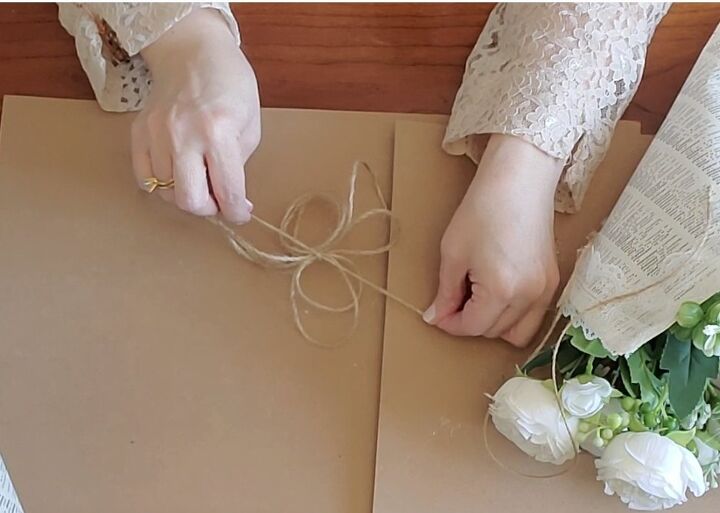
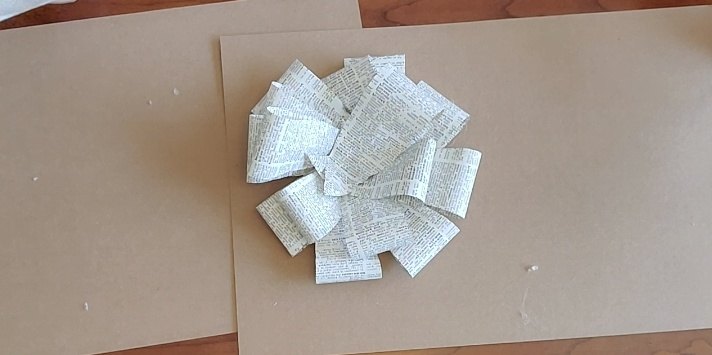
This is how it looks!
What do you think? Was that easy?
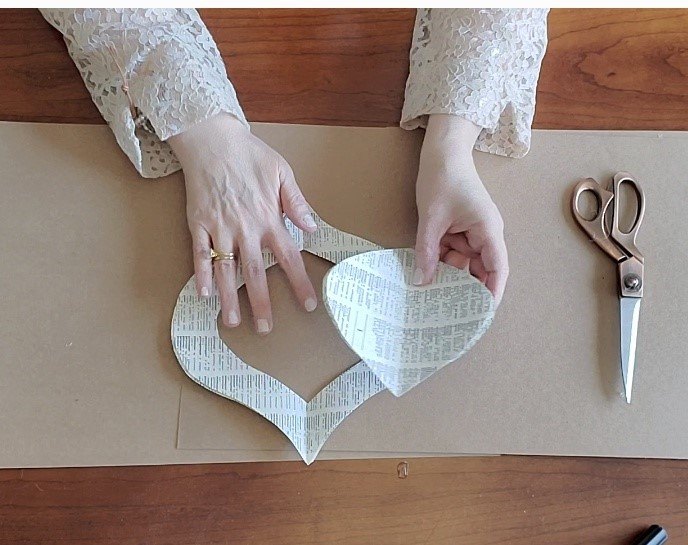
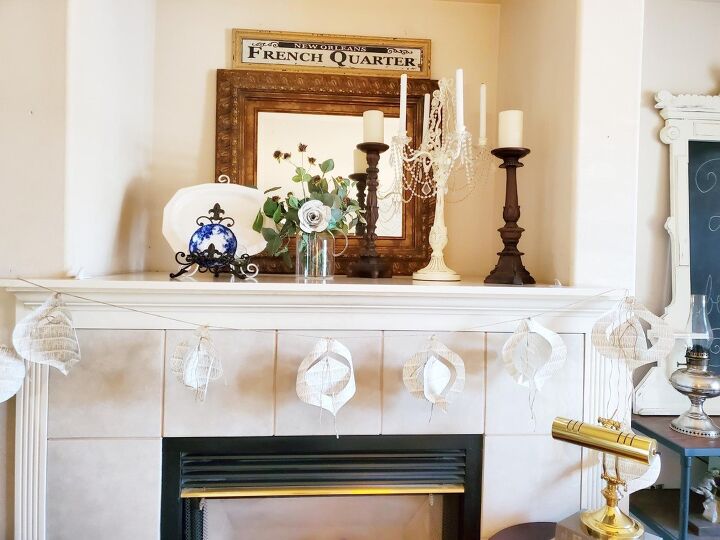
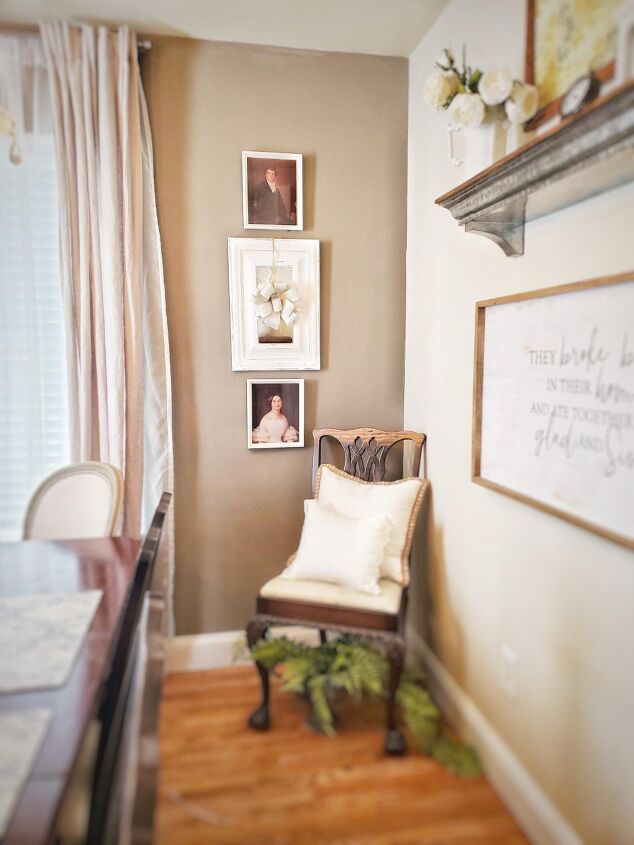
Make a wreath using paper.
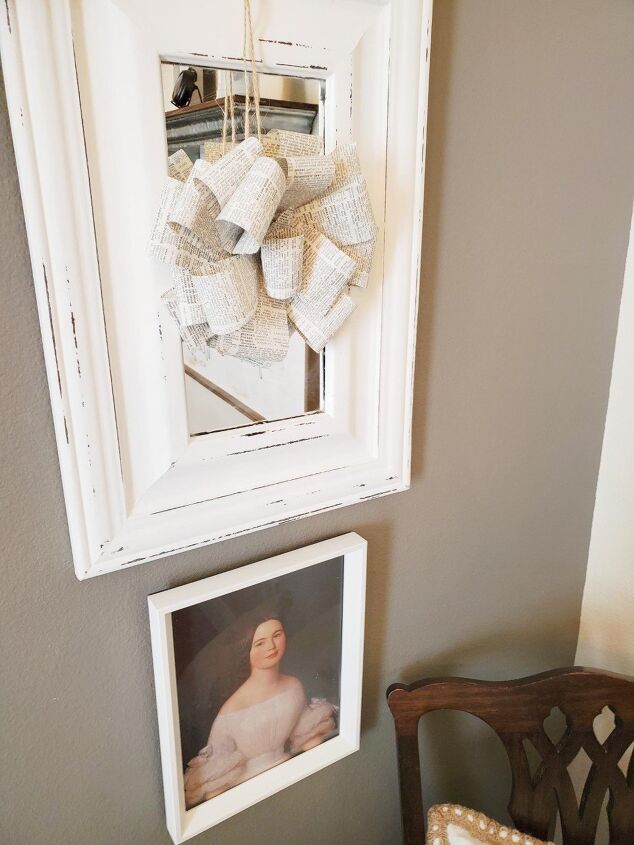
This wreath DIY is the last of the 4 super easy DIYs to add a vintage look to your home.
It adds a whimsical element to my dining room. I love it!
I hope you enjoy this amazing and easy DIY!

What you will need for DIY
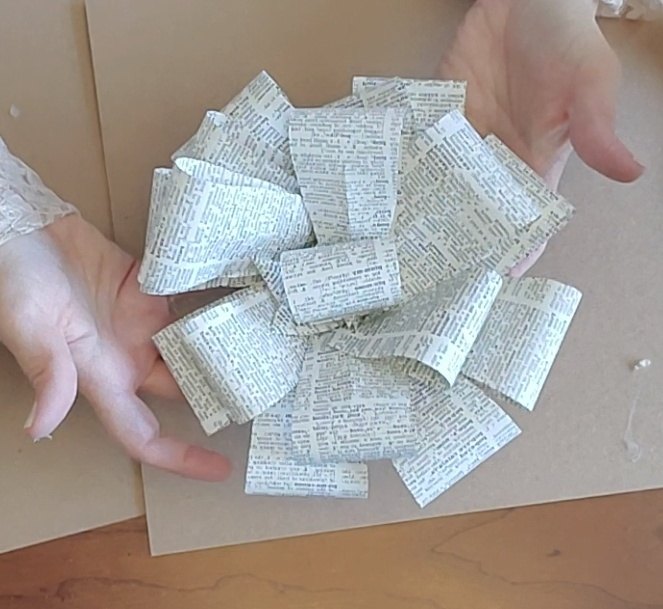
- 17 leaf shapes made from dictionary paper
- Jute twine
- Hot glue gun
- Scissors
Hot glue them together making sure to overlap half way over the other.

Overlapping until you’re done.
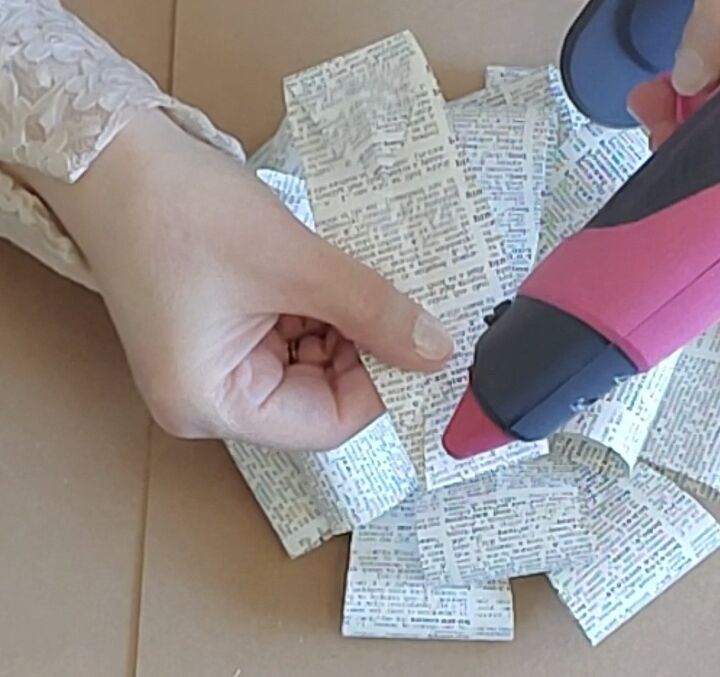
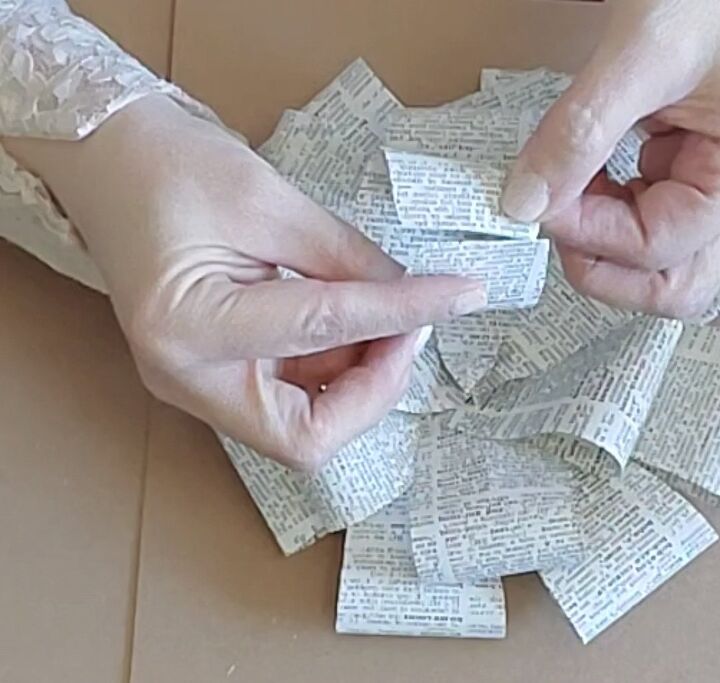
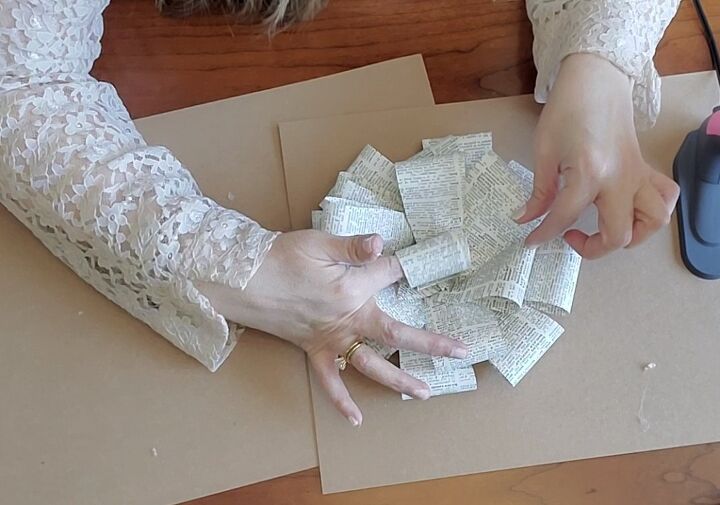
Glue the ends together.
Putting a dab of glue onto the center of the wreath, lay the looped leaf shape on top and press firmly.
You are now done with making the wreath!
Put a dab of hot glue onto the back of the wreath.
Press the tied ends into the glue. (Using the glue gun tip.)
Be careful not to burn yourself. That glue is hot! Ask me how I know.
It looks amazing in my dining room.
What do you think?
I hope you were inspired to make these 4 super easy DIYs to add a vintage look to your home.
For more DIY inspirations you can go here.
You’ll see all of my DIYs in one spot!
I hope you have an amazing week.
Thanks for coming by Victorian Lane Farms.
Until next time.
Bye for now!


Frequently asked questions
Have a question about this project?