


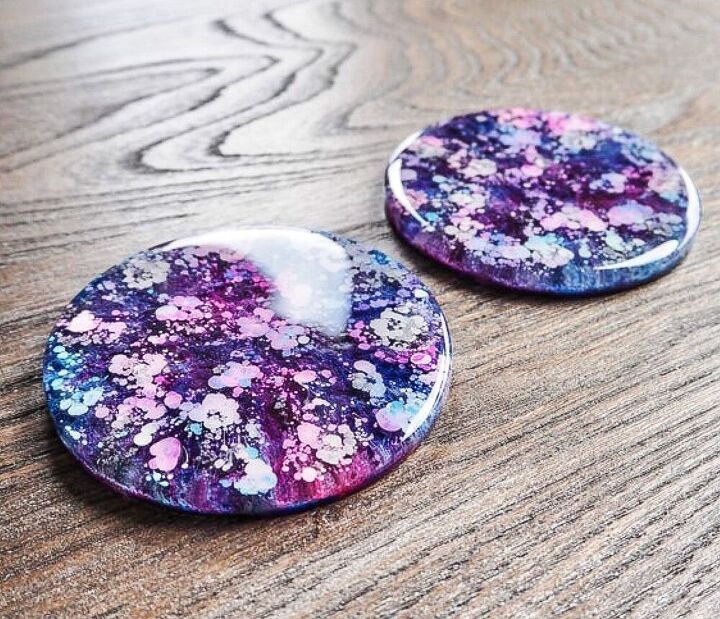
Alcohol Ink Coasters

Thanks for checking out my post today.
If you've never tried mixing alcohol inks with resin then hopefully this easy to follow project will inspire you to give it a go.
I love the hundreds of different looks you can achieve by adding alcohol inks to resin and it's just so so easy to do too.
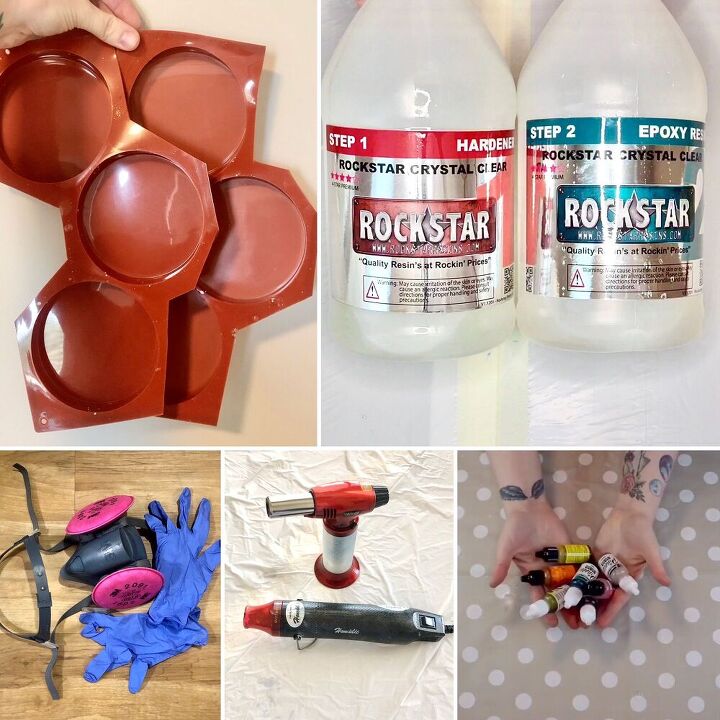
WHAT YOU'LL NEED
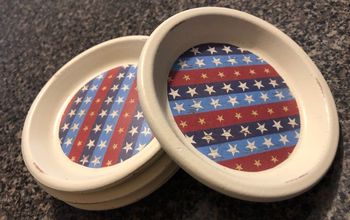
- Silicone coaster molds
- Resin - I recommend using Rockstar Resins products via this link and if you use my code HANNAH at checkout you can get 10% off your order
- Mixing container and spatula
- Alcohol inks
- Blow torch/heat gun
- Protective wear
YOUTUBE
For a really easy to follow video of this exact project, click the link above to view.
Please be sure to check out the rest of my YouTube channel too and consider subscribing for future crafty tutorials 
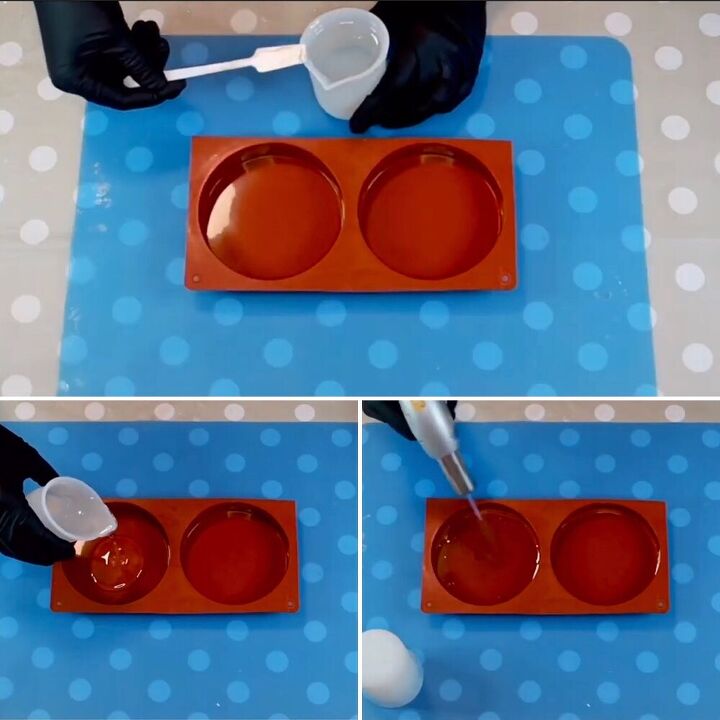
STEP 1 - PREPARING THE RESIN
Mix up enough resin to fill your coaster mold cavities to their desired thickness.
Pop any little bubbles with a heat gun and then the last few stubborn ones with a blow torch.
Make sure your resin is nice and bubble-free before moving onto the next steps as it will be harder to get rid of bubbles after the inks are added.
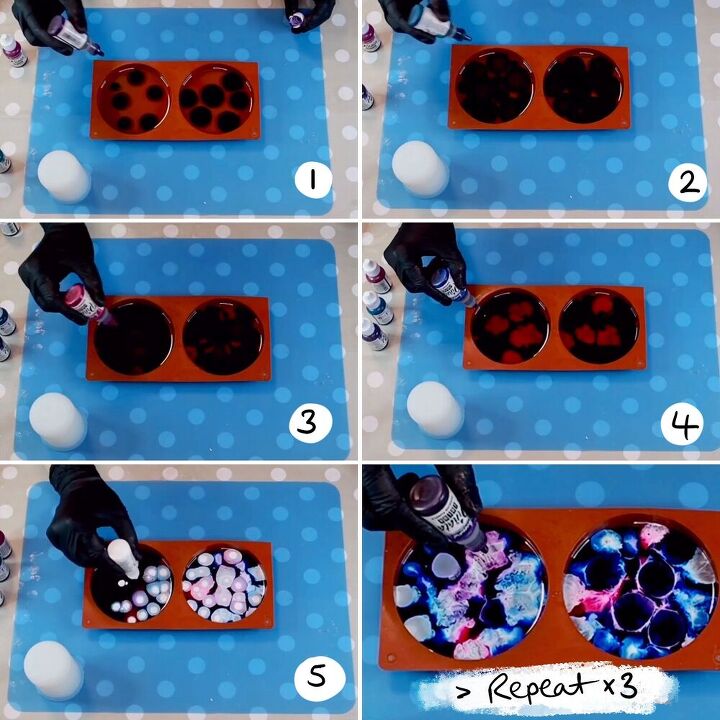
STEP 2 - ADDING THE INK
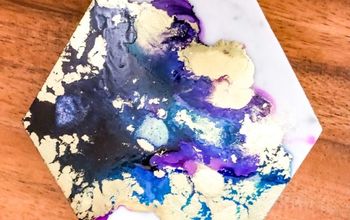
Pick a selection of coloured alcohol inks and also make sure you have a white. I used 4 different colours, a white and a metallic silver ink to make my coasters. The colours I used are Passion Purple, Teal, Señorita Magenta and Sapphire Blue.
As mentioned above, I have a YouTube video on how I made these exact coasters and it's very easy to follow so make sure you check that out (link above).
First, start by adding drops of one colour at a time and try to remember roughly where you place them so that when it comes to doing your 2nd layer you're layering the same colours on top of each other.
Once you've added 1 layer of each coloured ink to the resin cavities, cover each with a full layer of white ink drops. The white ink helps sink the other colours and pulls them through the resin creating depth.
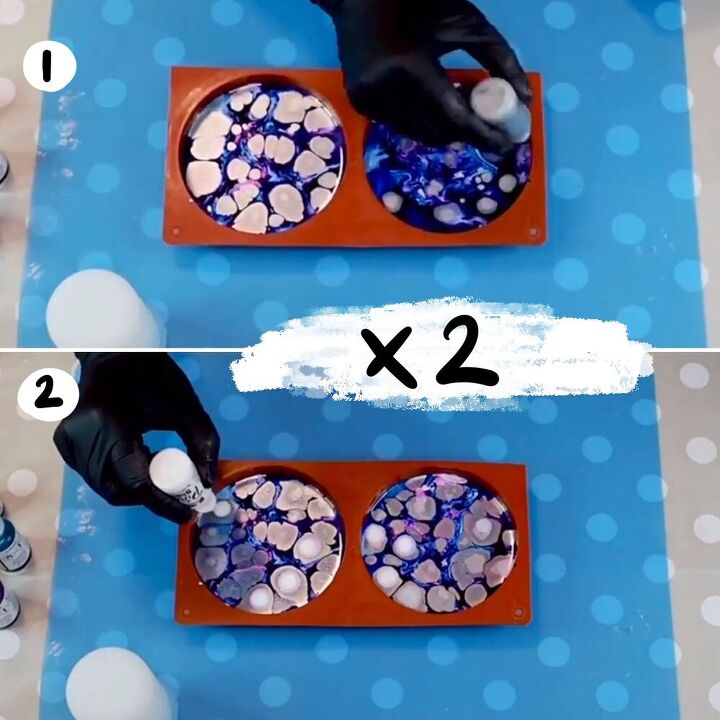
STEP 3 - DOUBLE UP
Now it's time to add your 2nd layer.
Add drops of your coloured alcohol inks in roughly the same places as you did before to try and achieve the brightest results.
It's no big deal if you forget the exact positioning though, it may just mean some of your colours blend together a bit. If you choose colours similar to mine then this won't even be an issue as they look really nice all together.
Add another full white layer followed by a metallic layer if you want. I have hit-and-miss results with metallic inks and in this particular project I don't think adding the silver had much of an impact on the outcome. I think I need to do more experimenting with metallics.
Once you're happy with the amount of ink added (by all means do a 3rd layer especially if your coasters are going to be thick, it's all part of achieving different and unique looks each time), leave your resin to fully cure.

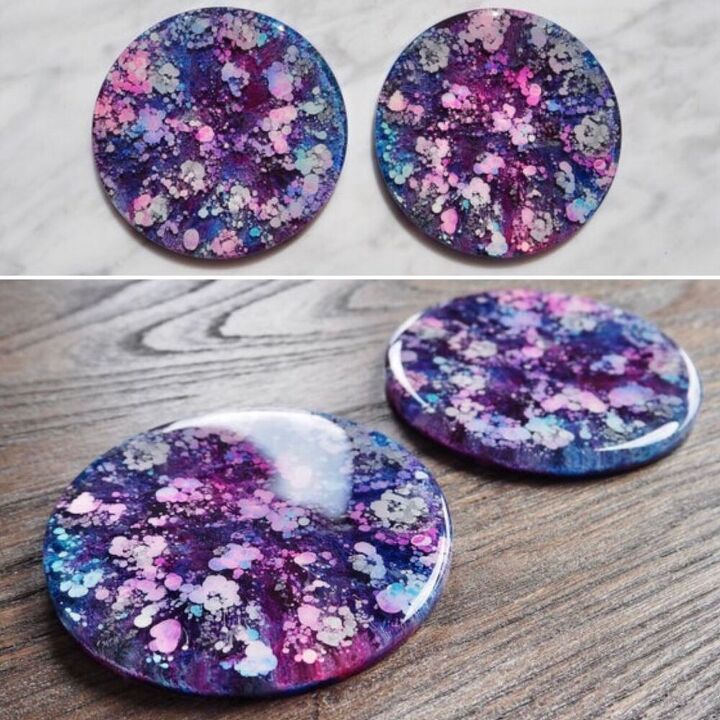
STEP 4 - DEMOLD
Once your resin has cured, demold your coasters and admire their beautiful patterns. Hopefully you'll also get that lovely under-water look when you turn them sideways, see my pics above.
If your coaster edges are a little rough, just give them a quick sand with some sanding paper and you're all done.
This technique is so much fun to do and so easy too.
ONE LAST THING
Please do remember to check out my YouTube channel, that would be amazing, and please consider subscribing too! 'Hannah Somerville's Crafty Tutorials' (link above).
I also have an Etsy store where I sell lots of coaster sets and many more handmade goodies. Click this link to have a look if you get the chance.
Thanks again so much for checking out my post today!
Happy crafting! x


Frequently asked questions
Have a question about this project?
This is beautiful. Can I use a heat gun instead of a blow torch?