


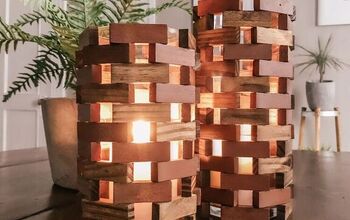
Chinoiserie Lantern

Do you love Chinoiserie lanterns? I want to show you how I made the prettiest little blue and white chinoiserie lantern for under $5!
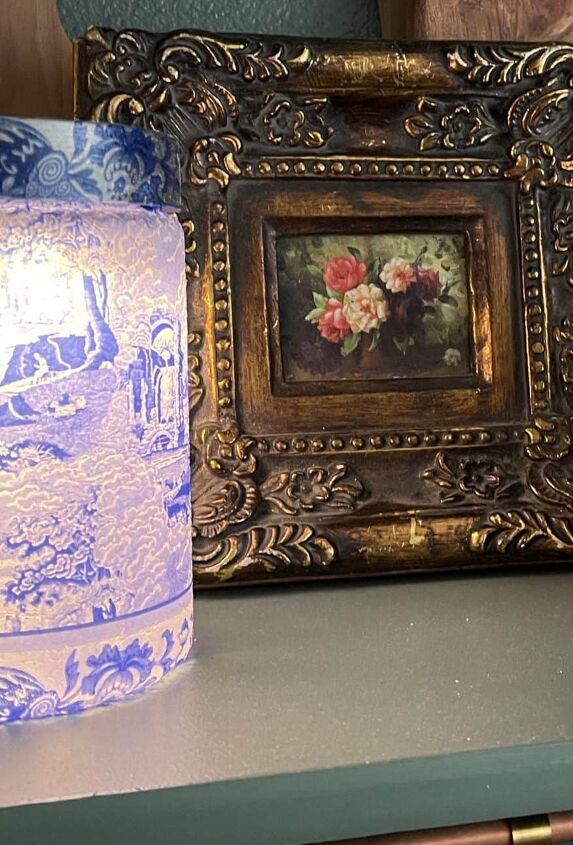
A blue and white chinoiserie lantern is one of my favorite things. I also love lights, lamps, lanterns, even candles basically anything that gives light and is beautiful. Add those two things together and I want it. Whatever IT is!
When I think about light, I think about its many meanings. Yes, there is physical light from the sun, the moon, the chandelier, the candle, but the deeper meaning of light is so special.
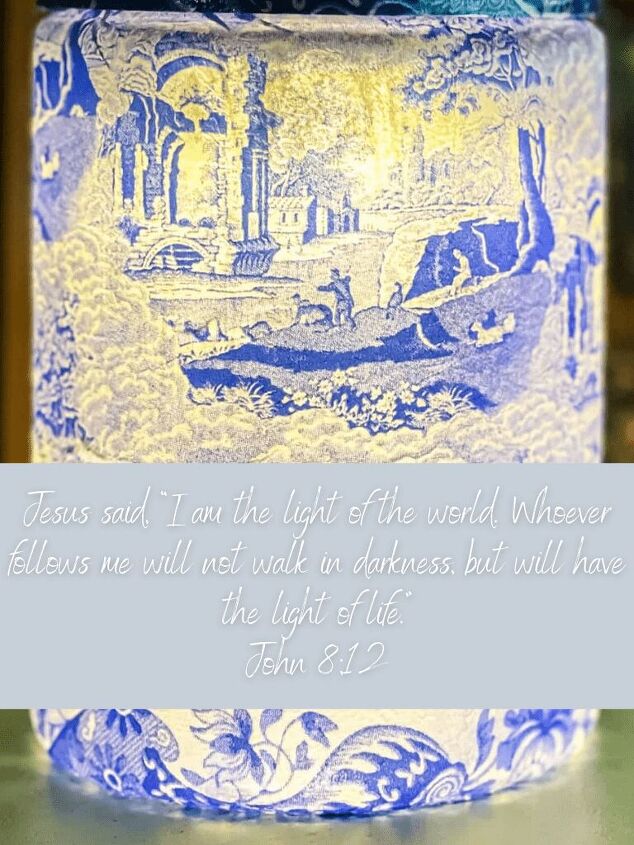
Where there is light there cannot be darkness. Even my little lantern can light my path in the dark of night, so how awesome is it that the light of Jesus and the “lightness” of Jesus, “Cast all your worries to him [Cast all your anxiety on him], because he cares about you.” 1 Peter 5:7 is available to us!
I know that’s a little deep for a chinoiserie lantern blog post, but I feel that if I needed this reminder then someone else needed it too!
If you are joining me from my friend Julie over at Redhead Can Decorate, Welcome! Wasn’t her milk glass flower tower so cute? I am inspired to make one now!!!!
I am joining my Thrifty Style Team friends today to bring you some beautiful and fun thrifty idea’s like this Chinoiserie lantern I made!
- Chinoiserie Napkins
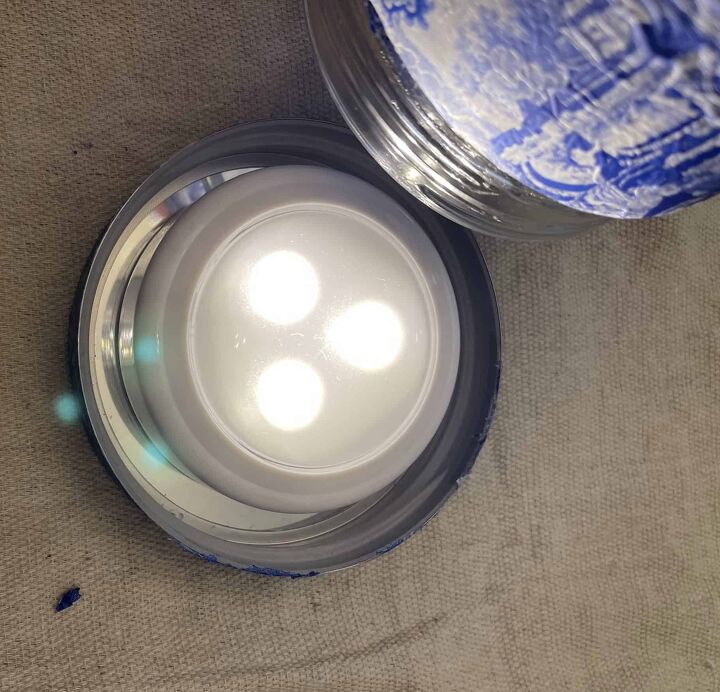
- Remote Control Puck lights or remote flameless candle
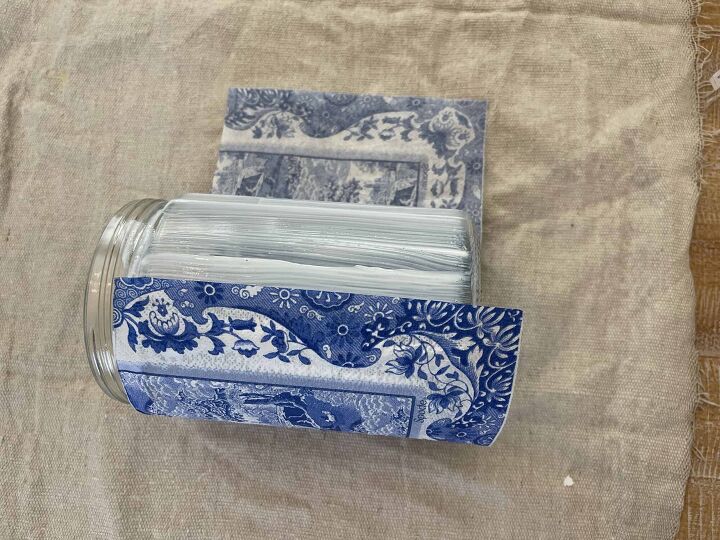
- Clear Jar
- Preferably with a wide mouth to fit the light
- This one is a glass canister from the Dollar Tree
- Mod Podge
- Scissors
See! Super Thrifty, and beautiful!
Time needed: 1 hour.
- Choose your napkin
As you know, I love chinoiserie so I have linked so many beautiful chinoiserie napkins in my Amazon Shop (Click Here)
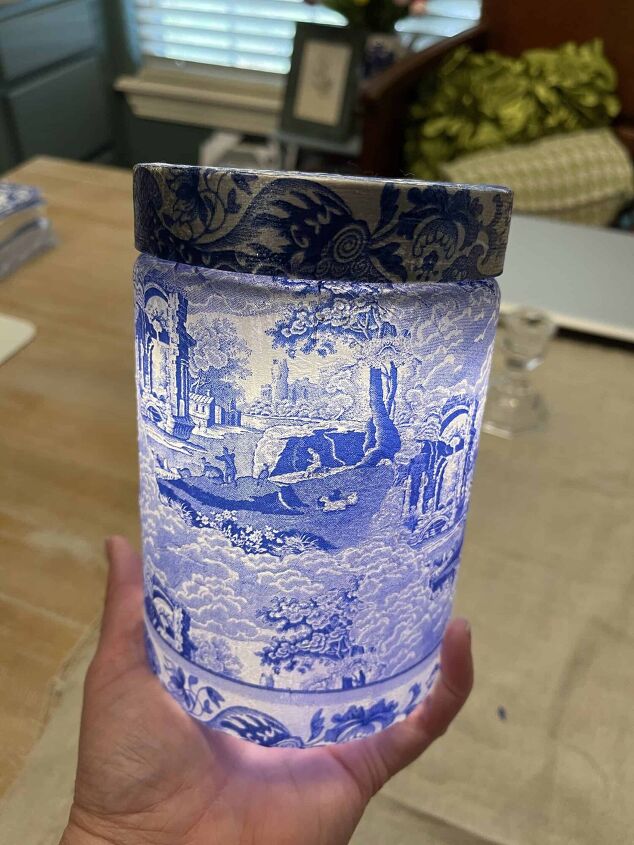
I got these napkins at my Tuesday Mornings a few weeks ago. They are Spode, but I could not find them online anywhere!
You can also use tissue paper and decoupage paper for this project.
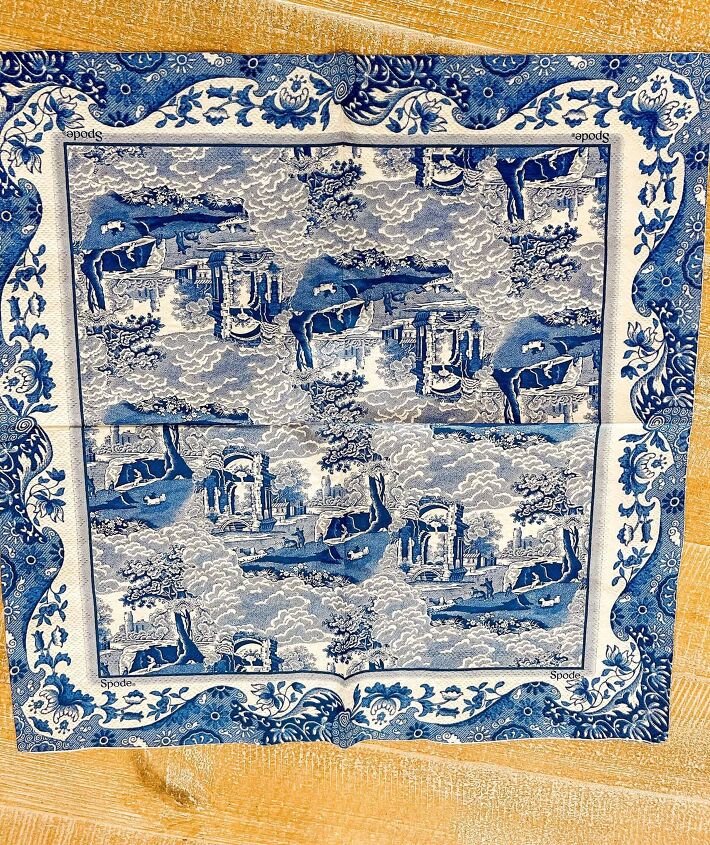
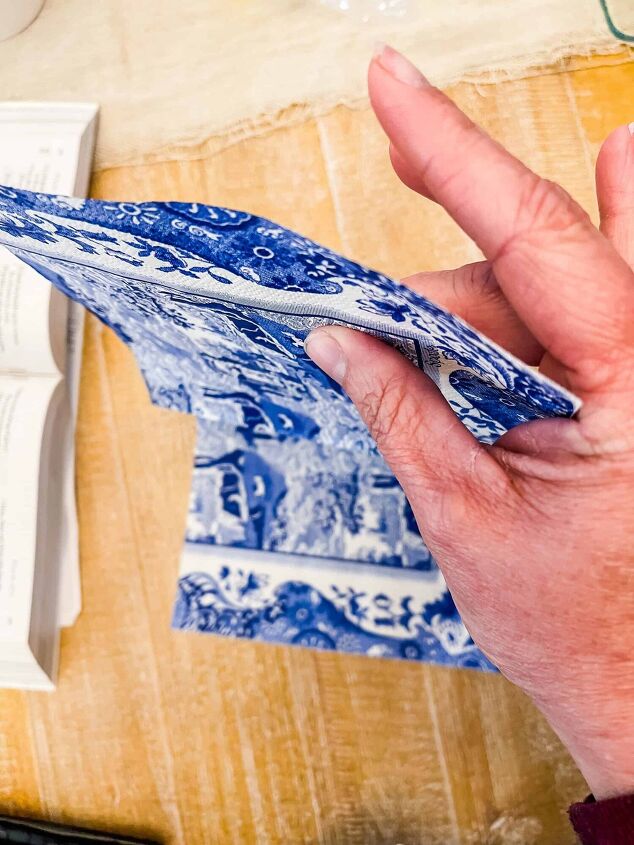
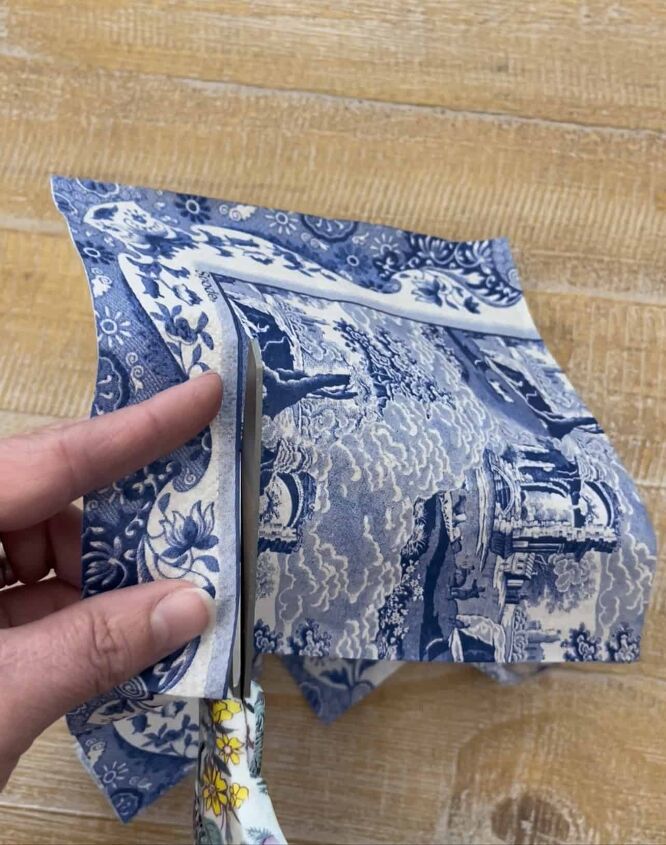
Most napkins have 3 layers. The top decorative layer and 2 white layers underneath.
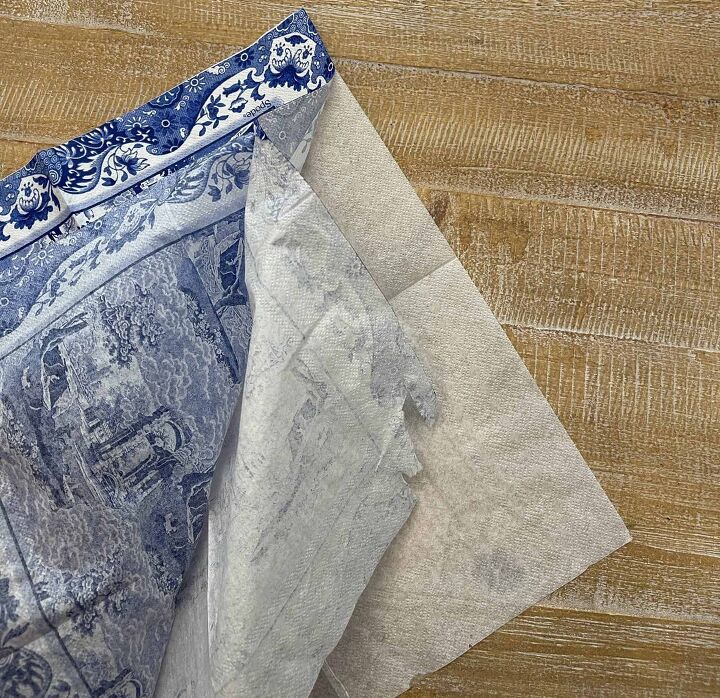
I made the mistake of always trying to separate the layer on the outer border where they are embossed or pressed together. You can tell because it has a little texture.
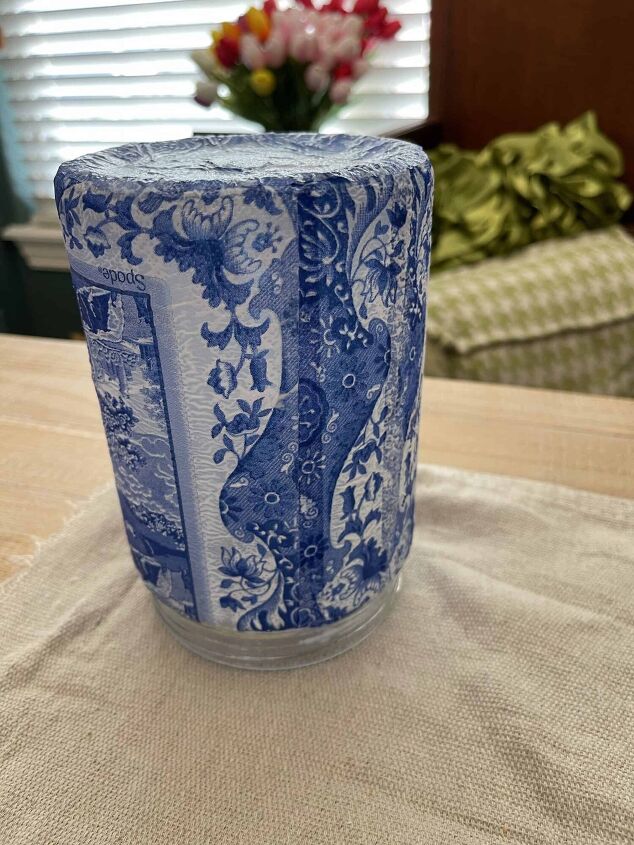
I applied my mod podge in an even layer and in even strokes around the entire canister including the curve just under the threads of the canister top, and slightly over the bottom edge as well.
I used the lid to trace 2 circles.
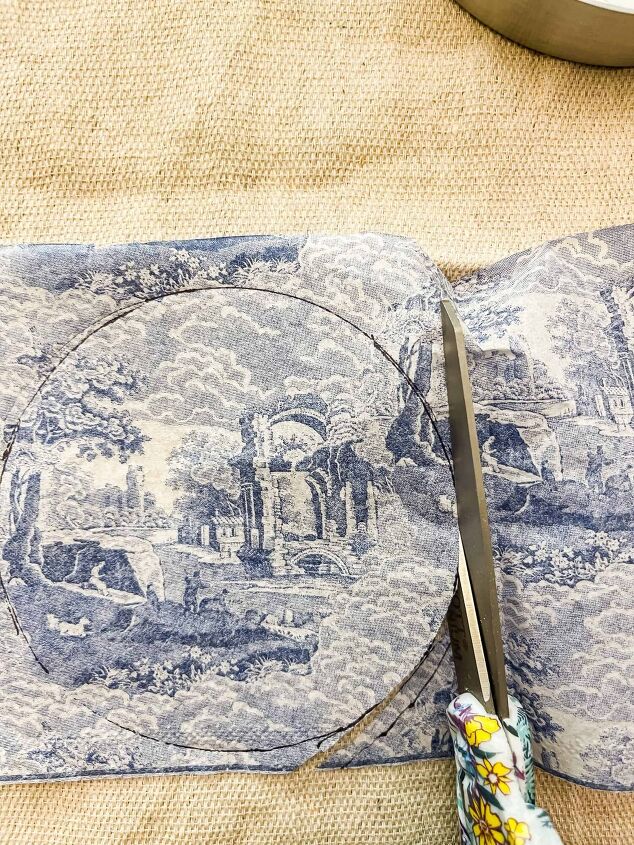
I cut a border of the napkin to use around the lid circumference.
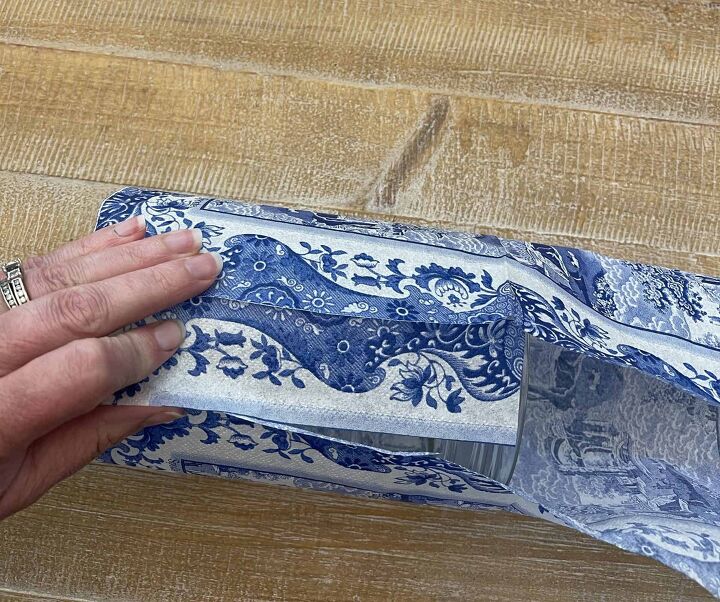
I was able to apply mod podge to the bottom of the canister as it was resting on the top.
I did the border of the lid first and then the top with a small overlap that I secured down with mod podge and then adhered the circle on top. I place the lid on a candlestick to let it dry.
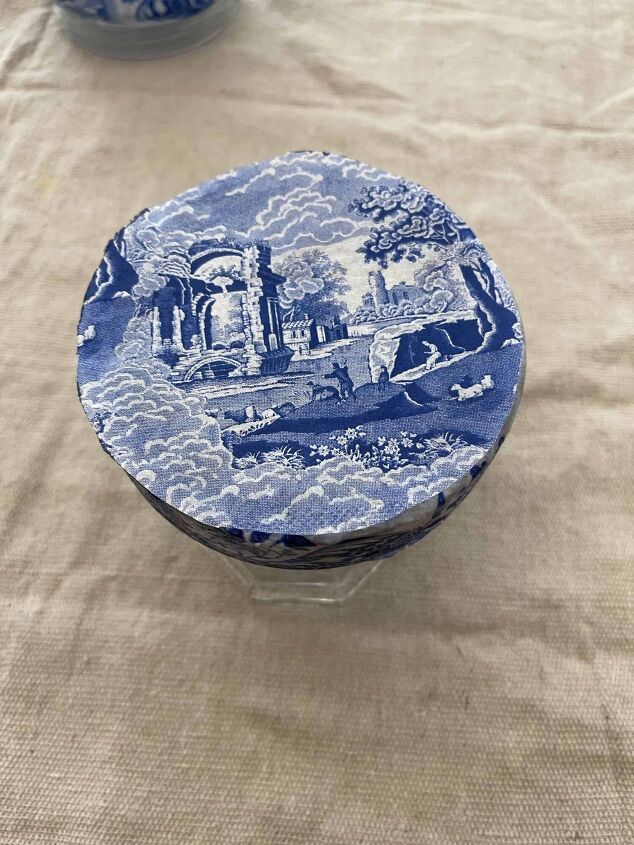
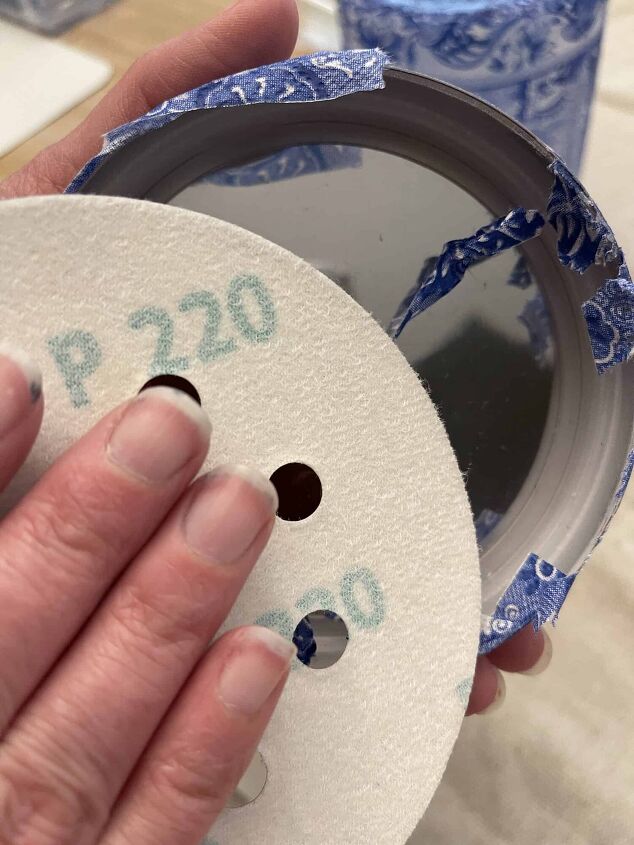
After the mod podge dried I used 220 grit sandpaper to sand off the excess napkin on the lid.
After the mod podge dried to the touch, I put a thin coat all over the outside of the napkin to seal it. Just in case I ever need to wipe it off it is protected.
I ordered these remote control puck lights to pull off some faux sconces in my kitchen, and they come 6 in a package so I had extra and I find all kinds of uses for them!
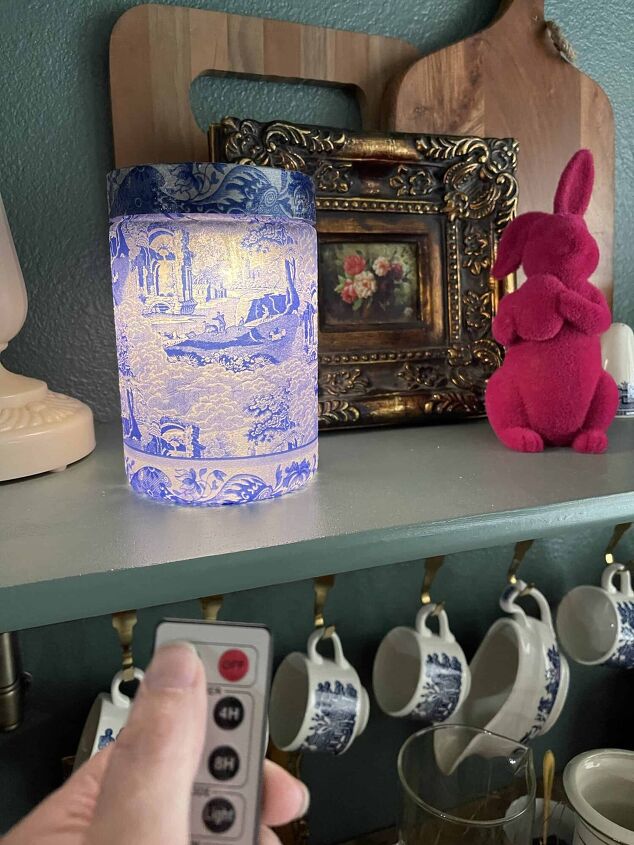
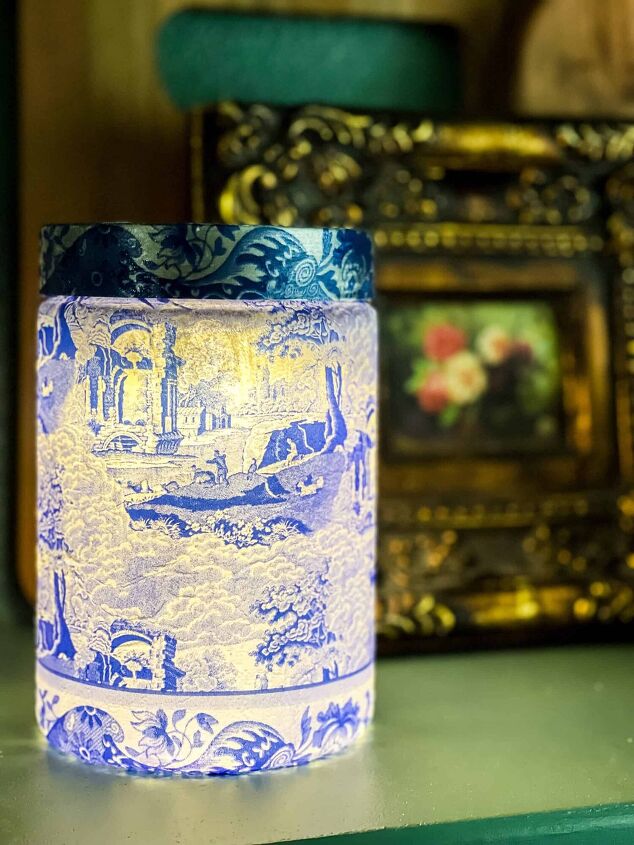
How easy was that? It made such an impact at a budget friendly price!
I think I am going to make about 5 or 6 more of these, because they are so inexpensive, and line my porch with them! Won’t that be adorable!
If you love the blue and white decor like myself, I think you will love my Chateau Chic Spring Home Tour specifically my dining room! Take a look here!
Click over to my friend at 2 Bees in a Pod and see her sweet wicker bottle centerpiece! I am on the hunt for one now!
You can find all of the Thrifty Style ideas in the photo below at the bottom of this post as well! It looks like a lot of us are going with a blue and white theme! I see bunnies and milk glass too!
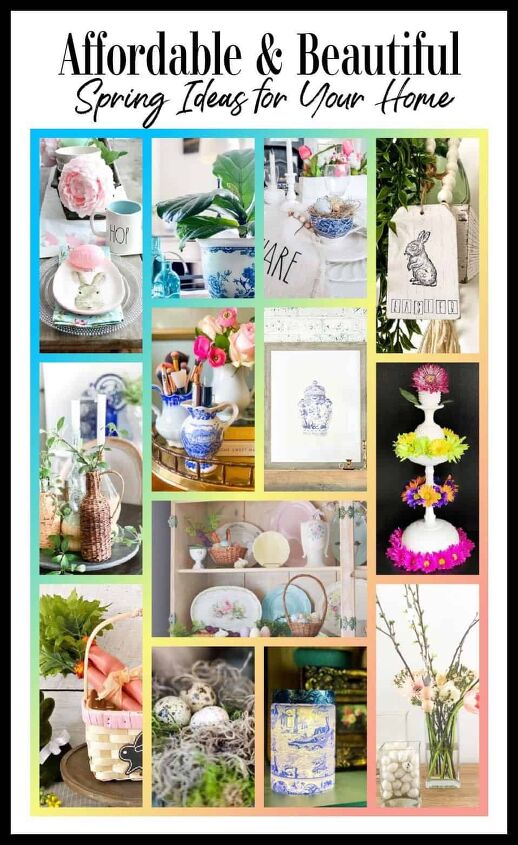
Redhead Can Decorate
Comments
Join the conversation
-
That is so beautiful and so easy. I have several empty jars, will just have to find the napkins and puck lights. Definitely making this one. TY for sharing with us.
-
ME TOO! Love it. Will do.


Frequently asked questions
Have a question about this project?
I love that picture/painting in the background.
the link for the puck lights doesn't work, could you do it again
Thank you for the reminder!💕