


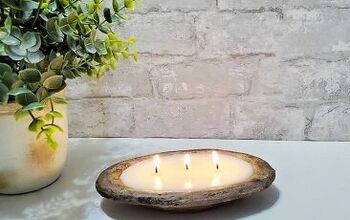
DIY Concrete Candle Holder

by
Glen
6 Materials
This was my very first concrete project. I quickly learned some do's and don't's. I though this may be a project some of you may have some interest in. It's a very simple build and can be done with simple hand tools. Let's get started.
{
"id": "3694436",
"alt": "",
"title": "",
"video_link": "https://www.youtube.com/embed/Z_8Ss94fgZc",
"youtube_video_id": "Z_8Ss94fgZc"
}
{
"width": 634,
"height": 357,
"showRelated": true
}
For the narrated version here is the video.
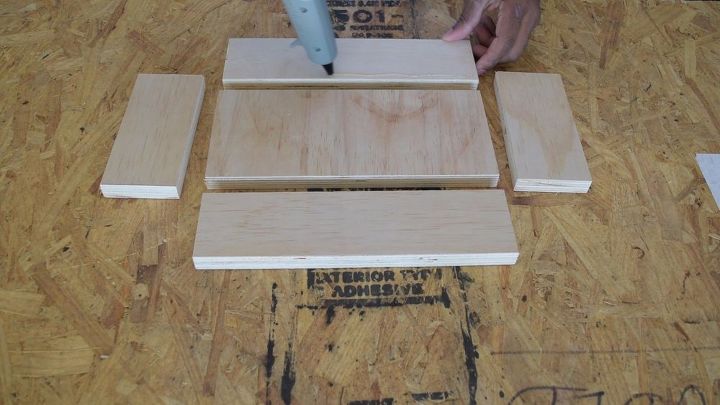
Cut 5 piece of wood 1 for the bottom and 4 for the sides as shown. The size of this is 4.5inD X 11inL X 2inH

I marked the perimeter of the box, to set reference marks so I know where to place the candles.
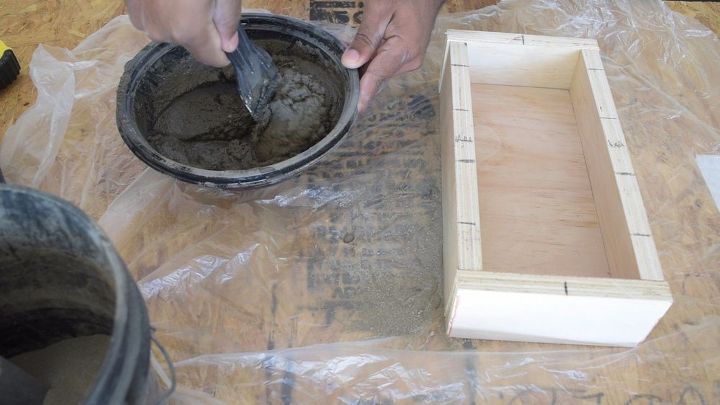
Mix the concrete to a peanut butter mix. I used high strength concrete from Sakrete. Any concrete mix should work just fine. Pour the concrete in the box. Don't fill past the perimeter. Vibrate the form to remove the air pocket. I have used a palm sander to help with this.
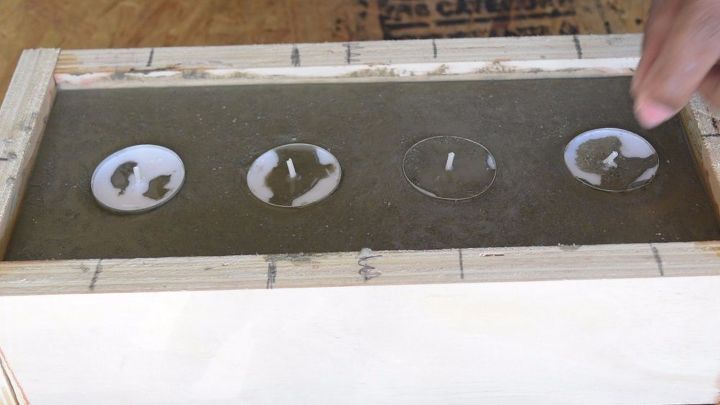
Place the candles in the mix. Space them to your liking.
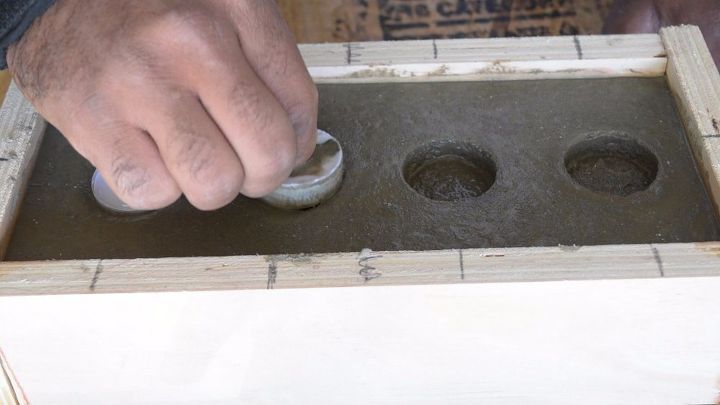
After about an hour or so remove the candles. The form should hold itself. I also scraped the interior to make the opening wider. With the hope that I can easily replace the candles.
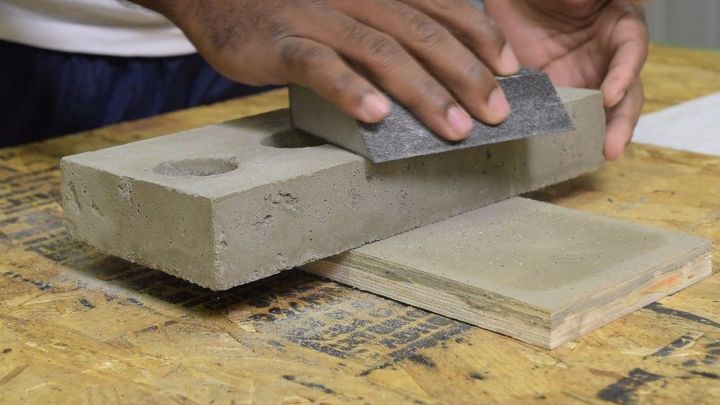
I gave it a quick sand with a sanding block.
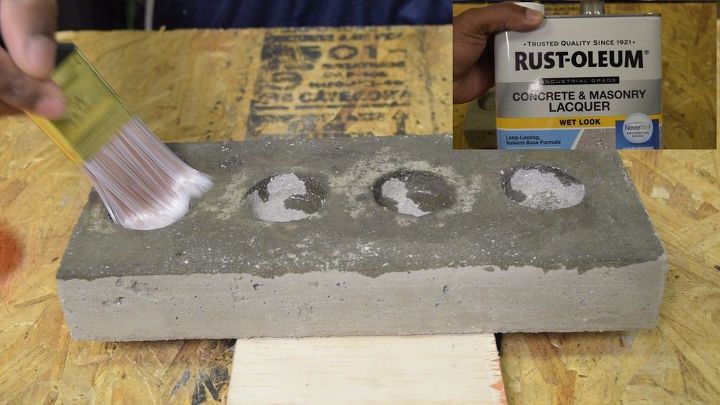
Then applied a concrete sealer, I got the sealer the looks wet when it's dried.

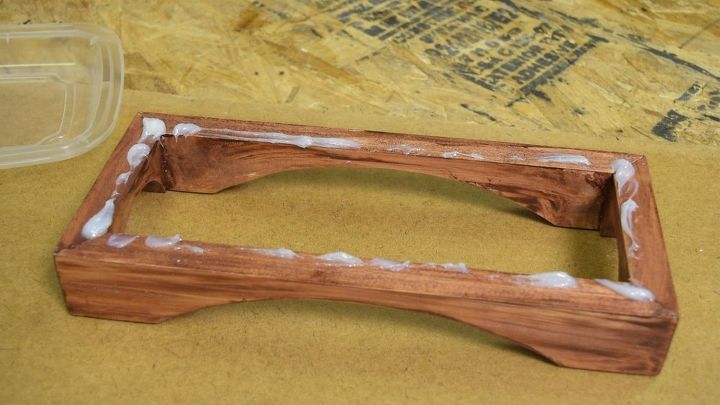
I miter the corners on the 1 by 3 lumber. On the long side, I used the lip of a bucket to assist me with the arch in the bottom. For the short end of the lumber, you can use a cup or anything small and round.
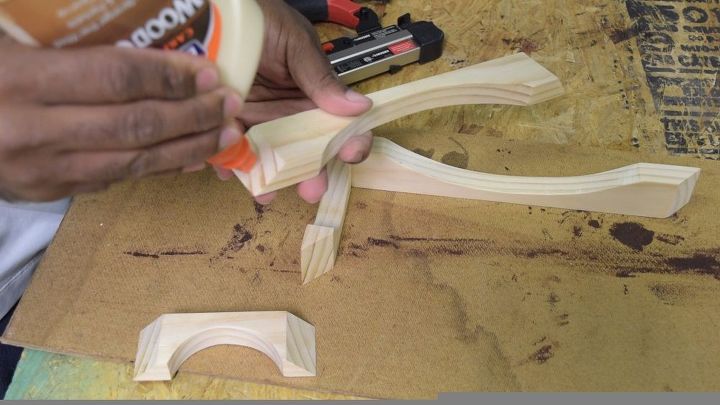
used wood glue and a nail gun to join the bottom.
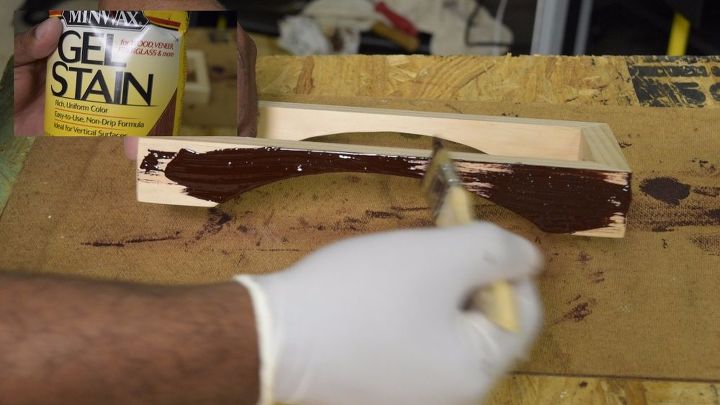
I applied a Mixwax stain with a brush then wiped it off with a rag.
Then I drilled holes in all for corners. Next installed rubber bumpers on the feet of the wooden bottom
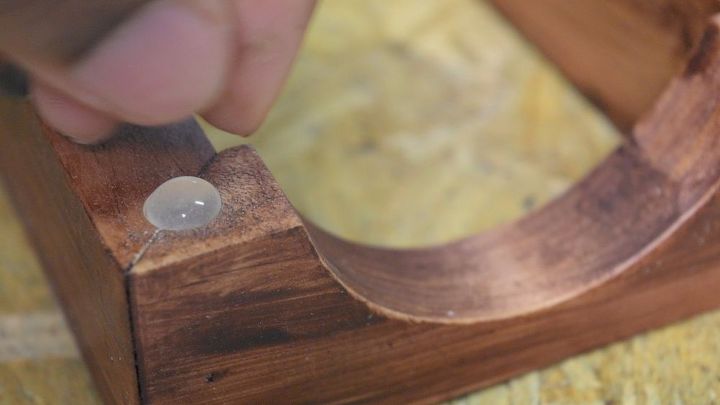
I mixed a 2 part Epoxy to secure the concrete to the wood. Here is the epoxy I used http://amzn.to/2j7ugXe

Sit the concrete block on the wood. Next place weights on it, till the epoxy dries.
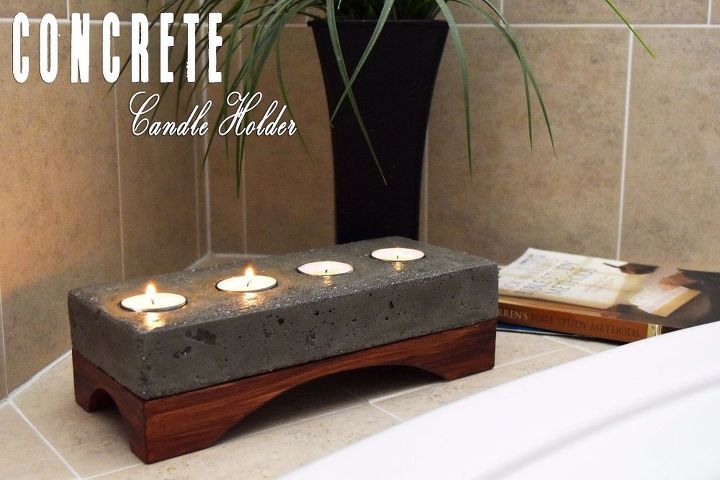
Now add the candles, light them up and you are ready to go.
Comments
Join the conversation
2 of 5 comments
-
Beautiful....simple, but elegant and stylish! Love it!
-
I love it and hope to make several as gifts. Just discovered you and I am going to follow you. You do a great job explaining every thing. Looking forward to future projects.


Frequently asked questions
Have a question about this project?
So cool. Did you come up with the design yourself? Or did you find an expensive version elsewhere and decide you could make it yourself?