


Creating Glass Art With Your Photographs
1 Material
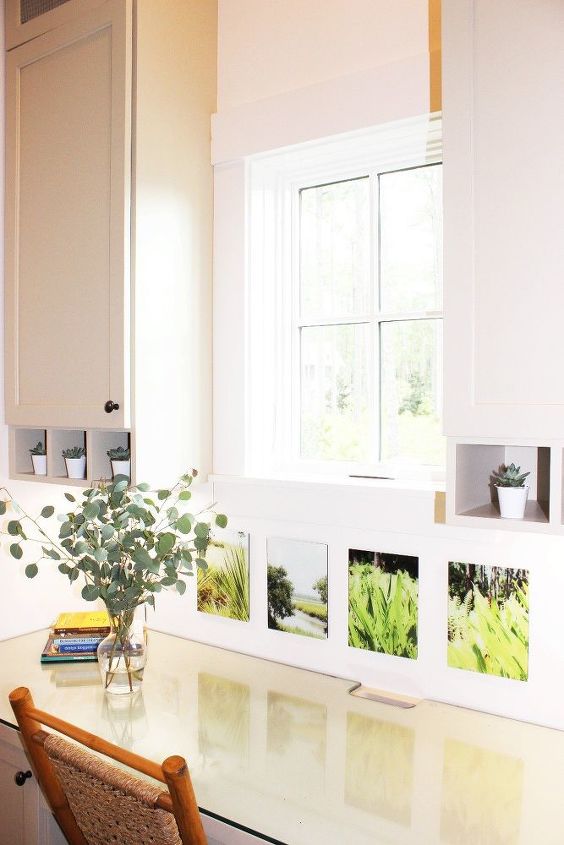
I love seeing my photographs in my home on my walls. So to preserve my photographs I discovered a great product called Fracture that will transform your photographs into Glass Art.

Step 1. How to Start This Project.
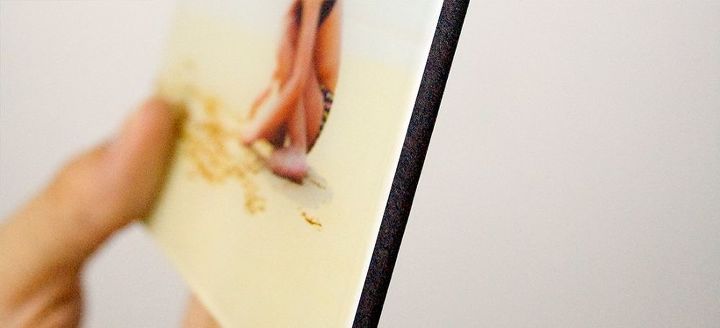
Step 2. What ever photographs you choose save them in jpg. Make sure they are cropped no smaller than 300 ppi. I use Free PicMonkey to crop them.
Step 3. Once you have cropped and saved to your computer. Go to Fractureme.com and start uploading your photos. You will see different options from small ($18.00) to extra-large , I choose 4 medium. Its really easy to check out.
Step 5. Hanging The Photographs.
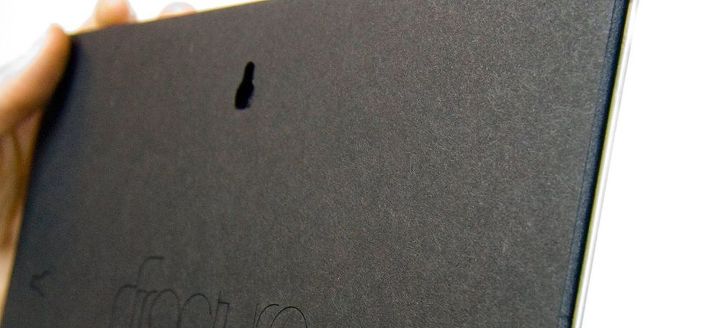
Step 5. Calculate where you want to hang the photographs and drill or hammer a tiny hole. The screws go in and stay secure. The hole on the back of the foam is designed to fit perfectly for the screw.

Want more details about this and other DIY projects? Check out my blog post!


Frequently asked questions
Have a question about this project?