


DIY Picture Frame and Backing Using Cardboard and Wood Shims

by
Dysko7710
6 Materials
$20
2 Hours
Easy
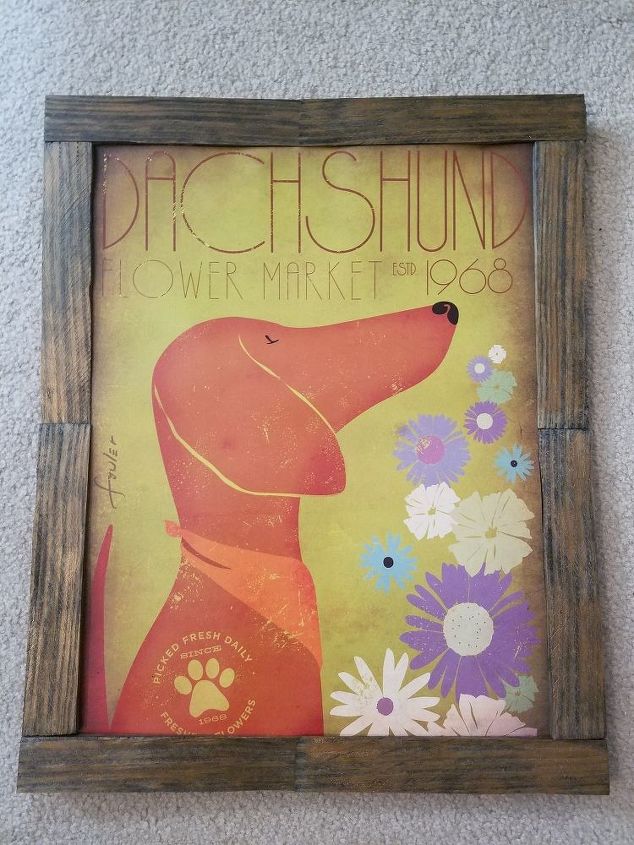
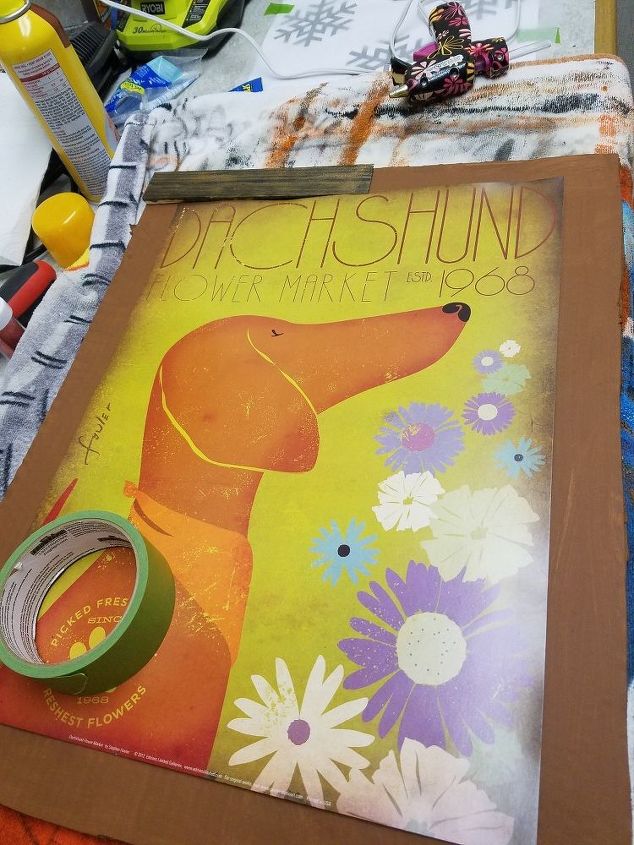
I had bought my daughter this adorable dachshund poster for her birthday, and wanted to personalize it by making the frame myself. I honestly wasn't sure how to do it with a glass front, and I also didn't want to get into cutting up wood pieces. I just wanted to come up with a simple project to get this done. After waiting until almost the last minute, inspiration finally hit. Here is the final product, with instructions to follow:
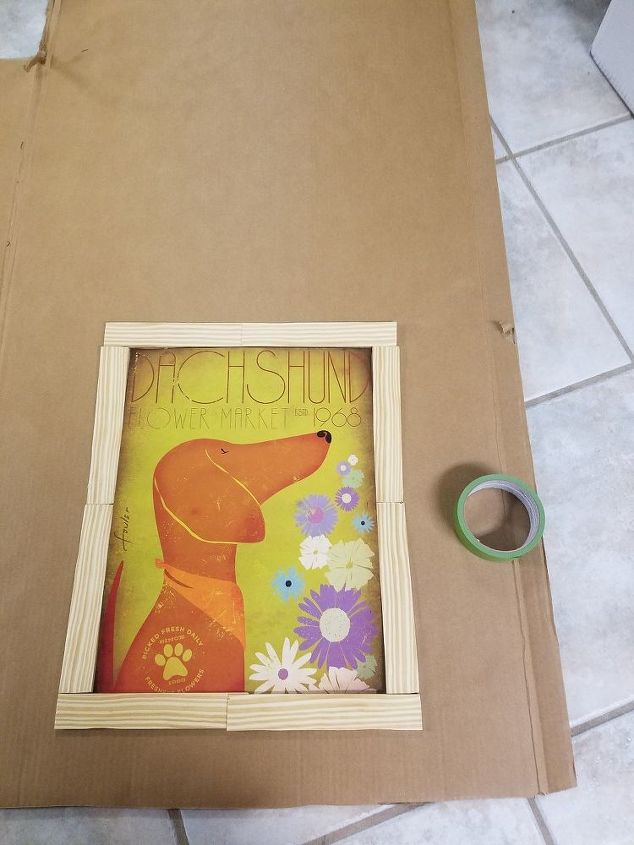
I started by measuring and cutting a piece of sturdy cardboard. I laid the wood shims around the border of the poster and measured the size I would need the cardboard so that it would go past the edges of the poster. That way, I could glue the shims to it around the poster, and not have to actually glue anything onto the poster itself.
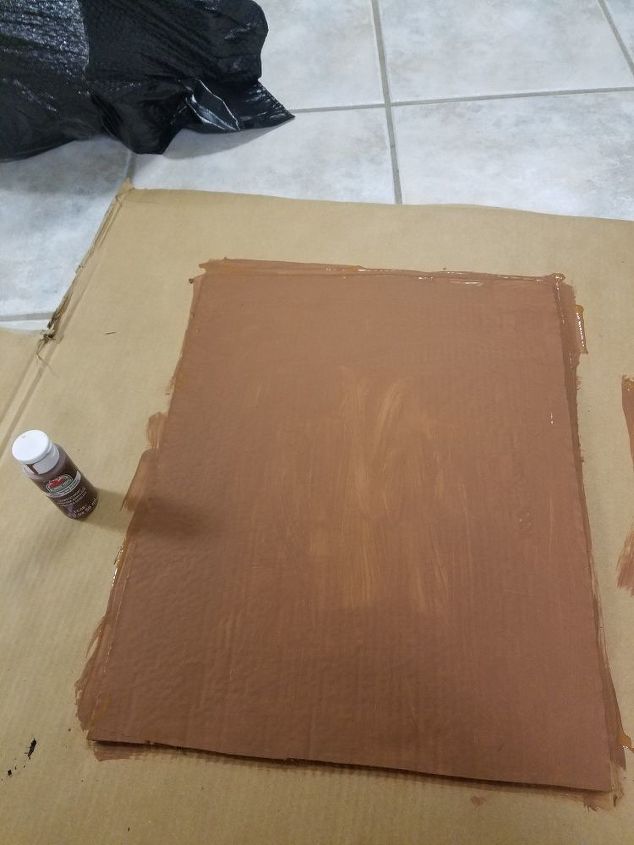
After cutting the cardboard piece, I painted it a dark brown, in case any of it ended up showing through, it would not be noticeable or 'look like' cardboard.
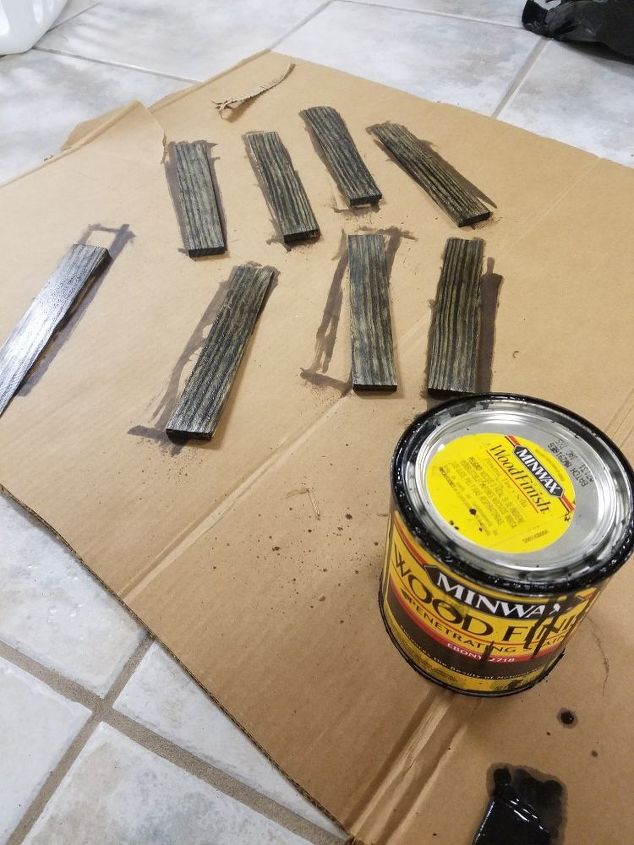
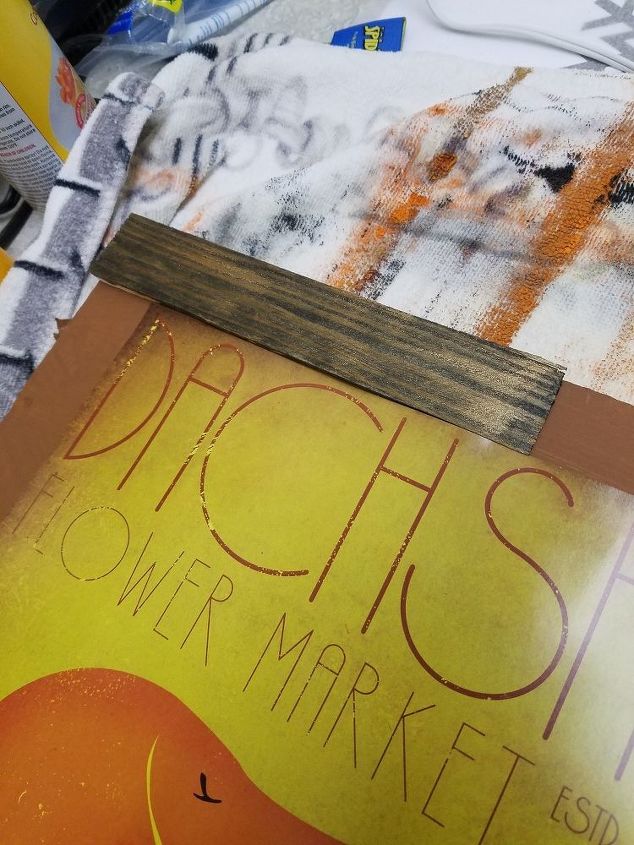
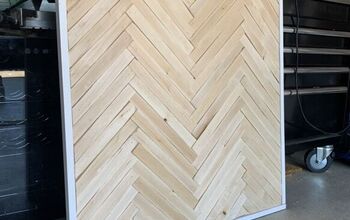
Next, I laid out the wood shims (which I had leftover from a previous project) and stained them with a Minwax ebony stain I already had on hand from other projects (this stuff goes a long way). I only did one coat, which results it looking more of a dark, espresso brown. I love this color of stain, because while it is technically a black stain, it take several coats to reach black, so you can use it as a very deep brown stain as well if you only do one or two coats.
I didn't want to glue the poster down to anything, or have it stuck to the frame, in case we wanted to change it out someday. So I taped the poster onto the cardboard with painters tape, that way it would come loose from the cardboard easily. Then, I glued the shims around it with a glue gun, so that the shims were glued only to the cardboard but came slightly over the poster to hold it in place.
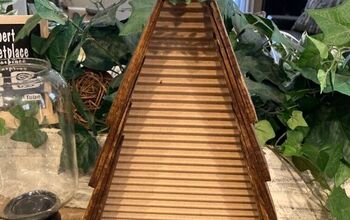
Here is the finished product!

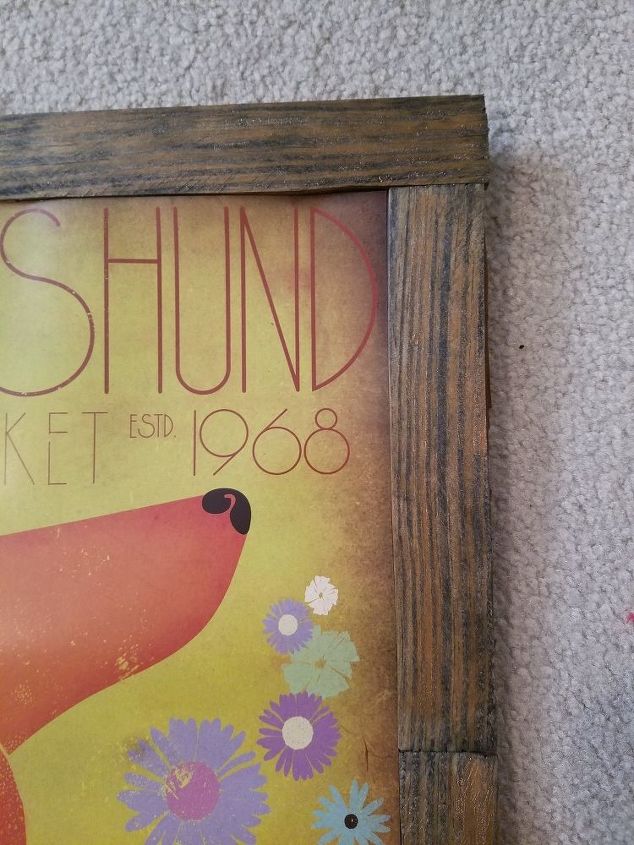
It came out so nicely. It really is a nice rustic looking frame with a fun vintage picture!
Comments
Join the conversation
5 comments
-
I love how it looks!
-
I've been wanting some type of rustic looking frames for some wildlife photographs. I think this is just the thing I need!
Instead of staining or painting the shims though, I'm going to try something my dad did with some of his wood projects. I'm going to take a blow torch to the shims to give them an uneven, darkened and lightly charred look. :)


Frequently asked questions
Have a question about this project?