


DIY Toad Abode

A diy toad house for the garden, using a recycled container, foil, air dry clay, acrylic paint, with polymer clay embellishments.
In an attempt to bring toads to my garden for pest control, I decided to DIY a toad house using things I had on hand. Since toads absorb things through their skin, I wanted this to be as non-toxic as possible.
I started with an empty sour cream container and some foil to achieve my shape.
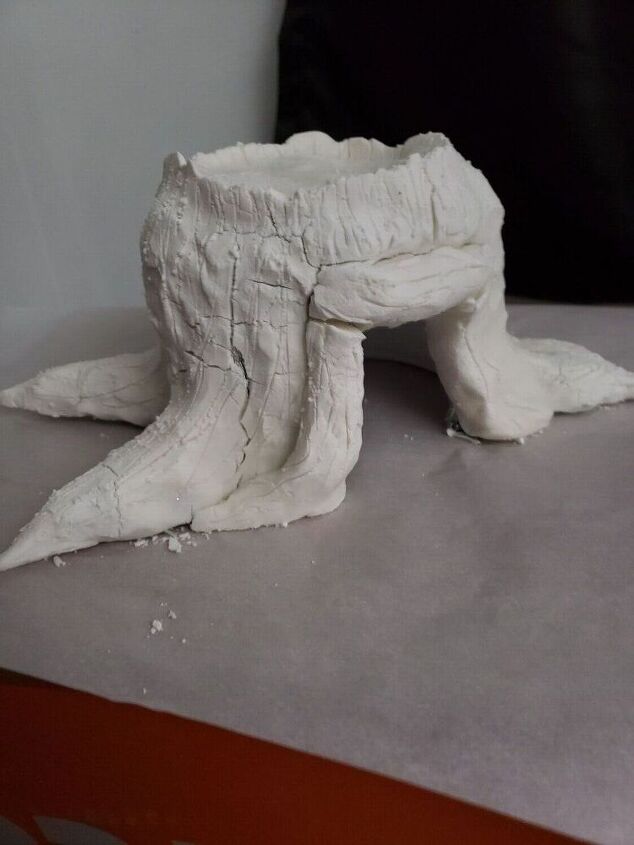
Once I had the general shape, I used an air dry clay recipe found on Pinterest to achieve the look of a tree stump. I then used a pointed tool and "scratched" it up to make it look like tree bark. I think there might have been some user error on my part when making the clay because as it dried it ended up cracking. But it added to the whole look of the tree stump so I was actually rather happy with how it turned out! 😏
Air dry clay
- 1 cup corn starch
- 2 cups baking soda
- 1 1/4 cups cold water
- Nonstick pot
- Wooden spoon
- Large bowl
- Damp tea towel
How to make it:
- Pour all ingredients into pot and mix until smooth
- Cook on low-med heat until mixture starts to have the consistency of mashed potatoes
- Remove mixture from heat and let cool in large bowl. Cover with damp towel to preserve moisture.
- Once the mix is cool enough, use it to shape your piece.
It took a few days for me to complete this project because I wanted to make sure everything dried really well since it is an air dry clay recipe. I also had to keep touching up the paint so it looked the way I wanted.
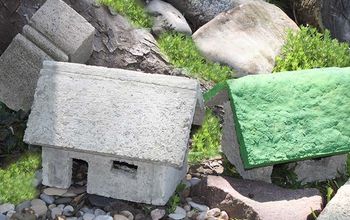
UPDATE: now that we've finally gotten some rain in the area, I can report that the air dry clay does not hold up to the elements, so if making this project I would suggest using a non-toxic clay that can withstand being outside.
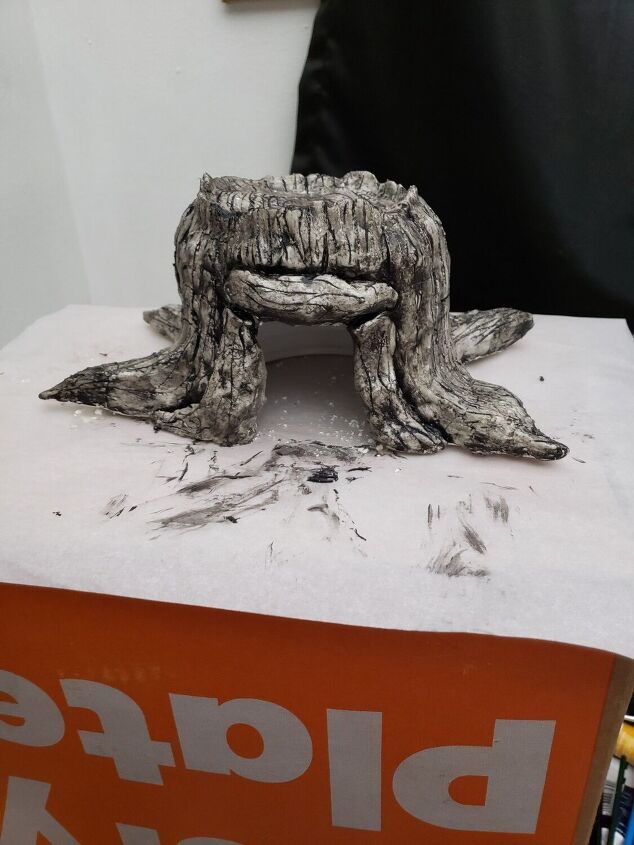
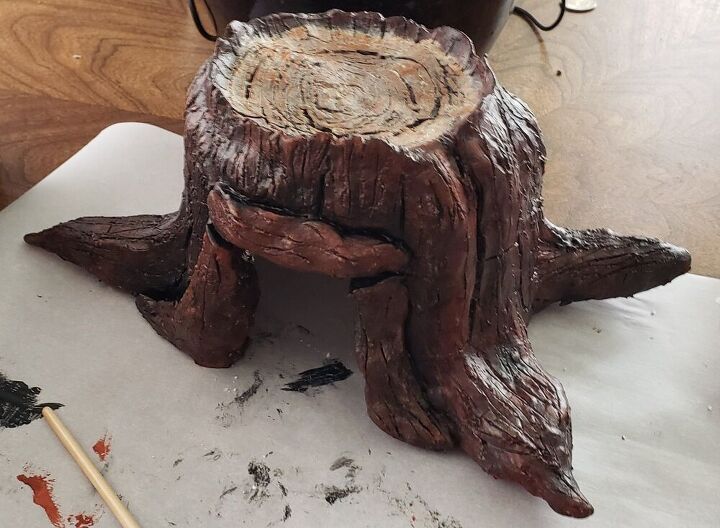
Next step after the clay has dried is to start painting it. I wanted lots of dimension, so I started with black paint to get into all the crevices where it cracked. At this stage, it looks like it could be a Halloween decoration.
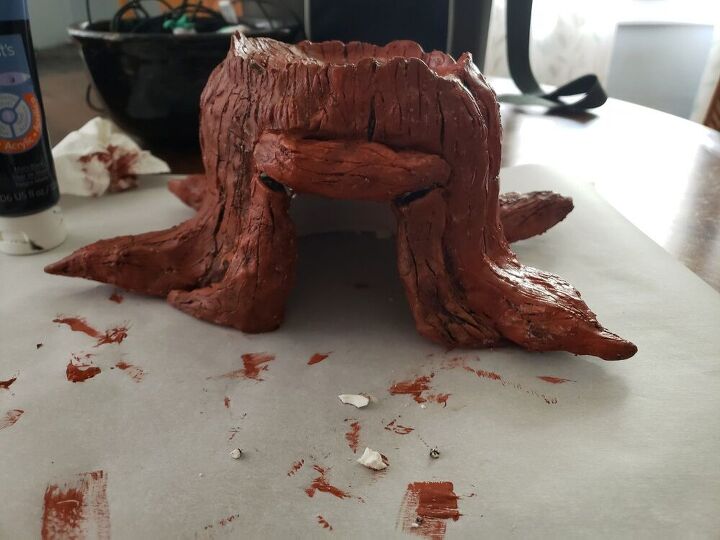
I used a couple different brown paint colors and started painting the stump. There is no "right" way to do this, so just keep at it until you get the look you want.

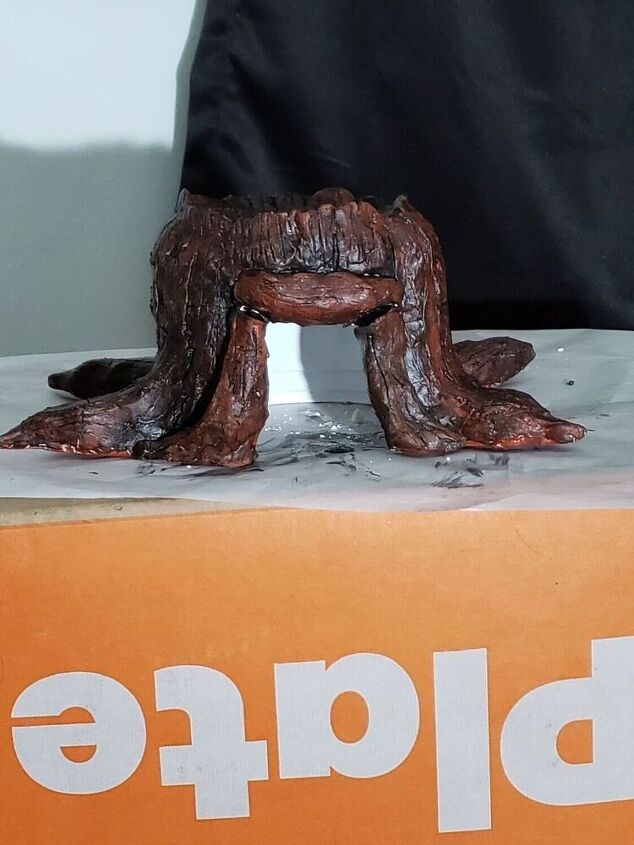
It took several coats of paint to achieve the look I wanted, making sure to get into all the crevices with the darker colors. I wound up going over the whole thing with black paint again and wiping off any of the paint that wasn't in the cracks. This gave it a lot of dimension.
I used a cream color for the top to give it the look of a cut stump, and used a darker brown for the rings of the tree.
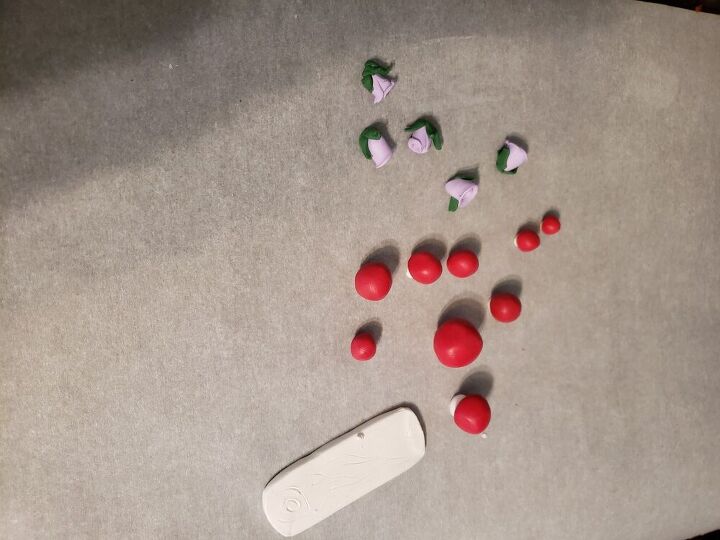
I made some toad stools, flowers, and a little sign out of polymer clay and attached them all using E6000 adhesive.
The final step will be to coat it with clear coat so it will hold up outside in the garden.

I absolutely love how this turned out. 💜
Resources for this project:
See all materials


Comments
Join the conversation
-
So cute!🥰
-
I love it. My garden toads disappeared this year. I laid terra cotta pots sideways to make a shelter for them but still haven’t seen any. This is a much cuter idea. A real little house.


Frequently asked questions
Have a question about this project?
That is absolutely adorable! Has it attracted any toads to your garden?
I love this, but think I will try to make different pieces for my Great Grand daughter's fairy garden. Maybe add some actual tree bark and moss for embellishment. Is it fragile?
I love this! The flowers and mushrooms make it perfect. Too bad it didn't hold up outside. Did you try a different clay?