


DIY Turtle Planter Upgrade

Hello everyone! I recently took a trip to my local Target store, and I was pretty excited when I came across this turtle planter which was located in the craft aisle.
This little unfinished turtle planter was only three dollars, and I just could not wait to decorate it. If you are unable to find this exact planter, no worries! I did notice a few craft stores actually have unpainted ceramic pots and similar items.
Today I'll be showing you how to decorate this turtle planter using faux succulents, Spanish moss, and a few other materials. I had most of my items on hand. I only purchased the turtle for this project. If you're ready we'll begin to decorate and upgrade this cute little turtle planter.
Video tutorial
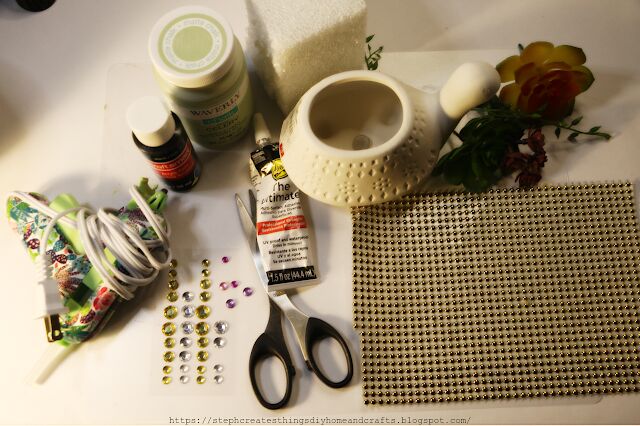
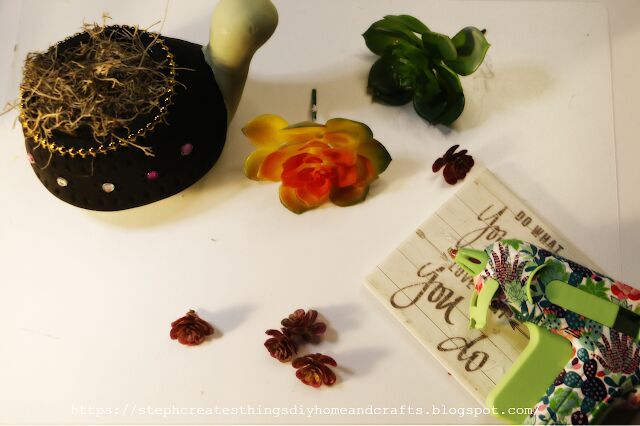
Materials needed
One unfinished turtle planter-I purchased my planter at Target
Faux succulents- You can find these at Dollar Tree
Spanish moss- Dollar Tree
Hot glue
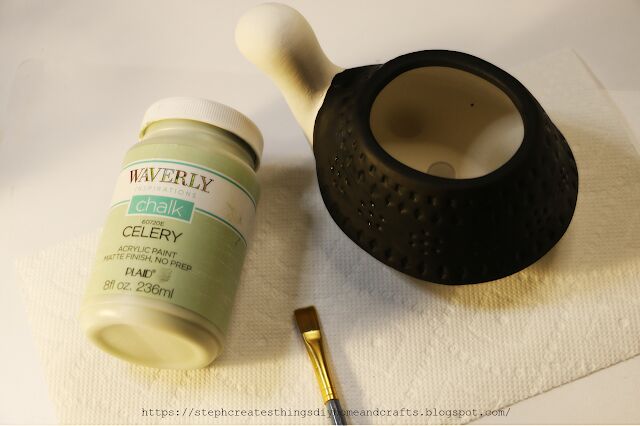
Paint- I'm using black, and a color called celery
Adhesive
Craft gem wrap-Dollar Tree
Craft gems- Dollar tree
Foam block
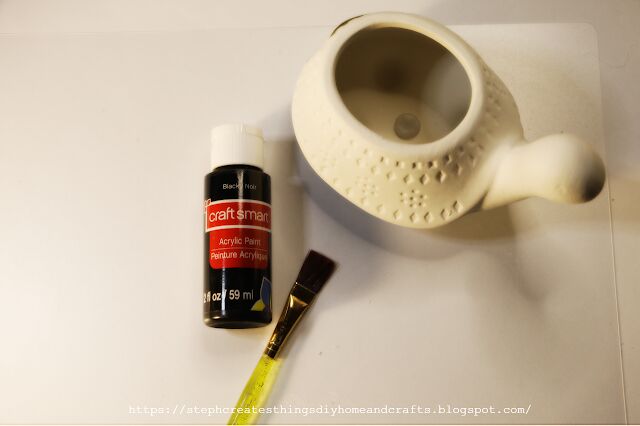
Start by taking your planter, and applying black paint to the planter, which would be the turtle shell.
Apply around two coats of paint of black paint.
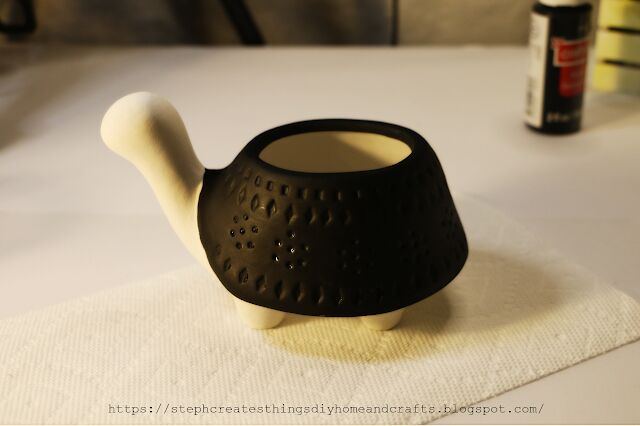
Next, take your second paint, and apply it to the body of the planter. The head, neck, bottom, and legs of the turtle planter.
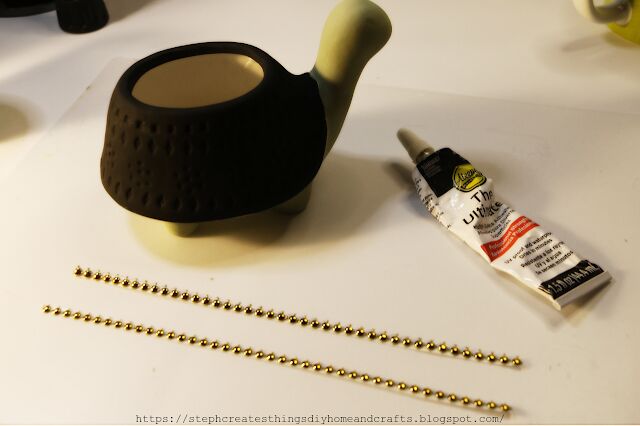
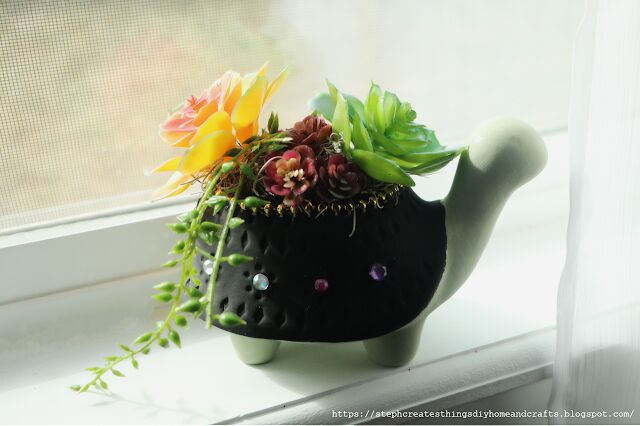
After you have applied the paint, you are now ready to add on your gem wrap. The gems that I purchased have a sticky backing, but I decided that I wanted to make sure the gems stayed on, so I decided to add some adhesive.
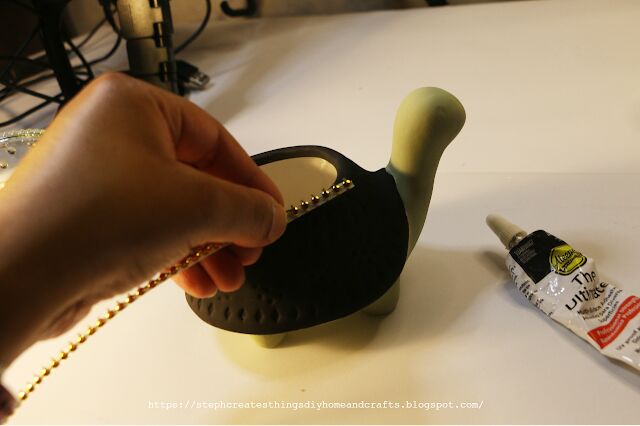
Take your scissors, and cut two strips of gems. Once you have cut the gems, be sure to add the gems around the top opening of your planter. If you choose to use the adhesive, apply a small amount to the backside.

If you end up with a space where there are no gems, take the second strip, and cut a tiny section to fill in that space.
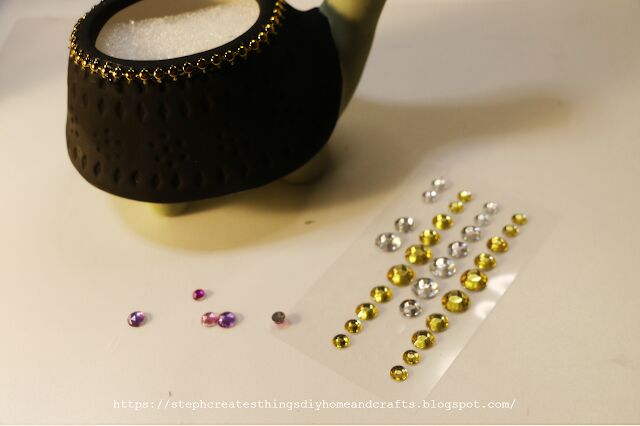
Once you have added the gold gems around the top opening of your planter, take your craft gems, and using your adhesive begins to place the gems onto your planter.
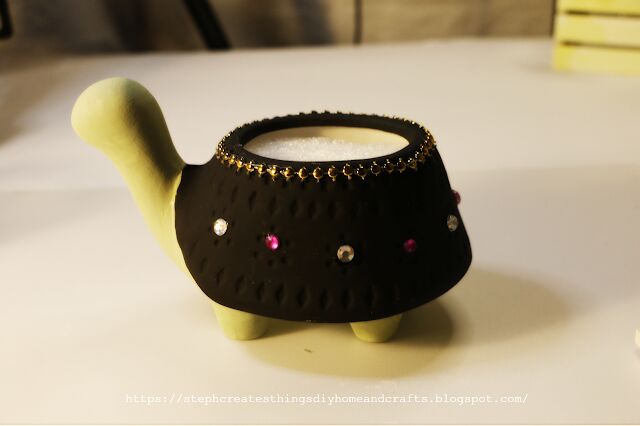
I placed my gems over the designs that the planter had.
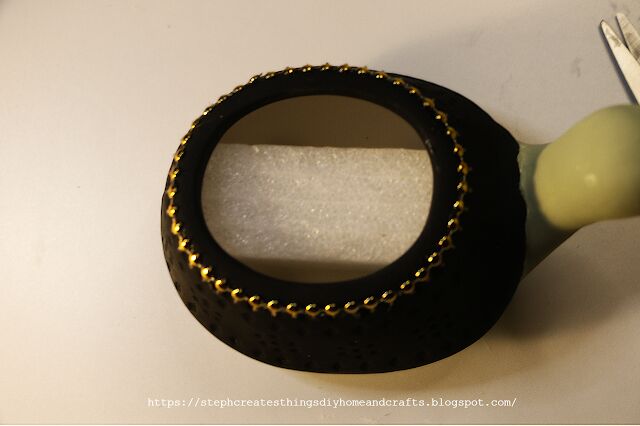
Next, take your scissors, and cut a small section of the foam block. Your foam block needs to be small enough to fit on the inside of the planter.
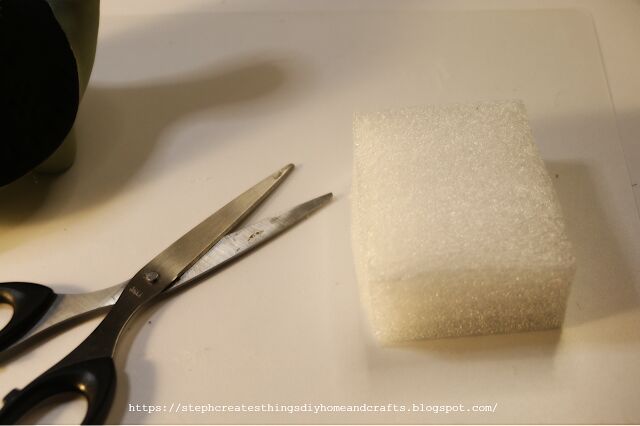
My foam block was not stiff, and this made it easier to cut. If your foam block is hard, you can also use a craft knife to cut it. Take your foam block, cut a small section of it off, and place it on the inside of your planter.
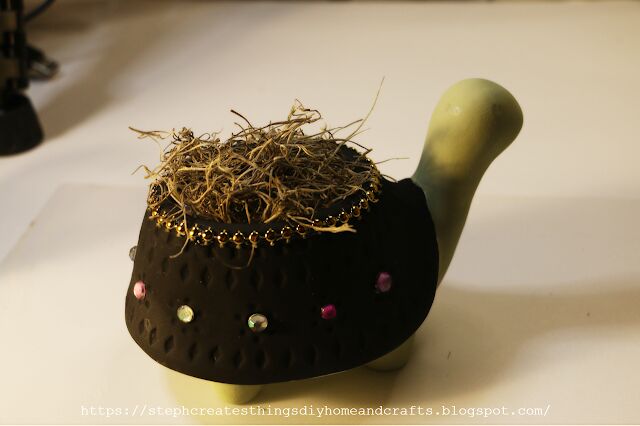
Take your moss, and take a small amount. Use your hot glue, and apply a thin layer of your hot glue on the top section of your foam block. Spread your moss evenly on top of the foam block.
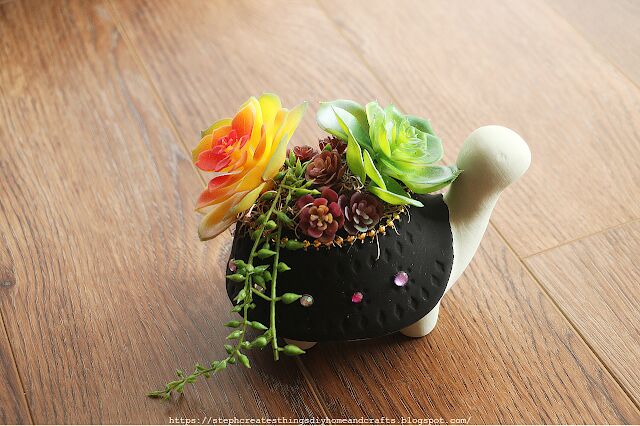
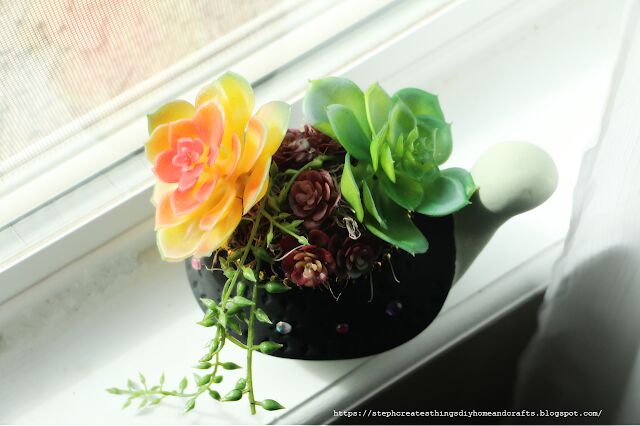
Next, take your faux succulents, and place them around the moss, and foam block. I inserted my two bigger succulents and used hot glue on the smaller flowers.
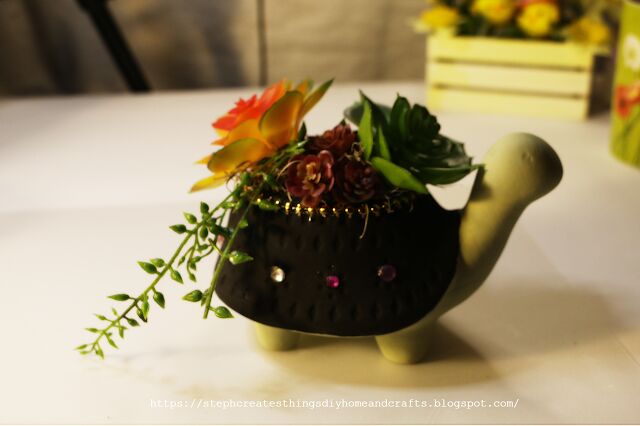
Your turtle planter is now complete, and ready to display. I love how this turned out. It is such a beautiful addition to any space. I hope you have enjoyed it! I'll see you soon.
Pin/Save/Share


Frequently asked questions
Have a question about this project?