


DIY Washi Tape Picture Frame
If you’re looking for a fun and easy project to spruce up boring frames, this DIY washi tape picture frame is perfect for you! This project is perfect for crafters of all ages, and it’s a great way to show off your favorite photos.
Plus, it’s simple enough that anyone can do it! With just a few simple supplies, you can create a gorgeous picture frame that’s perfect for displaying your favorite photos.
If you’re looking for a fun and easy way to spruce up your home décor, look no further than washi tape! This versatile crafting material can be used to create picture frames of all shapes and sizes.
Washi tape is a type of Japanese paper that comes in a variety of colors and patterns. It’s often used for arts and crafts projects, and it’s also great for creating your own DIY washi tape picture frame. With so many different washi tape patterns, this is a fun way to make different designs and unique ways to add a personal touch to your frame.
This tutorial will show you how to make a simple plain frame using decorative tape in any color or pattern you like. So grab your crafting supplies and let’s get started!
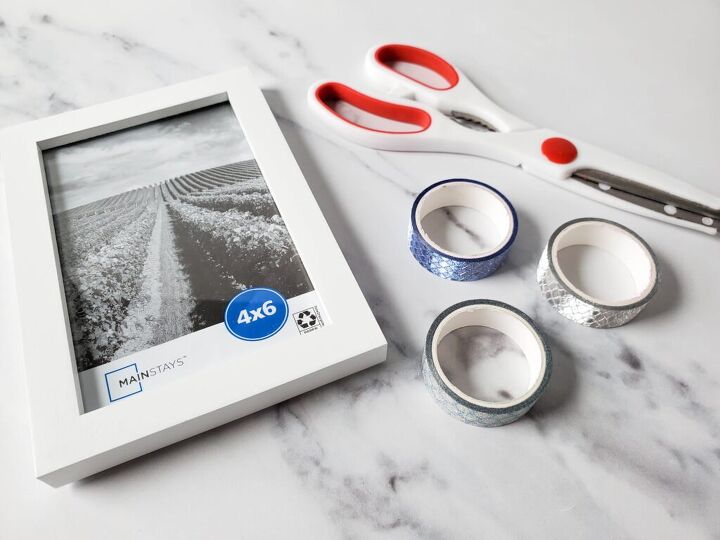
- Unfinished wooden frame – flat in front and sides – 4×6” used for this project
- Rolls of Washi tape
- Scissors or craft knife
Directions:
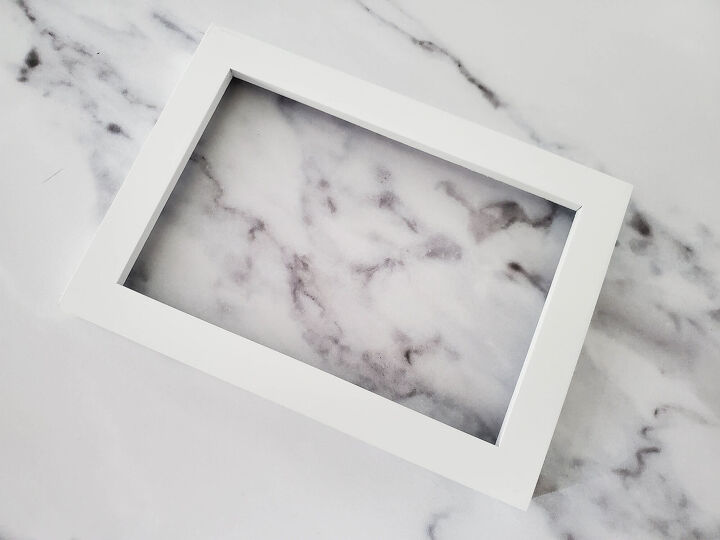
The first thing is to remove the back of the frame, as well as the glass and paper insert.
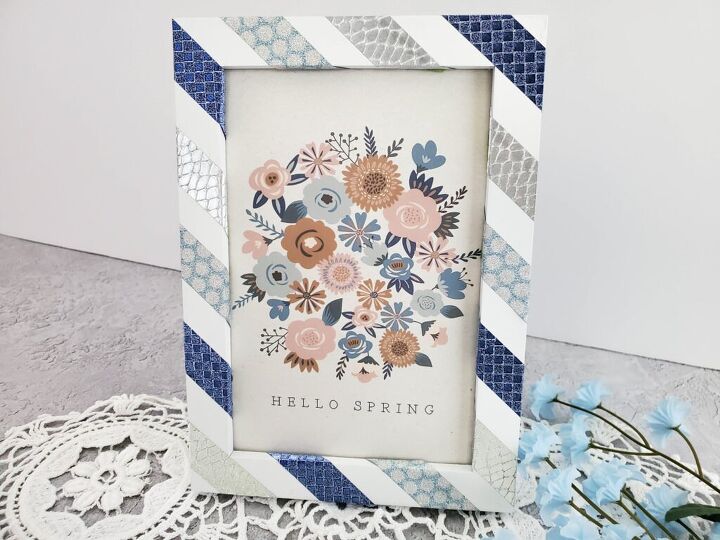
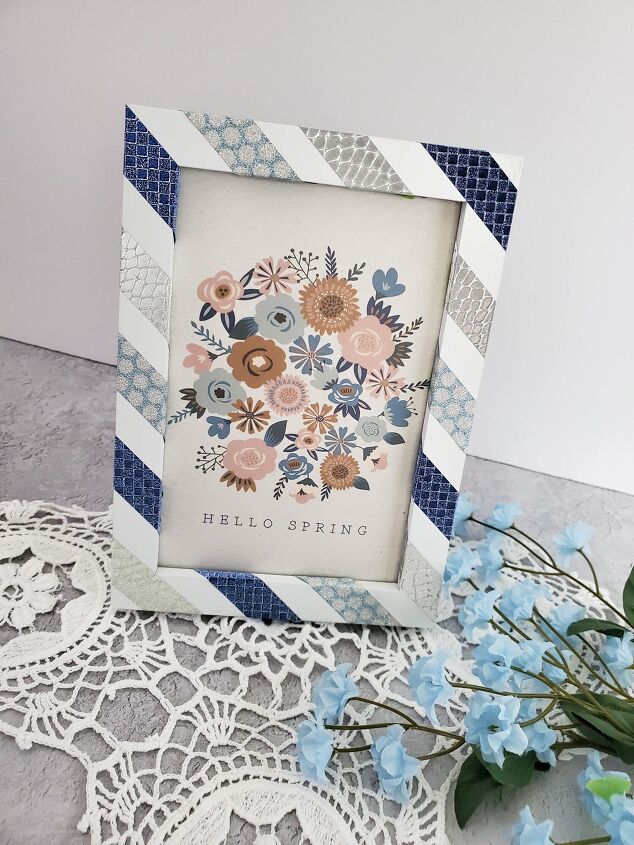
Unroll a small amount of strips of washi tape, and center the edges of the tape in diagonal stripes on one corner of the frame, about ½ inch in.
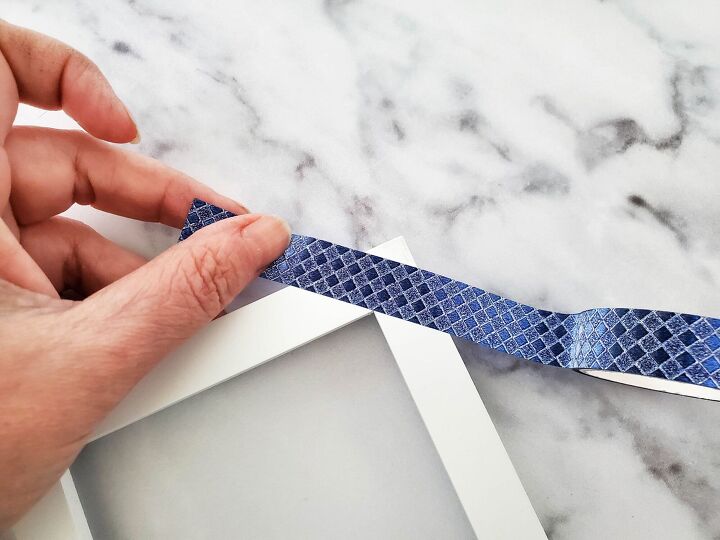
Gently adhere the tape to the front, and the sides of the frames, then wrap around to the back of the frame.
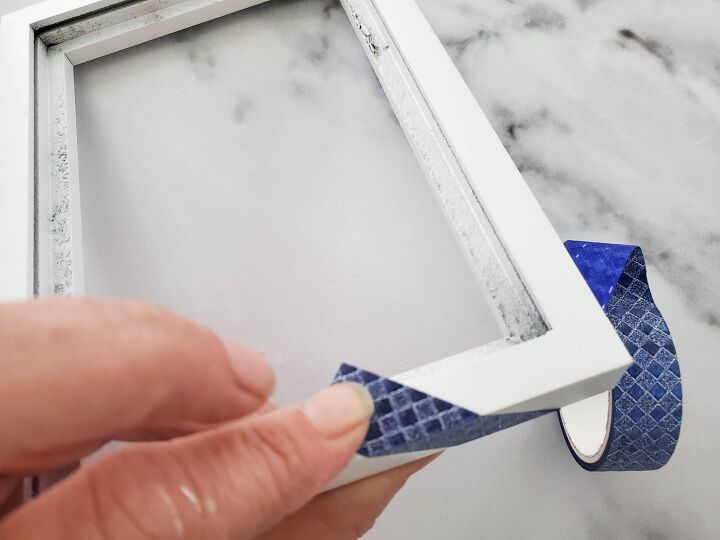
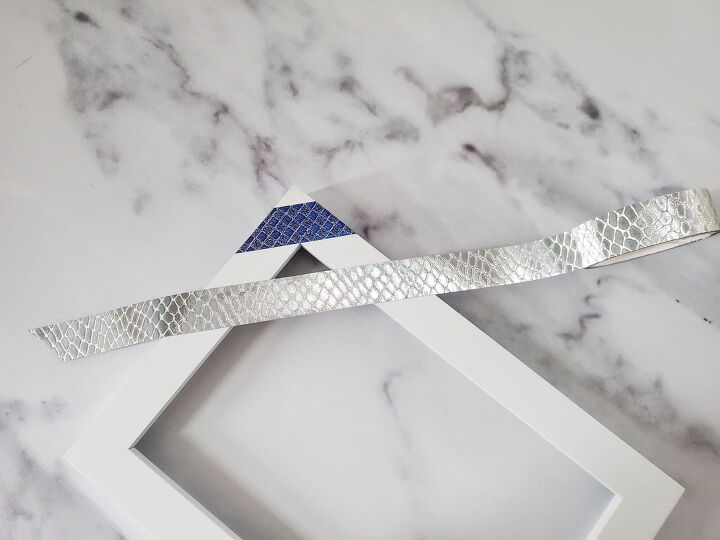
Use the scissors to cut the tape at the edge of the back of the frame.
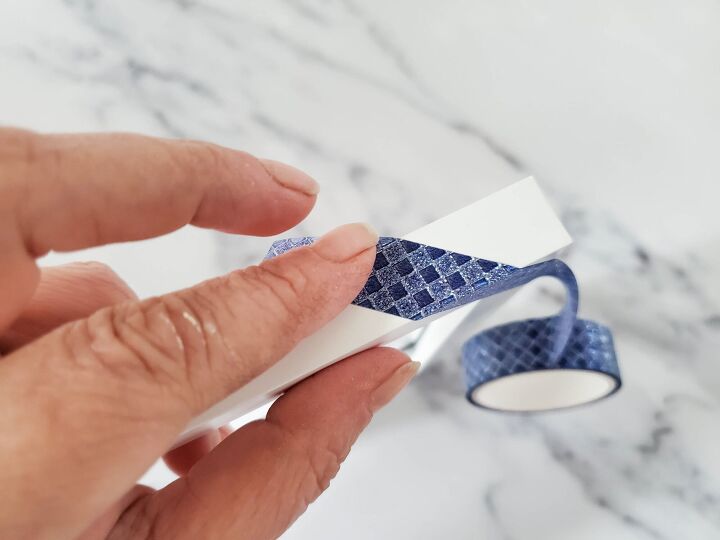
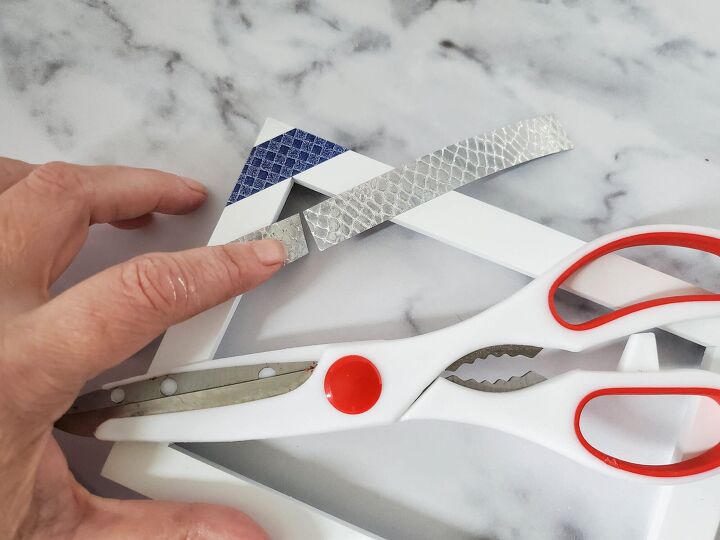
For the second strip of tape, unroll a decent amount of tape, then carefully place it about ½ inch under the other piece, on both the top and right sides of the frame.
Use the scissors to cut the tape right in the center. Then wrap each of the sides like you did in the previous step.
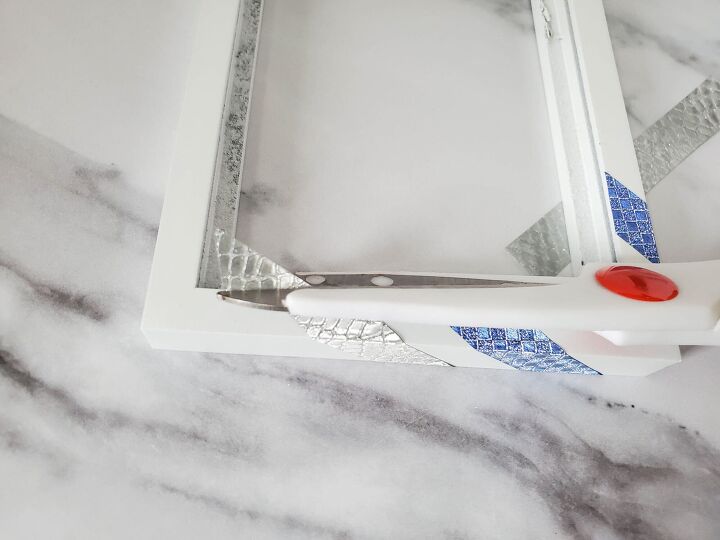
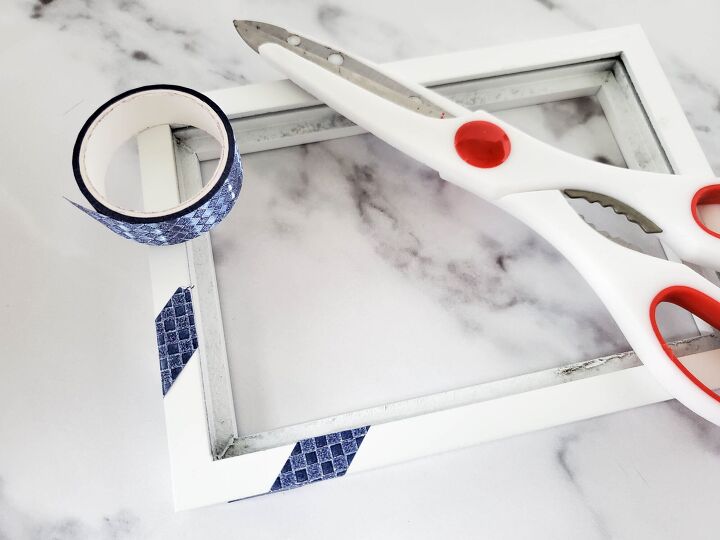
For the piece that is wrapped to the front, you will want to wrap that piece up inside the frame too, so that you can see the tape in the front sides too. (See finished photos)
Continue this process until you have wrapped tape across the entire frame. Cut off excess tape and smooth over air bubbles.
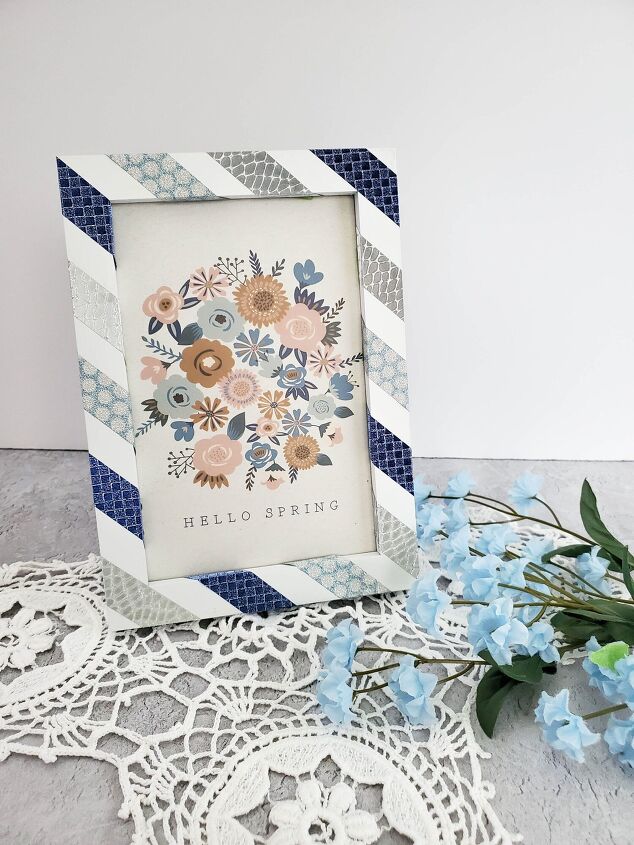
Once you’re happy with the results, just add your favorite photo and display your new artwork proudly! Hang it on your wall or give it to a friend as a great gift.


Frequently asked questions
Have a question about this project?