


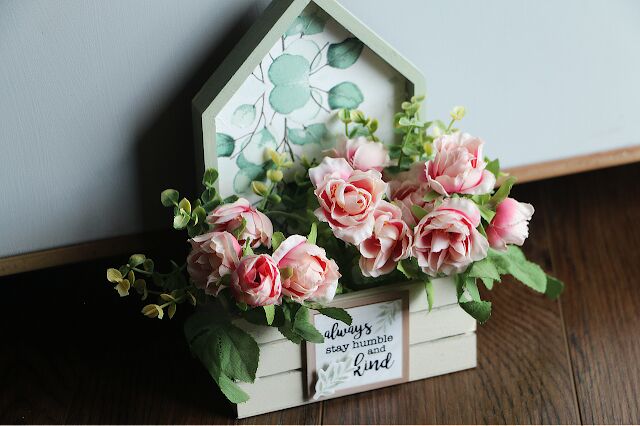
DIY Wood Crate Floral Design

Hello everyone! Today, I decided that I would create this beautiful wood crate floral display. I had a few faux mini roses from another project, and I wanted to see if I could use them in a new project. In this design we will use mod podge as well.
Be sure to connect with me on social media!
YouTube channel-- https://www.youtube.com/channel/UCQVrBPaSoCFqR9rHHuBSlzQ
Blog-- https://stephcreatesthingsdiyhomeandcrafts.blogspot.com/
Instagram-- https://www.instagram.com/stephcreatesdiyhomeandcrafts/
Pinterest-- https://www.pinterest.com/Stephcreatesdiyhomeandcrafts/
Video tutorial

Materials
One wood house decoration
One wood crate
Paint
Faux floral
Mod Podge
Decorative napkin
Floral cutters
Scissors
Hot glue
Paint brush
One pop up sticker
One craft block
One craft knife
(Most of my materials listed can be purchased at Dollar Tree)
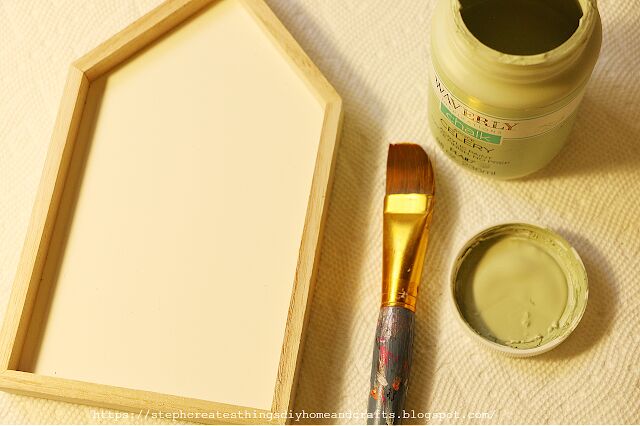
Start by applying paint to your wood house decoration. I only applied my paint on the outer, and inside surfaces of the wood.

Next, take your decorative napkin, and use a pencil to trace the shape of your wood house onto the napkin. Be sure to remove the second layer of your napkin.

Once you have traced out the shape, take you scissors, and cut out the shape.
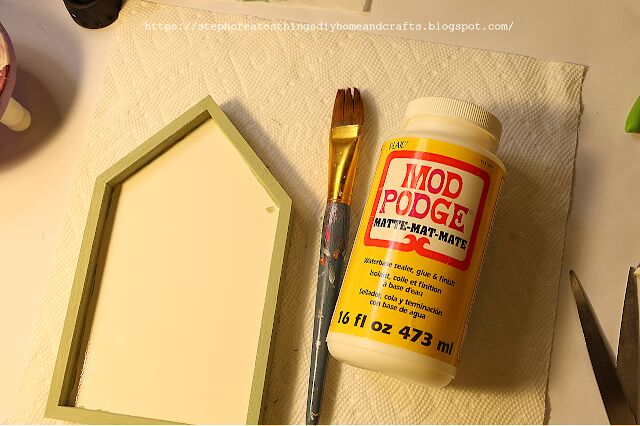
After, take your mod podge, and apply a thin layer onto the inner surface of your wood house.
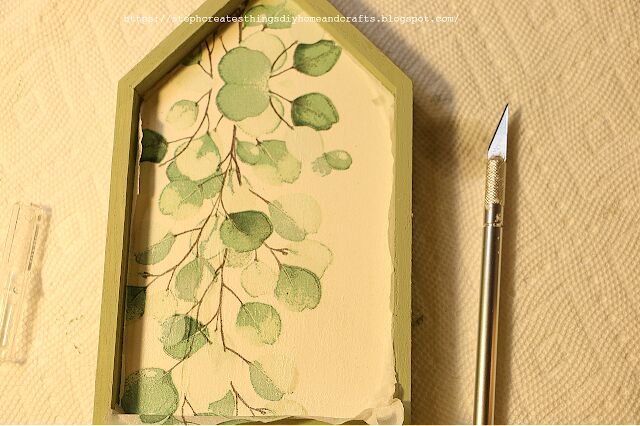
Place your napkin onto the inside of your wood house, and apply mod podge over it. I used a blow dryer to help with drying. Using a craft knife, remove any remaining napkin around the edges.
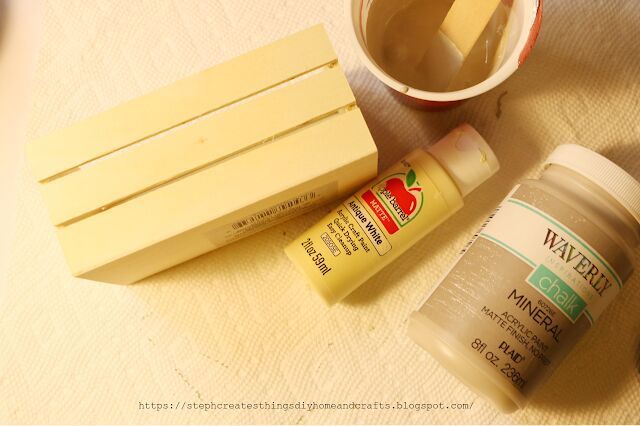
Next, take your paint and apply it to your wood crate. I combined two of my paint colors, and then applied around two coats of paint to my wood crate.
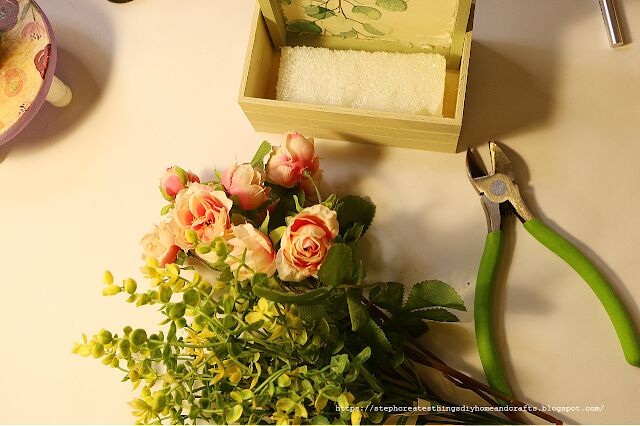
Take some hot glue, and glue your wood house on the inside of your wood crate. Once you have done this, take your foam block, and add just a little glue onto the bottom of the foam block, and add it on the bottom of your crate.Next, take your floral cutters, and begin to cut your floral to size.
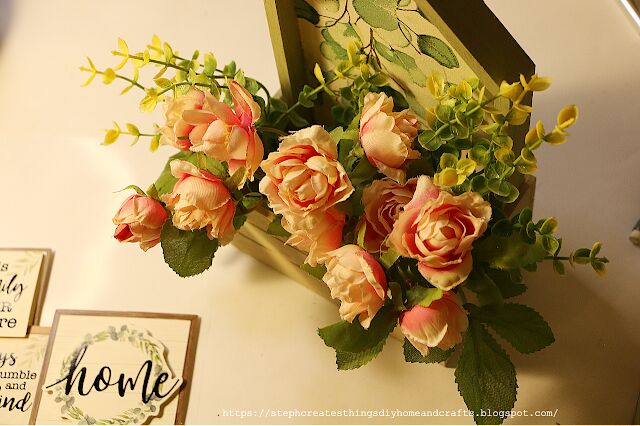
After, take your floral, and begin to gently press each floral stem through your foam block. Once you have placed your floral, take your pop up sticker, and add it to the front of your wood crate. I used just a little glue on the back of my sticker before I added it on.
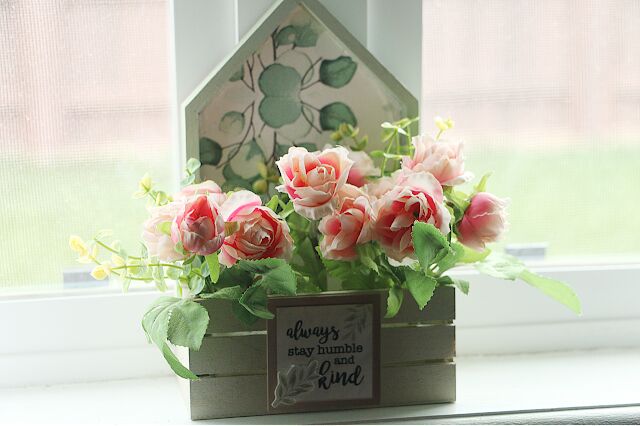
Your wood crate floral design is now complete! I hope that you have enjoyed this simple project. Be sure to let me know if you decide to create your very own. Thank you for creating with me. I'll see you soon!


Frequently asked questions
Have a question about this project?