


EASY & ELEGANT CANDLE HOLDERS WITH MATCHING CANDLES

by
Pretti Eb
1 Material
$23
15 Minutes
Easy
Hey everyone 👋🏽 I'm pretty new to the site and loving everything I'm seeing. I wanted to share a pretty simple DIY I did using mostly dollar tree items. if you'd like to know how I created them here are the easy steps:
1.first you wanna go to the dollar tree lol (thts pretty simple) while I was there I usually browse aro looking for inspiration and the newest items in store. I've been on the hunt for the round candle holders (that I will insert pics of )and I finally found them. They come in gold, silver and a bronze kind of color...(you will need 5 if you decide to make 2 candle holders like I did)
i also picked up 2 tall glass candle holders.
Other supplies you will need are:
- hot glue gun or e6000 (it's up to you)
- 2 tall pilar candles (got mine at hobby lobby in a pack of 2 for $5.99)
- These next items are optional for the decorative candles: diamond wrap (from dollar tree $1.00 or diamond bling sticker strips like I used from hobby lobby $5.99
- circle bling stickers $3.99
Ok, now let's create some magic😉
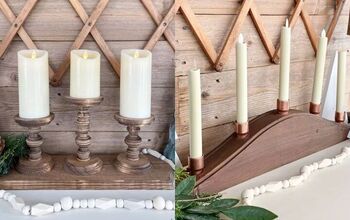
First, you want to have 3 of the round holders for the tallest one and 2 round holders for the shortest one. Take the glue of your choice (I used both to be double sure lol) and place some around the top of the first candle holder and place the second one on top. Place glue on the second level and place the third one on top of that. Do the same for the second candle holder... glue the two together. of course the hot glue gun will make it easier and faster to most onto the next step.
Now that those little guys are glued together, take the two tall pilar glass holders and glue one on the 3-tier stack and the other on the 2-tier stack. And that's that.
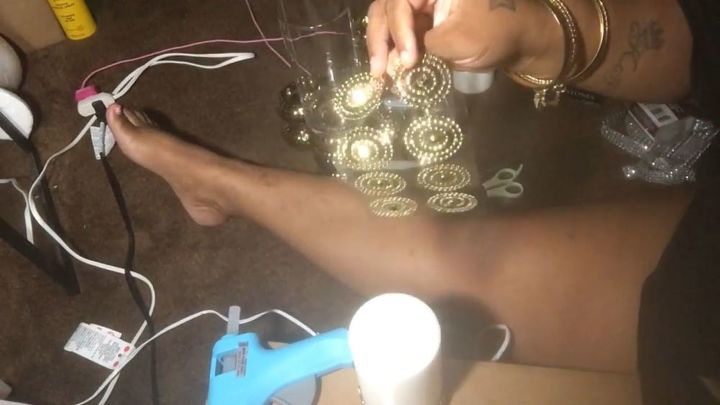
Now for the candles, like I said this step is optiona... some might want to leave it plain and other might want to jazz them up like I did. if you do them let's get into these very easy steps.
I got my gem stickers from hobby lobby but feel free to use bling wrap or whatever your heart desires. The design and sticker choic is up to you. I chose these and all I had to do with the circle gems was to stick them on in layers and I placed them randomly on the candles and with the gem strips just wrap them around the bottom cut off the excess. Now I will say 2 things... one, the gem strip is extremely thick and it will Not allow the candle to rest all the way down in the pilar candle holder which was ok with me because I like the look of it floating. And secondly, I notice after time my stickers (the circles not the gem strips) started falling off and I had to remember that it's wax that it's sticking to lol so you can use e6000 or the fix all adhesive from dollar tree to keep them on. And ladies and gentlemen that is it. I hope you guys understood this rundown since this is my first time having to type my instructions lol (bare with me) I hope you enjoyed and if you make them I hope you love them as much as I do and the attention they bring when people visit my home.

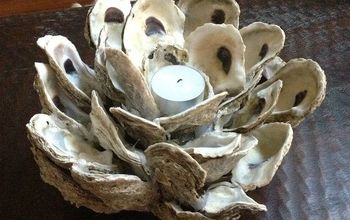
Round "tea light" candle holders
Glue these one on top of the other. (One stack of 2 and one stack of 3)
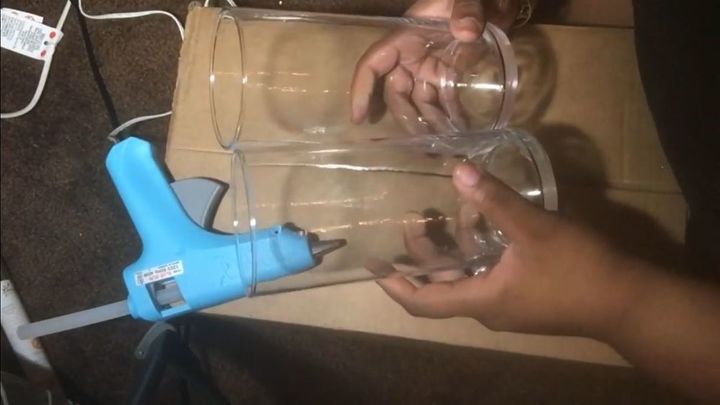
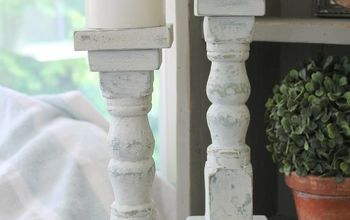
Pilar candle holders
Once the others are glued together, glue one of these on each stack.
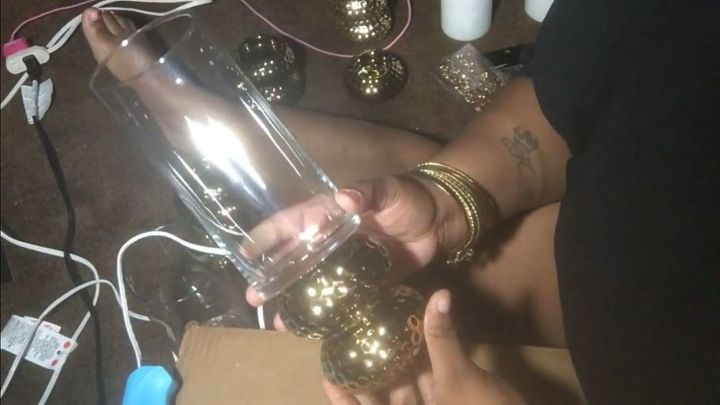
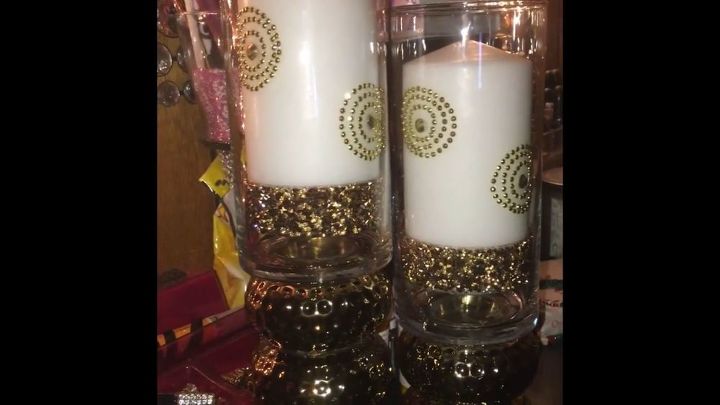
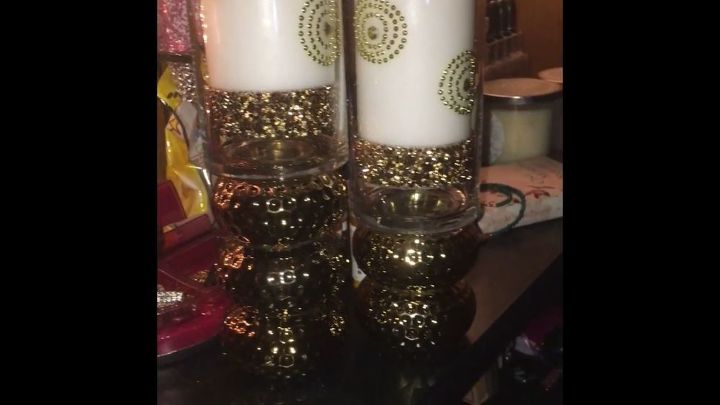
It should look something like this 😉
next you move on to the candles
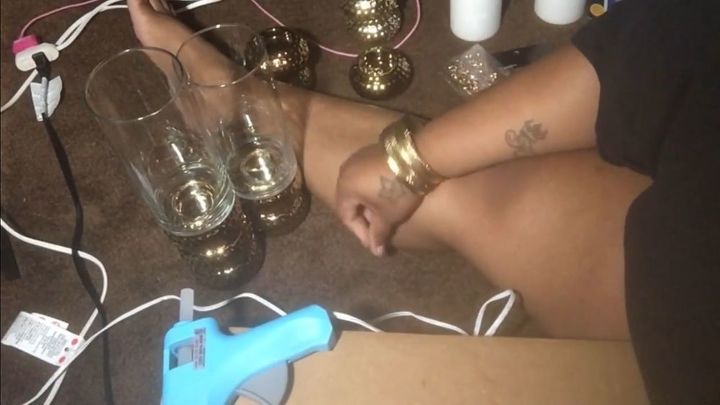
The 3 tier and the 2 tier
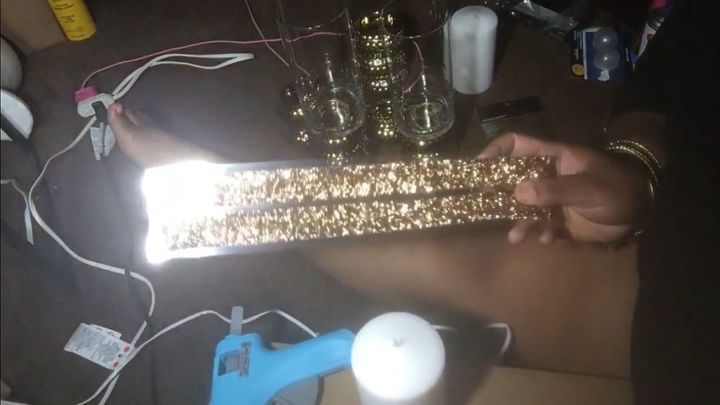
Gem strips from hobby lobby
Circle gems also from hobby lobby
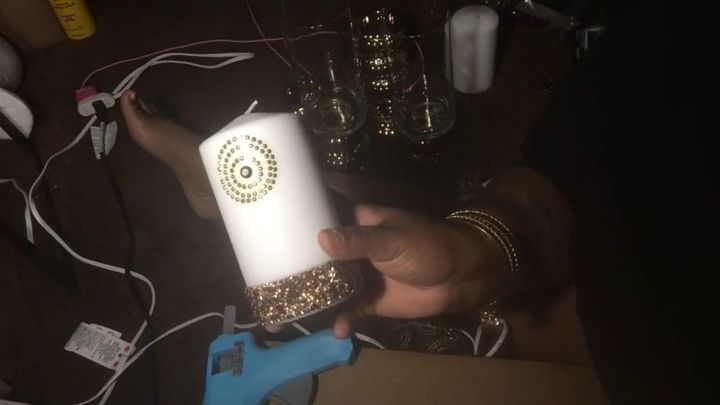
apply your bling stickers of choice

{
"id": "3921223",
"alt": "",
"title": "",
"video_link": "https://www.youtube.com/embed/3hft1wZUz7g",
"youtube_video_id": "3hft1wZUz7g"
}
{
"width": 634,
"height": 357,
"showRelated": true
}
Comments
Join the conversation
2 of 18 comments
-
This is one of the better and most beautiful unique Christmas ideas I have seen yet! I absolutely love it and am going to make them! Thank U so much for sharing! 💖
-
Well done. I'm gonna try it..ty for sharing


Frequently asked questions
Have a question about this project?
Could you just apply the circle bling sticker and the gen strip to the glass instead if the candle?