


Easy Frame Update Using Gold Rub'n Buff - 804 Sycamore

In
Easy Frame Update Using Gold Rub’n Buff
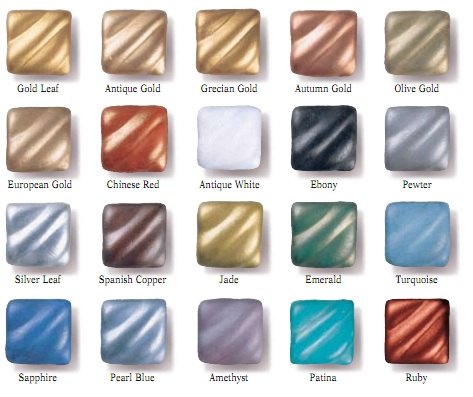
One of the easiest ways to update decorative items, mirrors, frames, and even furniture, is by applying Rub’n Buff wax paste. It adheres to almost any hard surface. Maybe you have thrifted frames, inherited frames, or even have custom frames that only need an update for you to love and enjoy them again. Look no further, Rub’n Buff could be the answer to rejuvenating something old into something new again. I used to think that Rub’n Buff only made a few colors, but they make so many different colors that you’re bound to find something to suit your style. After having some vintage art prints made, I started looking for frames, but the large size was really expensive. To save money and get the look I wanted, I used black poster frames and then did this easy frame update using gold Rub’n Buff.
The specific color I used was gold leaf because I love the texture and dimension in the gold leaf Rub’n Buff wax. The advantage of using Rub’n Buff is that it can be done indoors, unlike spray paint, and it’s easy to control the application because you can use your finger, a rag, or brush. The paste format is very easy to use and manipulate. I was surprised by how quickly it dried, but I suppose that depends on how thick you apply the Rub’n Buff and how good your ventilation is. The small tube of Rub’n Buff paste was about $6 and I worried that one tube wouldn’t cover all three of my poster frames, but it did and my tube is still at least half way full. Now, I’m looking around the house to find my next Rub’n Buff project because the frames turned out so well.
With Rub’n Buff, you can brush on touches of accent color, or you can fully cover a piece. The options for transforming a piece are endless – you just need to decide what your style is and what look you want. I used a finger protector because Rub’n Buff is like a paint and I didn’t want it soaking into my skin, but you can use your finger or any brush applicator – whatever suits your needs. A brush may be easier if you have to work the paste into grooves or tight spots, and a rag may work well for larger flat areas. Any way you approach it, I recommend starting out with a small amount and getting a feel for how well it spreads across the surface and how much it takes to cover a certain amount of space. It’s best to work in a small area because it begins to dry quickly.
It was my experience that it spread quickly and if I started with too much it would begin to dry and get a texture that wasn’t as easy to smooth out. I worked in small areas at a time and fully covered the space before moving on. There were a few times that my fingernail scratched the drying paste and it left an impression, but all I had to do was add a little more Rub’n Buff paste to that spot and it smoothed right over the blemish. You could even wait until your piece is dry and then do all your touch-ups at once. This Rub’n Buff technique couldn’t be easier or more fool-proof. I love how affordable it is and how easily it transforms a piece giving it an entirely different look.
I absolutely love wall art galleries with mismatched frames. I love the eclectic look and how it adds so much interest and movement. However, I equally love all matching frames too – the consistency and the way it allows you to fully focus on the art or photos. If you have a bunch of mismatched frames and either don’t want to replace them to all match or maybe you love the frame style, but wish it was another color – Rub’n Buff could be your answer. A tube of Rub’n Buff is a lot cheaper than replacing frames to all match and even then you may not be able to find all the sizes you need in the matching color you want. Changing the color can also change the style of the frame. I love the sleek and simple style of my modern poster frames, but my art prints have a vintage vibe, so using the gold leaf Rub’n Buff paste allowed me to mix my two favorite styles, modern and vintage.
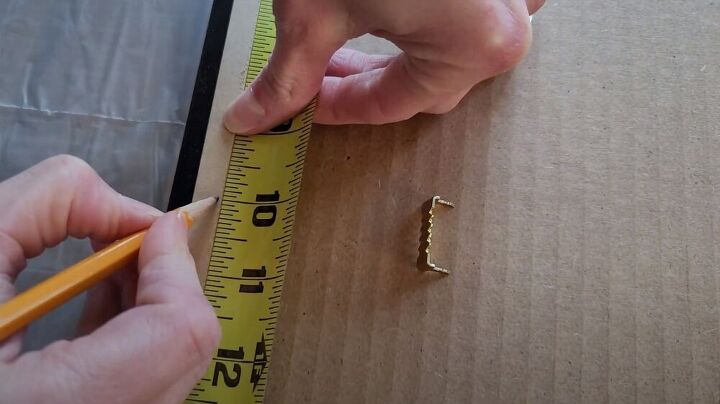
If you poster frame requires you to attach hardware, make sure to do that first.
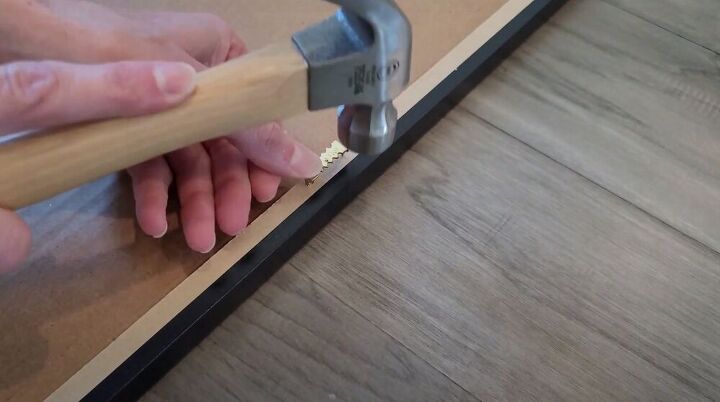
Measure, mark, and carefully attach hardware.
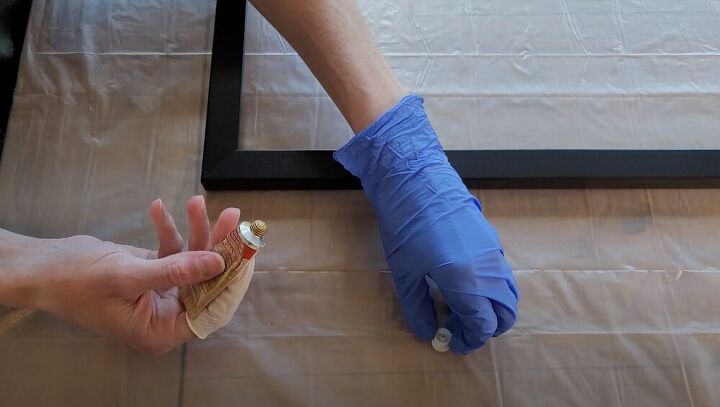
After you remove the frame backing and any glass or plexiglass - prepare your area (I used a plastic drop cloth) and put on any protective gear (I used a glove and finger protector).
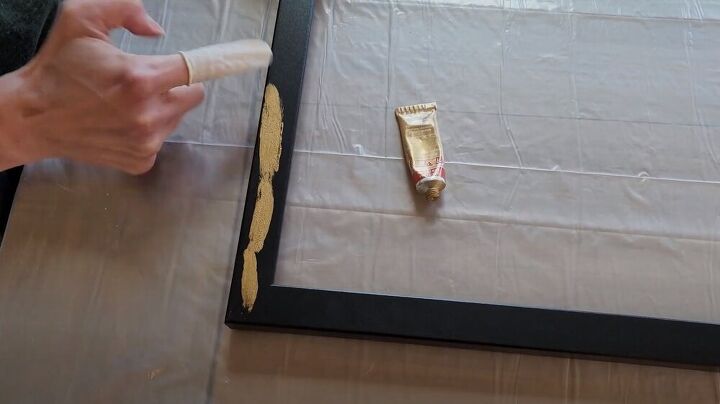
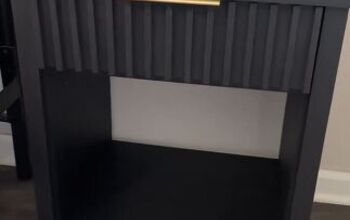
When I apply the Rub'n Buff wax, I apply a small amount across a small area because it starts to dry rather quickly.
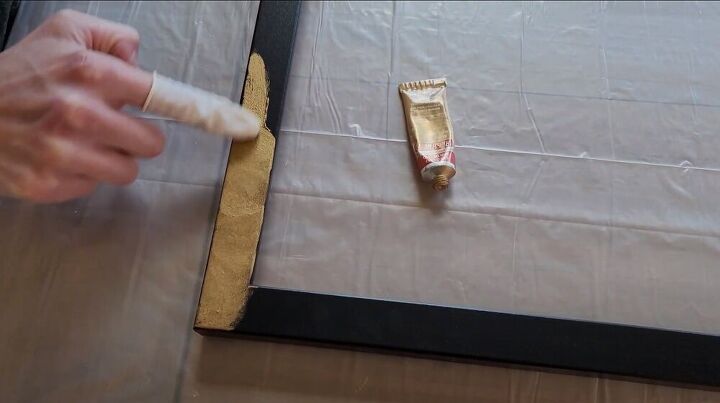
After I spread it across a small area, I just buff it in and cover the space. I buff in a circular motion and then one final swipe in a linear motion because I like the pattern it leaves when it dries. I also make sure that it's spread evenly. You can also do touch-ups later on if you want.
Easy Frame Update Using Gold Rub’n Buff
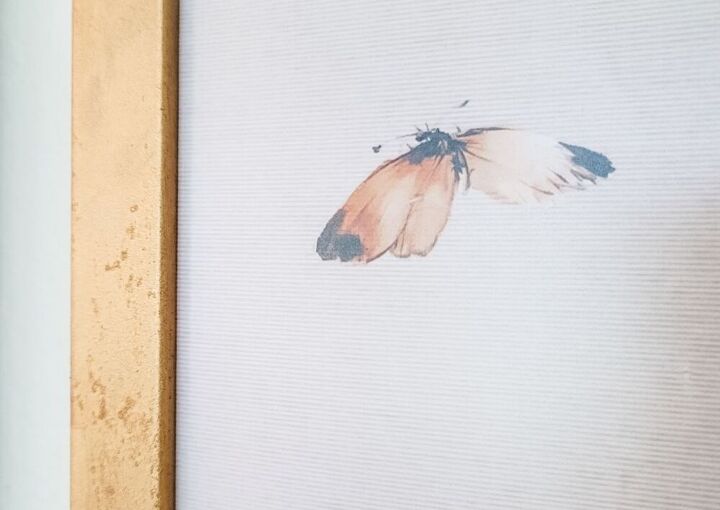
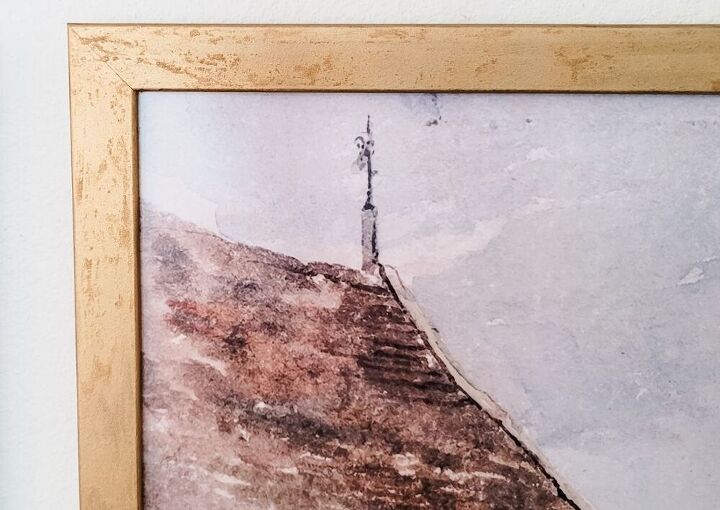
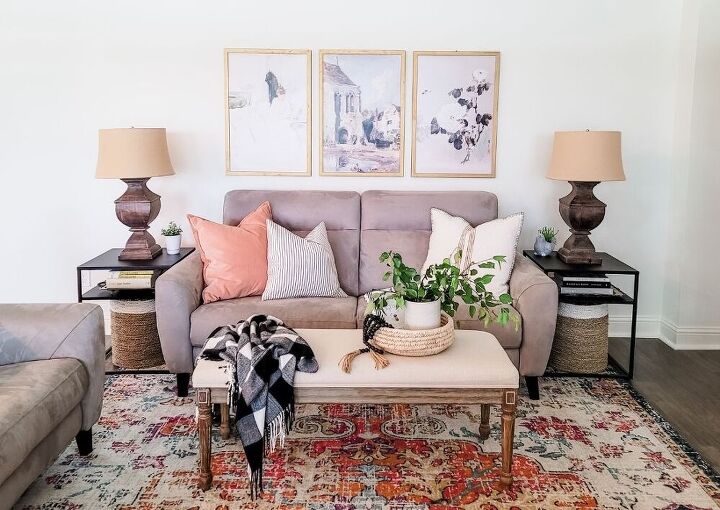
Here is a shot of all three frames done and dry. You can’t see how pretty these prints are because of the widow light brightening them, but they look stunning in the gold frame compared to a modern black frame. These particular frames are 20×30″ and I’m not using the plexiglass cover because it causes a bad glare over the art prints. I’m so happy with the way these turned out and can’t believe how affordable it was and how quickly the frames transformed!
As you can see, Rub’n Buff is pretty awesome and I highly recommend using it to easily transform a picture frame, mirror, decorative element, and even furniture. I think this product would be a fun thing to use with a friend – gather some thrifted items or old decor around the house and see if you can make it something to enjoy again~
I'd really appreciate it if you clicked the LIKE button~
And you can subscribe to my channel for more DIY tutorials!
Rub'n Buff: https://rstyle.me/+tGALkMJtUFeR8K_jJKMziA


Frequently asked questions
Have a question about this project?