


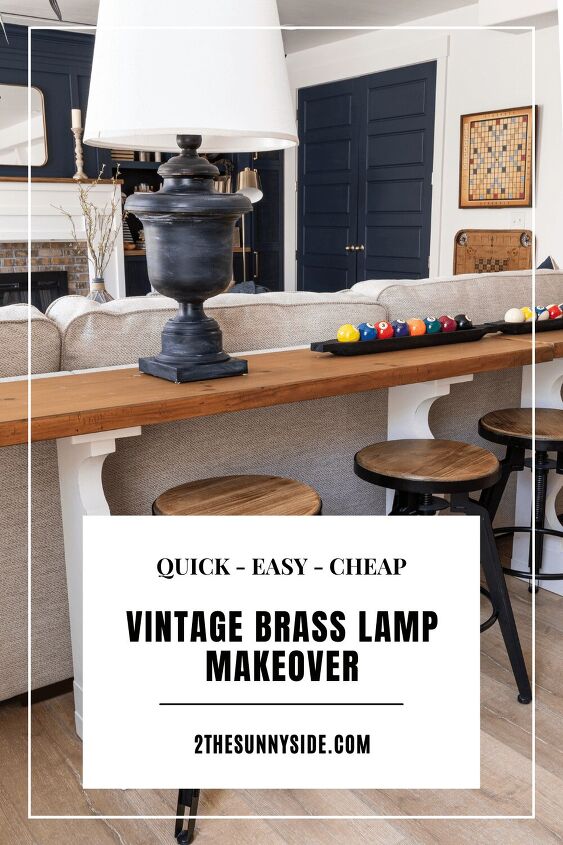
Easy Lamp Makeover With Spray Paint and White Wax
Certainly we all love a quick, easy and money-saving DIY and that’s just what we have for you today!
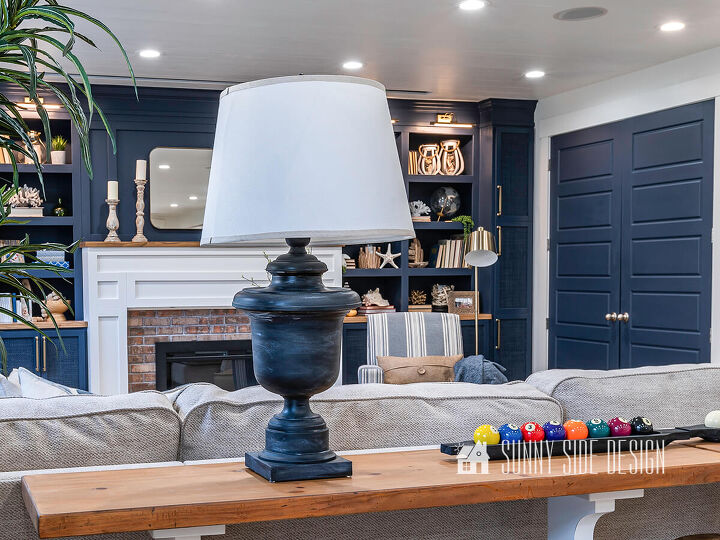
And as we were looking for the finishing design elements for the basement family room renovation, top on our list were a pair of large table lamps for the upcycled DIY sofa table.
After a little window shopping we found lamps we loved at Pottery Barn, but at $399 for each lamp, it just wasn’t in the budget.
Clearly a lamp makeover is a quick and easy DIY project, so we began searching for a pair of large lamps.
Now it’s not always easy to find a pair of lamps.
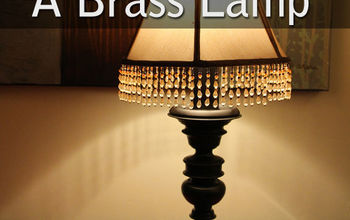
But as luck would have it, we found a pair of vintage brass lamps at the Vintage market in May.
Just in time for our room reveal!
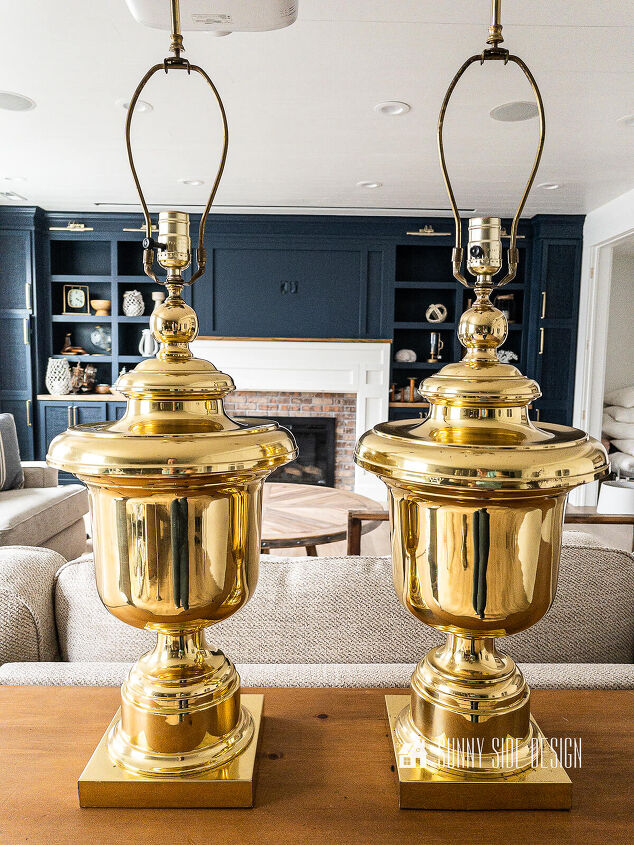
Not only did we find a pair of lamps, but they were the perfect size!
While we tossed around the idea of making over the lamps with rope for a coastal vibe.
However we couldn’t get the Pottery Barn lamps out of our heads.
In fact, it’s that rustic finish of the Faris ceramic table lamp we really wanted to recreate with our lamp makeover.
Although the shape of our lamp is a little different, with our lamp makeover we were still able to achieve that rustic vibe of the Pottery Barn lamp.
How to Makeover an Outdated Lamp
Do you have an old outdated lamp and wonder how you can breathe new life into it?
Or have you found a fabulous vintage lamp at the thrift store that you want to update?
A lamp makeover is a quick and easy project that you can complete in an afternoon.
It can be as simple as refreshing the lampshade with fabric, ribbon, gems, lace or even paint.
And the lamp base is just as easy to update with rub ‘n buff, paint or a tinted wax.
I think my favorite way is simply with spray paint.
Over the years I’ve updated many lamps with just spray paint and I find that the painted finishes holds up very well.
You’ll find so many options with color and textures, that it’s easy to makeover a lamp in no time at all.
Even if your lamp base is a shiny brass finish like ours, you can quickly give your lamp a makeover with spray paint.
And to speed up the process you can use a paint and primer in one.
Supplies
You’ll need just a few supplies to achieve this rustic finish with your lamp makeover.
- vintage lamp
- Dawn or other cleaning supplies
- masking tape
- paint with primer
- white wax
- optional clear coat
- optional dirt
Prepare Lamp for Makeover
Before you start your lamp makeover, you’ll want to give it a good cleaning.
Our cleaner of choice is Dawn.
Not only is it a great degreaser, but it also leaves no residue.
Once the lamp is clean and dry, tape off the electrical socket and cord.
Apply Paint and Primer
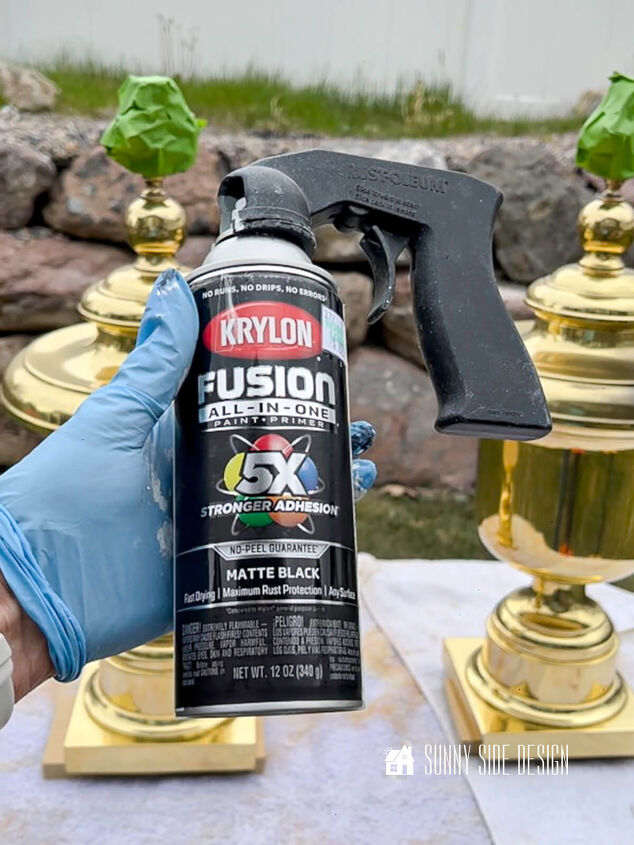
In order to get this project finished fast, we chose a paint and primer in one with a matte finish.
When painting a metal lamp base, choose a paint that is meant for metal.
Read the label and make sure it will adhere well to your lamp base.
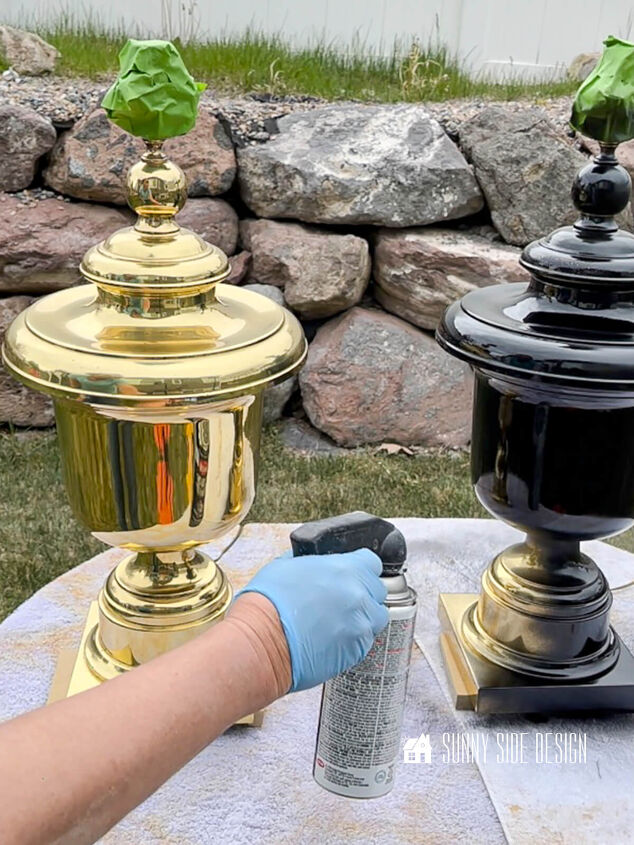
When painting a project like this, you should spray paint in a well ventilated area, preferably outside or in an open garage.
And if you don’t you’ll end up with a dusting of paint throughout the area.
Set up a table to work on and we also like to raise the lamps up a bit with a block of wood.
This will ensure that the lower edge of the lamp is well covered with the spray paint.
Then apply two light coats of paint, allowing it to dry between coats.
Make sure to check the dry and re-coat time on the can you choose.
Another item we like to use when spray painting is this trigger you can slide onto the can.
It certainly reduces hand fatigue.
Create Rustic Pottery Barn Vibe
For months I’ve been seeing these mud vases on Instagram and Pinterest and I thought it would be a great technique to try on the lamps.
Basically, you moisten some dirt and rub it over your painted surface once it’s dry.
Then you let the mud dry and brush away the loose dirt with a dry paint brush.
So, I followed the steps, but quickly noticed that the dirt would just rub off and I would loose that rustic finish I wanted.
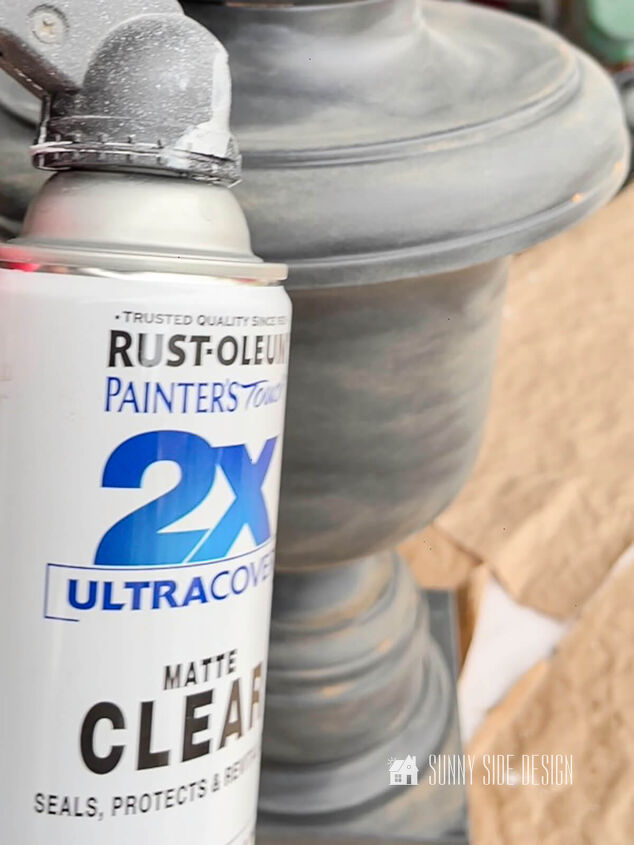
Next I thought, I’d seal the dirt in place with a clear coat.
However, in the process I lost a lot of the aged finish I loved.
So back to the drawing board…
Over the years I’ve used white wax to age furniture, so why not try it on this lamp makeover.
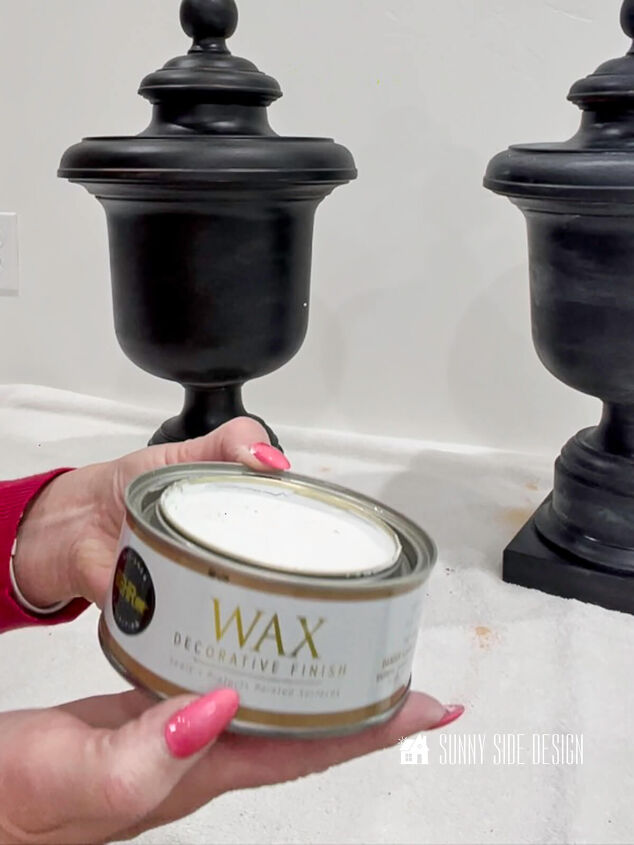
I’m using Behr white wax decorative finish.
If you don’t have a white wax on hand, you can add a little white chalk paint to a clear wax and apply it in the same way.
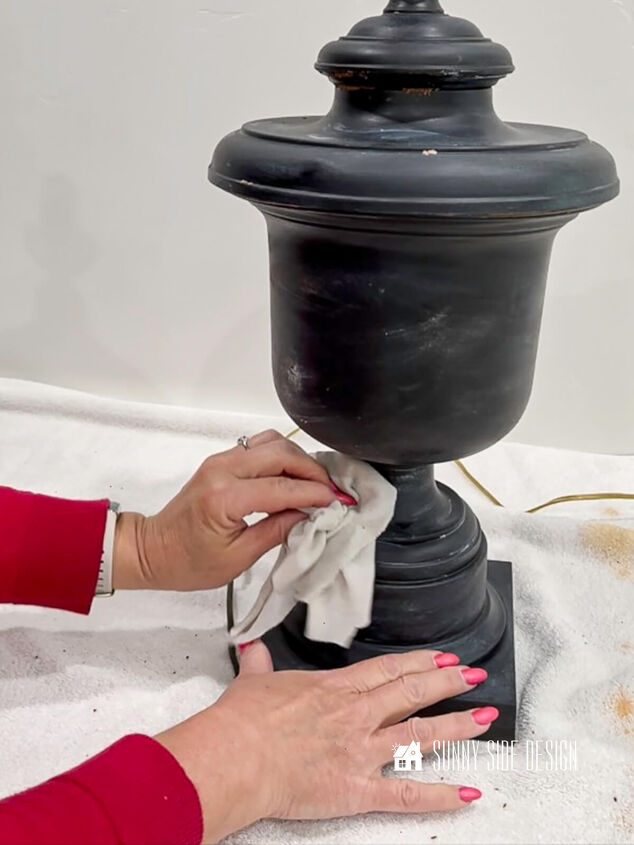
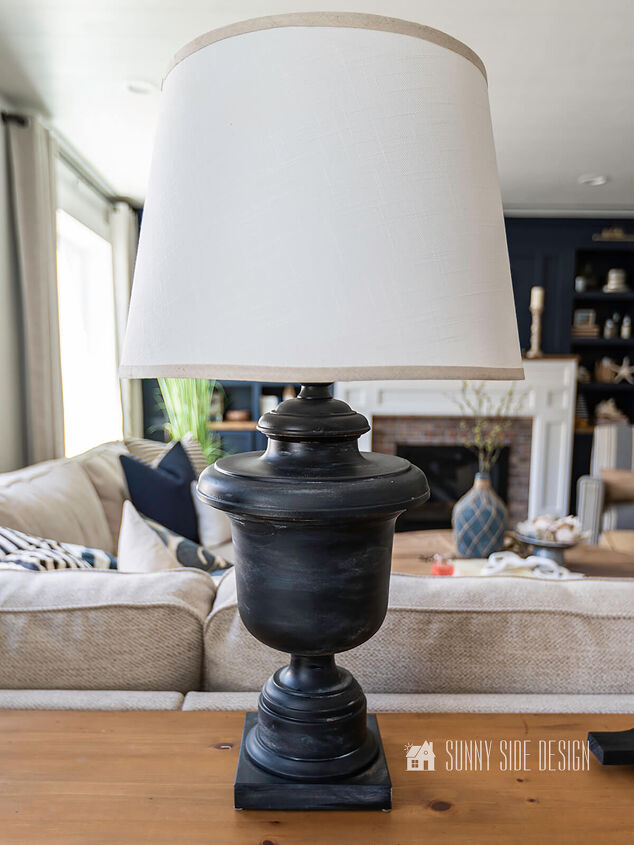
To apply the white wax, pick up a little wax on a cotton cloth and wipe it on to the lamp base.
Focus on applying the wax in the grooves as well as lightly over the entire lamp base.
Let the wax fully dry and then buff it with a clean soft cotton cloth.
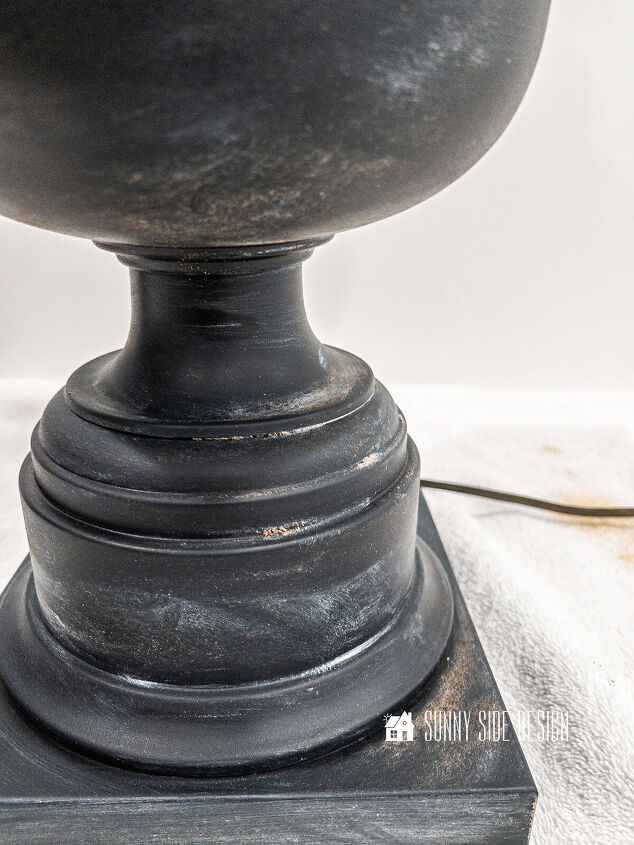
In this close-up view of the lamp base after it’s buffed you can see the streaks of white wax along with a little dirt that did remain on my lamp.
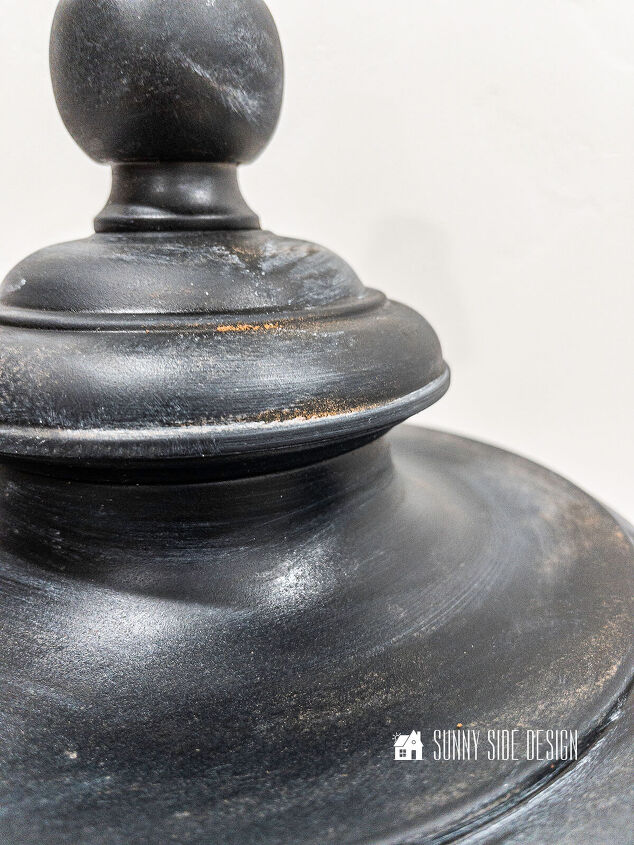
Because our dirt is red, the lamp appears to have rust spots.
While the dirt method of aging is intriguing, I think I’d rather get that look with paint.
I feel you can dab on a little rust or dirt colored paint in a few spots and achieve the same look without all the mess.
Overall, I wouldn’t do the dirt method again.
I believe you can achieve the look with just paint and it will last so much longer.
Let’s stay connected! Follow us on social media!
Add Lampshade
Once the lamp base is to your liking, reattach the harp and add a lampshade.
One more step we did to finish off our lamp was to cover the gold electrical cord with black electrical tape.
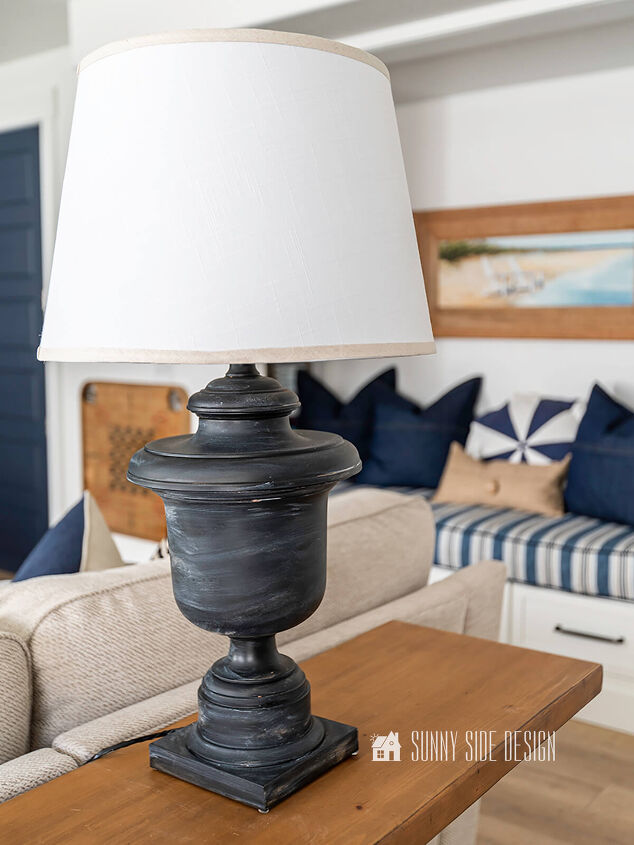
Clearly we are thrilled with our lamp makeover!
Don’t you just love that sophisticated rustic vibe!
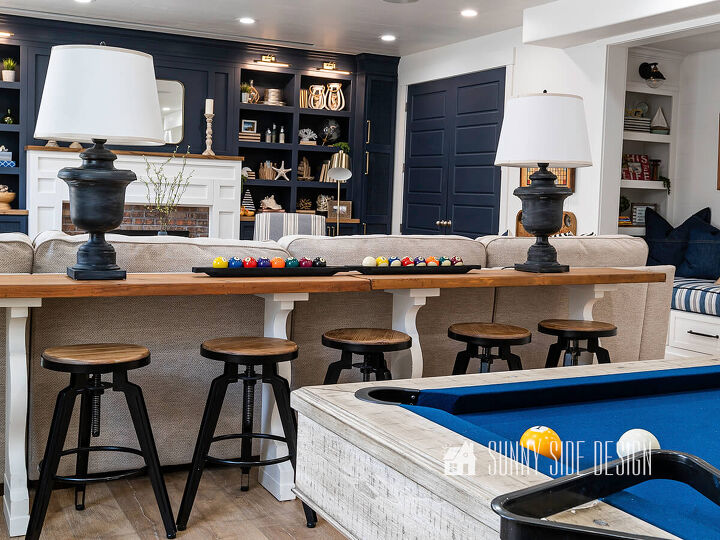
Not only are they the perfect size lamp for the space, but we were able obtain that rustic Pottery Barn finish that we love.
We feel that they’re perfect in our family room makeover.
We hope you found a little inspiration here today.
So tell me, are you ready to makeover an vintage lamp?
Not only can you makeover a lamp with paint, but even adding embellishments like ribbon or rhinestone brooches can easily update a lamp.
And don’t miss these DIY lighting ideas on the cheap!
We find it so rewarding to take an old discarded piece and breathe new life into it.
What’s your favorite piece you’re transformed for your home?
Have you seen our completed basement family room?
It’s full of so many inspiring DIY project!
Do you have questions or another idea for a lamp makeover?
Please share your thoughts and questions with us.
We love to hear from you!
Let’s stay connected!
Subscribe to our free newsletter so you don’t miss any inspiration for your home.
Please PIN and save for later, and share with your friends!
Sharing helps grow our following!
Thanks for stopping by and as always here at Sunny Side Design…
WE HOPE TO BRING YOUR HOME TO THE SUNNY SIDE OF THE STREET.
Be sure to follow us on Pinterest for even more home decor and DIY ideas.
To see what we are working on before it’s on our blog, follow us on Instagram.
You will also find our video tutorials on our YouTube channel.
Resources for this project:
See all materials


Comments
Join the conversation
-
-
I love your end result! The lamps look beautiful and updated and look great in your room!


Frequently asked questions
Have a question about this project?
LOVE!! 👏🏻👏🏻👏🏻