Table Runner, Placemats and Coasters Made With Leftover Fabric

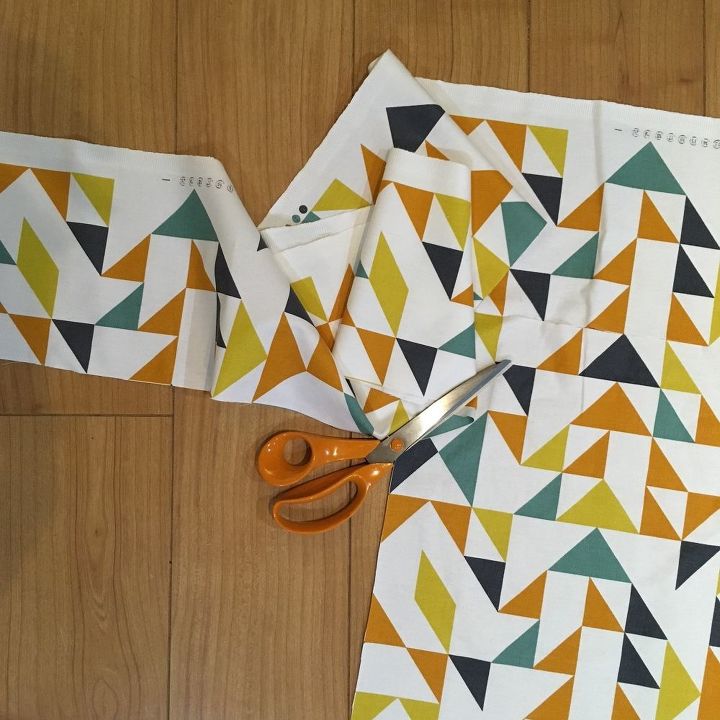
I recently made some new cushions for a pair of conservatory chairs. The cushions were 76cm wide, and the fabric was 114cm. So I ended up with a 7.5 metre strip of fabric just 38cm wide, with a few wider pieces where I'd had to match the pattern between cushions. That's a heck of a long strip of fabric.
The chairs live in an open-plan dining/sitting room, so I decided to make a few things for the dining area, to tie the two parts of the room together. This is a good project for anyone new to machine sewing as all the stitching is straight and there are no complicated pattern pieces. You do need to be strict about pressing inbetween stages though - skip this step and your finished product will be very wonky!
I used heavyweight cotton furnishing fabric. The geometric print made it easy to cut neat rectangles. If you want to do something similar, make sure you choose a fabric that is robust, reasonably firm and heat-resistant. Cotton and linen work well. If the fabric isn't pre-shrunk, you should launder it first, and press well before cutting.
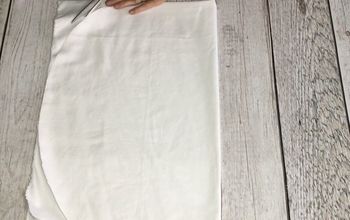
The mats, coasters and runner are all double-sided, so I cut two identical rectangles for each item. The mats are about 25cmx35cm; the coasters are about 10cm square, and the runner is about 45cm x 2.5m. You can make yours whatever size suits your table best; just remember to add 1.5 cm all round for the seam allowance.
All the items are made using the same method. The photos show the table mats. Before starting to sew, I pressed each piece well, using a steam generator iron. If you don't have a steam-generator, then use a damp pressing cloth - it makes a huge difference.
I placed the rectangles right-side together and pinned them. Placing the pins at an exact right-angle to the seam, with the heads towards the centre of the mat, meant I could sew straight across the pins without breaking a needle. If you prefer, you can hand-baste them together, but pins worked fine for me. I wouldn't advise just machining without pinning or basting though; even a slight slippage of fabric means you end up with bunching and puckering.
I machined with a medium-length straight stitch around the mat, leaving a gap of around 8cm on one long edge (longer on the table runner), so I could turn the mat right-sides round later. To turn a neat corner with no slippage, I made sure the needle was fully down into the fabric at the point where I needed to turn. I raised the presser foot, swivelled the fabric around by 90 degrees, lowered the presser foot and stitched along the new side.
Back to the ironing board! I pressed the mat thoroughly and trimmed the seams down to about 1cm. I also cut across the corners (careful not to cut the stitching!) to reduce the bulk.
I pressed all the seams open, including pressing back the section where I had left a gap. This is really important to deliver a good crisp edge.
I used the gap in the seam to turn the mat right-side out. I used my finger to push the corners out fully; you can also use a blunt point, such as a large wooden knitting needle.
I used my finger and thumb to roll the stitches right out to the edge. This gives a clean, strong, straight edge. Then guess what? I pressed it again!
I set my machine to a slightly longer straight stitch and top-stitched all round the mat right at the very edge. When I came to the unstitched gap, I just sewed straight on, closing the gap. I then top-stitched again, about 1cm inside the first top-stitching Once again, the geometric pattern made it easy to keep a straight line.
One final pressing and the mat was complete. I made four mats, four coasters and one runner, all using the same approach. I've photographed them all together, but usually I use either the runner alone, or the mats and coasters without the runner.
I'm really pleased with how these turned out - and all for free, because I already had the fabric. Please let let me know honestly what you think - I'm always keen to hear what other people like.
DIY home decor using fabric
Enjoyed the project?
Suggested materials:
- Leftover upholstery fabric (Kirkgate Market, Leeds, England)
Comments
Join the conversation
-
 Don2465986
on Nov 15, 2017
Nice work Liz. You're so correct about ironing. My slogan is "the seam ripper is your friend ". However, your iron is you best friend!
- See 1 previous
-
It's always nice to have one handy! Lol I also noticed the way you sewed your corners. It takes out the bulk. I'll definitely do that from now on. 😀
 Don2465986
on Nov 15, 2017
-
-
 Liliana Wells
on Nov 18, 2017
Neat project. I like the fact you used fabric you already had. I also like the uncluttered table. Happy Holidays.
-






Frequently asked questions
Have a question about this project?
Did you make the bunting above the alcove with triangles cut from the fabric? What a nice accent!