


Farmhouse Popsicle Stick Coasters
Popsicle stick crafts make us yearn for the simple days of camp crafting projects and rainy day activities as a kid. No matter how much we've grown up, though, we still enjoy the fun of making things out of wooden popsicle sticks!
Especially when those popsicle stick crafts look surprisingly high end!

These wooden drink coasters made from Popsicle sticks are a simple and easy DIY. But the farmhouse chic look that they provide are anything but child-like.
Grab a bag of Popsicle sticks (or just keep them after enjoying a frozen dessert) and start crafting again.
Glue Sticks Together
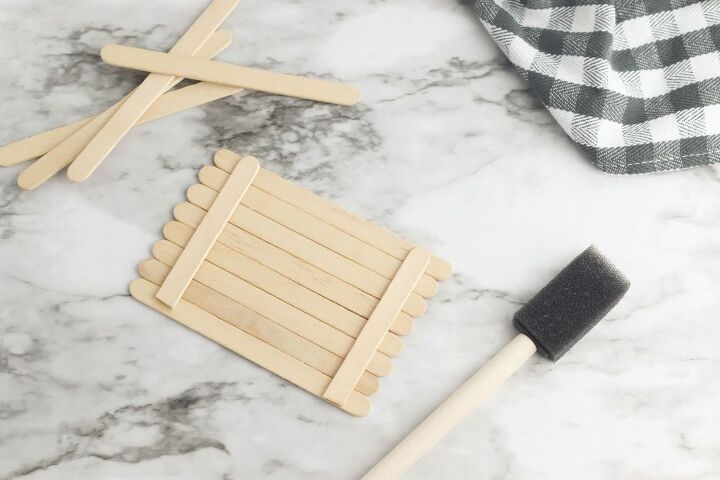
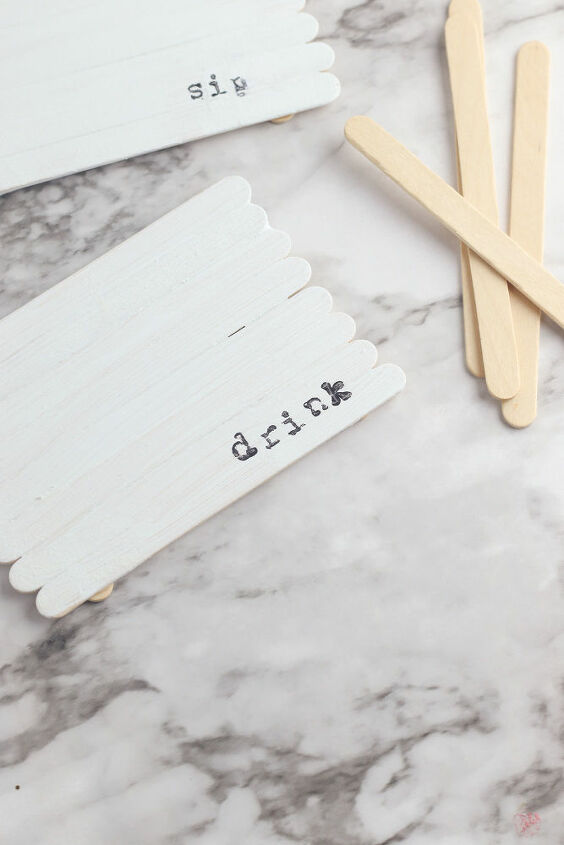
Make the coaster by laying eight popsicle sticks in a line on flat surface.
Cut the ends of the remaining two sticks, making sure they’re the correct length to fit along the top and bottom of the row of eight sticks.
Make sure the popsicle sticks are evenly aligned, then place a line of hot glue along the top of the sticks.
Press one of the trimmed sticks in place and hold until the glue has set.
Repeat the process along the bottom of the popsicle sticks.
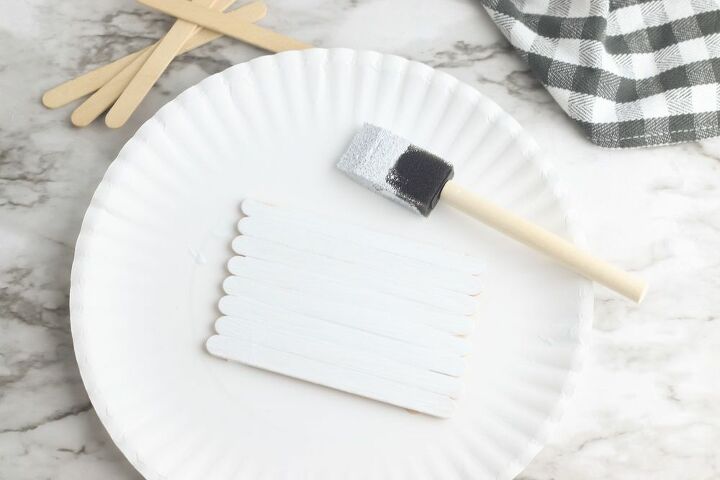
Start Painting
Flip the coaster over and paint the top using white chalk paint.
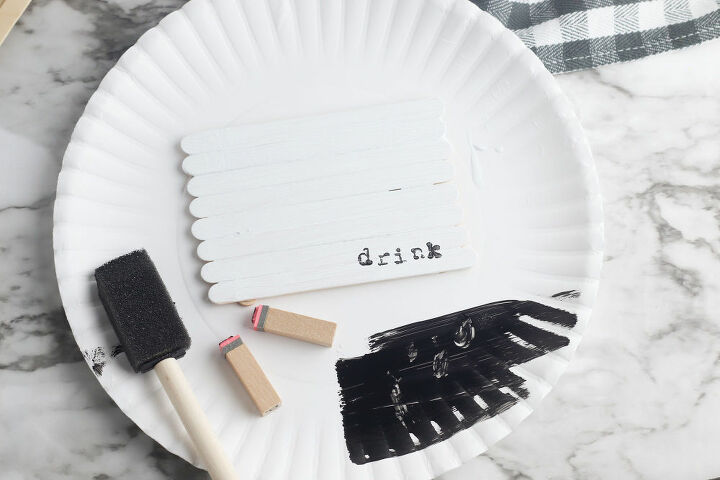
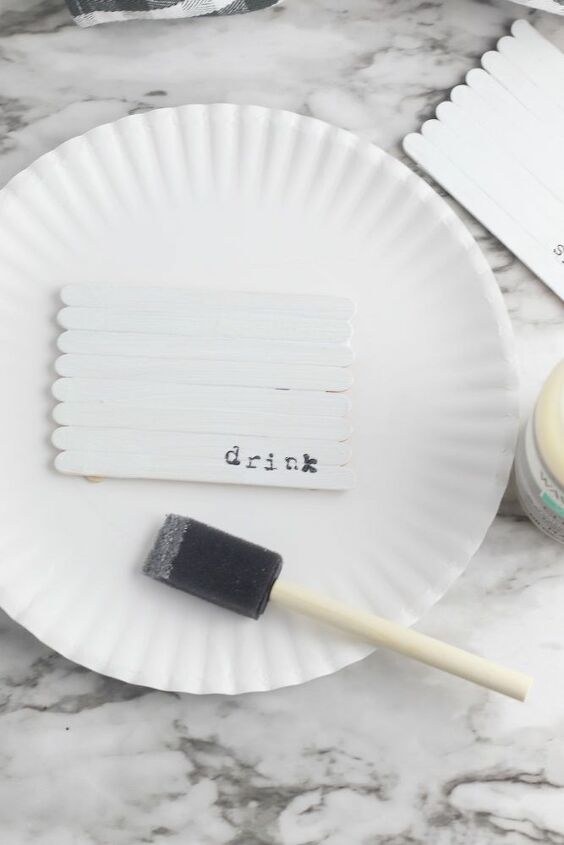
Add Words
When the paint has dried, spread a thin layer of black chalk paint over a flat surface to work from.
Carefully dip your letter stamps into the paint, then press them onto the coasters to spell words.
Protect with Wax
Allow the coasters to dry completely, then spread a layer of wax over the top to protect the paint and wood from water damage.
Treat the coasters with another layer of wax every month to keep them from being damaged if you are using them frequently.
Enjoy or Give as Gifts!
These simple DIY drink coasters are so fun and easy to make. They are especially fun as hostess gifts.
If you like upcycling projects, be sure to see how we turned an oatmeal container into a stylish plastic grocery bag holder!
And we saved about $140 by turning these trash cans into garden planters!
Resources for this project:
See all materials


Comments
Join the conversation
-
Really cute idea!!
-
They're cute, but really -- "high end" and "popsicle sticks" are mutually exclusive terms!


Frequently asked questions
Have a question about this project?
What type of wax is preferred