


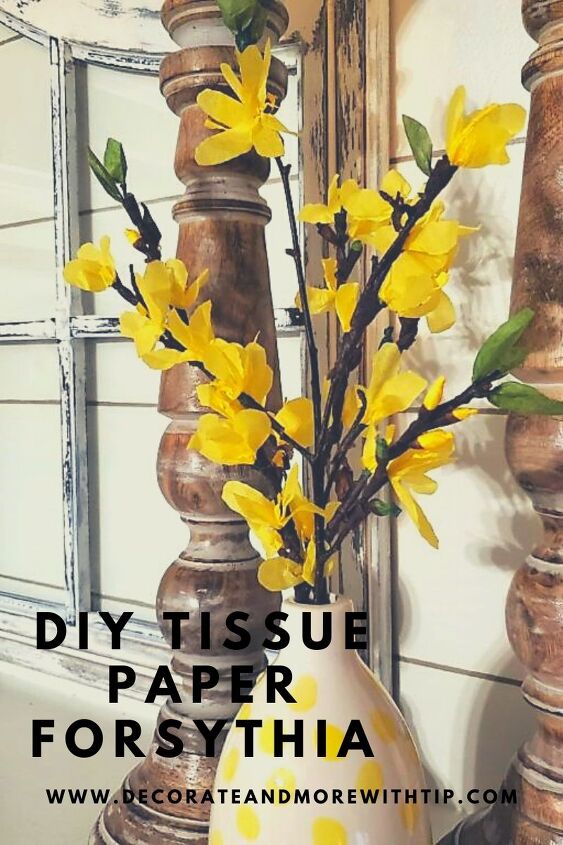
Faux Forsythia Branches
Hey there! Welcome to Decorate and More with Tip. If you are new here I am so happy you stopped by. Please click the follow button and keep coming back, I love sharing my tips on how to decorate on a budget. Today is another day where I share how you can decorate your home using paper.
You are probably thinking I am on a paper kick lately. I shared my tutorial on how to make paper peonies (to view the tutorial DIY PAPER PEONIES and now tissue paper forsythia. It amazes me how pieces of paper can look a certain way by cutting and shaping. Here is my tutorial on how I made forsythia branches.
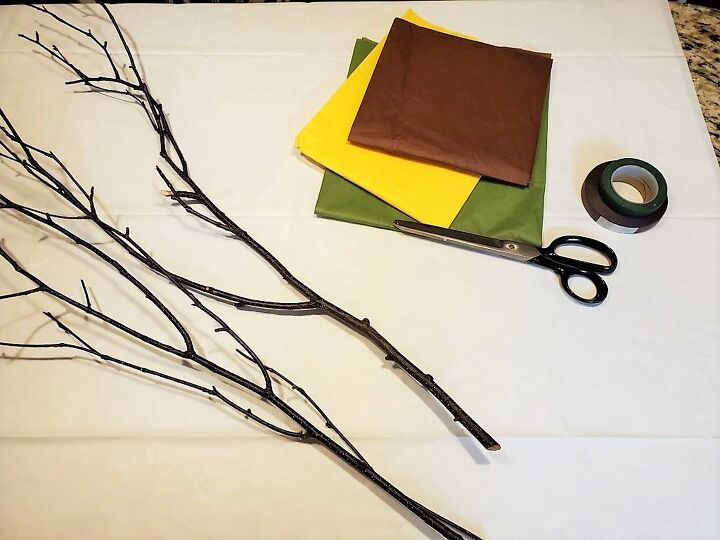
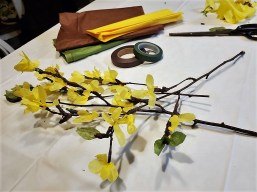
The items I used were:
- yellow, green and brown tissue paper
- 1 kleenex
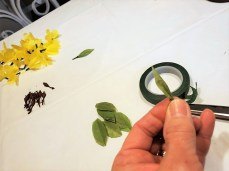
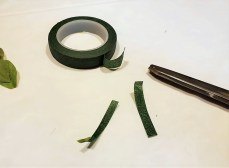
- brown and green floral tape
- scissors
- branch from your yard
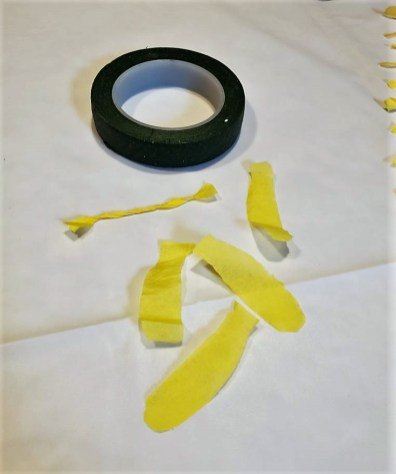
Cutting the patterns
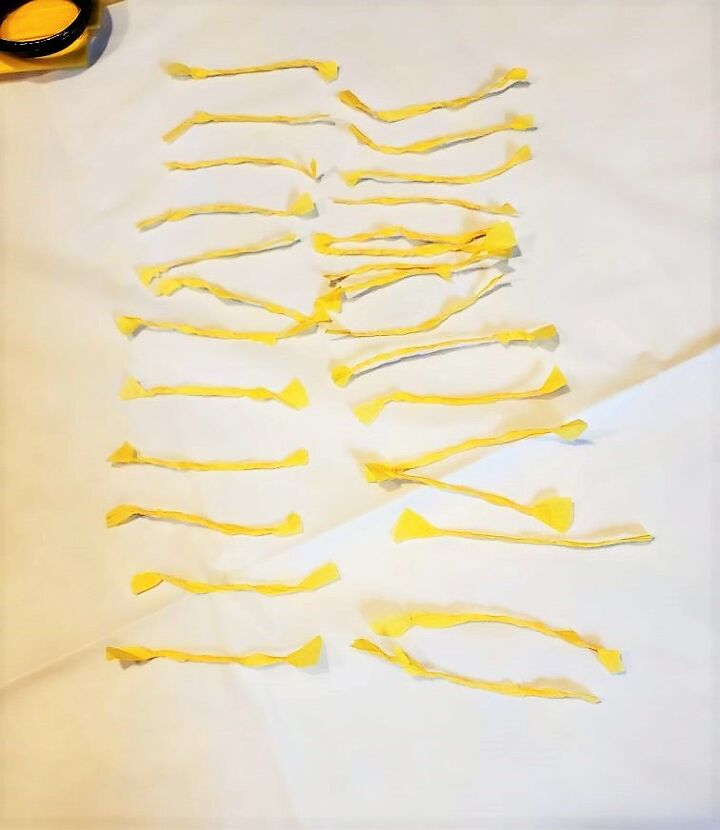
Taking the yellow tissue paper, I cut 32 petal shapes. I cut several layers at a time by folding it several times (like a paper fan) then cut a petal shape out of the tissue.
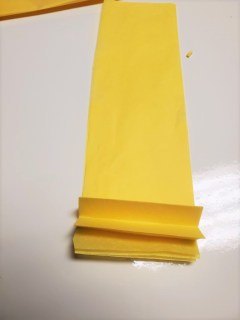
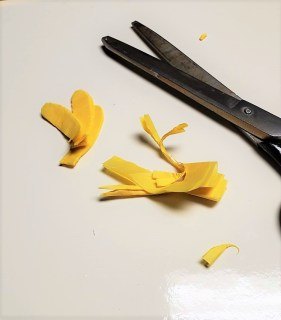
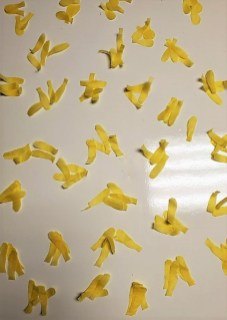
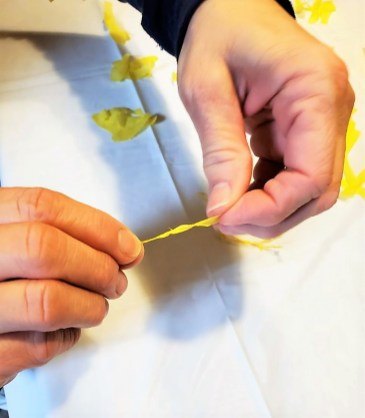
Still using the yellow tissue paper I cut 32 thin pieces and twisted them into a toothpick shape.
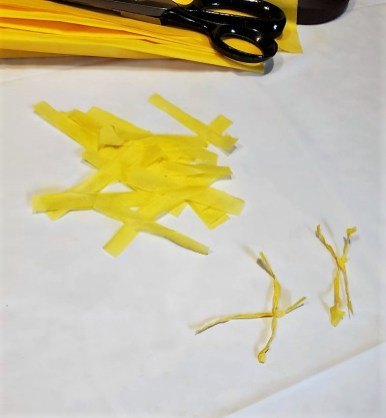
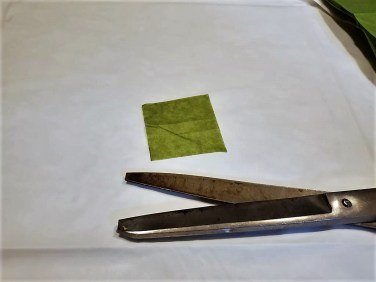
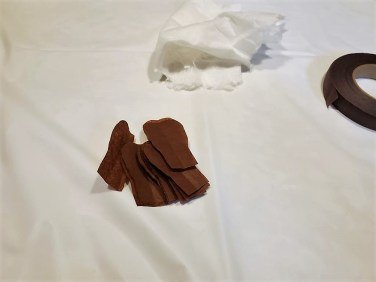
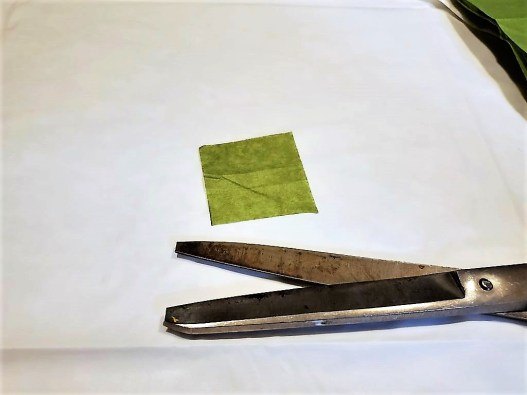
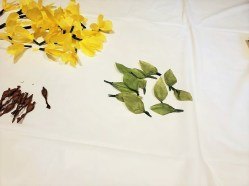
Taking the green and brown tissue paper I cut 10 petal shapes out of both.
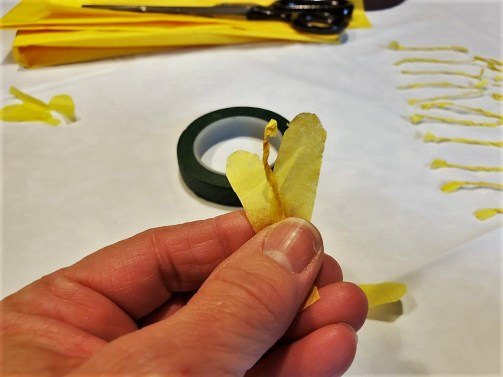
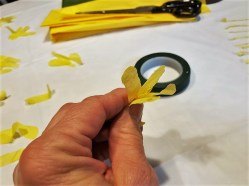
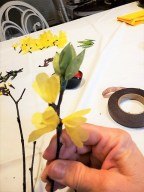
Making the flower
- Taking 4 yellow petals, 1 toothpick shape and the green floral tape
- I place two petals together, added the toothpick shape on top and two more petals
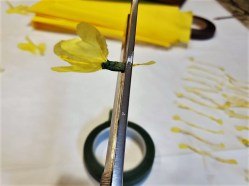
- Pinched together and wrap around tightly with the floral tape to hold together
- Cutting off any yellow parts showing. Do this 32 times

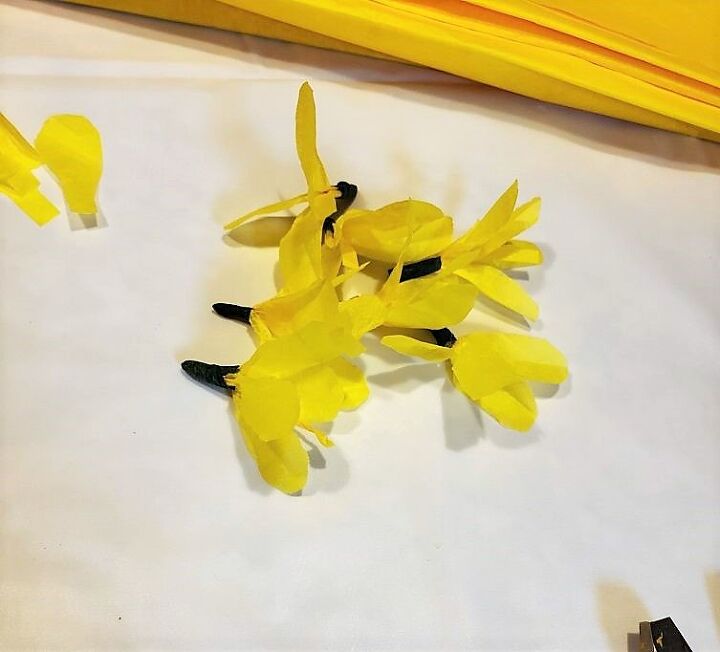
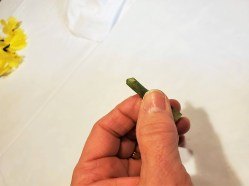
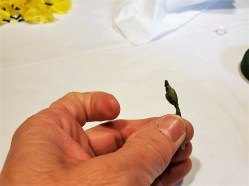
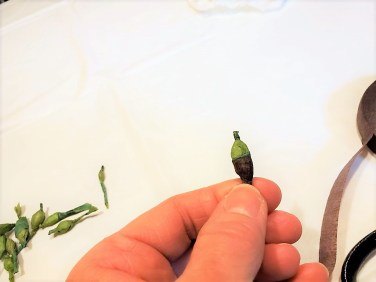
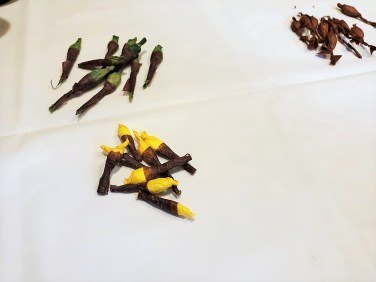
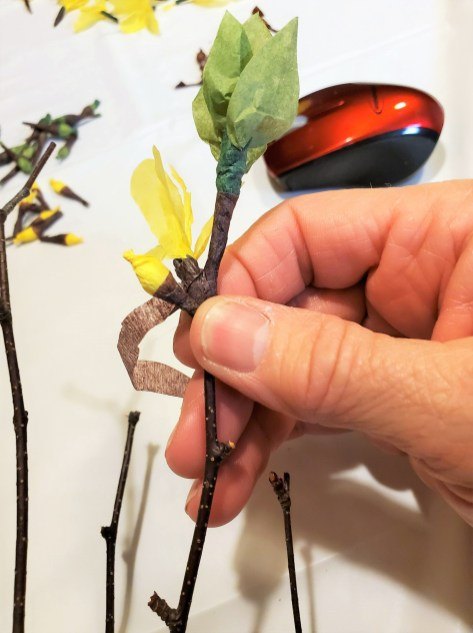
Making the flower buds
- Take a green, brown or yellow petal shape
- Tear a piece of Kleenex and form a ball
- Place on top of petal and wrap around the Kleenex ball
- Twist the ends
- Wrap brown floral tape around the long part of the bud
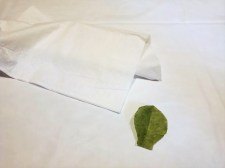
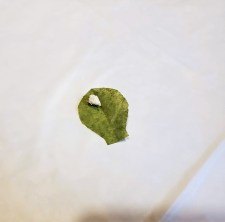
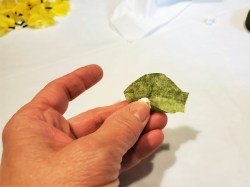
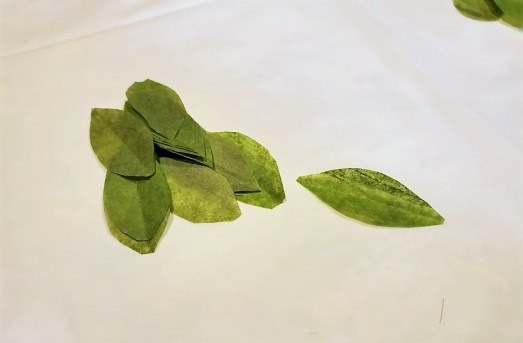
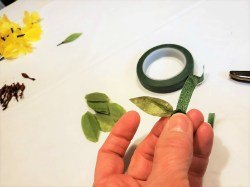
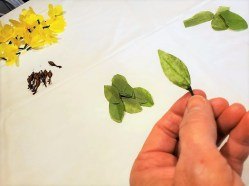
Making the leaves
- Taking the green tissue paper and cut 10 leaf shapes
- One at a time taking the leaf pinching the bottom and wrapping green floral tape around to form a leaf
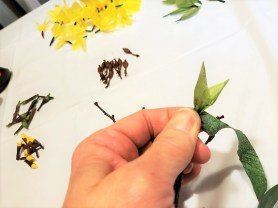
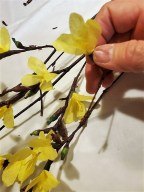
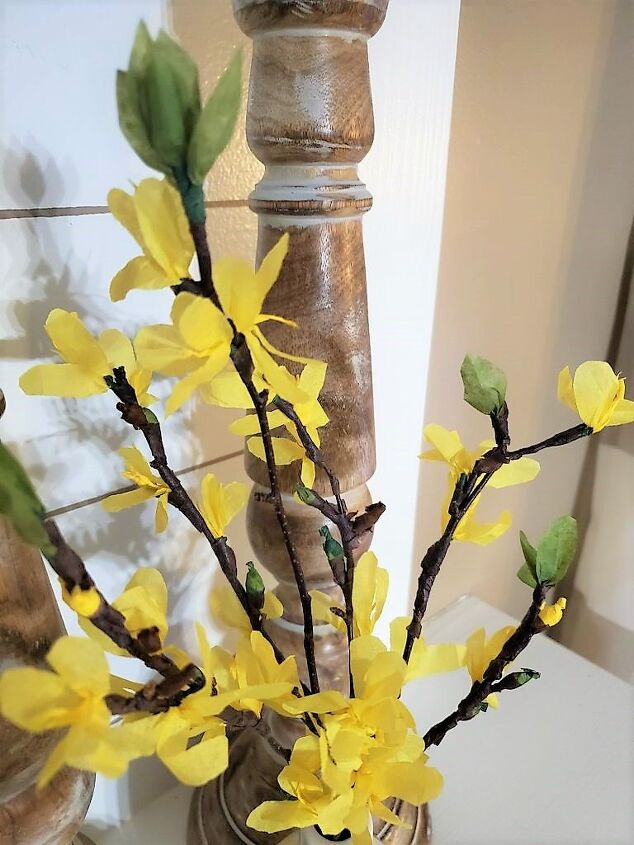
Putting the flower, buds and leaves on the branch
- Using the brown floral tape
- Wrapping the floral tape around the branch adding items one by one
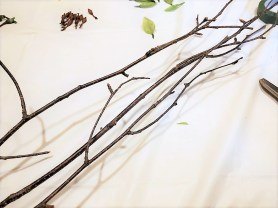

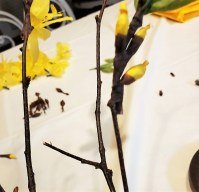
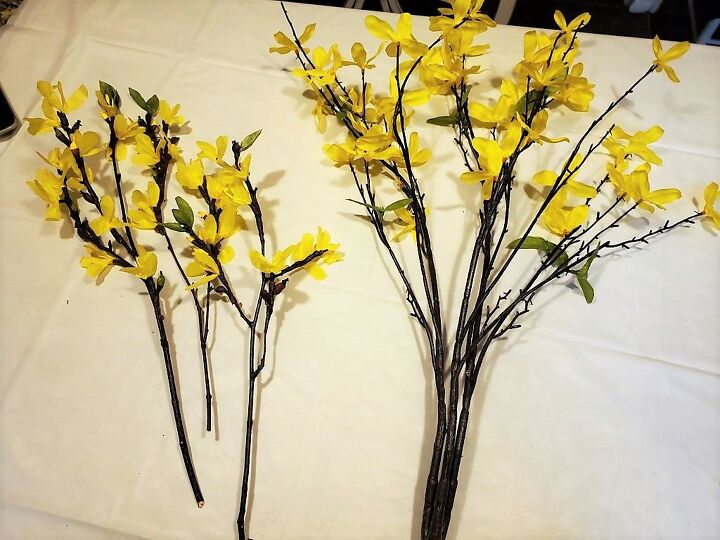
Take a look at my DIY branch next to a branch I purchased at Hobby Lobby.
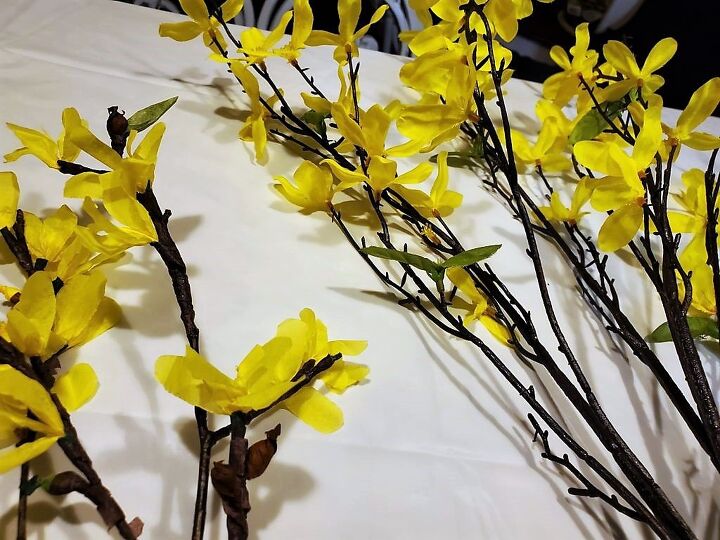
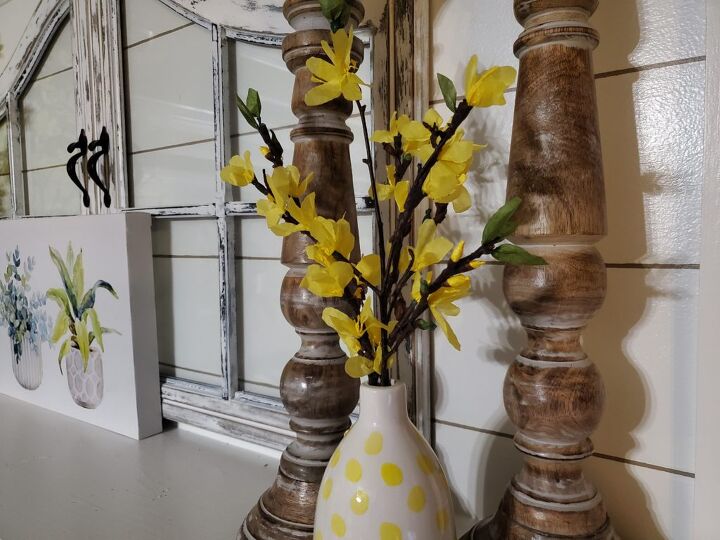
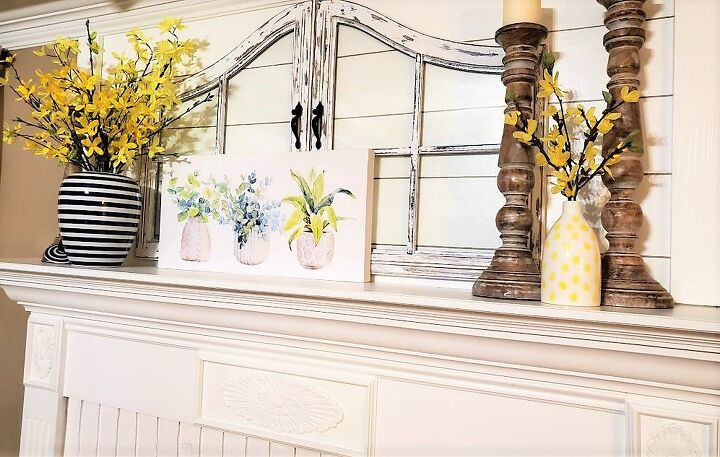
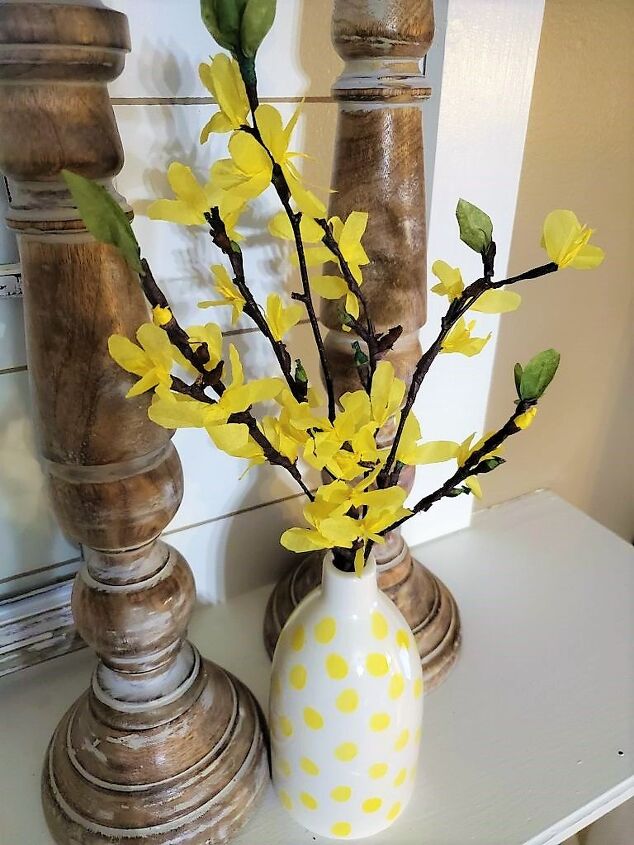
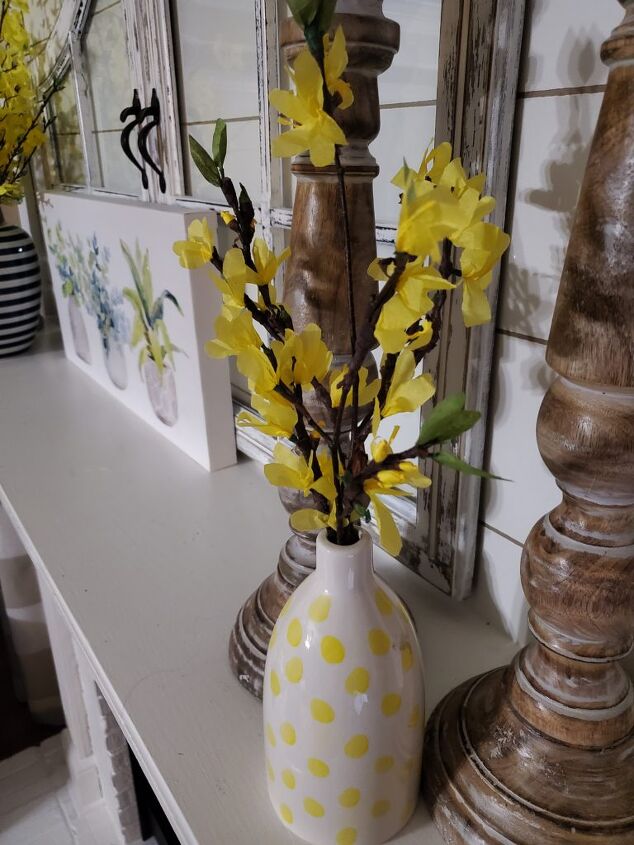
I disconnected my branches to place in a little polka dot vase.
If you like my blog be sure to click on the LIKE button and SHARE it with your friends! It’s the best way for my blog to grow. I would love for you to be part of my family so sign up to receive my emails. Every time I post a blog I will send you an update email. Also, follow me on Facebook HERE, Instagram HERE and Pinterest HERE. Come by and say Hey!
Stay strong and Blessed ♥


Comments
Join the conversation
-
So pretty, they look so real.
-
Absolutely amazing, must of taken you ages to make them. Thank you.


Frequently asked questions
Have a question about this project?