


Frying Pan Planter Upcycle

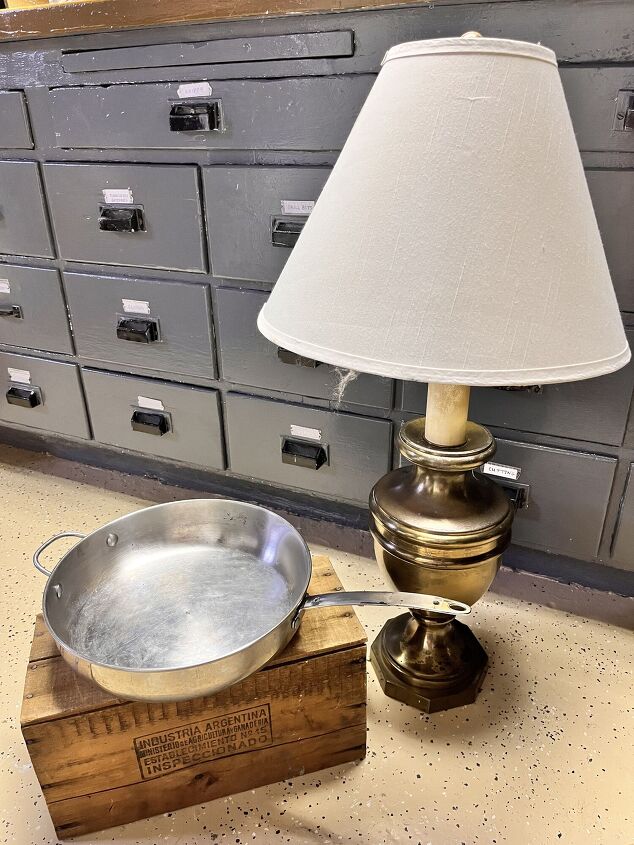
I used Patina Paint to upcycle this old frying pan and a $4 flea market lamp into a beautiful planter!
Hometalk Recommends!
I'm deep into spring cleaning and I've been gathering up items around the house that I no longer use.
Usually, I bag everything up to donate but this year I decided to challenge myself to upcycle as many items as possible into new and useful things!
My motto for 2022 is 'recycle, reuse and repurpose' which has led me to make a planter from an old frying pan that I've had in basement storage for quite a while.
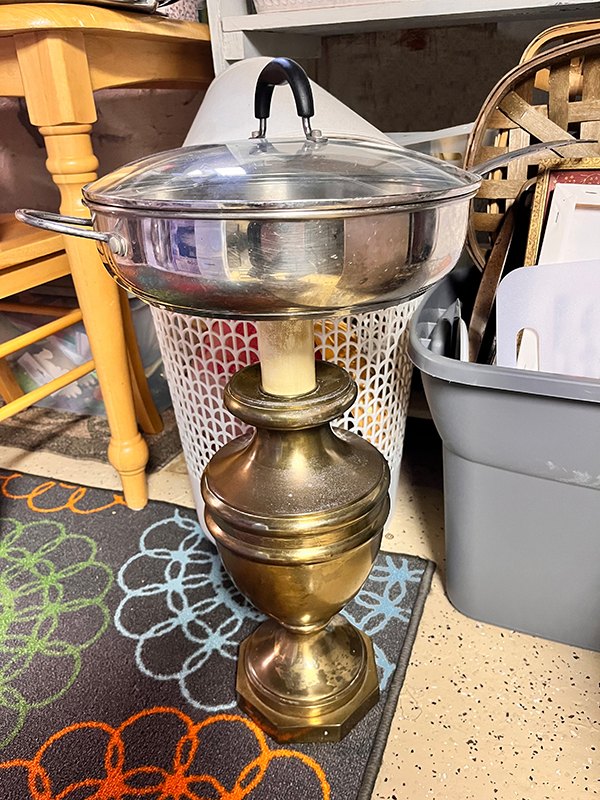
Here's a photo of my planter semi-together.
To take this pedestal planter from crazy-looking to pretty, I used Metal Oxidizing Patina Paint.
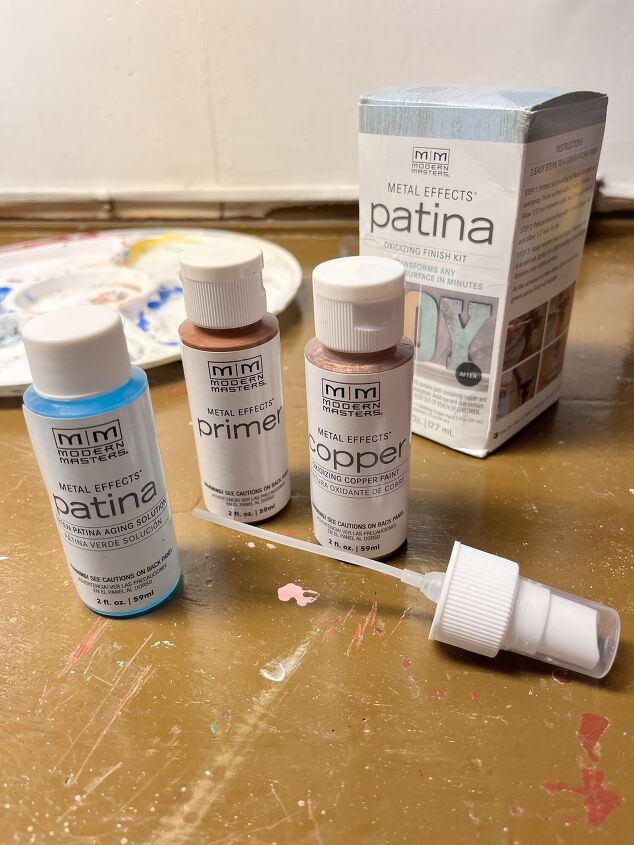
There are probably other kits out there, but here is the one that I used.
I've never used a kit like this before but I was quite pleased with the results so I thought I'd share.
According to the reviews I read, you don't have to use it on just metal surfaces only, it works on most paintable surfaces. This kit is basically a three-part process that causes a chemical reaction to create a true patina!
To get the link to this product and see more upcycles like this, visit: my site craftidly.com
The directions on the package were very easy but I thought I'd step through them for anyone interested in adding an old-world, green patina charm to their upcycled piece.
I do have to tell you, that this process is a bit of a science experiment. Some areas on my planter got little to no patina and some turned bright green!
Overall it was fun to watch the color change and I still have a 1/4 left of everything to paint something else.
Read on for more details on the process.
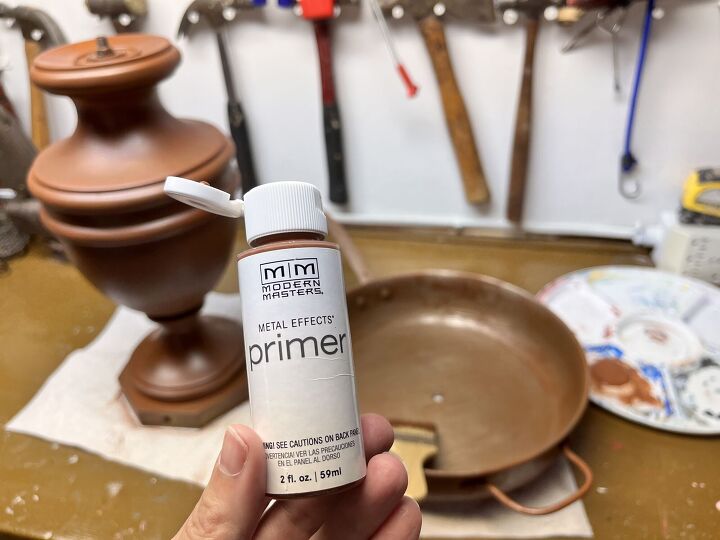
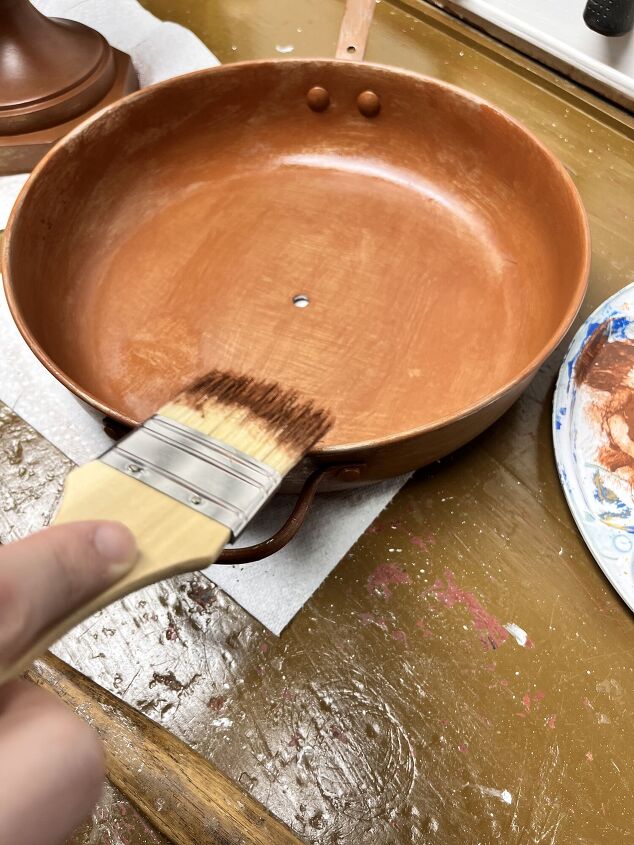
Step one was to prime the piece with two coats of primer.
Paint on the first coat of primer and wait for 30-minutes before adding the second coat.
Let the second and final coat of primer dry for at least 2-hours before going to the next step.
Note: I highly recommend making sure your surface is clean before priming.
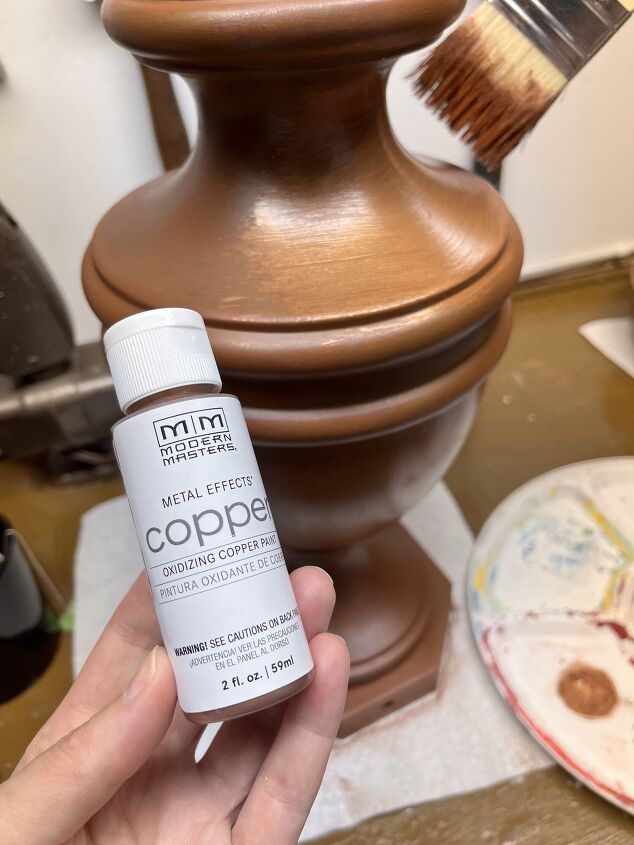
Next, paint on one coat of Metal Effects Oxidizing Copper Paint and let that dry for 30-minutes.
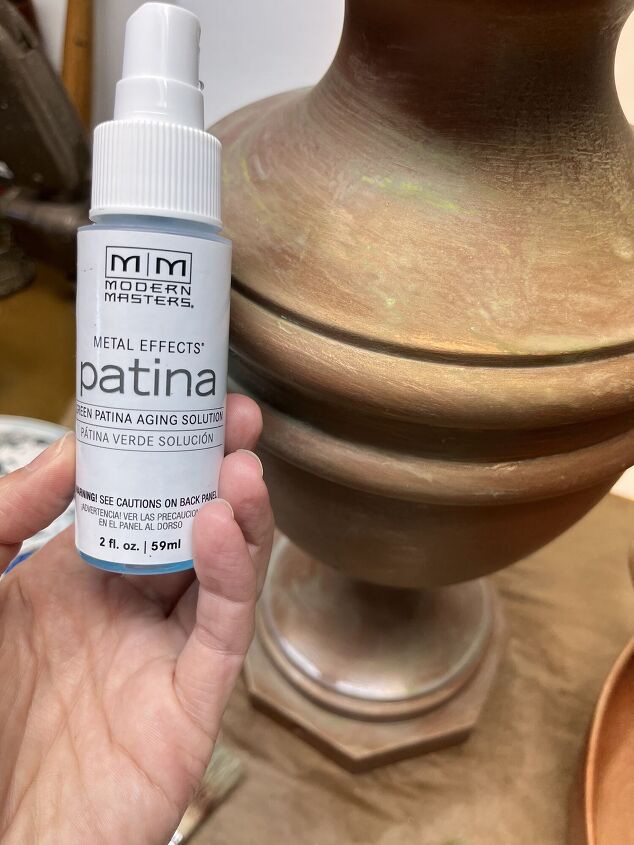
Now for the fun part! Paint on the second and final coat of Metal Effects Oxidizing Copper Paint and spray on the Metal Effects Patina Aging Solution while the copper paint is still wet.
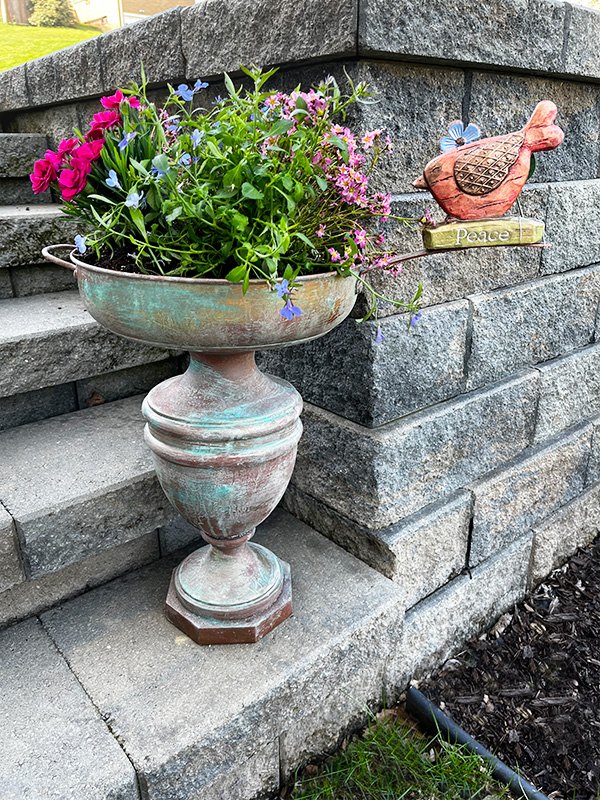
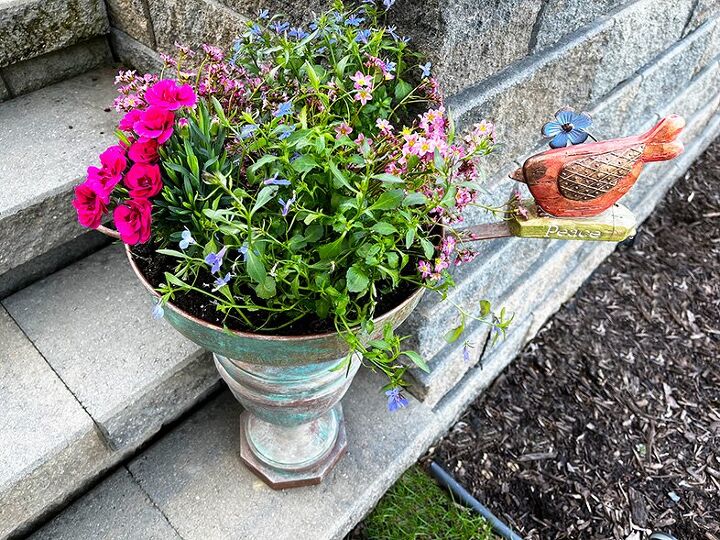
It took about an hour for my planter to dry completely and to see the full green patina effect but it did start changing after a few minutes once I spritzed it with the Metal Effects Patina Aging Solution.

While I had the paint out, I added a little patina to the handles of this old wood drawer. The handles were already rusty so I didn't prime them, I just added a little of the copper paint and spritzed them with the Patina Aging Solution.
I love the color and this paint kit was so much fun to work with.
For more crafts and DIY ideas, visit Craftidly.com
Craftidly.com


Comments
Join the conversation
-
Super cool! I would have never even dreamed anything close to that you are talented.
-
I too would not have thought of a frying pan The bird is the finishing touch! I will be making one! Thank you!


Frequently asked questions
Have a question about this project?
What glue did you use to glue the pan to the lamp? This's such an awesome project - I'm going to make one! Love it!
Did you use a specific type of drill bit (for a heavy metal)? Also, how well does the water drain through that hole since it has the screw in place to hold the two pieces together?
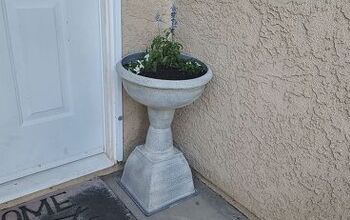
Do you know of anything to use on concrete to get this look? I have 2 concrete urns that need a redo.