


How to Create Stunning Cupcake Candle Holders With Plaster of Paris

If you're looking for an easy and inexpensive way to create chic and stylish decor for your home, these gold leaf cupcake candle holders are a beautiful and simple option. You can easily create your own stunning candlesticks using silicone cupcake molds and plaster of paris.
This post was transcribed by a member of the Hometalk editorial team from the original HometalkTV episode.
With just a few supplies and a little bit of patience, you can create beautiful Pottery Barn style candle holders. In this tutorial, I'll walk you through the steps on how to use silicone cupcake liners for plaster casting, so you can make these gorgeous candlesticks.
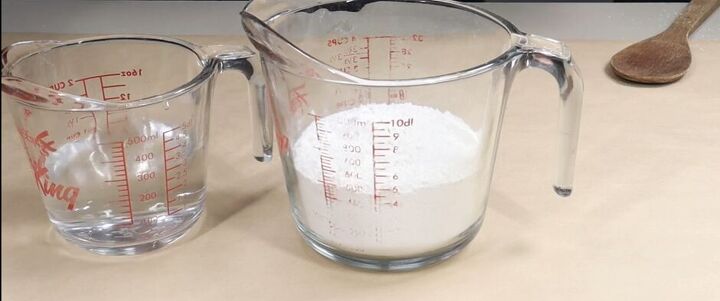
1. Make the plaster craft mixture
I started my plaster of paris craft by mixing two cups of the plaster of paris with one cup of water in a plastic bucket. I used a wooden spoon to stir the mixture until it was completely smooth, there should be no lumps or bumps.
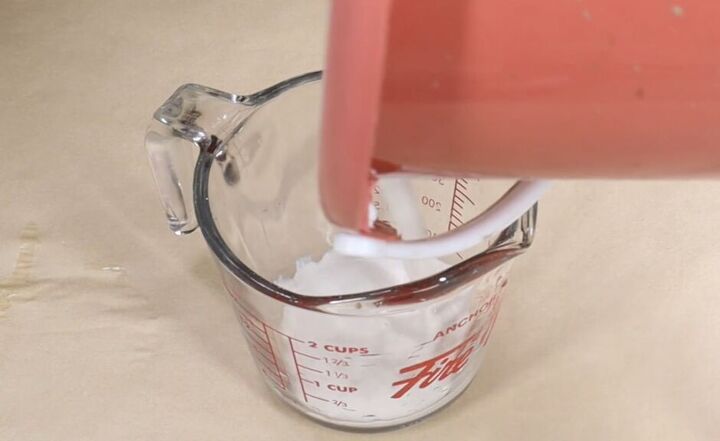
I then poured the mixture into a measuring cup so I could easily distribute it into my silicone cupcake liners.
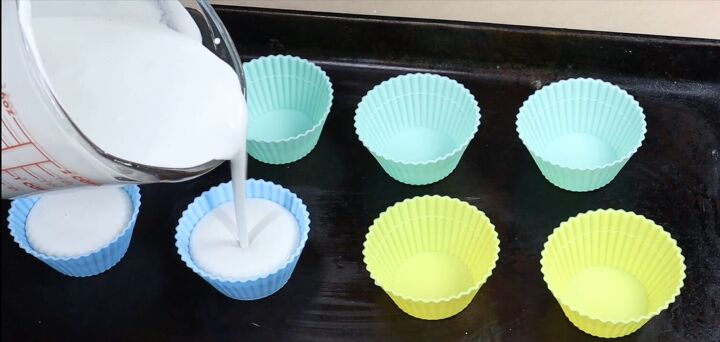
2. Fill the cupcake liners with the plaster mixture
I placed the cupcake liners on a baking sheet. This gave them a hard steady surface to dry and allowed me the flexibility to move them around easily if needed.
I then poured my plaster of paris mixture into each of the cupcake molds. You need to make sure to fill the molds with an even amount so that all the casts are the same size.
Once I filled them with the plaster mixture, I tapped the tray gently to remove any air bubbles while the mixture was setting.
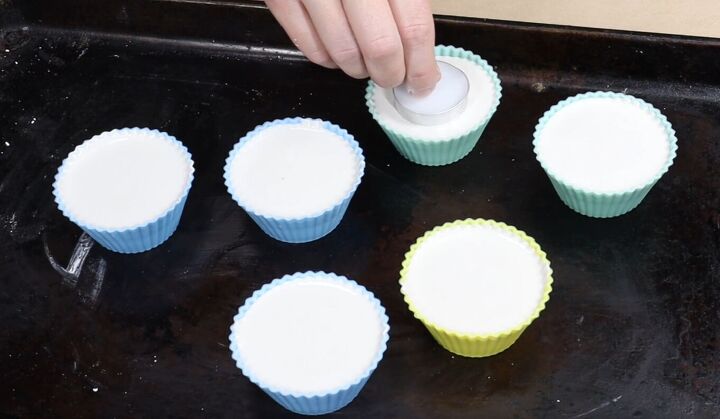
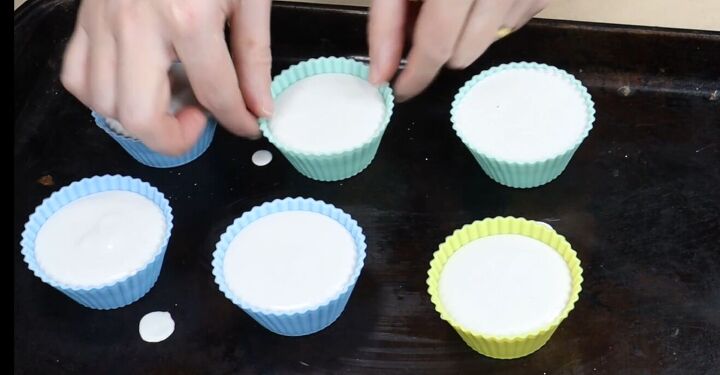
3. Add tealight candles
While the plaster of paris mixture was starting to set up, I placed two tea light candles inside two of the cupcake liners, gently pushing them down.
You want to let the plaster of paris set a little bit before adding the candles, to prevent them from sinking down to the bottom of the cupcake liners.
I let the mixture set completely for 24 hours to ensure the candles were firmly embedded in the plaster.
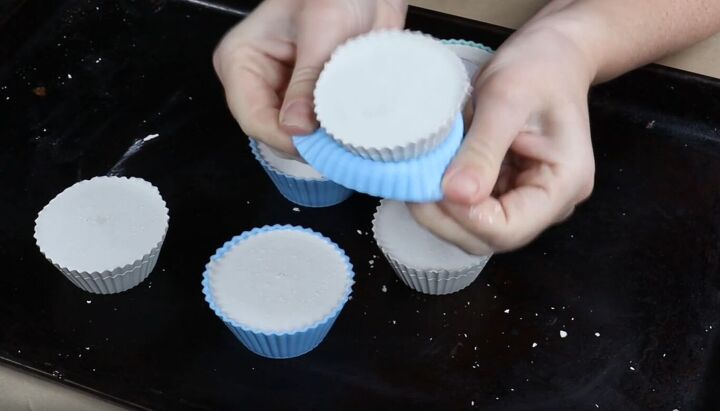
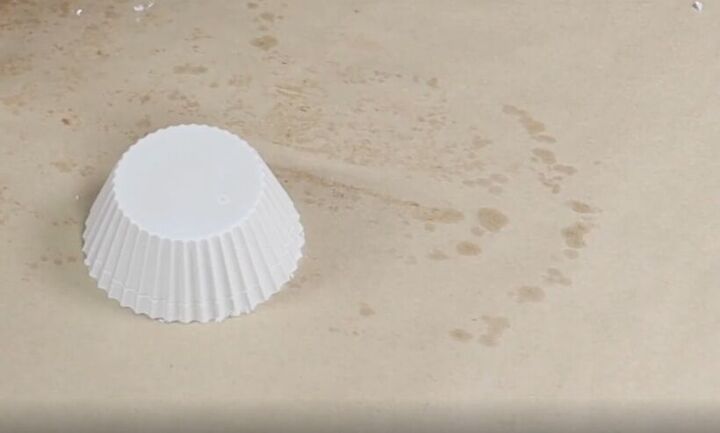
4. Sand the casts
Once set, I gently removed each of the plaster crafts from the silicone molds. I then sanded the tops of them with 100-grit sandpaper to ensure a smooth and flat surface. This will also give the candlesticks a more professional finish.
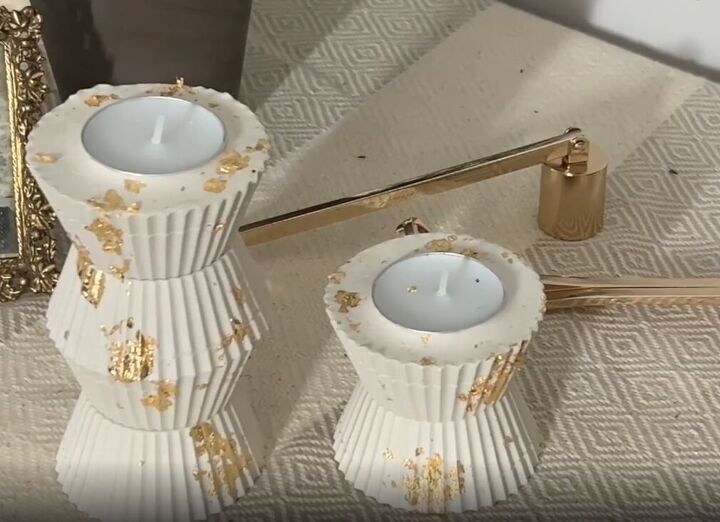
5. Build your DIY cupcake candle holders
After sanding, I started to make my crafted candle holder. I began by flipping one cast over, so the top of it became the base of my candle decoration.
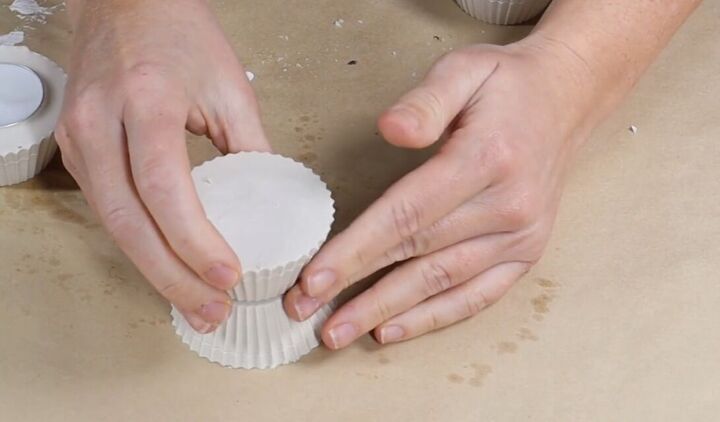
On top of the first cupcake cast, I placed the bottom of the second one.
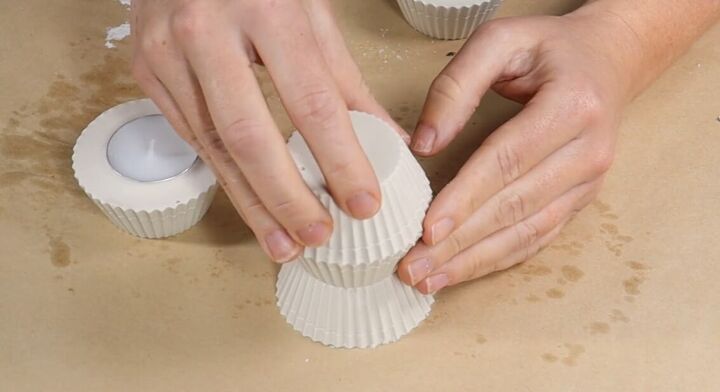
The third plaster cupcake was then flipped over and placed on top of the second one.
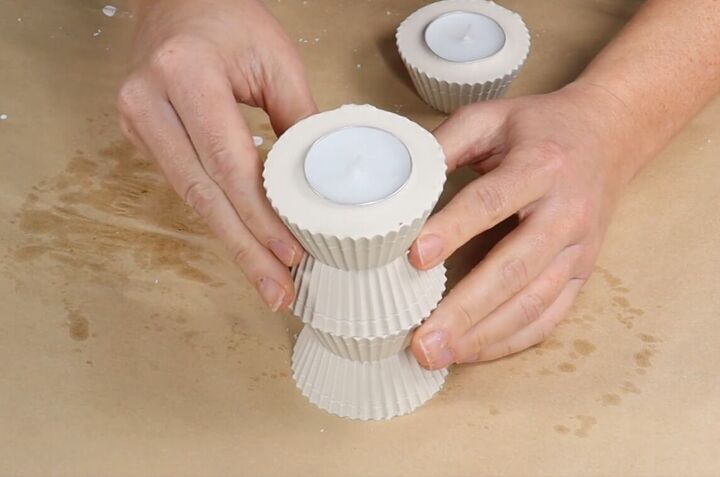
My final cast was one of the cupcakes with a tealight candle. Each layer was glued together with E6000 craft glue. You can try another adhesive glue for this candle holder idea but I prefer E6000.
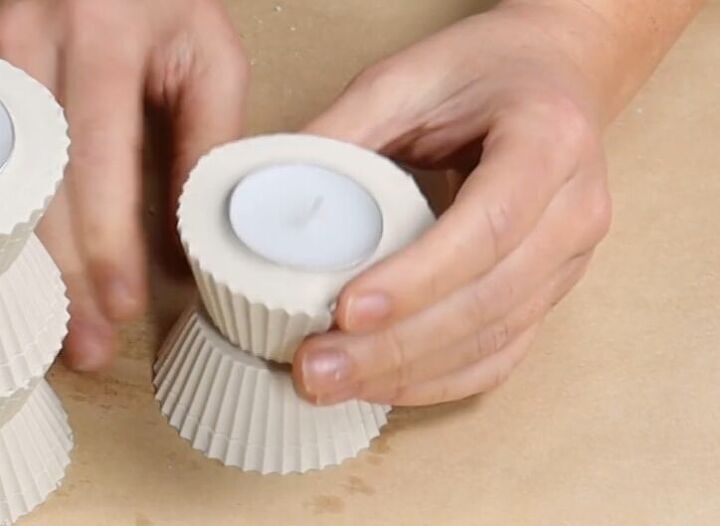
I then made a second candle holder by stacking the leftover casts the same way.
Since E6000 takes a while to set on plaster of paris, I left the holders to dry completely for about 12 hours to ensure a strong bond.
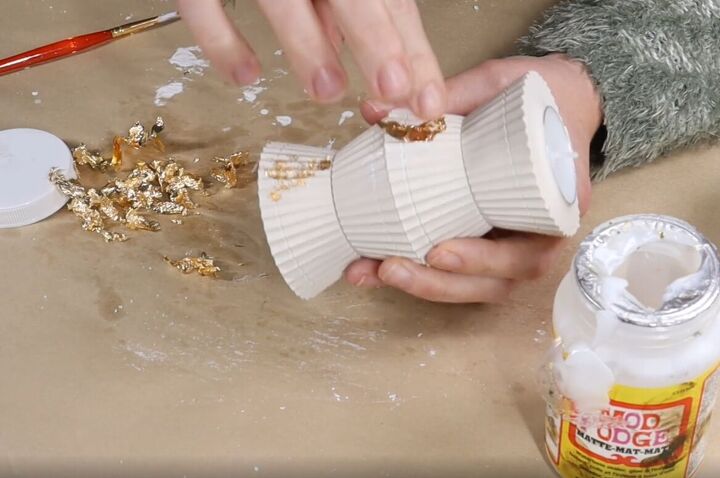
6. Add gold leaf
You could leave these plain for a more natural look, but I wanted to embellish them to add some elegance and sophistication.
For the finishing touch, I used some gold leafing and Mod Podge to give the candle holders a bit of glam. I applied the gold leafing sporadically up the side of the holders and a little on the top.
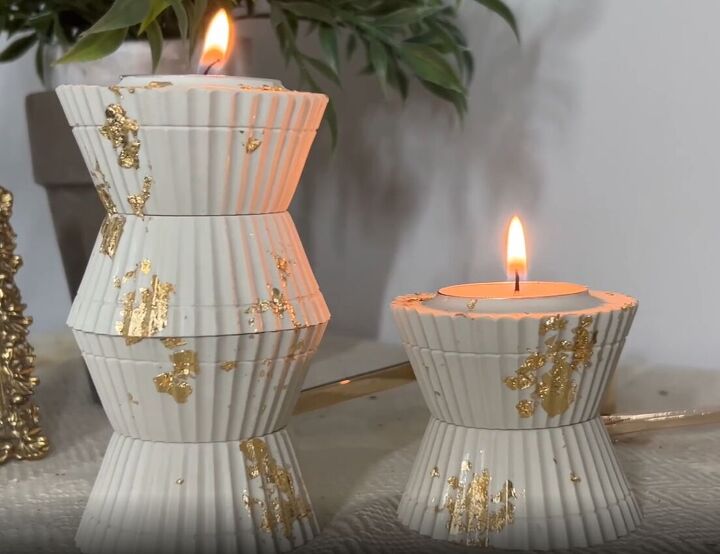
Cupcake candle holders tutorial
These are my finished handmade candle holders, and I think they turned out great. They look like those concrete candle holders you find in a high-end store but for a fraction of the cost.
The best part about this project is that you can easily personalize it to match your home decor style by painting or customizing them.
If you are looking for more chic decorating ideas, have a look at my project on how to create a DIY table lamp from a vase!
Creating these gold leaf cupcake candle holders was a fun and simple project. In just a few simple steps, you can achieve a chic look without breaking the bank.
So, why not give it a try and see the stunning results for yourself? Let me know how it went in the comments!
Resources for this project:
See all materials


Comments
Join the conversation
-
Simplicity at its finest
-
But you create something beautiful and it can only last about 4 hrs, or however long your tealights last. My tealights from walmart last about 4 hrs. There has to be a way to make the candle removeable.


Frequently asked questions
Have a question about this project?
Very nice, however did you spray anything on the metal tea light like PAM so that it can be removed easily?
Information of the water pump, please?
Can you replace the candles after they have burnt down?