How To Create A Unique Boho Style Centerpiece Vase For Under $5

I refinish furniture for a living and staging that furniture for photographs is part of the job, so I need A LOT of home decor items to choose from. And let's face it, home decor is not cheap. A beautiful and unique vase will cost upwards of $20, and when I need that vase in multiple colors/styles, it gets super pricey. Sooooo....what better way than to create that vase yourself?
Let's get to it....here's how I created this beautiful boho style vase..........
*Time estimate is based off of work time only, does not include dry time
*Price is based off of what I think it will cost someone to make this piece. I had everything except for the glass vase on hand already, so my cost was only $1 😁
Items needed:
•Glue gun + glue sticks
•Paint color of your choice (I used Frenchic Furniture Paint's Cream Dream. It offers great coverage with no VOC's or solvents, it's odorless and safe to use indoors around children and pets)
•Chip brush (course paintbrush from dollar tree, or any store with a craft section)
•Baking powder
•Rope of your choice (already had on hand but originally from Wal-Mart near the tools section)
•Glass vase (dollar tree)
Dollar Tree 😁
Dollar General 😁
Your go to for these products!
These dollar stores have beautiful glass vases for just $1 (mine)! Dollar general has an extra large one for just $2! I obviously picked this one up too, but haven't decided what I want to do with it yet 🤔 But this tutorial will work with any of the vases you find out there, or maybe even currently own 😉
Make sure your vase is washed well and dry. You need a clean surface to apply the paint to.
Pour some of your paint into a separate container...you don't need much for this project, about ⅓cup ) I mixed up extra since I was using this paint for multiple projects). Then mix in the baking powder. The amount is based on preference. Baking powder gives the paint texture and thickens it up quite a bit. The more baking powder you add, the more texture you'll get. I added about 2 tablespoons. Mix well! As the paint sits, it'll bubble and fluff up. Just remix before applying
You can see how thick it is
Originally, I wasn't going to paint the vase, but as I was attaching the rope, I decided it needed the paint. That's why I have some rope already attached to the bottom 🤦♀️
Apply the first coat of the paint mixture.
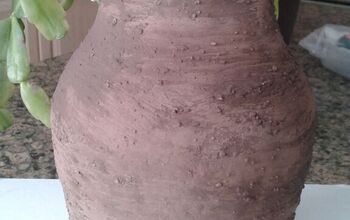
For this project, you want the brush marks! That will give it the "pattern" and texture. To get a uniform look, you want to brush in one direction. For each brush stroke, I started at the bottom and brushed up. I also tapped some paint on the rim, I did not get any paint on the inside of the vase. After the paint dries for a minute, you can go back and brush again to add even more texture. Don't touch it after it's been drying for more than about 5 minutes, it's much to tacky at this point.
Allow the first coat to completely dry and then apply a second coat the same way as the first.
*In case you missed it above...
Originally, I wasn't going to paint the vase, but as I was attaching the rope, I decided it needed the paint for the top half. So that's why there's no paint on the vase yet in these photos.
Time to attach the rope to the vase....
At the very bottom of the vase, put a small dab of hot glue
And then press one end of the rope onto the hot glue. Be careful not to get any of the glue on your skin
Working in small sections, apply hot glue in a line going around the vase and then press the rope onto the hot glue
Continue doing this until you're happy with the amount of rope on the vase
*After you have the first row of rope down, apply the hot glue just a smidge away from that row (you don't need a lot of glue, just enough to hold the rope in place). Then, take your rope and press onto the glue. Don't slide the rope into place, always come from above and press it down into place. If you slide the rope into place, it pushes the glue up and in-between the rows and becomes quite noticable
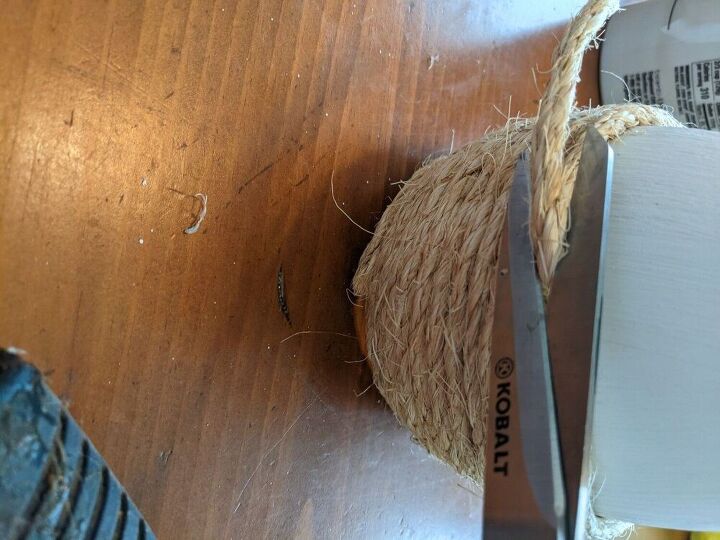
Once you're happy with the amount of rope on the vase, you can cut off the extra rope.
**Make sure that you end on the same side that you started. This way, both ends of rope are on the "back" of the vase and won't be seen.
Apply a good amount of glue for the 2 ends, making sure they are held into place very well
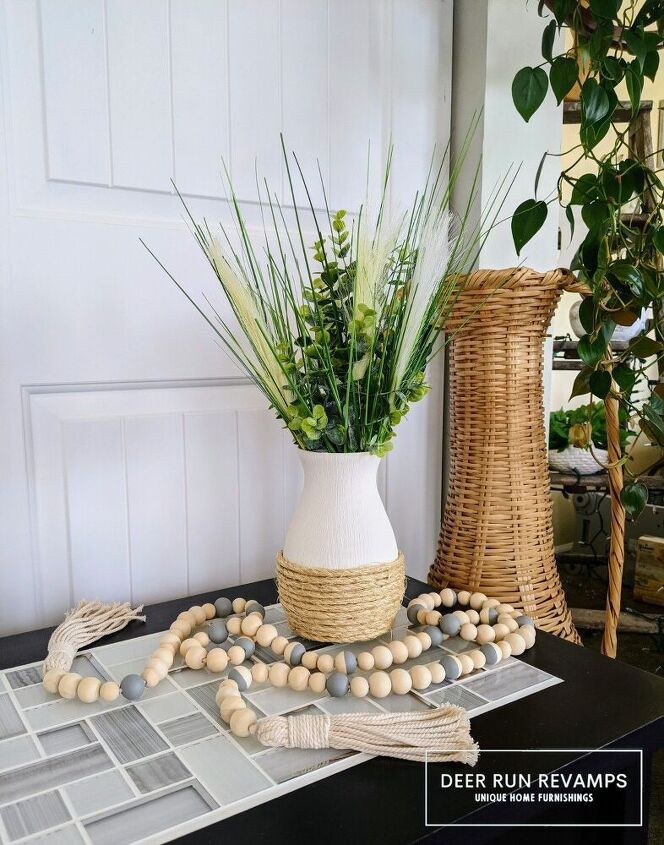
Add some greenery or florals (some of mine are from dollar tree!), and enjoy your creation 😍
I love how the rope and paint look together...not sure what I was thinking on the whole "no paint" thing 🤦♀️😆
Look at all that texture!! 😍😍
You can find us and even more home decor ideas, see our refinished furniture, and just chat on our Facebook page
Thank you so much for reading! I really hope you've enjoyed this tutorial, and maybe you're even getting ready to head to the dollar store right now 😆♥️
P
You can find top brands offering paints, stains, transfers, waxes, silicone molds and so much more in our Etsy shop
Use code THANKYOU10 at checkout to receive 10% off your order!
Enjoyed the project?
Resources for this project:
See all materialsComments
Join the conversation
-
 Joanne Giddings Pittman
on Mar 20, 2022
Wow...I really love this look! Thank you for sharing!
-
-












Frequently asked questions
Have a question about this project?
Will it work on plastic or other containers?
I love your vase! And it's something I can achieve.
I really want to know about that tall wicker basket.... Where to get it, how much it costs?
Thank You!
Where did the get the beads setting near the vase?
Denise