


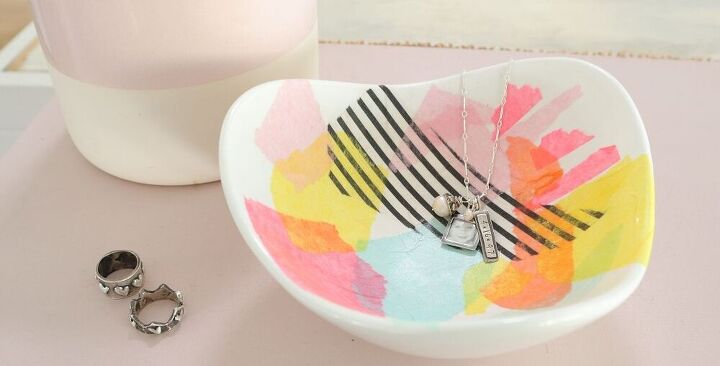
How to Make a Jewelry Dish Using Tissue Paper (Video Included)
It's DIY Time.....I know you will love the DIY Jewelry Dish. I'm all about easy DIY ideas to share with you. This is one that you could even make with your kids...it's that easy.
There's a 'Video Tutorial" at the bottom of the page if you would like.
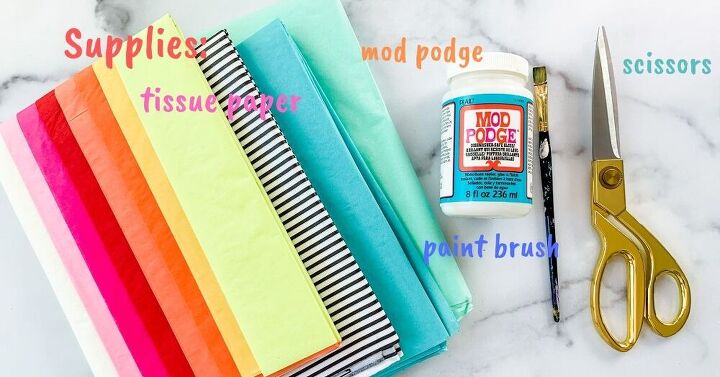
Supplies: (you probably have these items in your home already)
- Tissue Paper
- ModPodge
- Small Paint Brush
- Scissors
- White Bowl
Step 1: Tear up some small pieces of tissue paper in assorted shapes, colors and patterns.
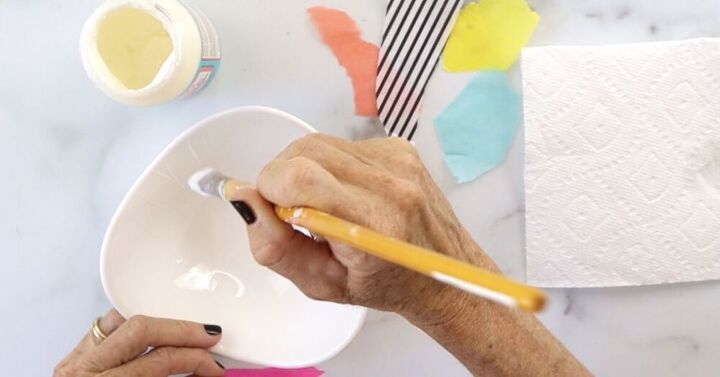
Step 2: Paint a light layer of ModPodge on your bowl only the size of the desired torn piece of tissue.
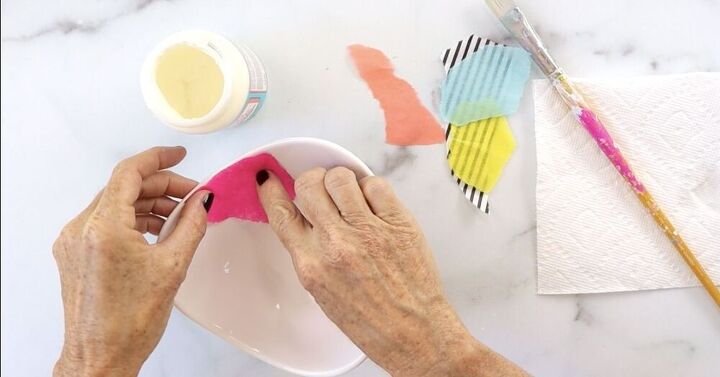
Step 3: Gently place the tissue piece on your ModPodge area.
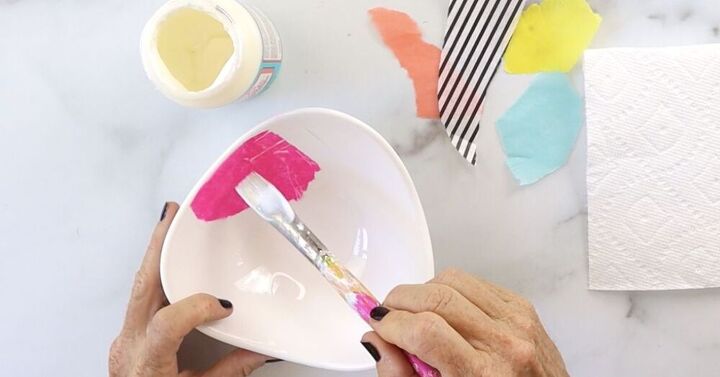
Step 4: Now, take your paint brush and gently paint a small layer of ModPodge on your tissue paper.
(NOTE: Be very careful not to over due this part. You can easily tear the tissue.)
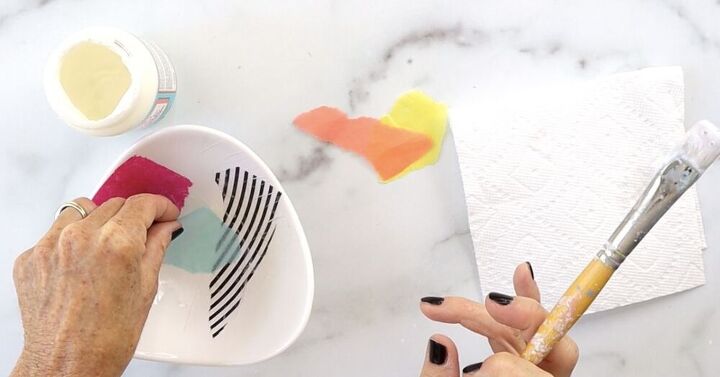
Step 5: Repeat the process, explained above, and continue to collage your tissue paper any way you want on your bowl.
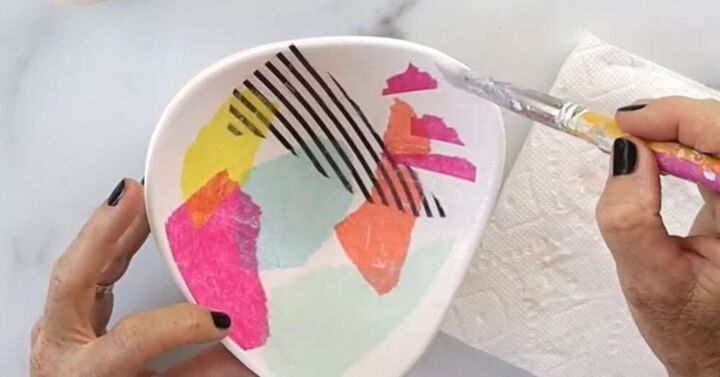
Step 6: When you have all your pieces in place you can seal everything by painting a thin layer of ModPodge over each tissue piece. You can wipe any excess on your bowl with a damp paper towel.
Let dry for about an hour and then add another 1-2 coats.

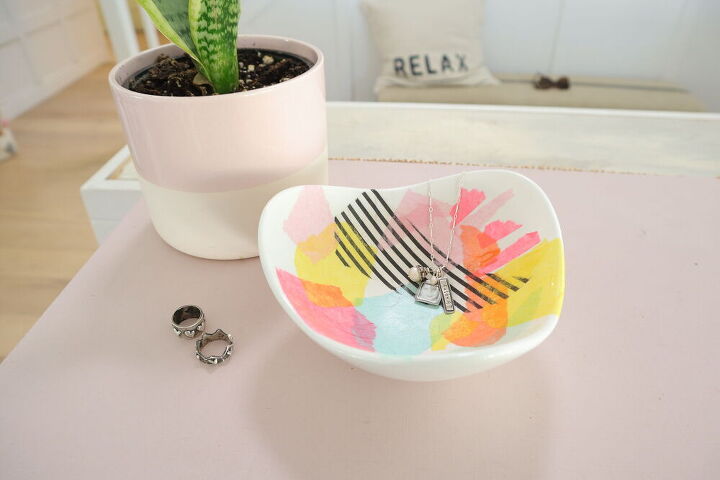
Ta Dah!!! You're done....
Below is a "Full Video Tutorial"
To read a more detailed tutorial you can head over to my blog!
Resources for this project:
See all materials


Comments
Join the conversation
-
I think this would be a great candy dish if they are wrapped separately


Frequently asked questions
Have a question about this project?
I have never used Modpodge and would love to try this project for a ring holder by my sink. Does it take water well?
is the dish plastic or what?