


How to Sew an Apron | Back Wrap Apron

Today, I am sharing how to sew an apron. But not just any apron – this one is a back wrap style apron with a front pocket. And it’s so easy to sew!
- supplies list and shopping links: back wrap pattern
- drop cloth
- sewing machine
- serger (optional)
- iron
- pattern tracing material
- scissors and pinking shears (optional)
- thread
apron pattern
Every time I see one of these back-wrap or cross-back style aprons, I get excited about making one.
I just hadn’t made the time to actually do it!
Until today. 🙂
I found a great pattern on Etsy. It was a downloadable pattern that I could print off and assemble in just minutes after purchasing.
Gone are the days of running in town to the sewing store to find just the right pattern!
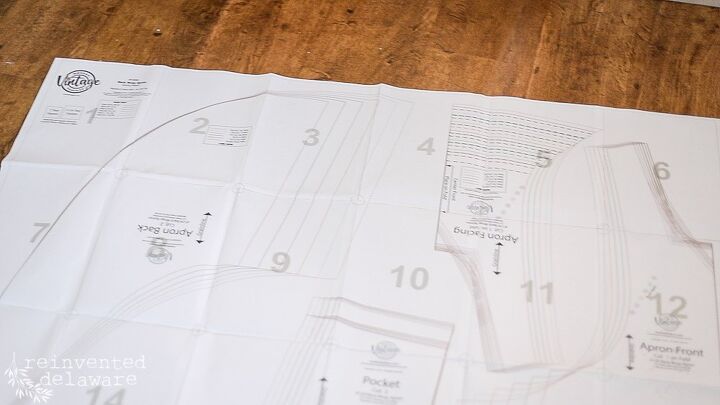
The pattern came in multiple sizes and that was a huge benefit for me. I want one of these back wrap aprons for myself but I also want to make them for our shop. I think our customers would love them!
how to make an apron step by step
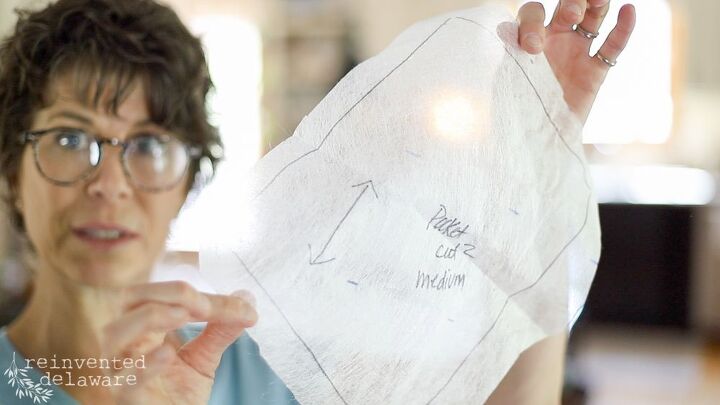
Years ago, I started to use a product called Do-Sew to trace off sizes from multiple-sized patterns. You can see through it and trace off just the size you need without cutting up the whole pattern.
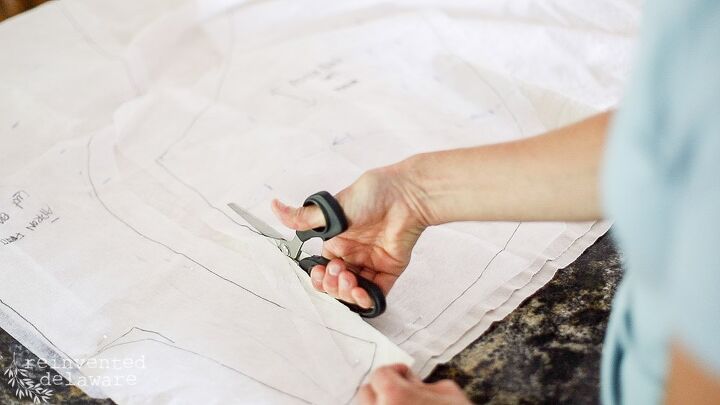
If you decide to use a pattern tracing material, be sure to transfer all of the markings needed for cutting and sewing. The grainline is important and in the case of this apron with a pocket, the markings for the pocket placement are important too.
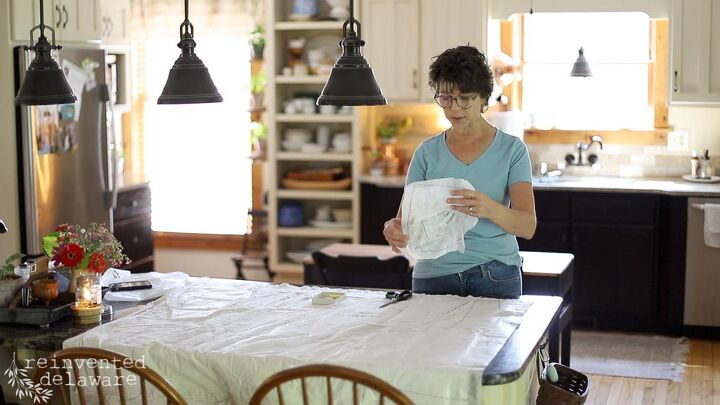
After all of the pieces were traced, I laid the pattern pieces onto my drop cloth fabric and cut them out.
best fabric for an apron
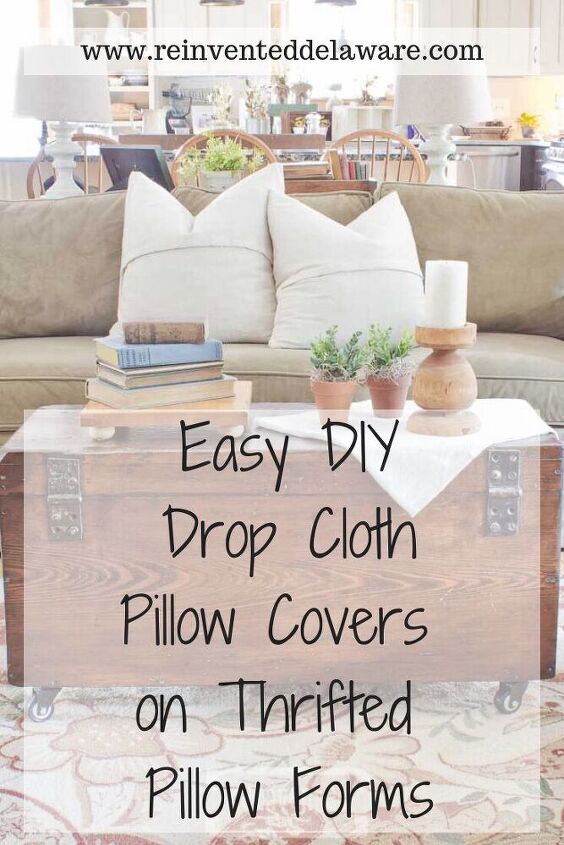
The drop cloth (that link is for one similar in yardage) has many benefits including the amount of fabric you get for the cost. My drop cloth measured about 6′ x 9′ for about $15. That’s a lot of fabric for $15! In fact, I went on to make two more aprons for a total of three aprons for $15!!
Let me mention, I did pre-soak and pre-wash the dropcloth before cutting the pattern out. Dropcloth is stiff and will shrink so don’t skip this step! I will do a tutorial for that process soon! In the meantime, go to the laundromat (they have large capacity washers) and wash it in hot water. 🙂
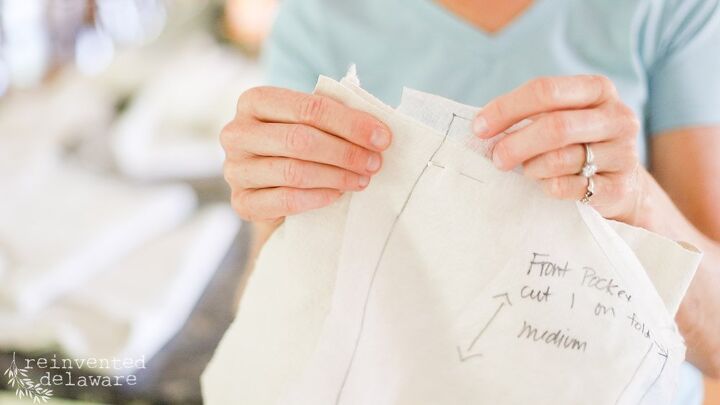
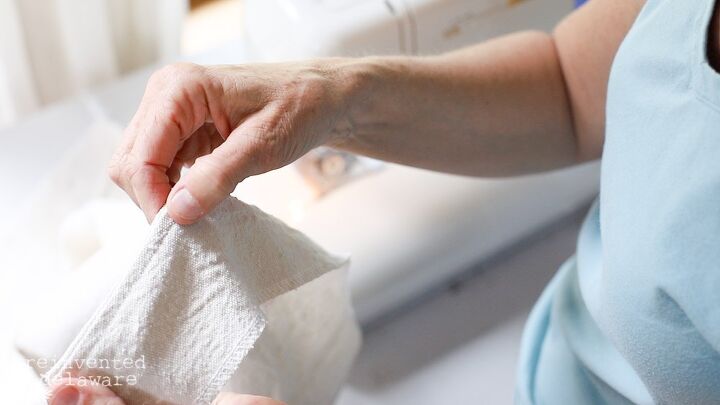
The dropcloth has a selvage edge and I used that for the top of the pocket. Doing this saves me a step – I don’t have to iron and stitch a hem for the top of the pocket! Be sure to compensate for the size without the hem. I’ll explain further in the video at the end of this post.
finished raw edges
I used my serger to clean-finish all of the edges. If you don’t have a serger, you can use pinking shears or a zig-zag stitch on your regular sewing machine.
The serger is a staple in my sewing room. It seals all of the edges of the sections and will prevent raveling in the washer. I definitely suggest that if you are able, purchase this machine. You won’t regret it!
Here is one I found at a reasonable price. It’s the same brand I use, but a different model.
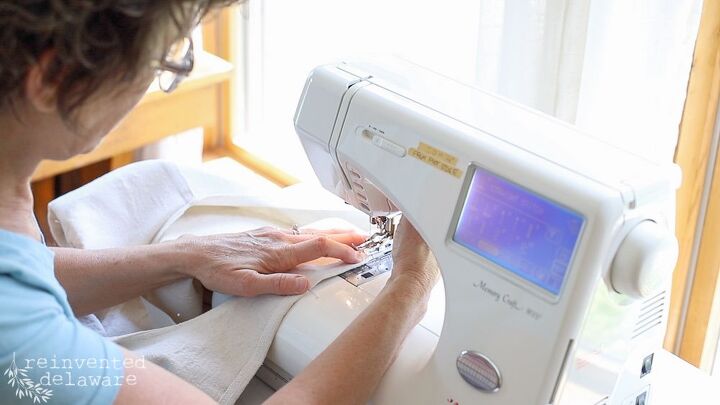
how to sew an apron
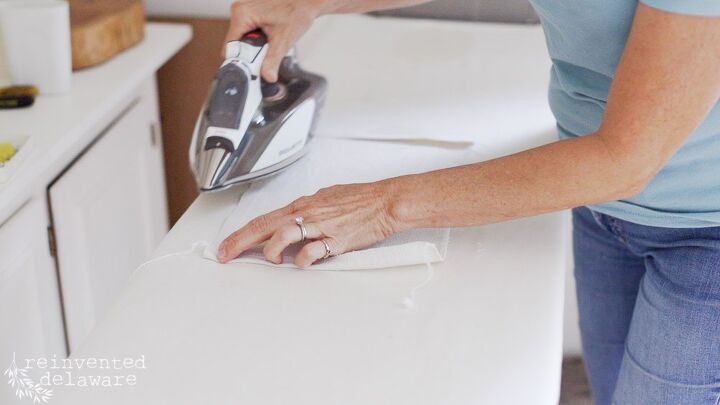
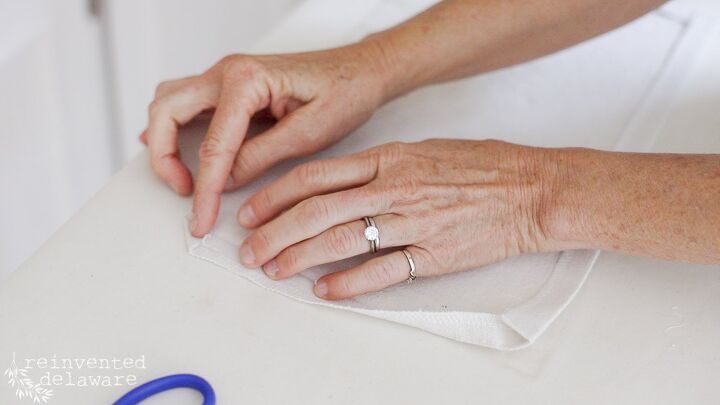
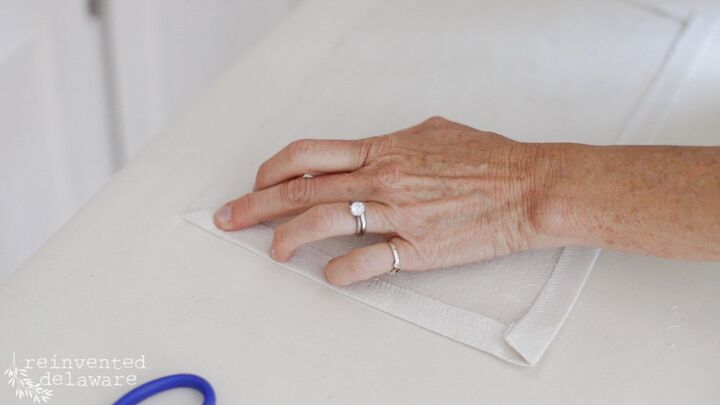
Back to how to sew an apron! The pocket is the first step. I ironed the two sides and the bottom edges about 1/2″ in from the serged edge.
BTW, this Rowenta iron is the best in my opinion. I have sewn many many projects over the last 45+ years and this iron heats up well and packs a punch where steam is concerned!
how to sew a pocket
I also did a little miter fold at the top two corners. This will keep the corners neat and tidy.
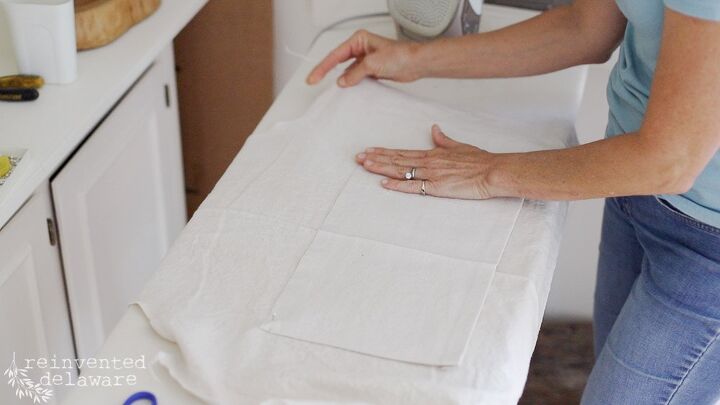
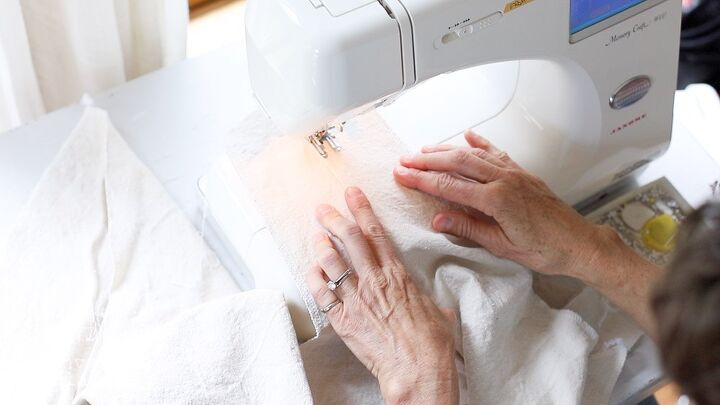
Then I used the markings for the pocket placement and pinned the pocket to the front.
I headed over to the sewing machine and stitched around the three edges (not the top!) and I also stitched down the center of the pocket creating two pockets
how to sew a facing neckline
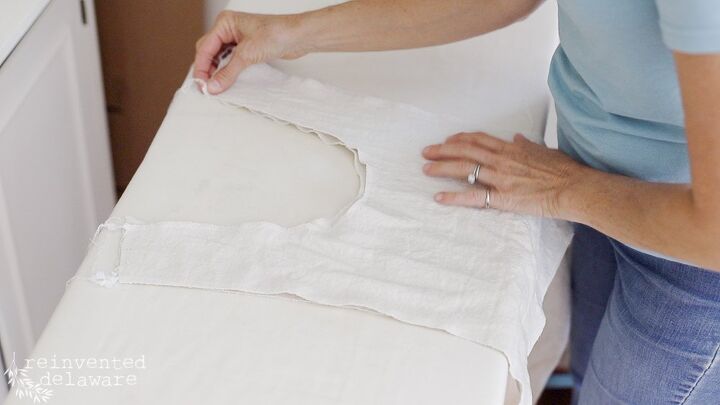
We’ll attach the front-facing to the front of the apron next. Line up the two curved edges and give a light press with steam. Pin the sections together and take them to your sewing machine. Stitch 1/2″ seam allowance.
how to understitch
I like to understitch facings to hold the seam flat. You’ll see more about this in the video but here are the basic steps:
- fold the seam allowance toward the facing
- from the top of the garment, stitch through the facing and the seam allowance about 1/8″ – 1/4″ away from the previous seam allowance.
You can see below what I mean but watching the video will help to clarify this step! The YouTube video “How to Sew an Apron” is at the end of this post.
Once the understitching is finished, you can see that the seam will fold nicely and won’t roll towards the front.
Another option is to clip the neckline curve after stitching to release the fabric around the curve. Press the seam allowance toward the facing, fold along the seamline, and topstitch through all of the layers.
Either method will make the neckline look nice.
sew a seam or four!
Ok, this apron is really coming together now! Let’s assemble the three sections!
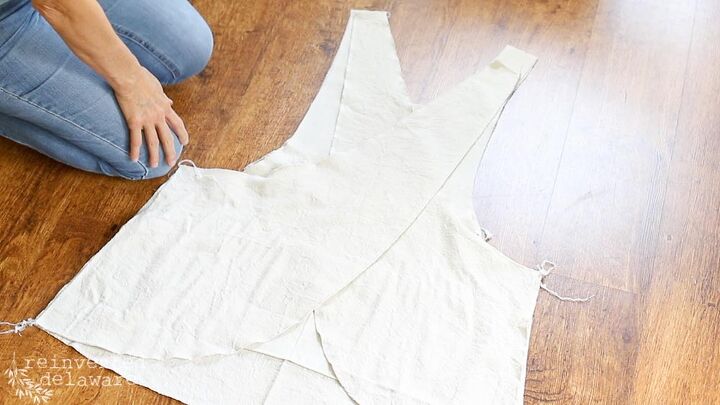
Lay the front of the apron face up and then lay the two back pieces on top, right sides together and matching the side seams.
The back sections will naturally go to the correct shoulder as you can see in the image below. I made the mistake of matching up the shoulder seams first and in doing so, matched them incorrectly!
I fixed that before I took it to the sewing machine!
Pin the sections and head to the sewing machine! I stitched about 1/2″ seam allowances on the two side seams and the shoulder seams.
Since the front of the apron was already stitched in the previous step, you will have to compensate for a folded edge along that edge. See the video – it’s easier to demonstrate that way!!
how to hem a back wrap apron
The last step is to iron the hem all the way around the apron and top-stitch it at about 1/2″. This will be one long continuous hem.
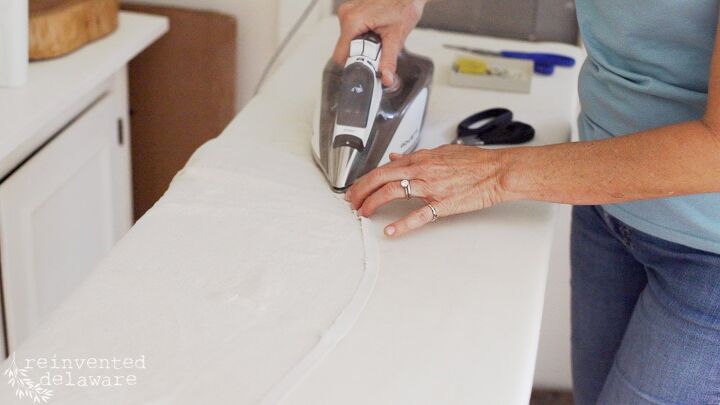
I used the edge of my presser foot and made sure the needle would catch the folded edge. I also top-stitched the side seams for a neat appearance.
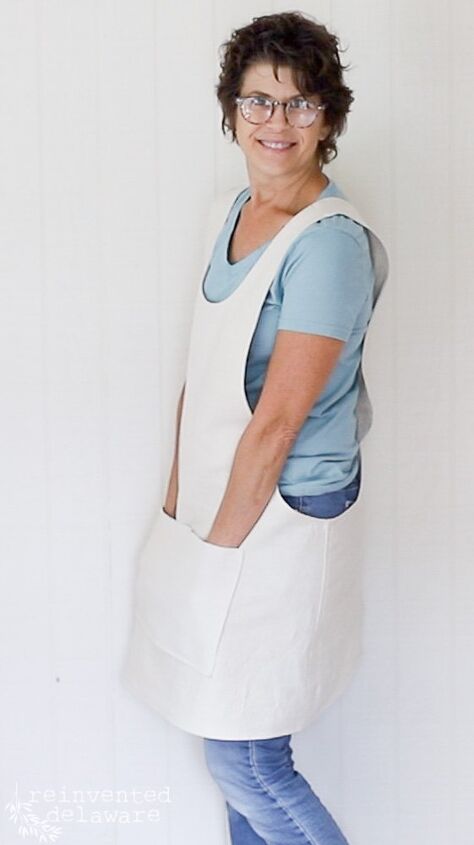
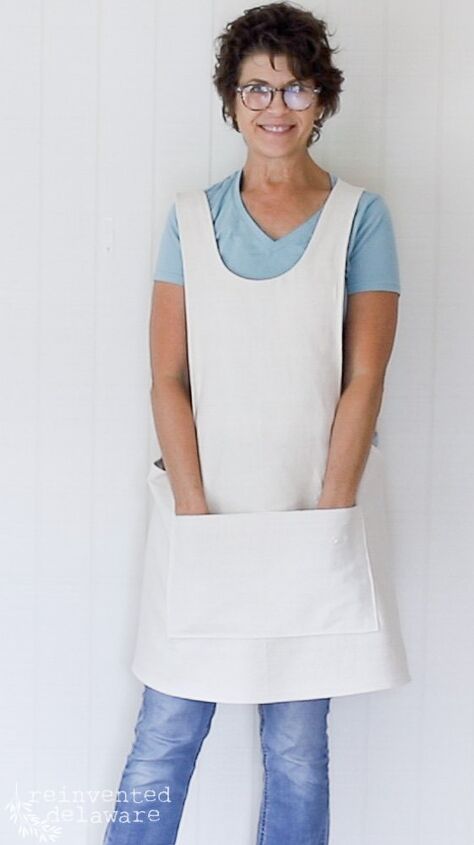
easy diy sewing project
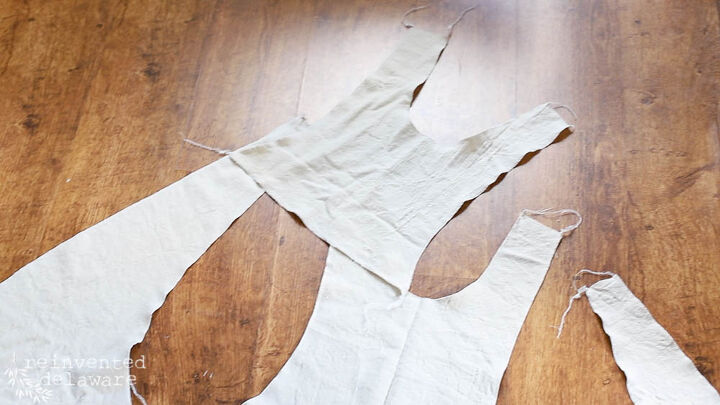
And that’s it! Five pattern pieces – a front, two backs, a facing, and a pocket and look at the results!
Isn’t it so cute?? And wasn’t that so easy to learn how to sew an apron? And fun too!
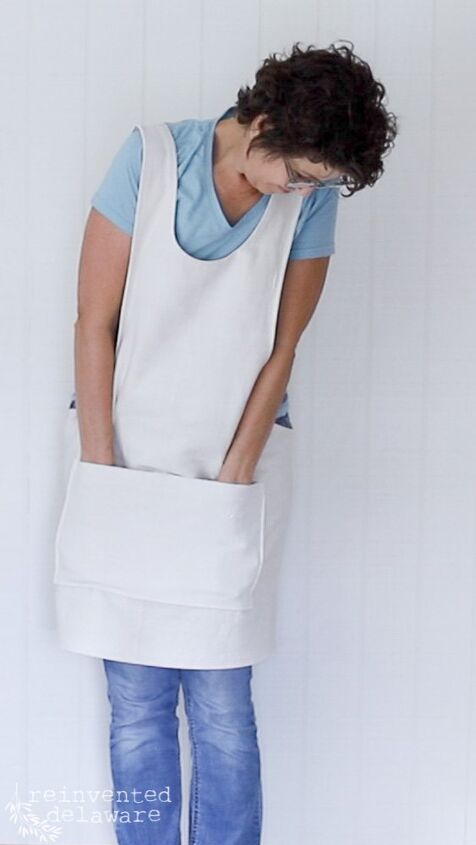
This apron has so many uses!
- cooking and baking in the kitchen
- grilling outdoors
- gardening in the yard
- painting beautiful artwork
- working in my workshop!
They would make great gifts too. The apron style is unisex and multi-purpose. And if you use a drop cloth, this would be so inexpensive to make in multiples!
If you have a Cricut machine, think of the possibilities for customizing this apron! Or maybe a stencil!! Omgoodness, I think my mind is going to town with ideas!
thanks for stopping by!
Thanks so much for stopping by for this tutorial! I hope you can see how easy it is to sew an apron. If you have any questions, please feel free to ask in the comments below.
Here is the YouTube video tutorial. I hope you find it helpful. Be sure to subscribe while you are there!
We would love you to join our journey over on Instagram and Facebook! You can also find more inspiration on our Pinterest page! We’re always pinning fresh ideas!
more drop cloth projects!
One of my blogging friends made a back wrap apron – be sure to check out how adorable it is!
The Everyday Farmhouse
Until next time…

Comments
Join the conversation
-
Love it! Thank you for sharing. 😍👌🏼


Frequently asked questions
Have a question about this project?