


How To Turn Books Into Beautiful Art For Your Home
HOW TO TURN BOOKS INTO BEAUTIFUL ART FOR YOUR HOME
Hi there sweet friend! Welcome to my Blog!
This is where I hope to inspire you to create beautiful things for your home, for gifts, or just for your soul! There’s nothing like the feeling of creating something beautiful with your own hands and we can ALL do it! Today I want to share with you how to turn books into beautiful art for your home! This is such an easy project but such a good one! I think you’ll love it!

If you prefer a video version, I have several over on my Facebook page, but you can watch this one here!
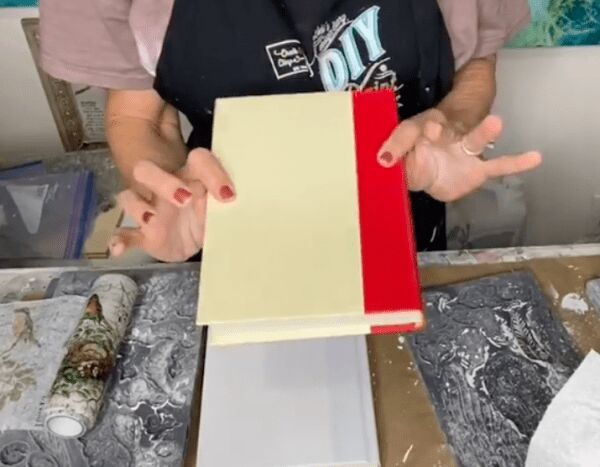
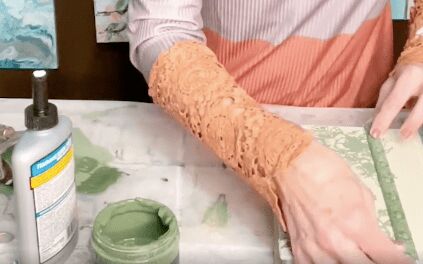
All you need to get started is a book; Just any ordinary hardback book!
Here’s what I used:
- Paint
- Sealer ( clear wax and white wax)
- IOD stamp
- IOD air dry clay
- IOD brayer
- IOD Trimmings 3 mould
- IOD Lock & Key mould
- Metallic gold paint
- Titebond quick & Thick glue
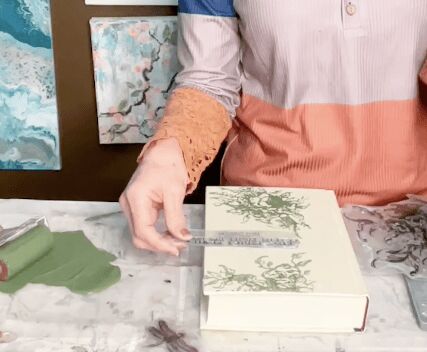
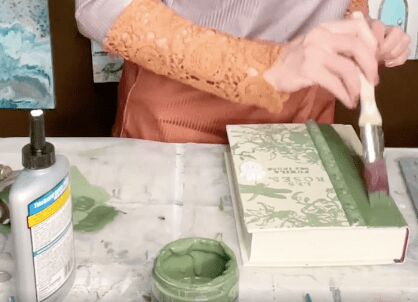
STEP 1 – PAINT BOOK
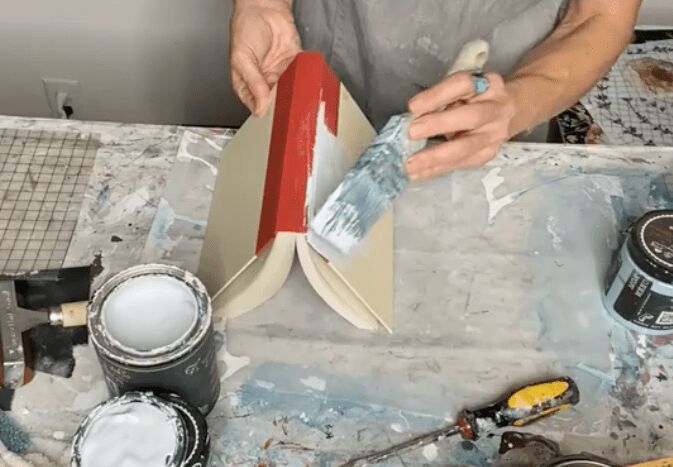
Brush 1-2 coats of paint on your book covers inside and out. This will help keep it from warping! Let dry.
STEP 2 – STAMP WITH ROSE TOILE
The Rose Toile stamp comes with several pieces. Decide which pieces you want to use and pour out the paint you want the stamp to be; in this case, I used the color Aviary. Load your brayer with the paint and then roll onto the stamp.
Lay your stamp down and gently press down, trying not to shift the stamp.
Repeat with all the stamp pieces you want to use.
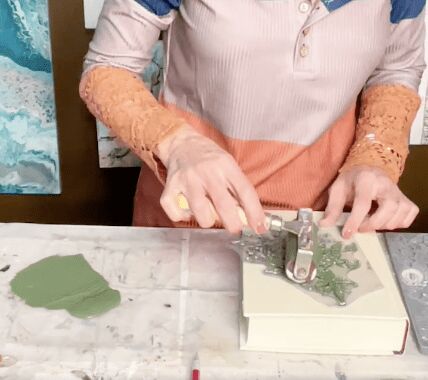
STEP 2 – MAKE MOULDS AND GLUE ON BOOK
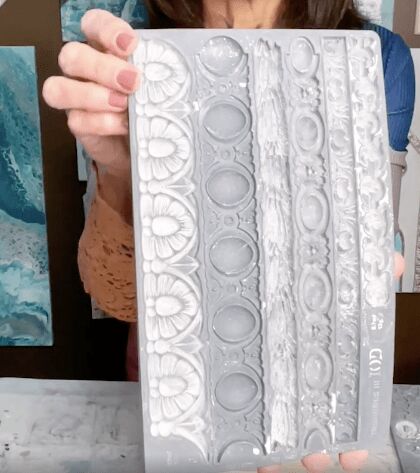
Next I added some moulds, starting with the Trimmings 3 mould.
Lightly dust the mould you want to use with Corn Starch. (This just helps the clay to release easily). Tear off a piece of the air dry clay, roll into a snake like shape; then press into one of the moulds. Remove excess clay along the edges with your thumb.
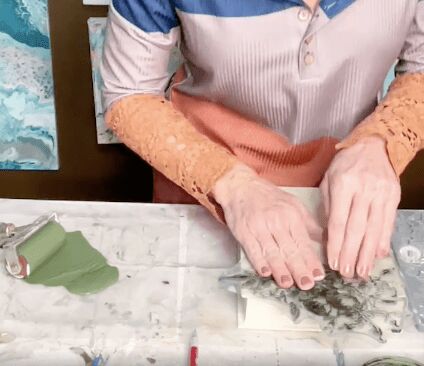
Slightly bend mould to release clay shape and let dry.

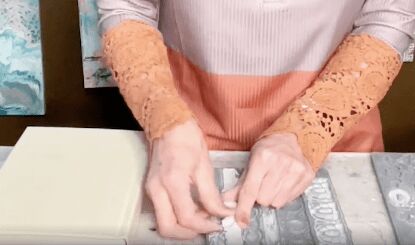
When the clay trim was dry, I painted it with the same color I stamped with. I normally wait to paint clay pieces after I’ve glued them on, but in this case I thought it would be easier to do it before since I was using a different color.
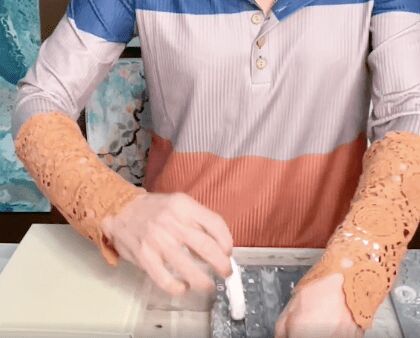
Make all the moulds you want to use and glue on using Titebond quick and thick glue. Paint the clay pieces once they’re glued down.
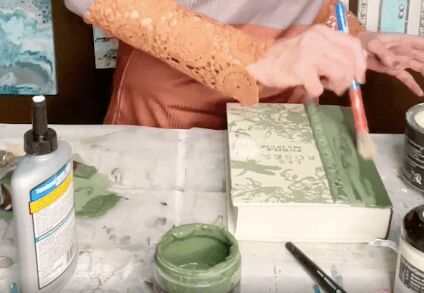
STEP 3 – PAINT MOULDS AND ADD ADDITIONAL TOUCHES
Just continue to have fun! I decided to paint the spine area with the Aviary green color. I painted the little lock with the Crinoline color.
STEP 4 – SEAL PAINT
Now you just want to seal the paint! I first used clear wax. You can stop right after that if you like that look! The DIY paint dries lighter until it’s top coated. See the brightness coming back out?
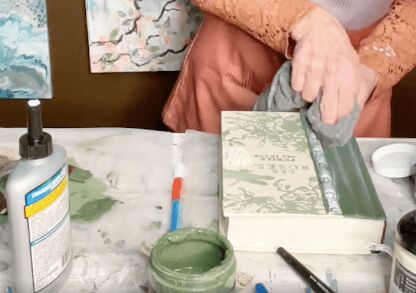
I then added a little white wax and wiped off to soften and age. I later decided to add a touch of gold metallic paint along the edges of the lock to make it look a little rusty.
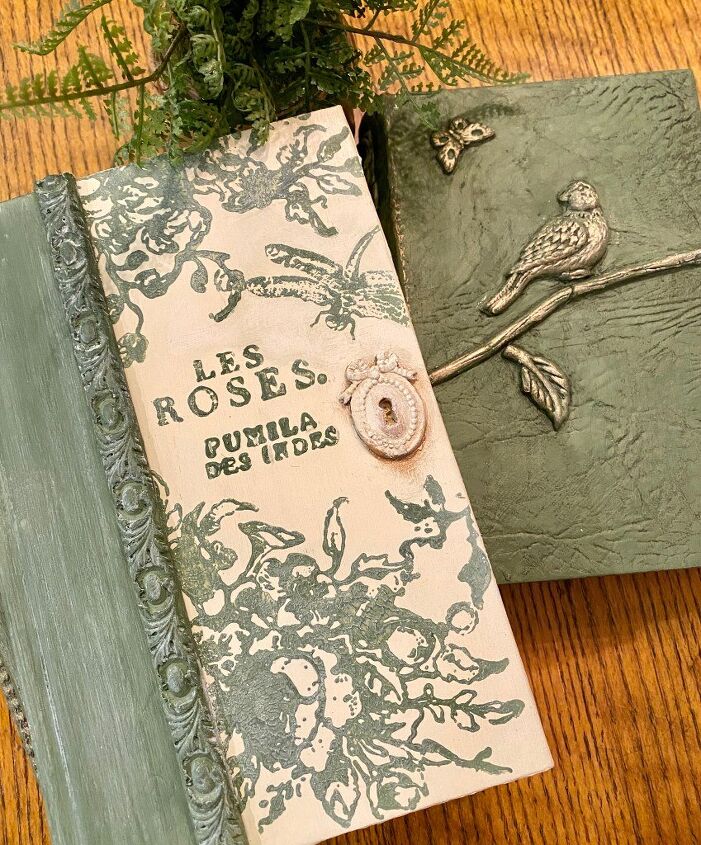
I just love how it turned out! It’s definitely one of my favorites! If you’d like to watch a video tutorial, you can check that out here!
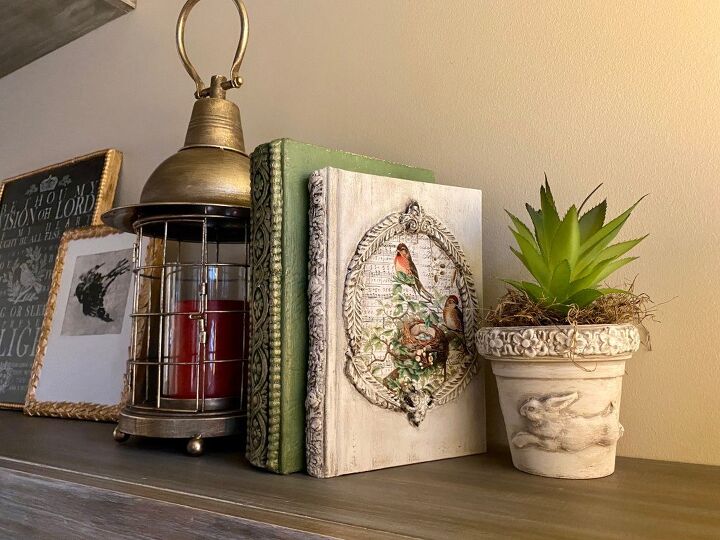
I love this project so much! Here is another one that I’ve done! You can watch the quick video tutorial here !
LET ME KNOW IF YOU TRY IT. FEEL FREE TO ASK ANY QUESTIONS YOU MAY HAVE…I ALWAYS LOVE HEARING FROM YOU. IT MAKES MY DAY!
Thanks so much for reading!
XOXO,
Joanie
Resources for this project:
See all materials


Comments
Join the conversation
-
I have a few photo albums that needs sprucing up! I can't wait to try this idea out! tfs😍
-
OH....MY....GOODNESS! SIMPLY ADORABLE! THANKS SO MUCH FOR THE POST!!!


Frequently asked questions
Have a question about this project?