


How to Update an Old Lamp With a Little Glue and Fabric
4 Materials
$5
1 Hour
Easy
Grab your hot glue gun, some pretty fabric and a little paint and you will be able to completely transform an old outdated lamp to turn it into a beautiful statement piece.
It's summer and that means lots of trips to the dump store ;) Man I just can't get enough of that place! If you have missed past dump store finds, you can see some here and here.
With all of these cool finds, I couldn't help but share another one with you today.
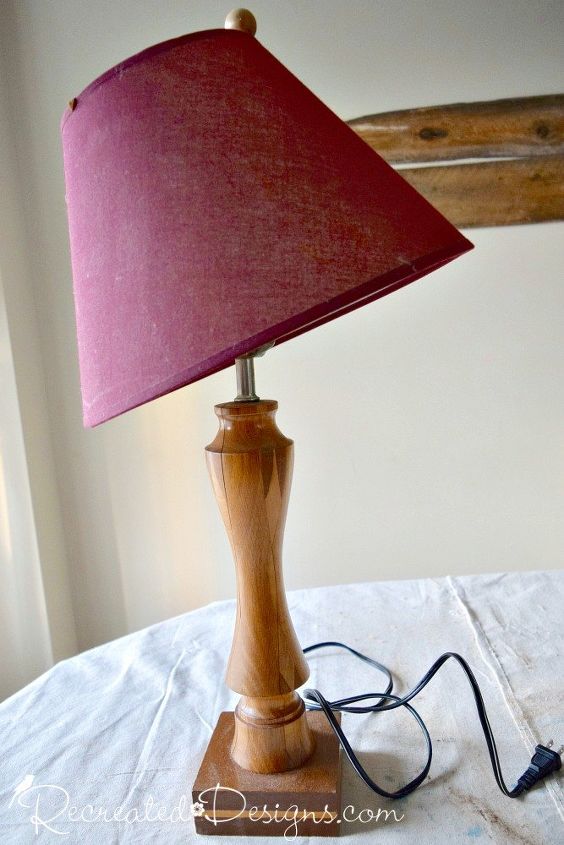
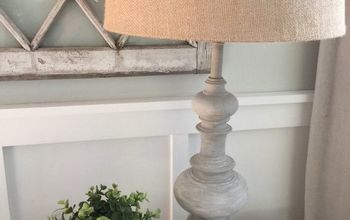
A few weeks ago I found this broken lamp. The shade was dented, the wood cracked and I wasn't even sure it worked but I hauled it home anyway just because I loved the shape of the base!
Honestly, I didn't even remember to plug it in and see if it worked until I was half way through the project I was so excited;) Oops! Lucky for me though, it worked!! Phew!
I wanted the lamp to have a rustic look and was inspired by some vintage blue and cream striped fabric that I have had for a looong time. The fabric was perfect for my DIY lamp shade!

For the lamp base, I started with a coat of blue paint. Even though I planned on the base being cream, I wanted an undercoat of blue that would show through when it was distressed.
Once the blue was dry, I rubbed on a coat of hemp oil. The Hemp Oil helped to keep the next layer from totally adhering to the blue so that the blue would show through.
Immediately after applying the Hemp Oil, I added a coat of cream and began drying it with my hair dryer. The heat helped the paint to crack a bit and helped to separate the layers. I only used one coat of the cream and then applied the heat right away and the blue shone through beautifully!
Even though the old shade was dented, I wanted to use it. With the fabric ruffles, you wouldn't see the dent after so it didn't bother me.
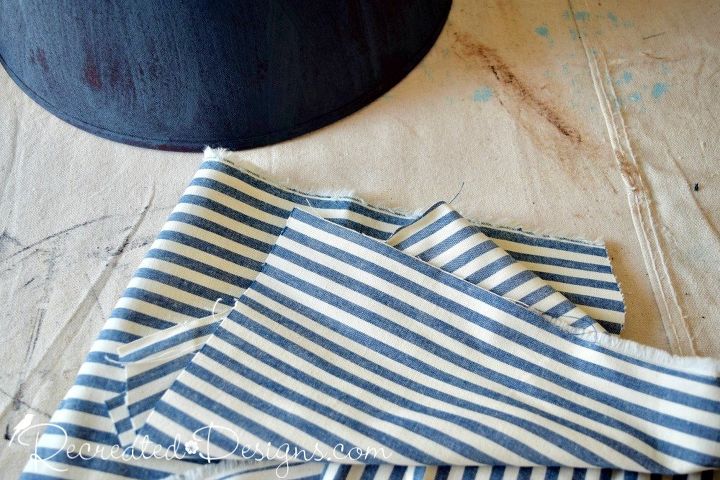
The shade got one coat of the same blue paint. The fabric will cover the entire shade but I painted it in case it peaked through anywhere.
Isn't the fabric so pretty? You know I love blue and white/cream and this fabric is just so vintagy and gorgeous I couldn't help but be inspired by it.

To cover the edges, I cut thin strips of the fabric and used my glue gun to stick them on.
Start on the outside and then do the inside gluing it on both sides.
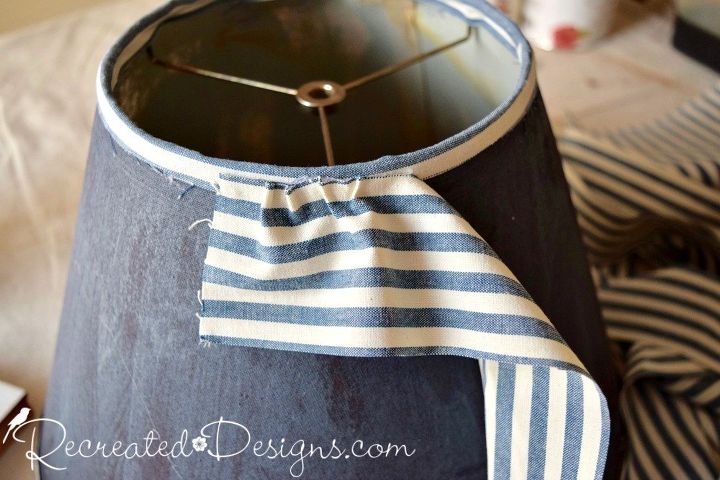
To make the no-sew ruffles it is so easy! Start at the top of the shade and make a glue line about two inches long. Lay the fabric strip on the glue and then push it with your finger or thumb until it scrunches up.
Be sure to work in small 1-3 inch strips so that the glue doesn't harden before you can slide the fabric into a ruffle.
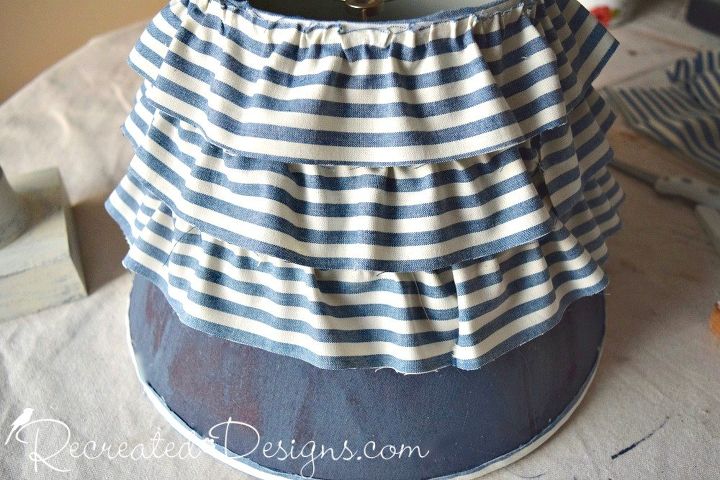
Continue working around the shade, adding layers, until it is entirely covered.
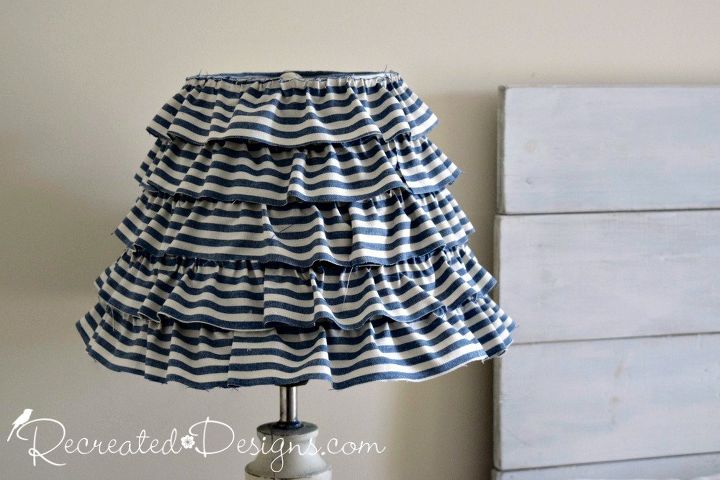
Doesn't that look so pretty?! And there was not a stitch of sewing involved!
Do note that there will be little threads because nothing was sewn. I don't mind those though since they just added to the vintage/rustic look.
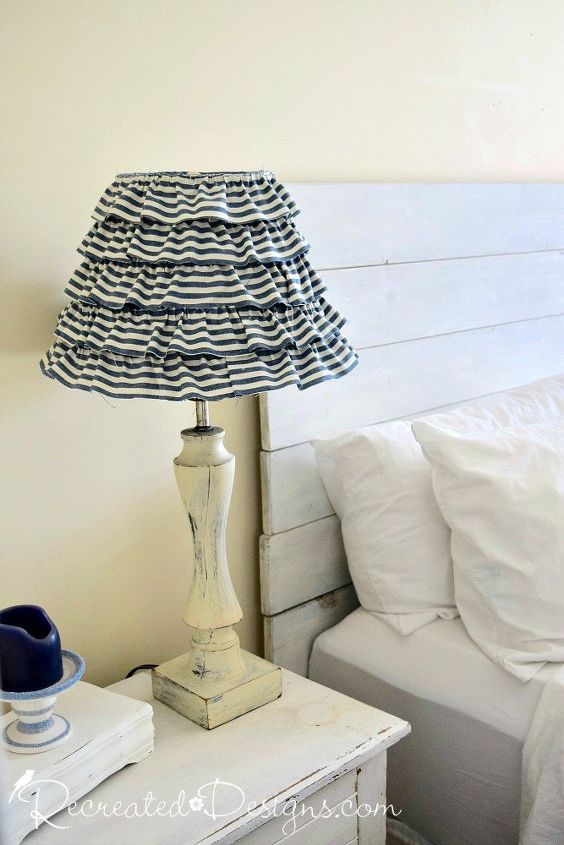
I am so thrilled that I grabbed this broken lamp from the dump store. Another find saved from the global trash stream!
To see additional pictures for each step of the project, pop over to the original post on the Recreated Designs website...
{
"id": "4236481",
"alt": "",
"title": "",
"video_library_id": "7674",
"thumbnail": "https://cdn-fastly.hometalk.com/media/2017/09/11/4236481/how-to-update-an-old-lamp-with-a-little-glue-and-fabric.jpg"
}
{
"width": 634,
"height": 357,
"showRelated": true,
"noautoplay": ""
}

Want more details about this and other DIY projects? Check out my blog post!
Comments
Join the conversation
4 of 69 comments
-
great idea! its adorable!

-
I'm a stripe lover......just love 'em, so ALL I can add here is ........WOW!
 you did a great job of layering on the stripes and made it look gorgeous!!! TO keep it from raveling......rick rack, as in white or blue, would of stopped the raveling.....rick, rack is very vintage.


Frequently asked questions
Have a question about this project?
What is a "dump store"?
Does any light actually shine through the several layers of fabric? I'm thinking of reading in bed, a nightly ritual of mine.
I have a question about the glue. What kind of glue did you use? Can you use hot glue?
Looks great, what is hemp oil and where can I purchase it. Also what color is the blue and cream name and where can I get it. Love these colors. Thanks for sharing.