


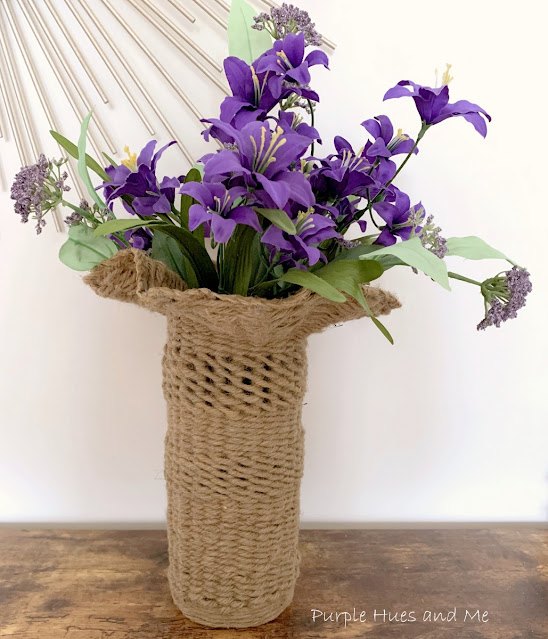
Jute Vase With Flair Top DIY
If you're like me, you can never have enough vases to display beautiful flowers! And one handmade like this woven jute vase with a flair top certainly adds a personal, unique touch that you will truly love! Can you believe - from a tin can to a decorative showpiece! And the best part, repurposing materials is always a crafter's dream - especially using items as simple and inexpensive as a tin can, jute rope and knitting wire! And although the finished look appears intricate, it's actually quite easy to do using mostly an over and under weaving technique!
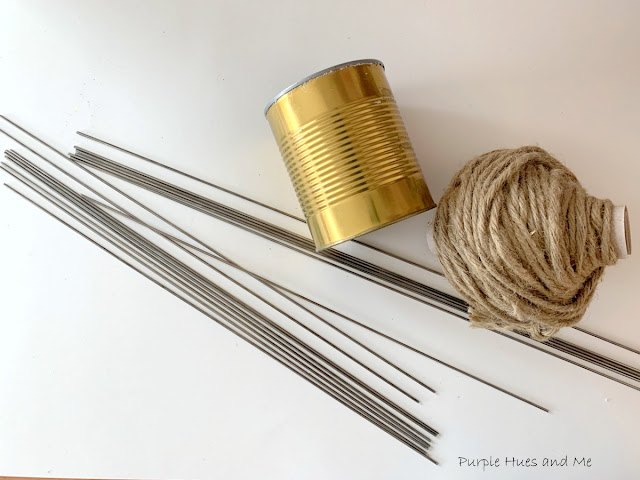
To make this Woven Jute Vase with Flair Top, gather the following -
Materials:
- Tin can
- Knitting blocking wire (3mm 36" long)
- Wire cutters
- Masking tape
- Jute rope - 5mm
- Hot Glue
- Tape ruler, magic marker, scissors
- Pliers and old wash cloth to help bend wires
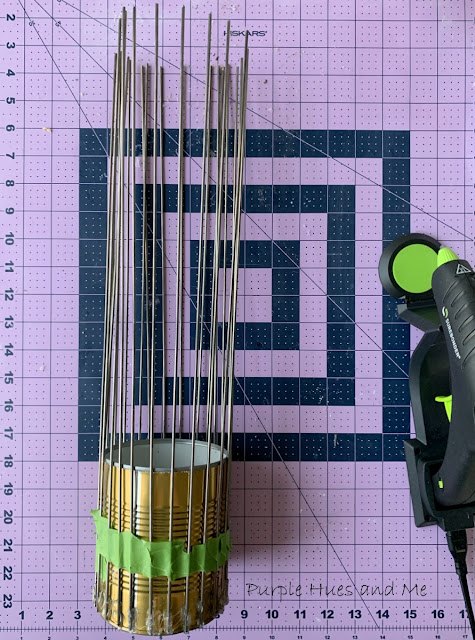
Let's begin by cutting the knitting blocking wire in half using wire cutters. I got the blocking wires from my mil when we had to clean out her home. I had no idea what they were at the time, but couldn't resist the long, narrow wires. I knew I would eventually find a use for them! Lol!
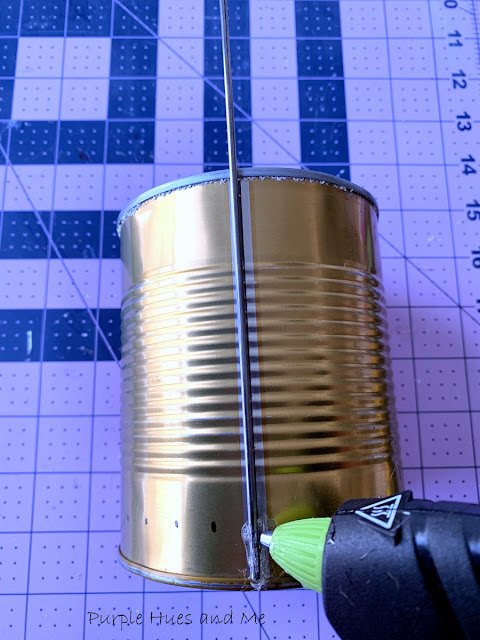
Next, take a clean tin can and wrap a tape measure around the bottom to mark 1/2" spacing along the outside using a magic marker. Then hot glue a blocking wire on each mark gluing on a total of 25 for this size can.
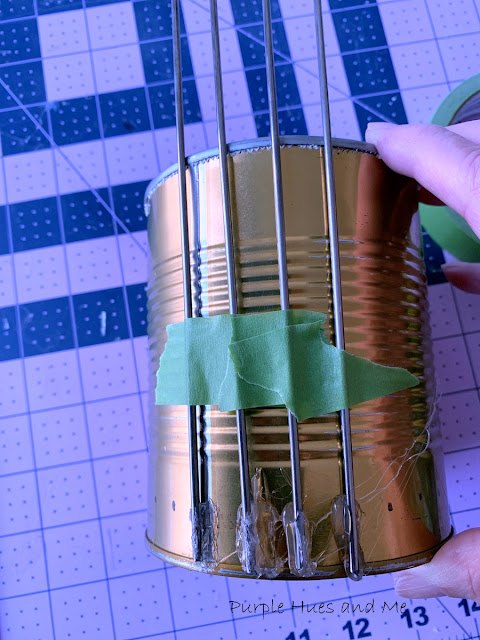
Use masking tape to hold the wires in place until the glue dries.
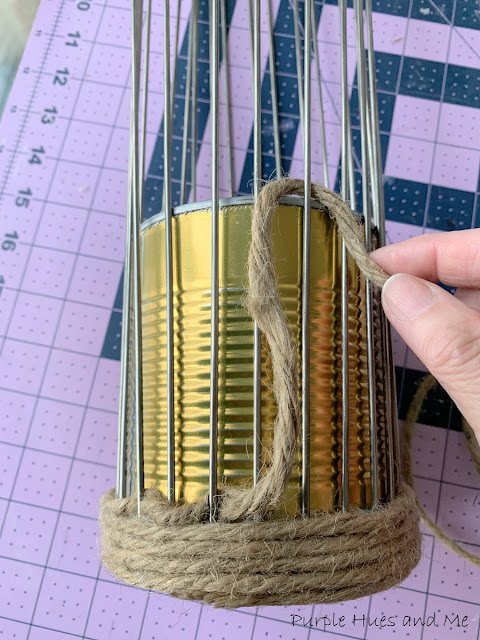
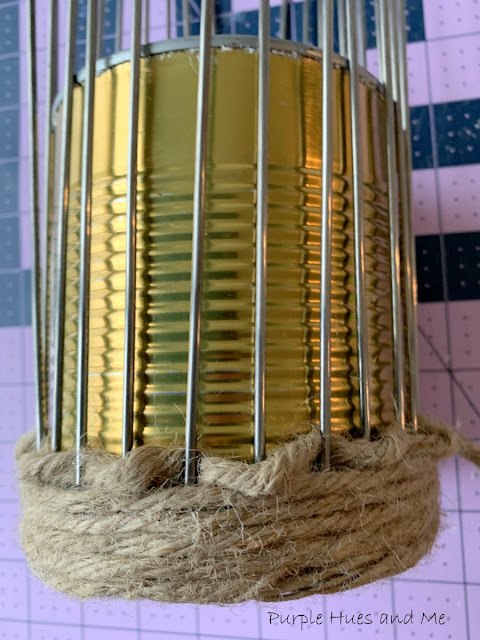
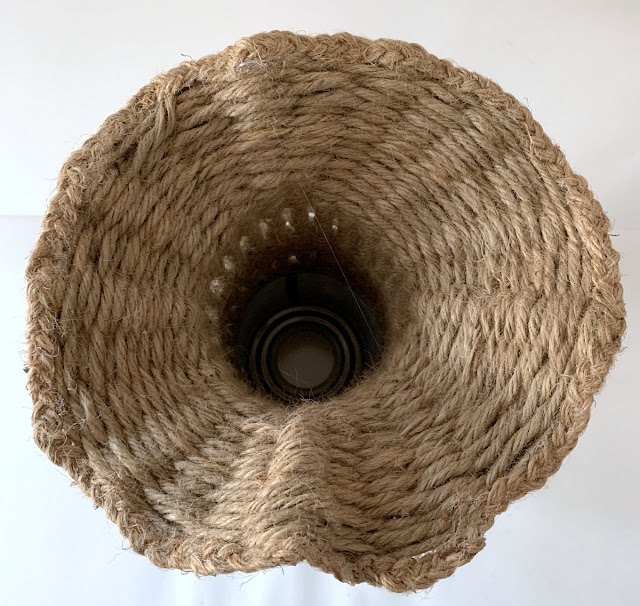
Then glue on the end of the jute rope at the tin can seam and begin wrapping the jute around the can approximately five times (ending at the seam) - gluing ever so often to keep the jute place as you wrap. When reaching the seam, start taking the jute rope over and under each wire, around the tin can.
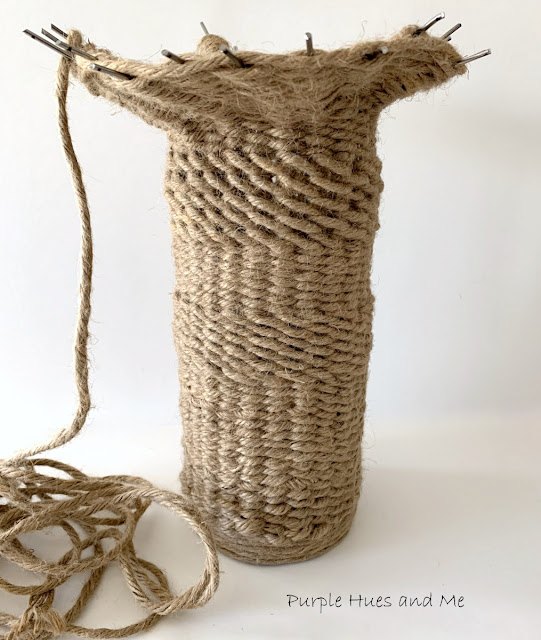
Continue weaving over and under for about 24 rows . . .
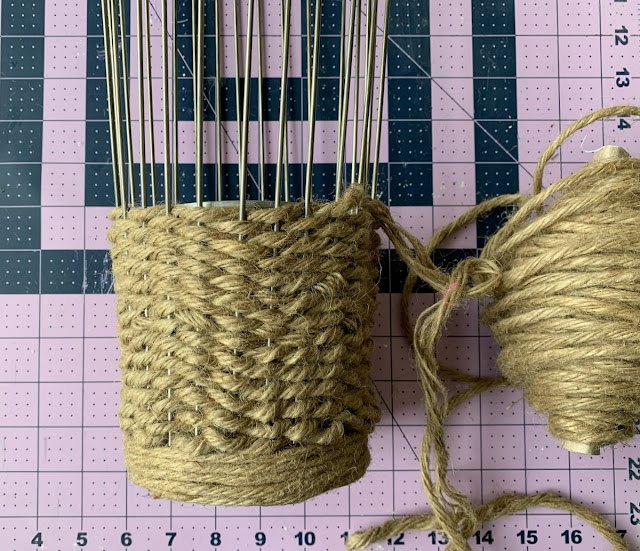
ending near the top of the can.
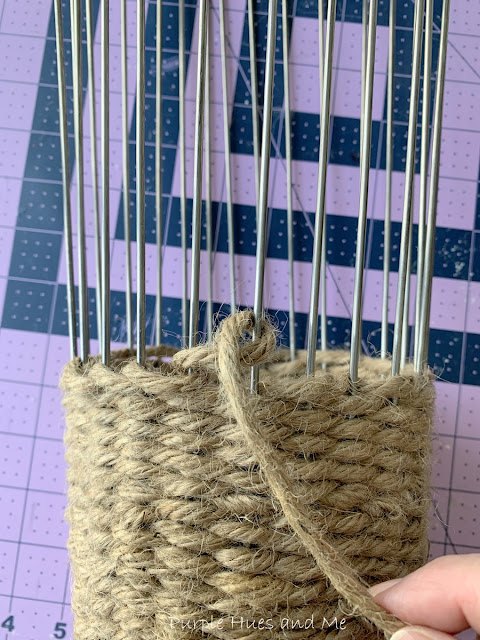
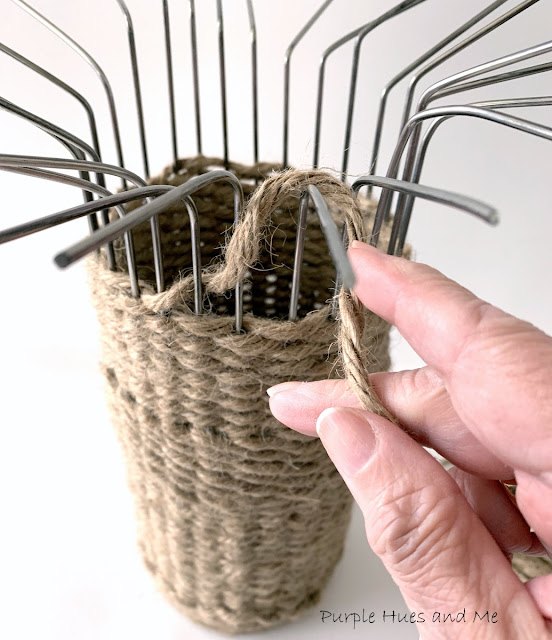
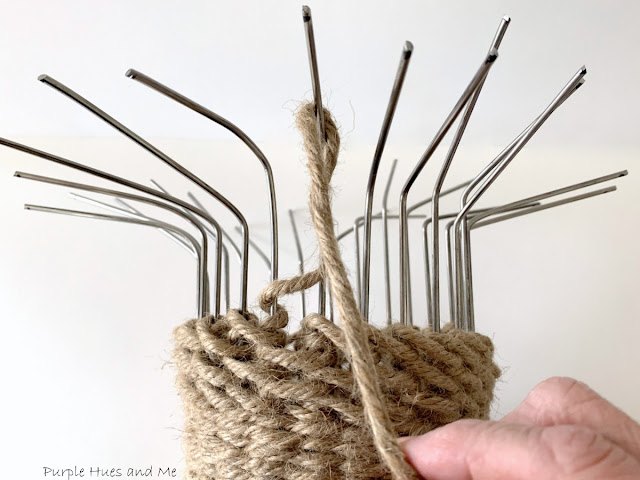
Then switch up the weaving pattern by wrapping the jute rope around a wire and then skipping over the next wire and wrapping around the wire after the one skipped over . . .
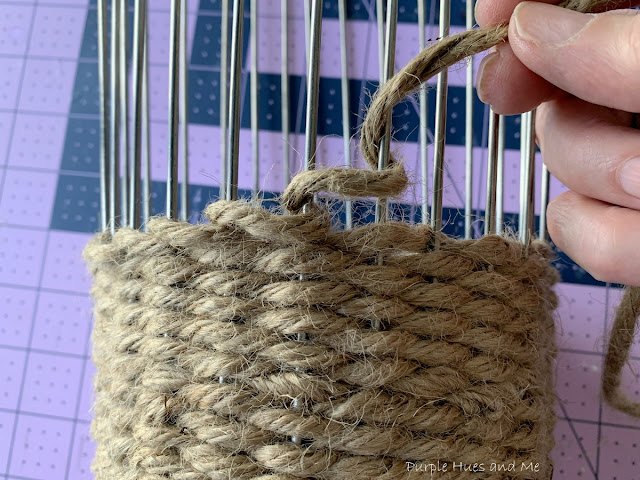
continuing this pattern around and up for several rows..
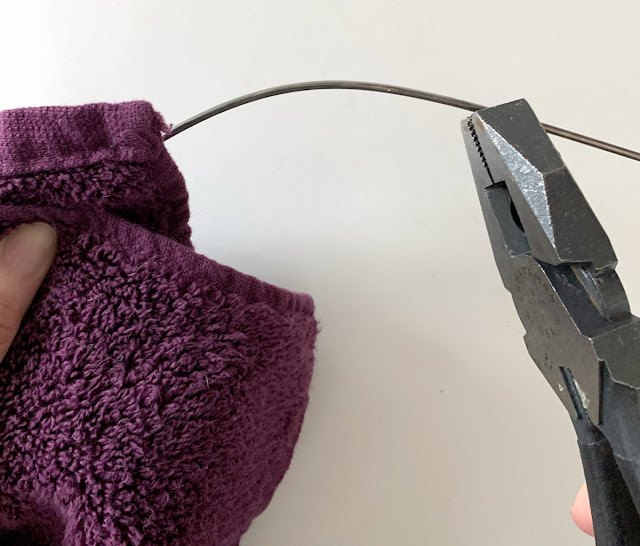
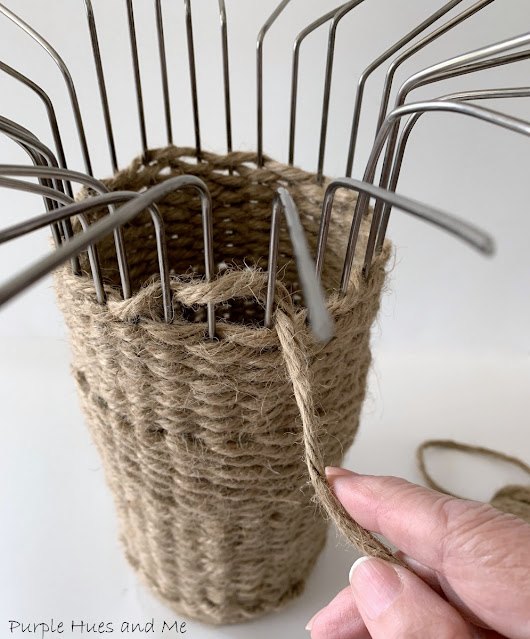
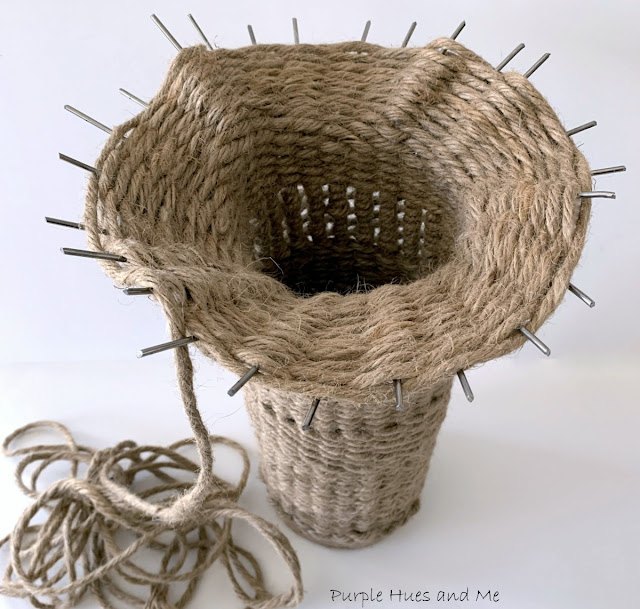
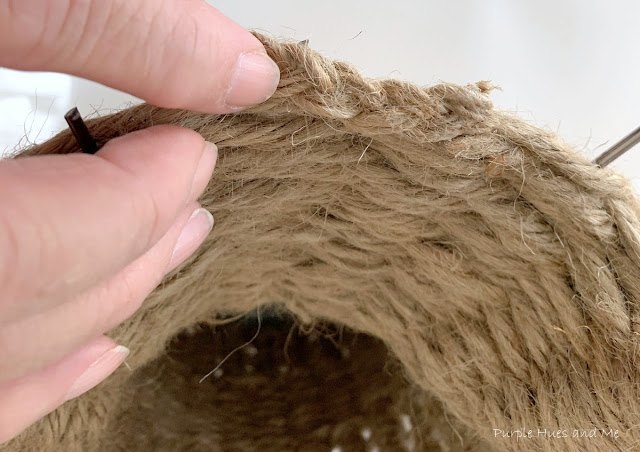
To make the flair top, bend each wire (using pliers and an old wash cloth) near the same area, with . . .
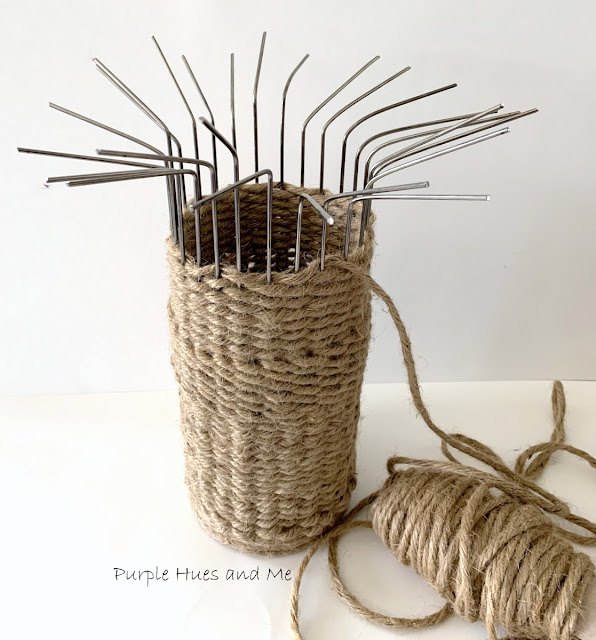
some wires slightly higher or lower than the others for a wavy look.
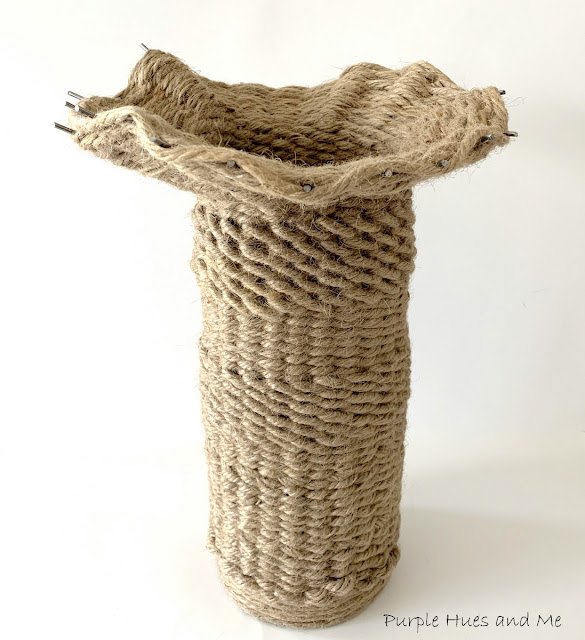
Continue weaving over and under the wires weaving up the wires . . .
then switching the weaving pattern by wrapping rope around each wire . . .
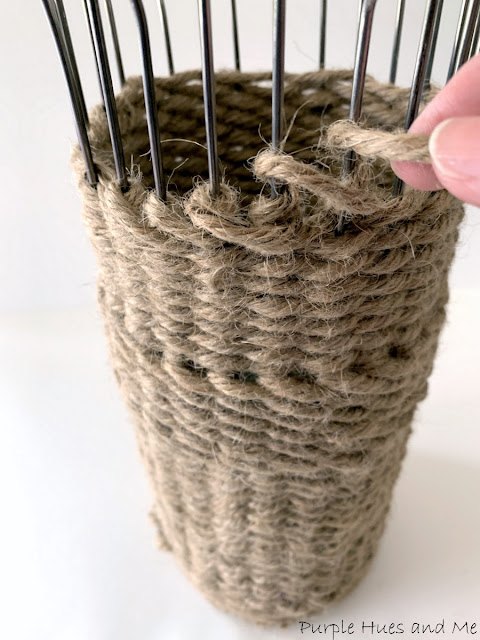
for a decorative woven effect . . .
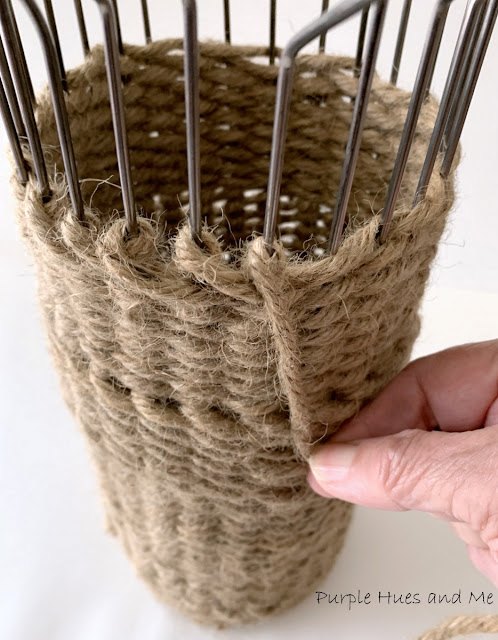
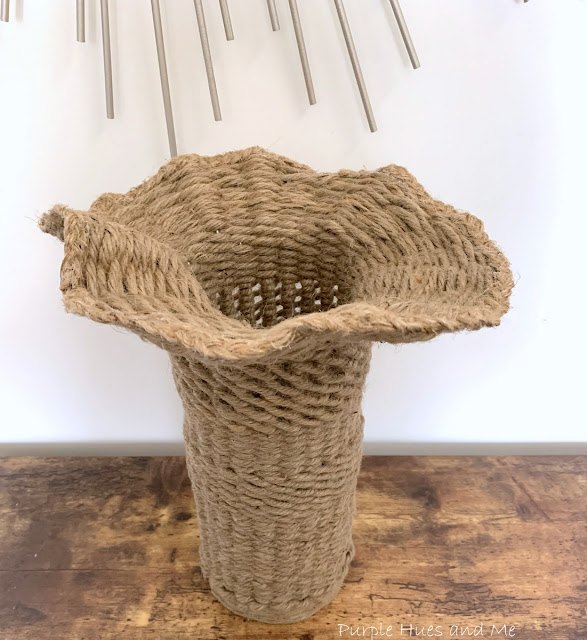
before switching back to an over and under weave for the flair until . . .
you're near the end of the wires. Then, cut off excess jute . . .
leaving enough at the end to tuck in between rows, adding a dab of glue to seal.
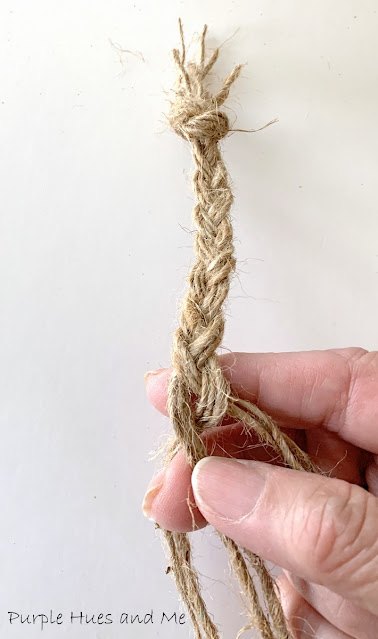
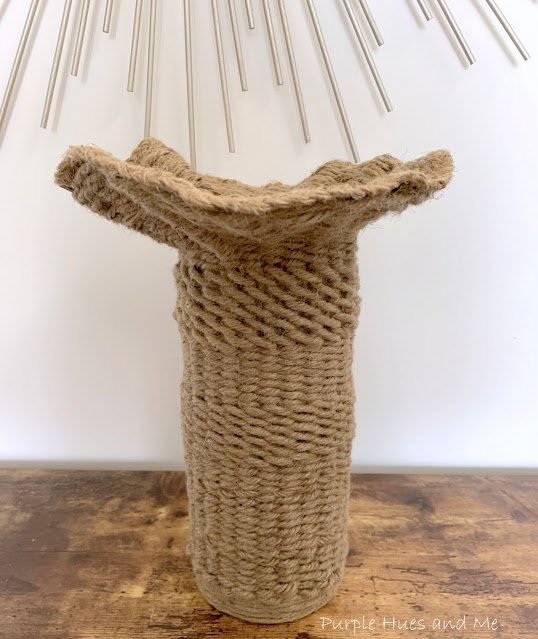
To cover the wire ends around the flair, separate some of the excess jute rope into three, four thread groups to braid and . . .
glue around the edge of the flair. Measure how much braiding is needed and seal end areas with glue to cut off and let dry. Glue on braiding around the flair and over the wire ends . . .
for a finished decorative look.
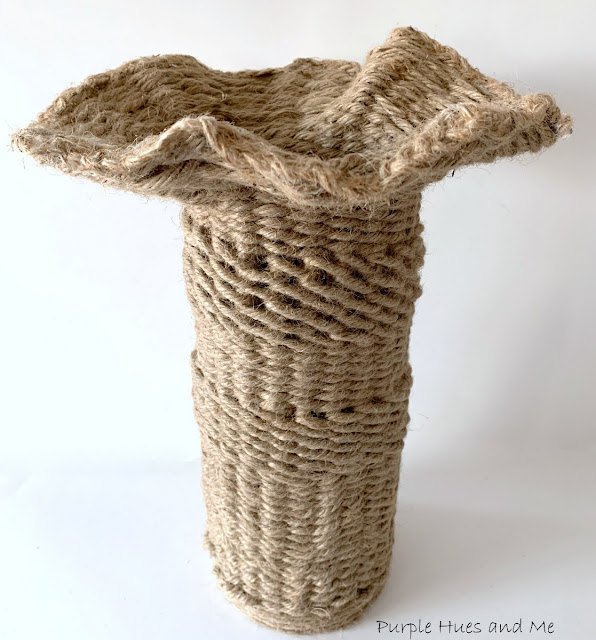
In weaving this vase, I'm not quite sure how much jute I had left over from a 900' roll I got a few years ago. I used the total jute bundle as pictured above. And it was enough for me to weave a 12" tall vase with a 3 inch flair.
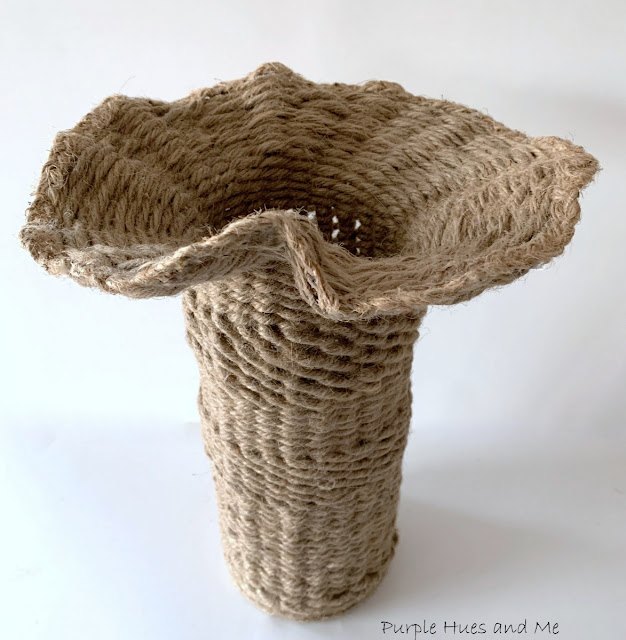
How cool is this! A lovely boho or shabby chic look!


Comments
Join the conversation
-
Great job as always Ms. Gail! Always add purple flowers LOL Love it!
-
You know it, Ginger! Thanks! 💜


Frequently asked questions
Have a question about this project?