


Pretty Upcycled Mini Tea Light Lanterns
The best thing about these cute mini lanterns is that there are so many choices you can use for the pictures. And it's so easy to change them up when you fancy something different.
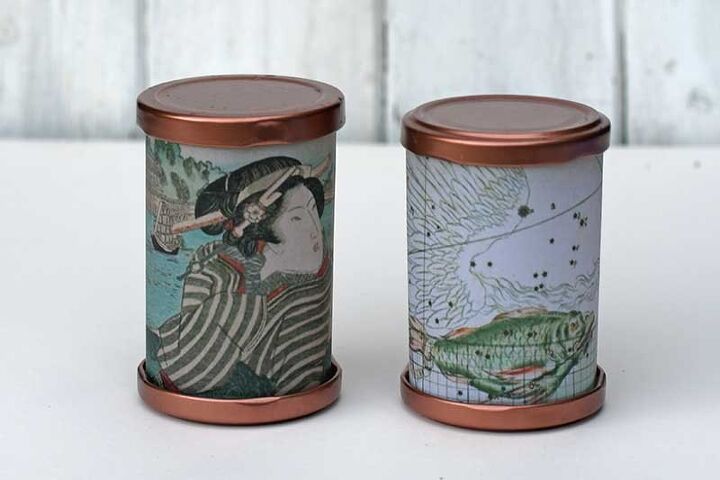
You can use vintage flower images, or birds, maps, or even vintage Japanese art. So much to choose from, all available free from my blog Picture Box Blue link in bio at the end.
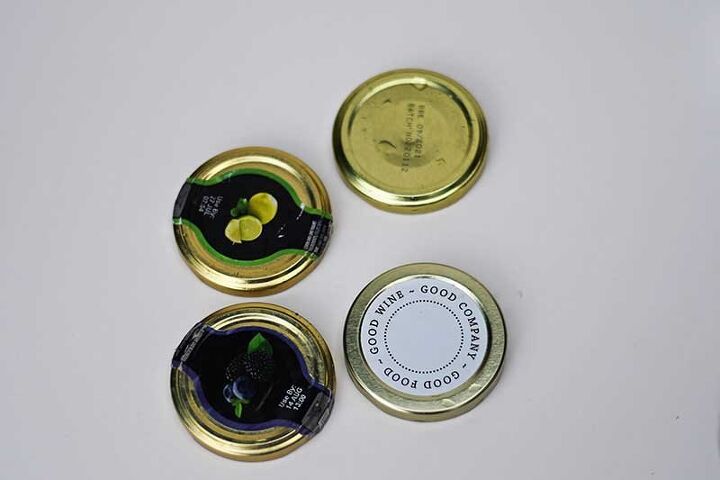
I used jam jar lids all the same size for this craft you need 2 for each mini lantern.
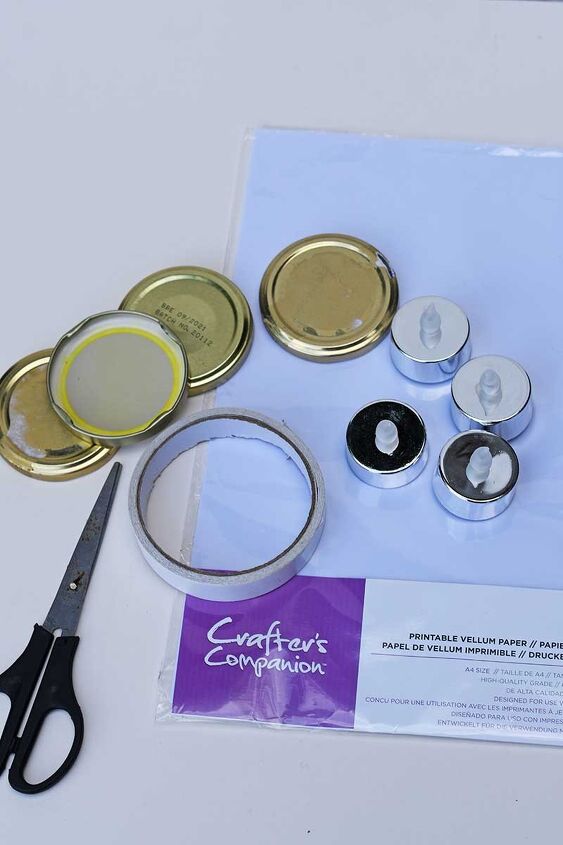
The other things I used were printable vellum paper (available from Amazon or craft stores). Double-sided sticky tape, spray paint and mini led tea lights.
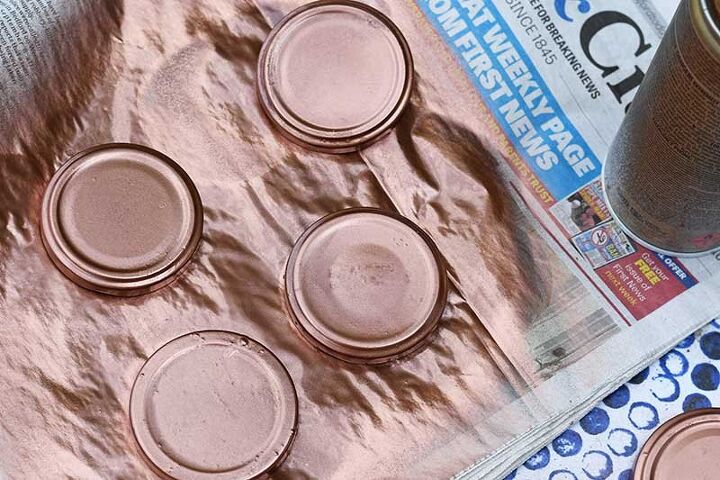
The first thing I did was wash all the labels off the jam jar lids. I then sprayed them the same colour. As I like copper in home decor I used metallic copper spray paint.

Next, I measured the circumference of the jar lid using a tape measure. This was the length I needed my printed vellum paper to be for the lantern plus 5mm for an overlap.
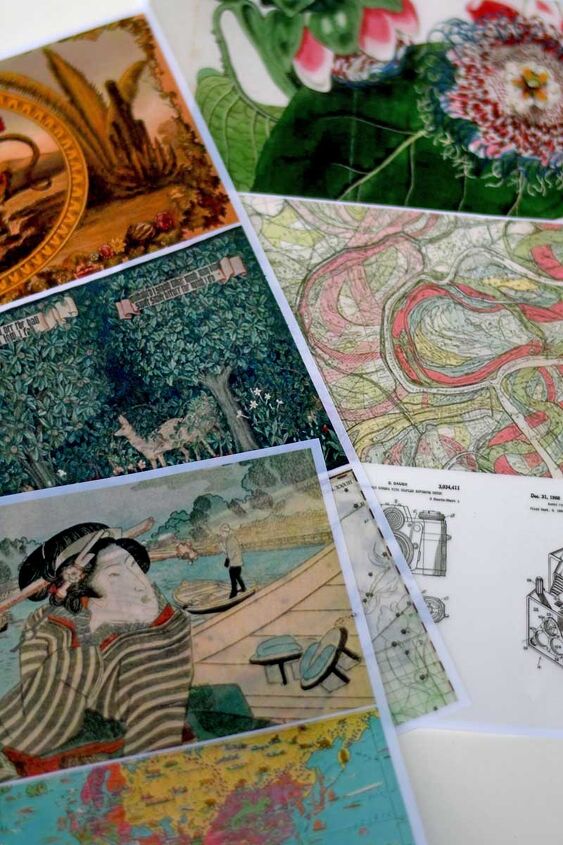
Next, using my inkjet printer I printed out the lantern sleeves onto the vellum paper. There are many free designs on my blog that you can use and instructions on how to design your own (link in bio).
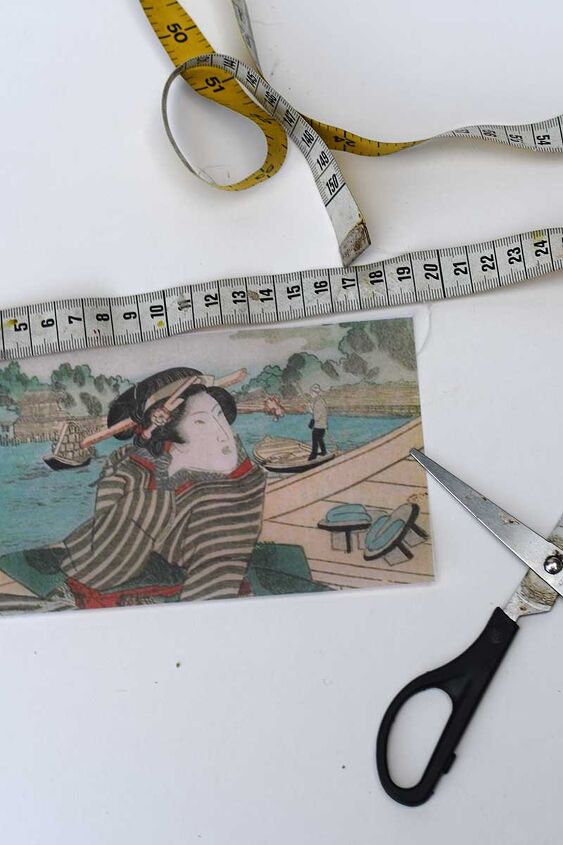
I cut the length of the vellum paper to the circumference of the jar lid (+5mm).

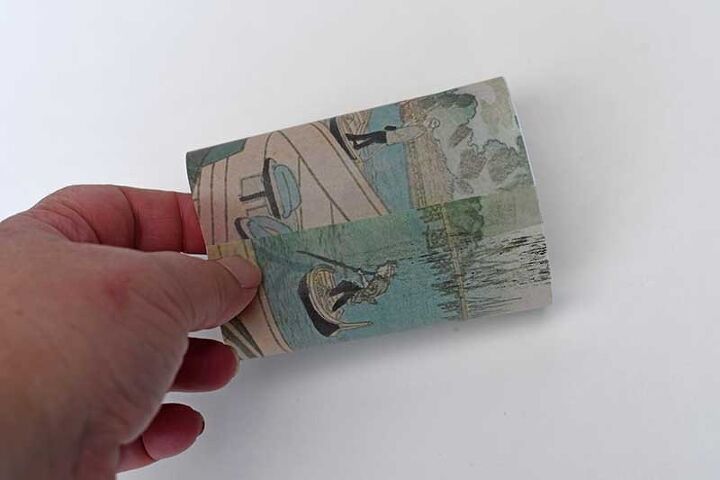
Next, add a strip of double-sided sticky tape to the edge of the back of printed vellum paper. Then roll the paper into a tube and fix it in place with the sticky tape.
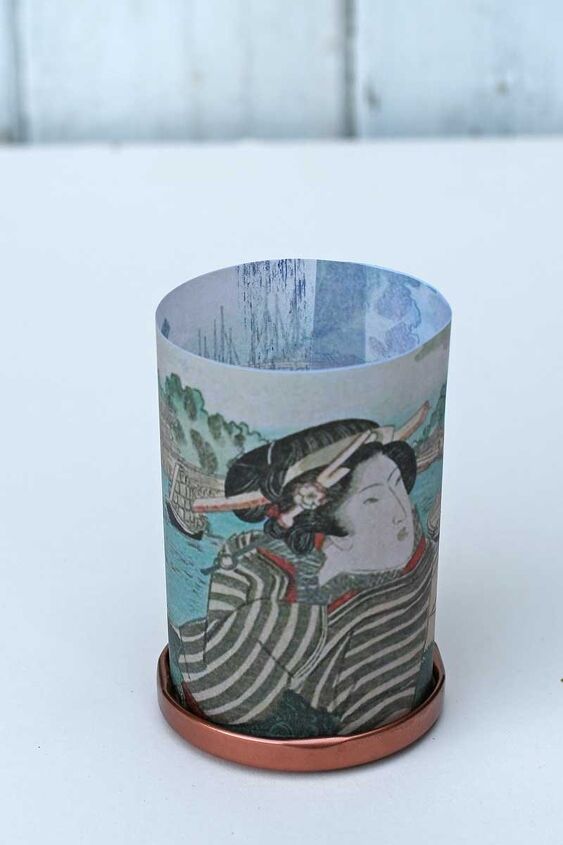
Place the printed vellum paper tube into the jar lid. Then add a tea light before putting another lid on the top. I didn’t secure the jar lids with glue so I could easily change the images whenever I wanted. However, if you are making more permanent DIY tea light lanterns, glue can be used to fix the sleeves to the lids.
These look lovely on my mantle when glowing at night. You can actually buy remote-controlled LED tea lights which makes switching them on and off so much easier ( link in the blog post).
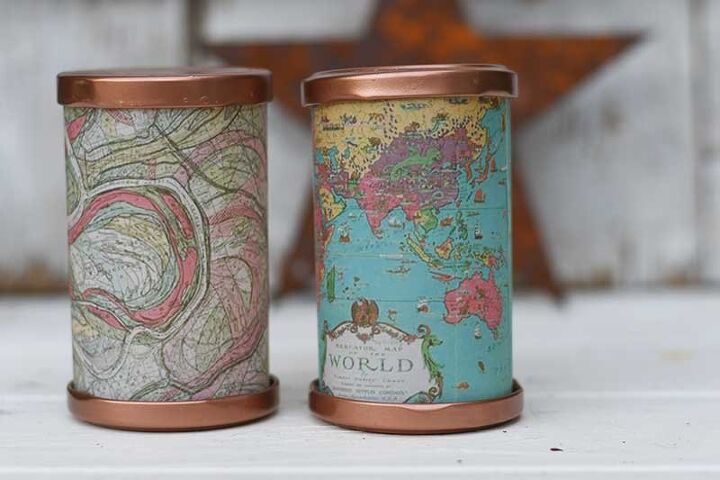
I even made some map ones.
There are so many more affordable crafts and DIY's you can make from the free vintage images on my site. From American songbird wind chimes and sead can planters
Resources for this project:
See all materials


Comments
Join the conversation
-
I love these and will make me some … thanks for sharing
-
Absolutely gorgeous! Will definitely try.


Frequently asked questions
Have a question about this project?
Eventually, the battery will die; if you glue the lids on, how do you change the battery?
Really love the Japanese print...someone asked about changing battery, don't glue it, double side tape will work. Still, looking for an answer regarding the vellum without getting too much of it?
How tall did you make these? So pretty,but I'd love to see a picture at night.