


Quick & Simple Sign Update

Here’s another quick, simple (possibly free) DIY refresh.
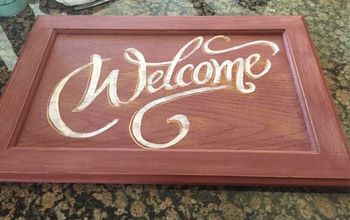
I’ve had this sign for a while and I do love it, but I wanted to give it a little update. I love the way greenery looks with whites and wood tones, so I gave it a quick, simple refresh with some scraps I had laying around the house. The whole thing was free, took less than 5 minutes, and now I feel like I have a new piece! I also was careful and planned this project in a way that if I want to, I can revert back to the original sign at any time.
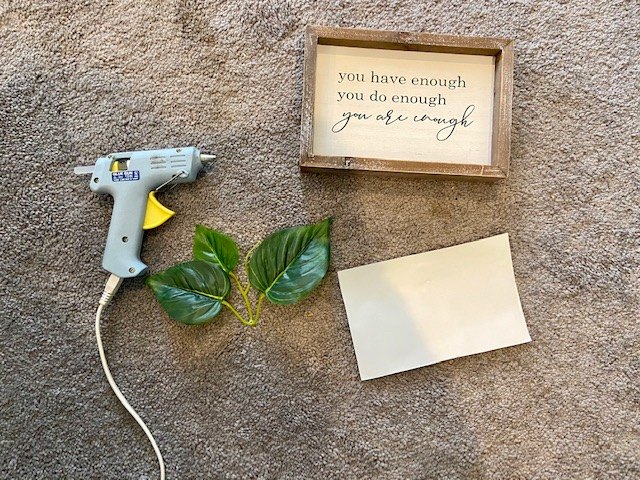
What you'll need
Old sign
Greenery
Contact paper (Any kind of paper will do)
Glue gun
Scotch tape
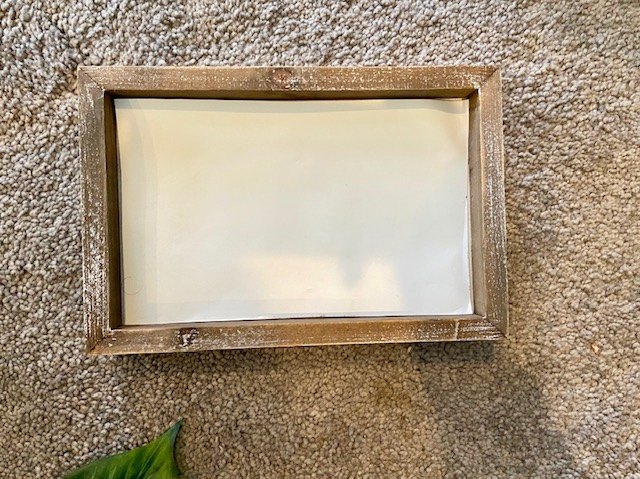
Step 1: Cut and attach the paper
Cut your paper to size and attach it to your sign. I used contact paper because I had some laying around, but you can use anything... Printer paper, wrapping paper, even some felt or fabric! Mine isn't cut perfectly but I was using white on white and I don't expect anyone to be inspecting it too closely.
I used a small amount of Scotch Tape to attach my the paper to the sign. This way if i ever wanted to, I can just remove the paper and use the old sign again.
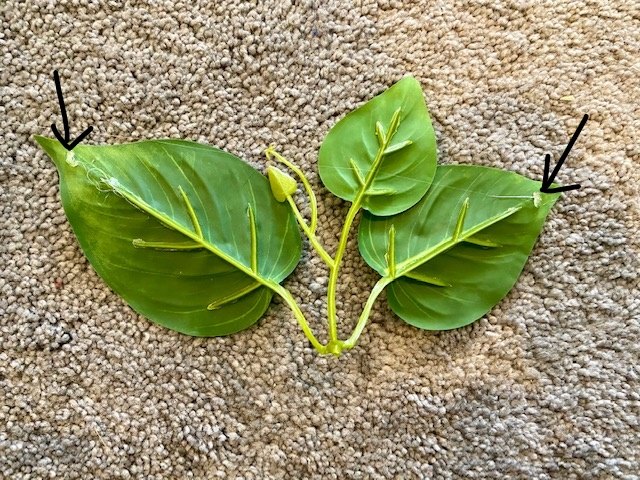
Step 2: Glue and attach the greenery
I used two very small dabs of hot glue to attach mine. I used as little as possible, because I wanted it to remain as 3-D as possible.

Once positioned on the paper, I moved the center leaf to the front. I intentionally left this leaf "free" (no glue), so I had the flexibility to move things around.
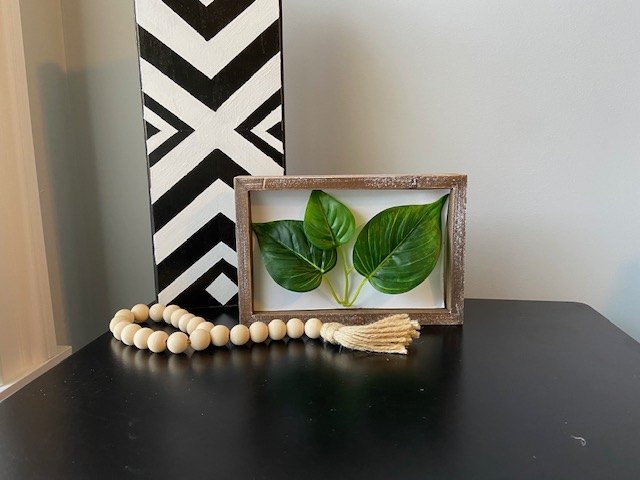
Step 3: Style
For a 5 minute project, I'm very happy with how this came out, and even happier that it was free! Overall it was a really simple DIY to help add some texture and greenery to our home.


Comments
Join the conversation
-
That’s so cute! So simple too.


Frequently asked questions
Have a question about this project?