


Thrift Store Jewelry Box Makeover
How to use chalk paint and scrapbook paper to update an old jewelry box and give it a whole new look and purpose.
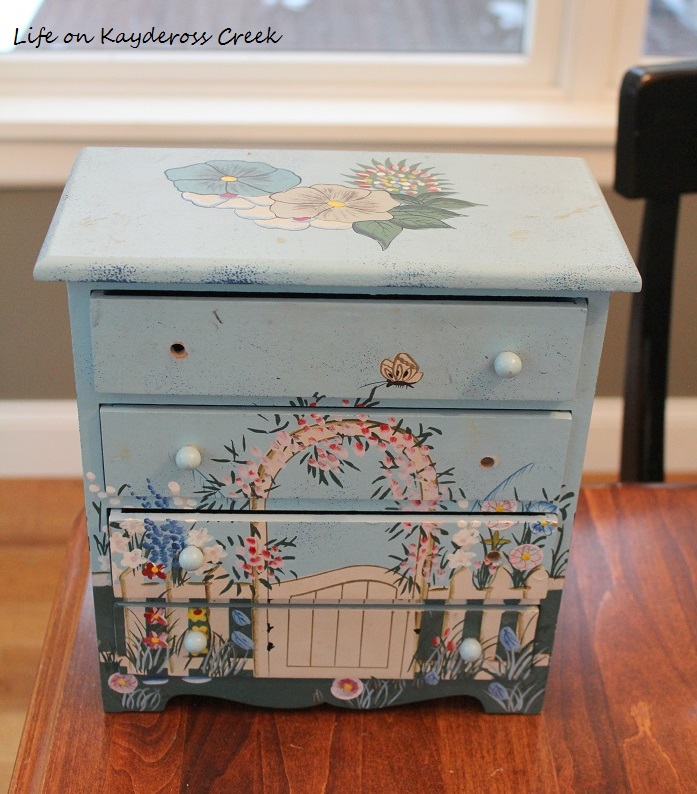
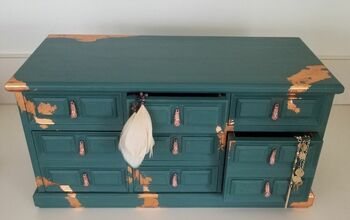
I picked up this little jewelry box for $3. Not my style but I thought it would be really cute with a new coat of paint and some new pulls.
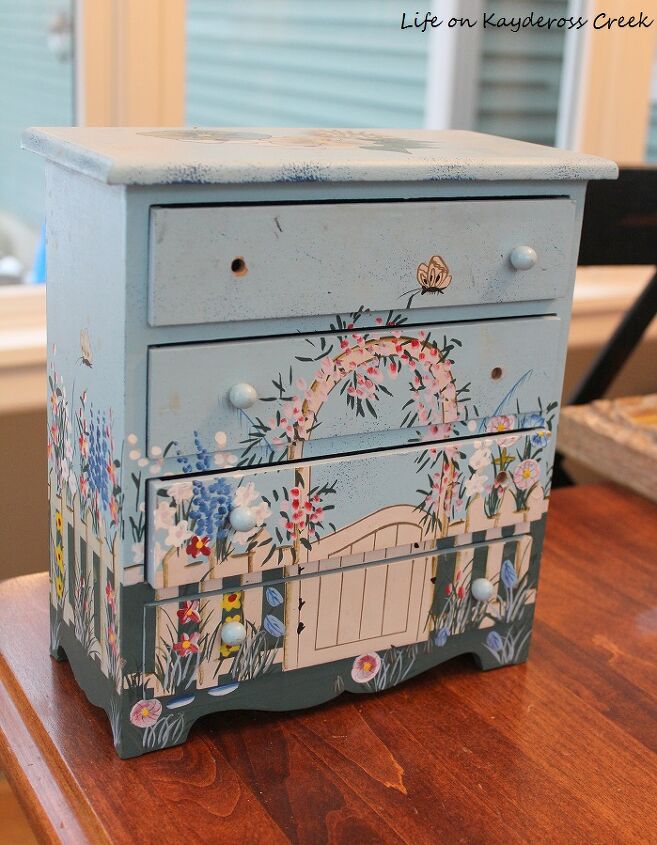
As you can see, it’s missing some of it’s little button knobs. I started by taking the drawers out and removing the ones that were left. I wanted to put the new pulls in the center of each drawer so I had to fill in the little holes where the original ones were. To do that I used spackle but you could also use wood filler.
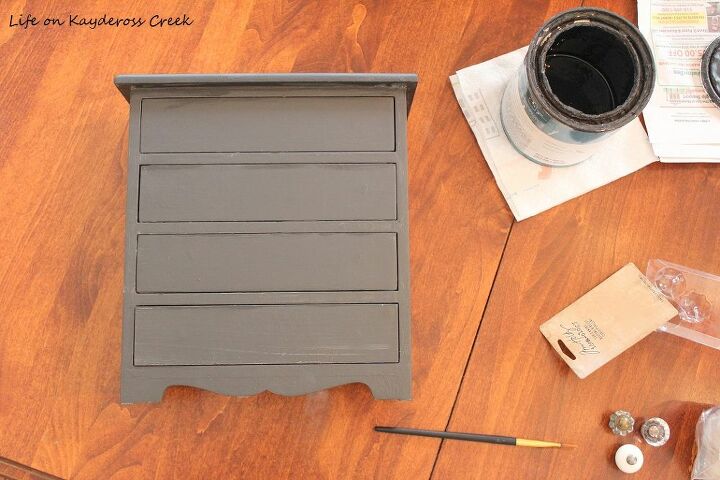
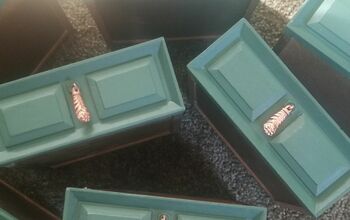
Once that dried and was sanded smooth, I gave the entire outside a coat of black chalk paint which I made with a mix of interior satin paint and plaster of Paris mixed with warm water. I then attached the little pulls in the picture above with Gorilla glue.
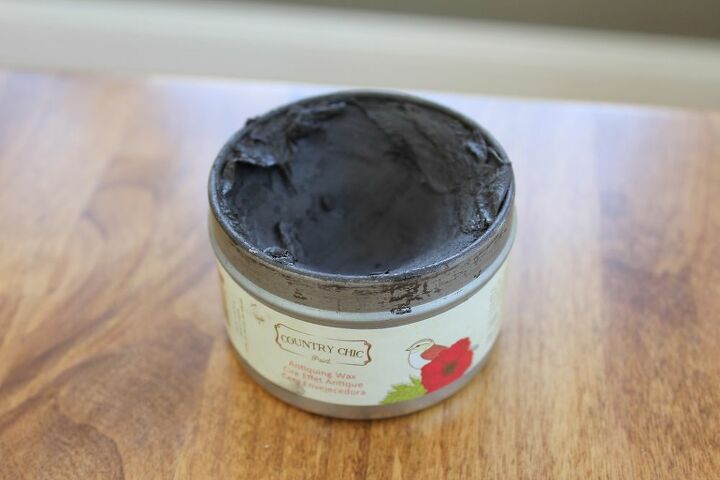
Once the pulls were on securely, I sanded the edges of the drawers, sides and bottom to show more of the wood underneath and create a more rustic look. I still felt like it needed more character so I added some antique wax over the entire piece with a cotton rag.
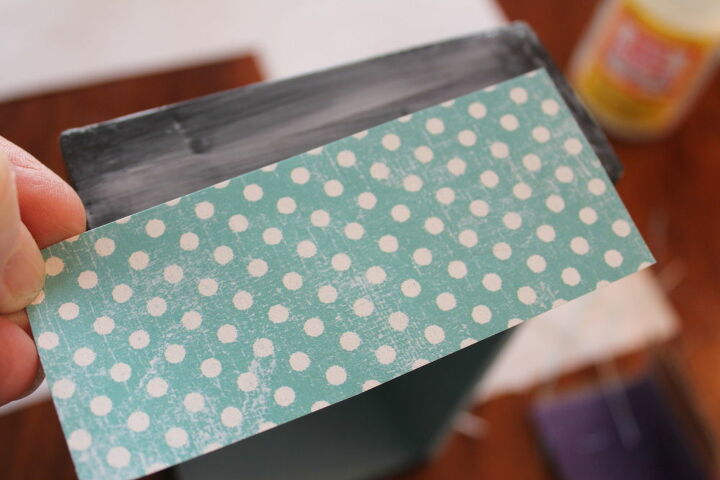
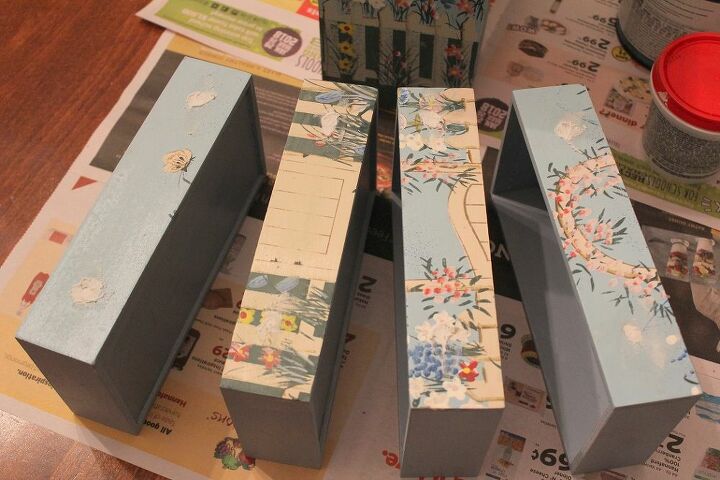
Then I cut out small pieces of a pretty scrapbook paper to line the edges. I attached it with the Modge Podge by applying a layer of it to the drawer with a small paint brush. I gently placed the paper down on top of the drawer and smoothed it out by pressing down from the middle to the sides. Then I sanded the edges of the paper to soften it a bit with a 220 grit sandpaper.
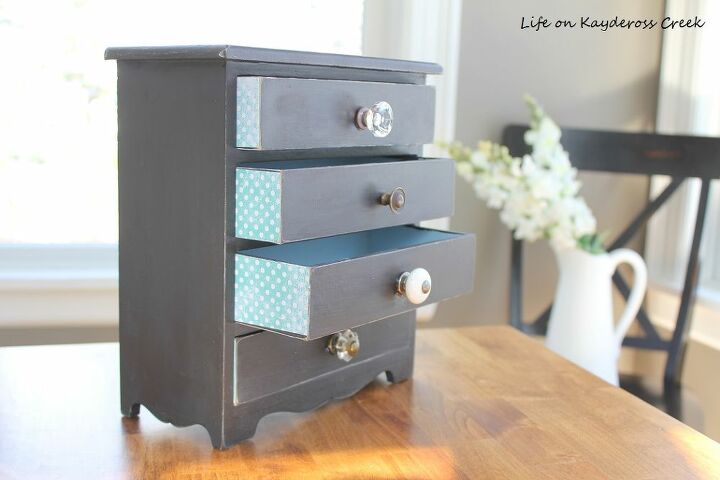
After new paint and pulls and a pop of color on the inside, here’s what she looks like…
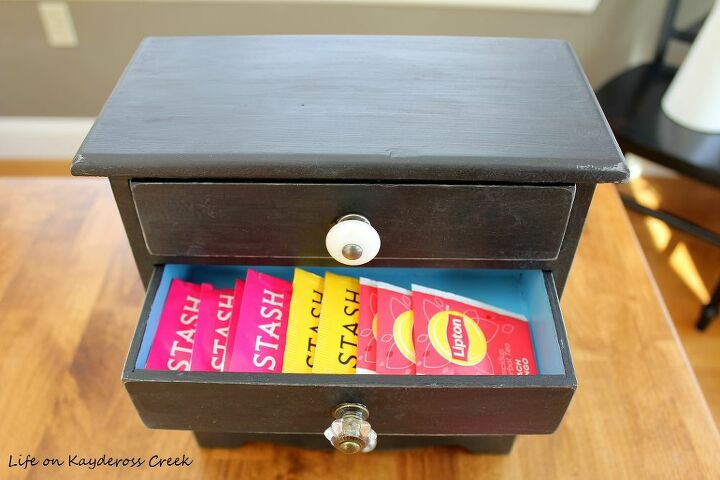
It doesn't even need to be used for jewelry, we're using it to store tea!
Thanks for stopping. You can follow along on the blog below or on instagram at https://www.instagram.com/lifeonkaydeross/
Resources for this project:
See all materials


Comments
Join the conversation
-
Looks like somebody tried but it was too much. You did a wonderful job. Very nice work.
-
Thank you!


Frequently asked questions
Have a question about this project?