


Turn Your Sconce Upside Down

by
Lisa L Hall
7 Materials
$7
1 Day
Easy
So I love wrought iron...even if it doesn't have all the pieces I have to have it. I'll find a way to make it work.
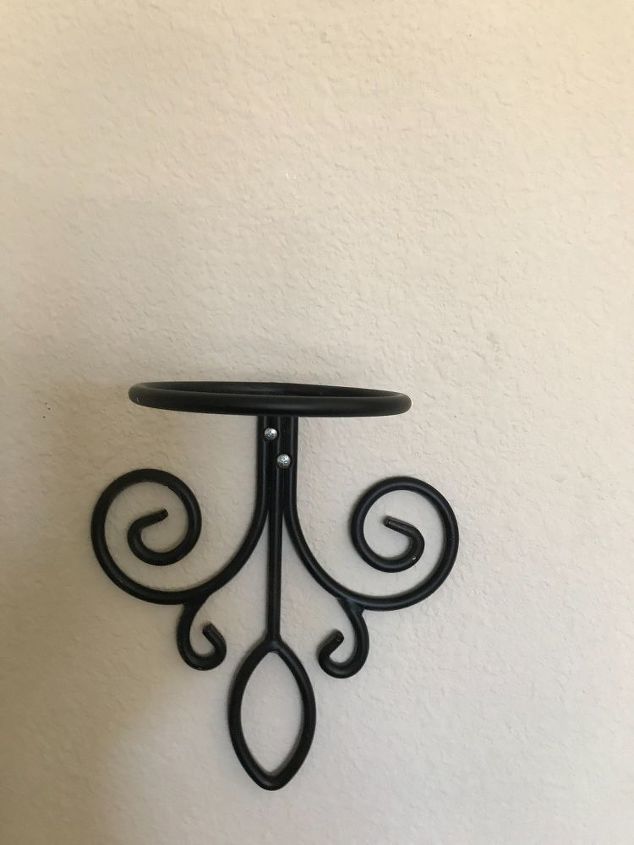
That is where my project began....three years ago. Found these sconces that I really liked. The glass vases that were with them were cracked and could not be used. I just couldn't pass them up. I knew I would have to find a way to use them.
So the search for vases that would fit into the sconce and work the way it was supposed to seemed simple enough....UGH. I could not find a cone shaped vase in 3 different cities. So they just hung on my wall, sad and empty.
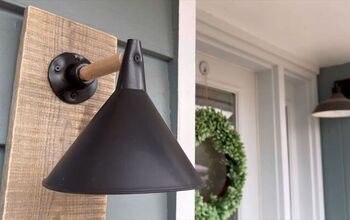
For some reason I looked at these sconces in a different way last week. Finally my thrift store purchase has a use, and actually looks better.
So my 4.00 purchase would now look like this was the way it was meant to be displayed. With all the scrolling facing downward, a shelf has been created.
My project took 1 day but that was all drying time for the stain. The actual time it took to put it together and up on the wall was 20 minutes.
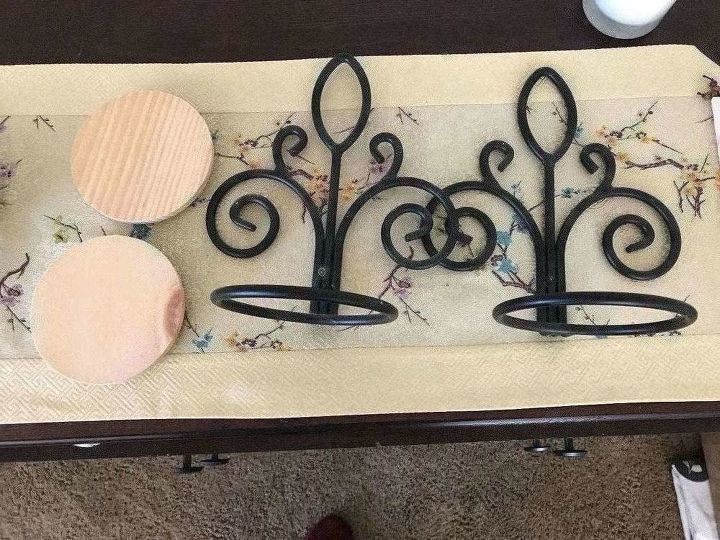
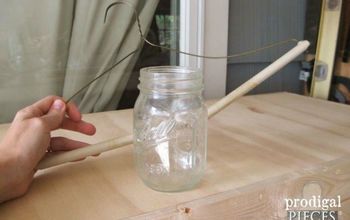
So here are my sconces. This is the orientation that they were set up with a cone vase hanging under...Well, two small wood discs has solved my problem for a meager 2.50.
All I needed was a paint brush, stain, and a bit of hot glue. Great... I have all of that on hand.
Now to get started.
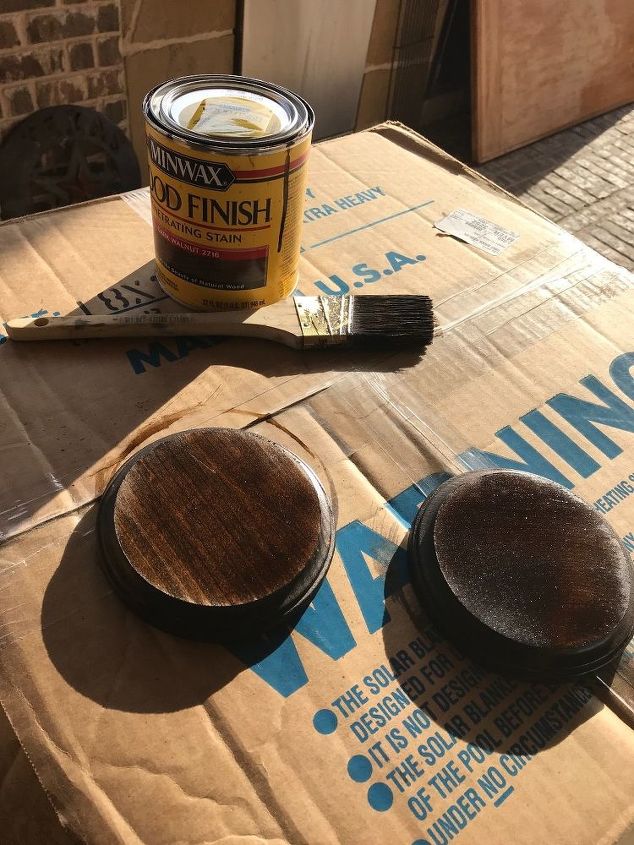
So I had this stain on hand and since the sconces are black I went with a dark stain. For more pop you could do a faux finish on the wood and make it look like marble, or aged even. Go wild.
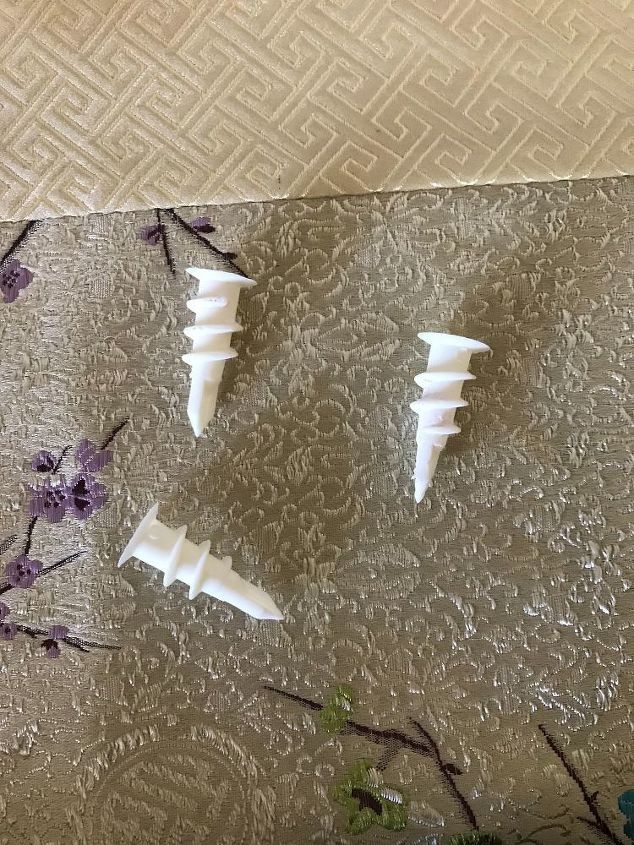
Now I love these anchors. There is no drilling necessary with these. Yes they leave a huge hole in your wall but when you take any anchor out of the wall they all leave a huge hole. So for me, the time and equipment saver is a win. These I always have in the house. They make a large variety of sizes for different weighted items.
I do tap them into the wall with a hammer, or the handle of my screwdriver but then you just use a Phillips screwdriver and screw them right into the wall.
Give them a try I bet you never go back to the old way.
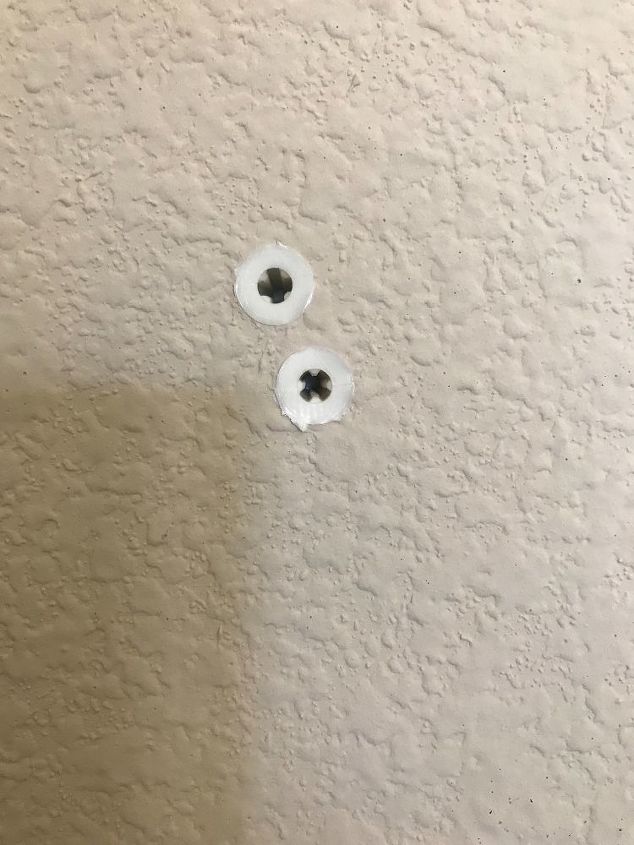
This is how cleanly they go into the wall. They come out just as clean so if you need to fill the hole and repaint, there is not a lot of work involved.
Here's the sconce up and flipped over. It's level...my camera was not...I'm always a little askew. 
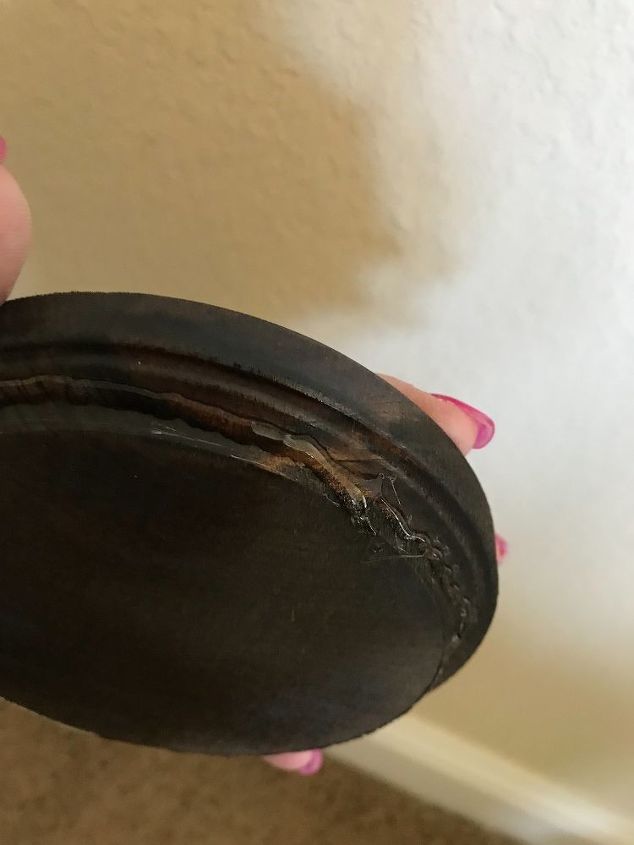
So my wood discs are dry and ready for a small bit of hot glue. I did run it around the disc but wasn't worried about perfect coverage.
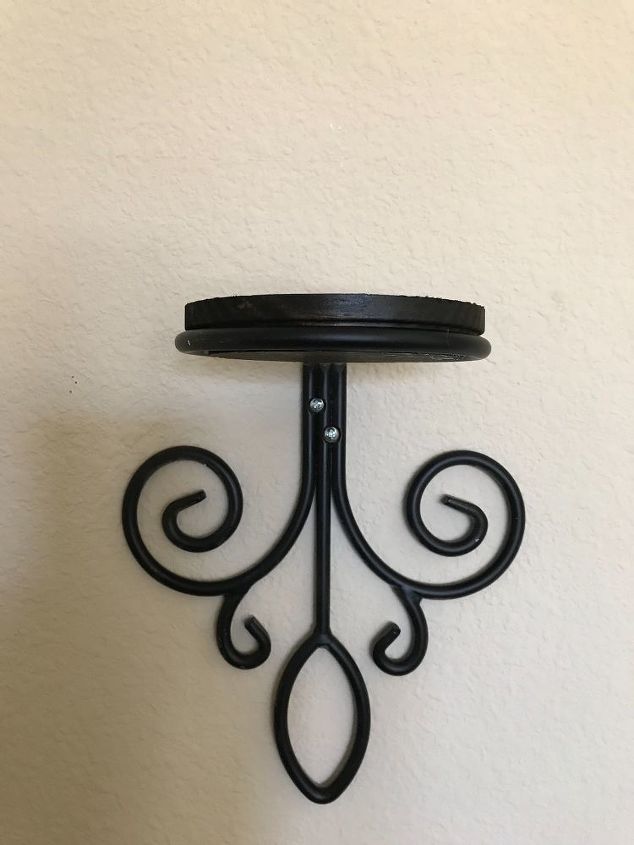
Ha...got the camera straightened out. Here is the finished shelf. Since everything is black, I will go over the screw head with a black sharpie so they do not stand out. Now I'm ready to decorate.
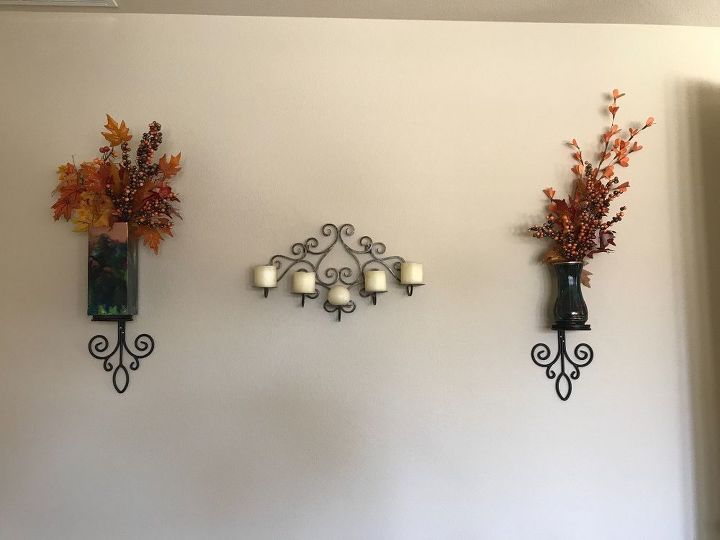
Ahhhh...So nice. Again my camera is a bit off to the left but I love that I can now see the scroll work. As you can see that if I would have left the sconces the correct orientation, all of the beauty would have been covered by the vases and the foliage.


Frequently asked questions
Have a question about this project?