


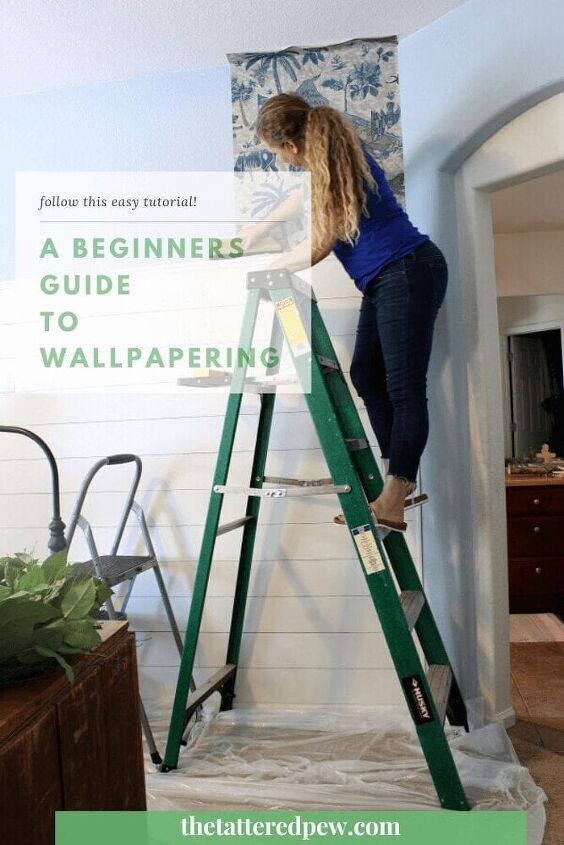
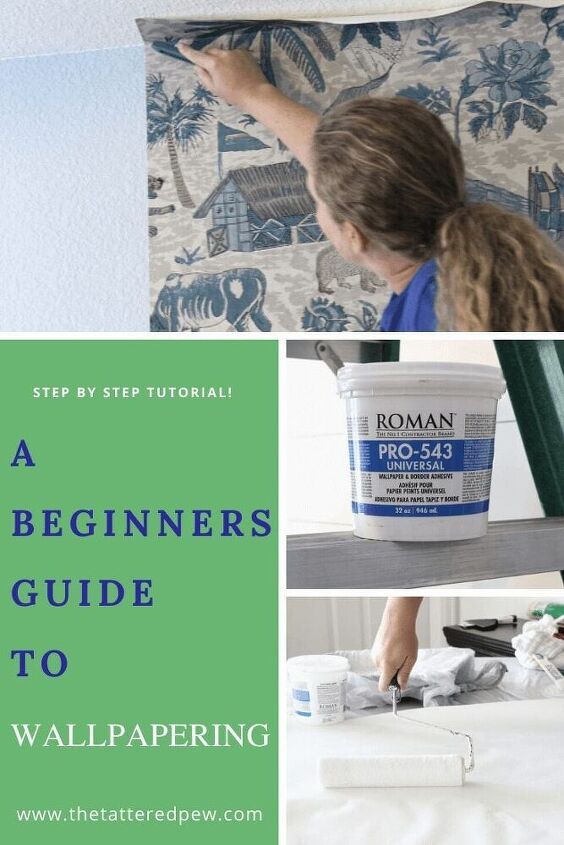
A Beginners Guide to Wallpapering
Feeling a bit nervous about tackling a wallpaper project? This beginners guide to wallpapering will walk you through the easy step by step process and leave you feeling confident in your decision to give this DIY a go on your own!
Find more DIY projects over on my blog, The Tattered Pew!
Okay, so the question is, are you team wallpaper or team no wallpaper? For the longest time I always associated wallpaper with being a trend from the 80’s. It was old. I also thought that it was impossibly hard to do and something that you should definitely hire out for. Well, as I’m sure you have guessed, I have changed my mind! And I’m here to tell you that I officially LOVE wallpaper and that it is a simple DIY that anyone can do!
A Beginners Guide to Wallpapering
First, I just want to say if you have ever felt intimated by wallpapering any area in your home I completely understand. That was me too! My advice is to scour through Pinterest and blog tutorials and search “how to wallpaper” over on google. That’s what I did! Plus, I talked to my mom who has done her fair share of wallpapering in the 80’s. 🙂 After this I decided to give it a shot in a small area of my bedroom.
Pro Tip: start in a small spot for your first project and once you have confidence in wallpaper move to a larger area!
Choose Your Wallpaper
As you may or may not have seen in my last post, I shared my Coastal Cottage master bedroom mood board. It features my plans for our master bedroom makeover and one of the features was this gorgeous wallpaper from Thibaut. I found it at my favorite local consignment shop and instantly fell in love!
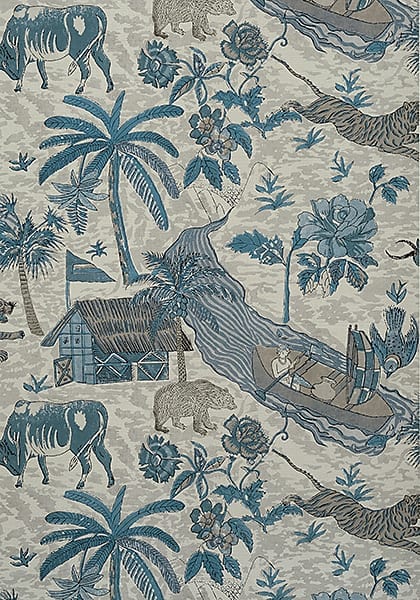
My advice on choosing wallpaper is to consider what space you are looking at wallpapering. Is it a feature wall, or all four walls? For a feature wall I feel like you can go more bold in your patterns or designs. If you plan to do an entire room or space sometimes a more subtle pattern is a good choice. Just like fabrics there are thousands of wallpaper choices out there. I say go with the one you are immediately drawn to.
Pro Tip: If you are new at wallpapering AVOID small patterns as they can be difficult to match up!
Shop My Favorite Coastal WallpapersUnpasted vs. Pasted Wallpaper
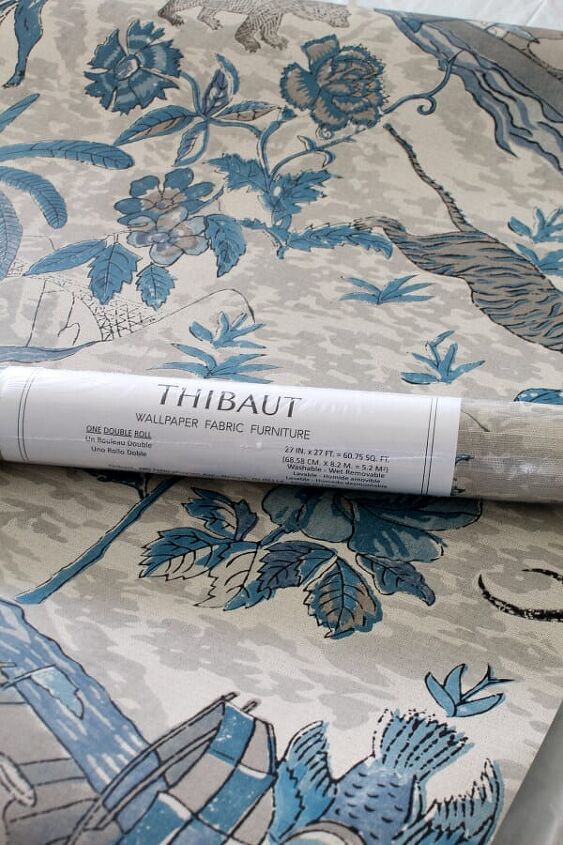
I have learned that there is a lot of talk in the wallpapering world about unpasted vs. pasted wallpaper. My wallpaper from Thibaut came unpasted and at first that made me nervous because I have heard that unpasted wallpaper is more work. But I have to say that I liked being able to control how much paste I was putting on my wallpaper. So just for reference, this post is all about my experience using unpasted wallpaper. Miss Mustard Seed has a great article on pasted vs. unpasted that you can read here!
How Much Wallpaper Do I Need?
Following the steps below will be so helpful when it comes to figuring out how much wallpaper you need. You can also try looking for a wallpapering calculator app on your phone!
- Measure all of your walls and then multiply the width by the height of each wall in feet.
- Next, add all measurements to get the total square footage of your space.
- Don’t forget to take away the measurements for windows, doors, and other openings from your total.
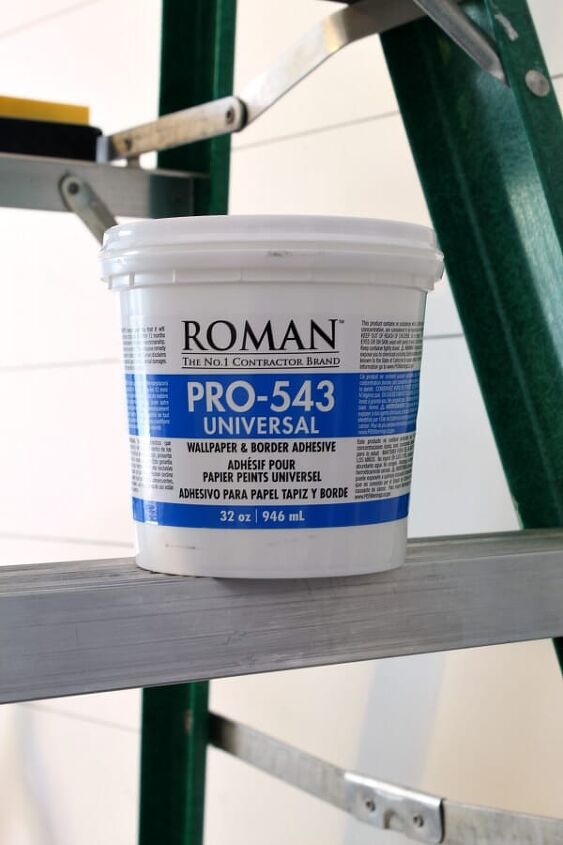
- Look at the roll label for how much square foot coverage the roll gives (mine below covers 60 sq. ft.). Make sure the roll will cover more than your total wall square footage.
- I would advise ordering at least one extra roll in case you have any mistakes. There will be mistakes…remember, it’s ok! We all make mistakes. (That was my teacher voice coming out!) Just make sure that you order it at the same time as your other rolls so that you can be sure it is from the same lot. This just means it was made at the same time and that the colors are consistent. Check where you purchase your rolls from because you may be able to return any extra rolls you don’t open and use!
Where To Start When Wallpapering
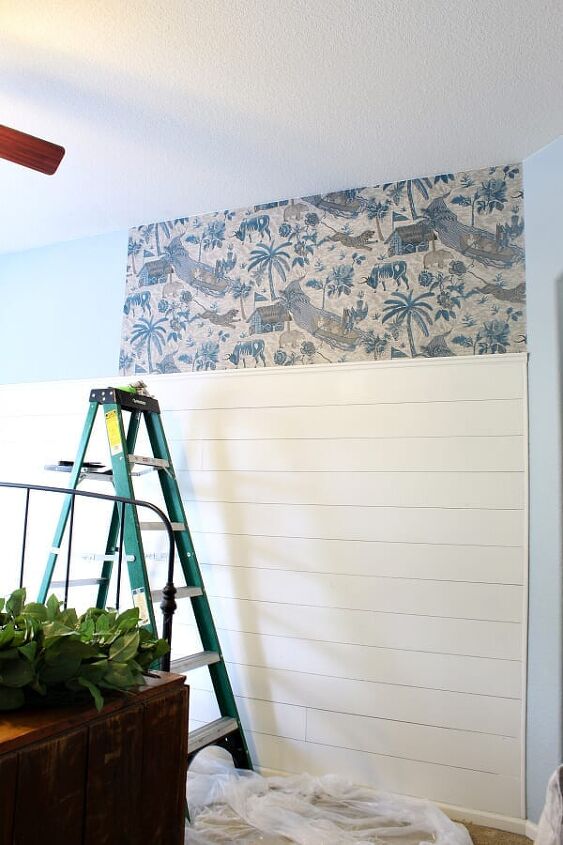
Now let’s get down to business! The number one question most people ask about wallpapering is where to start. Since I chose to do a feature wall and small space above the shiplap in my bedroom, the starting point was pretty easy. I started close to the edge or corner of my wall. For me I looked more at the pattern of the paper and what features I wanted to be prominent. (We love the palm trees!) If you are looking at doing full rooms or larger areas I would reference this great article on where to start for wallpapering!
What Do I Need For Wallpapering
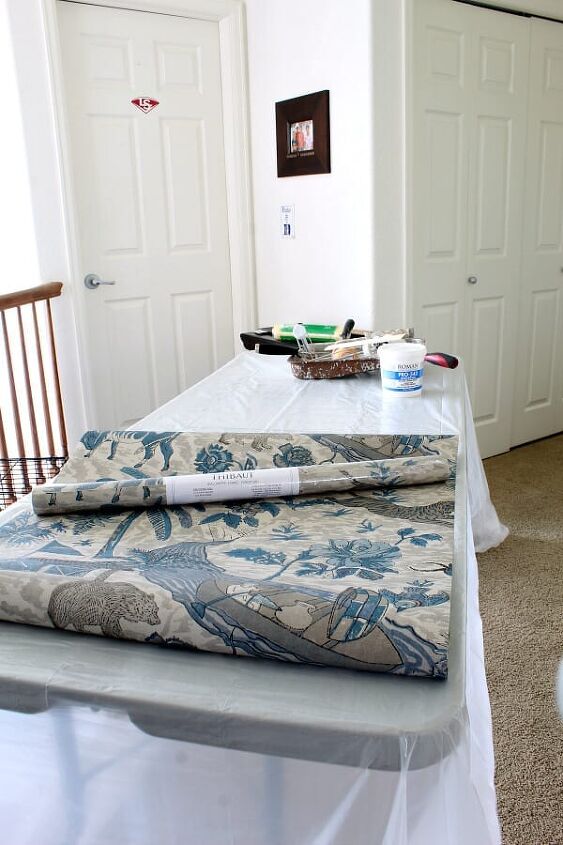
Now that you have your spot and wallpaper picked out you need your supplies! Surprisingly you don’t need too many items for applying wallpaper. I was able to find all of my supplies at Home Depot and I also had a lot of it on hand. After all said and done this project was under $75 for me thanks to scoring my roll of wallpaper from a consignment shop. Here is what you need!
- The wallpaper of your choice (click HERE to find mine!)
- wallpaper paste/adhesive (I used 2 of these, buy more than you think you will need)
- wallpaper brush
- ladder or step stool
- paint roller
- folding table
- utility knife with several new blades & smoother tool
- level & pencil
- scissors
- rags or wipes
Getting Started: A Beginners Guide to Wallpapering
Now that you have done your research, found your wallpaper and gathered your supplies it is finally time to start wallpapering your chosen space.
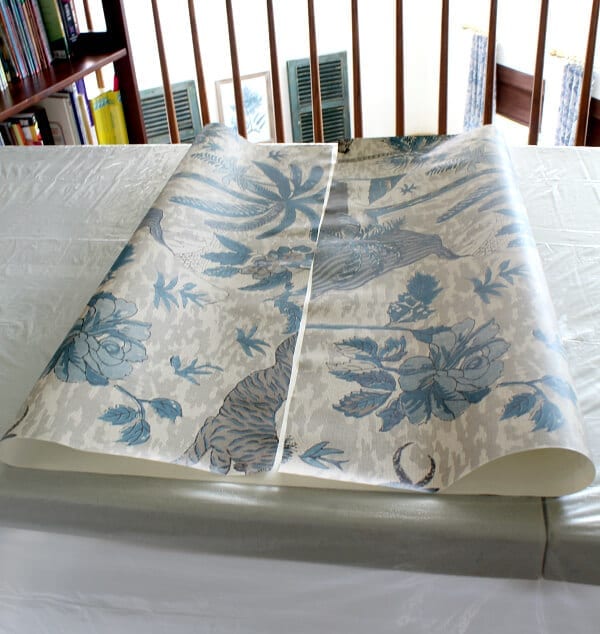
First, you will need to set up a table near your space that you can lay your wallpaper out on as well as your supplies. I did this out in our hallway because my room was a bit crowded. Once I opened my roll of wallpaper I found that directions were included. Read these …they are so helpful and are specific to your wallpaper!
Now that your roll of wallpaper is open take a peek at the pattern. Do you need to adjust the pattern to fit your space? Or is it okay just to start from the top? I wanted the palm trees to be in the center of my wall. But later I figured out that the pattern repeated several times so the palm trees were moving. Ha! I’m a newbie too!

Measure Your Wall and Wallpaper
Then head back to your wall and measure your space from top to bottom. Once you have your measurements add 4 more inches to your paper before you cut it. This will ensure that you have enough paper and account for the extra paper that you will push into the edges and then trim off.
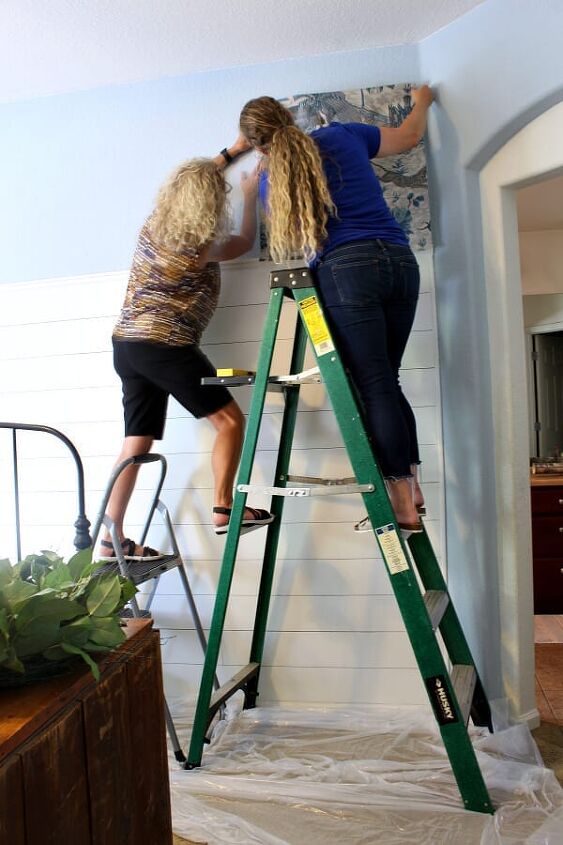
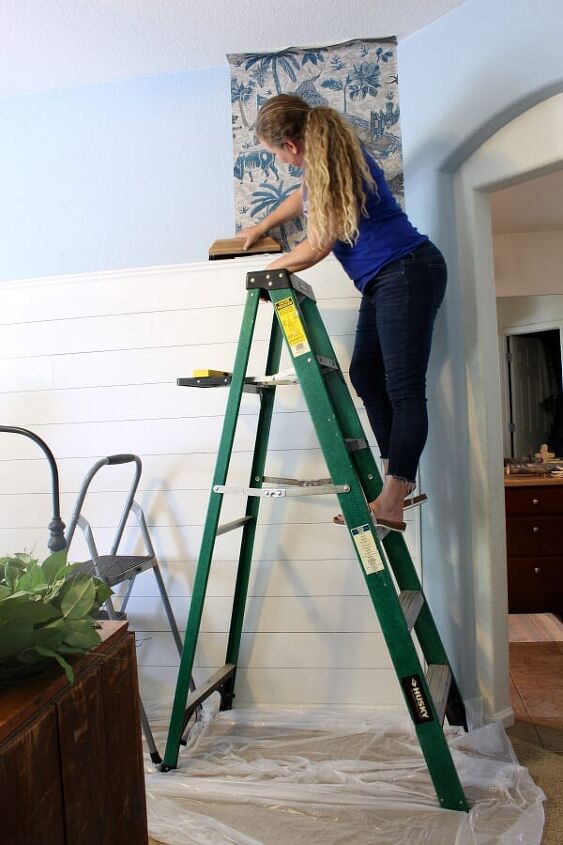
Once I cut my first piece I did a “dry” run to see if it would fit in my space and it did! Then I did a VERY important step…I used my level, wallpaper and pencil to mark vertical lines where my wall was level, so I could line up my first piece of paper and seam once I was ready to hang it. Once this is done the rest of your pieces should be level with your wall and paper. This starting point is key to your success! As you can see below my mom helped me during this part. She is a pro!
Paste and More Paste
Now that your wall is marked and your paper is cut it is time to get going! Flip your paper over to the non patterned side and with your paint roller liberally apply your paste to the back side of your paper. Make sure to get it completely covered with paste especially on the edges! You want it to be thick coverage not thin and tacky.
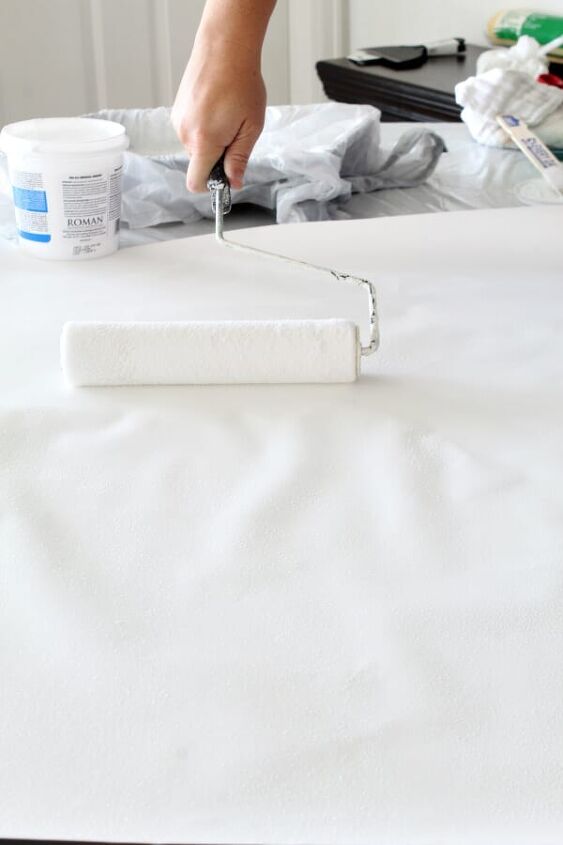
Pro Tip: Too much paste is better than not enough! Don’t be afraid to load it up!
Book It Baby!
Now you will fold the top and bottom edges of your wallpaper on to itself, paste to paste, where it will meet in the middle. This is called booking and I learned that this technique will allow your paper to relax before you apply it to you wall which stops expansion on the wall, and helps eliminate bubbles and wrinkles. Your paper should stay in this position for 3-5 minutes and then it will be ready to hang. I found that 3 minutes was the magic number for my wallpaper and paste to be ready!
Hang Her Up!
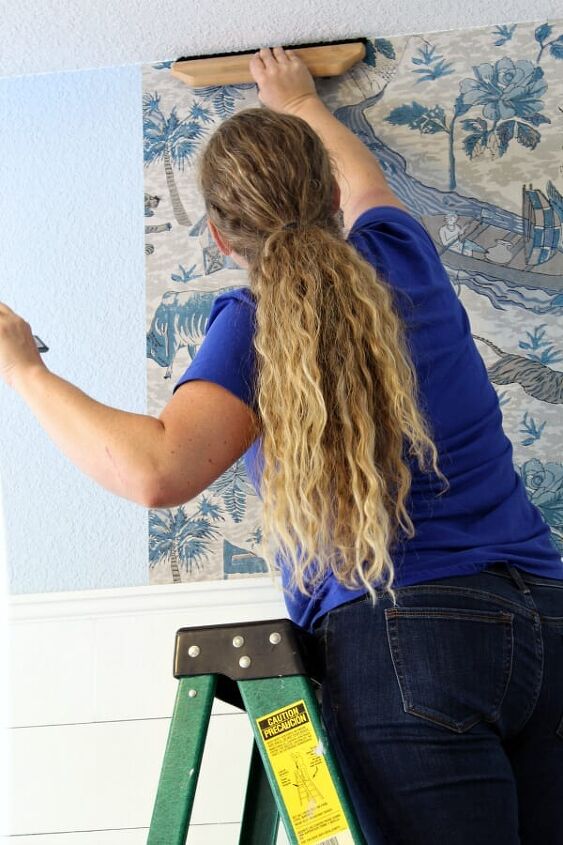
After your pasted paper has rested for 3-5 minutes it is time to hang your first piece! Remember those pencil marks I made earlier? Well look for those as you climb up your ladder and put the paper on the wall. Line it up with those and use your hands to smooth it onto your wall. The paste allows you to move your paper easily to get it in that just right spot. No worrying that it will stick or dry….you have time to get it right so take that time! Remember, mistakes will happen, just pull the paper off and try again. Wallpaper is actually very forgiving thankfully. You can do it!
I used my hands to smooth the bubbles out from the center of the paper and then I used the wallpaper brush. Once I felt confident that I had all of the bubbles out and that my paper was in place I grabbed my scraper and purposefully pushed the paper into the edge of my ceiling and the chair rail of my wall, creating a crease. You can see the overlap of the extra paper in the picture above. This extra paper will ensure that your paper reaches the top and bottom of your wall and will give it that custom look.
Time to Trim the Paper
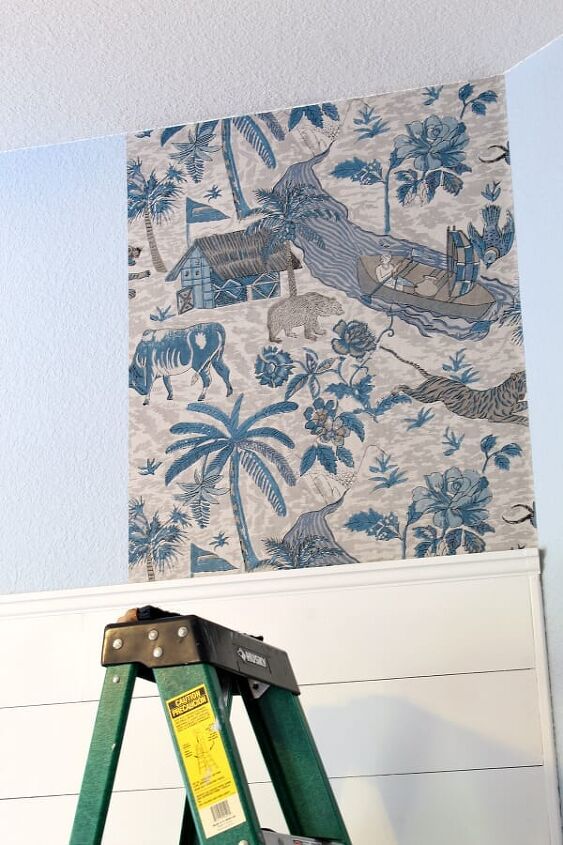
Now is when you will use your utility knife to trim off that extra paper on the top and bottom. I used the ceiling as my guide when I cut as well as the ledge at the top of my shiplap. Having these guides was so helpful. The pasted paper is thick and will quickly dull your blades. So make sure to have plenty of refillable blades available! I use a new blade for each new pieces of paper I put up on the wall.

Once the extra paper was trimmed I again used my brush to make sure all of the edges and sides were completely pushed down.
The first piece is up and now it’s time to finish the rest of your wall. All of the hard parts are done now and truly, once that first piece was up, it was smooth sailing for me from there on out!
Cut and Match
To finish the wall I had to cut my next piece of paper. I found that holding the roll up to the piece I already had on the wall to match up the pattern, helped a lot! This way I could visually see that I was cutting the paper correctly and that it would match up.
Pro Tip: For larger spaces having an extra roll (beyond what you measured for) available is important, because you do end up wasting some of the paper when you cut the paper to match up the pattern.
Once your paper is cut, pasted and booked for 3 minutes it’s time to hang your next piece. Matching up the pattern and seam can be tricky so take your time. I found that starting at the center of the seam and working my way down and then up really helped make the matching easier. Also, you will not overlap your paper you will actually butt the edge of the paper up to the other edge.
Once you feel confident that your seams are matched, use your brush, hand and scraper tool to smooth out the wrinkles and bubbles. Pay special attention to your seams making sure they have enough paste and that they are sticking down. Since I have slightly textured walls I spent more time on making sure those seams were in place. You can use a seam roller if you need, but I just used my scraper tool and hands to really press it down and it worked fine.
Textured Walls
Speaking of textured walls, this paper and pattern worked perfectly on my textured walls and doesn’t even show any bumps or texture! Let me know if you have any questions about this. My advice is if you have textured walls make sure you purchase thick, quality paper to use and pay extra attention to your seams! Luckily wallpaper has come so far in it’s technology that it is now made for multiple surfaces.
Continuing To Wallpaper Your Space
Repeat the steps I shared above until you get to the end of your wall and then trim your remaining paper. That’s it! Now step back and admire your work.
For reference my small space took me about 2 hours total. I did have to take a small break when I ran out of paste. (Remember you will need a lot of paste!) Luckily my awesome sister ran to get me more and not too much time was lost. If you plan to do a bigger space then I would suggest setting aside a whole day.
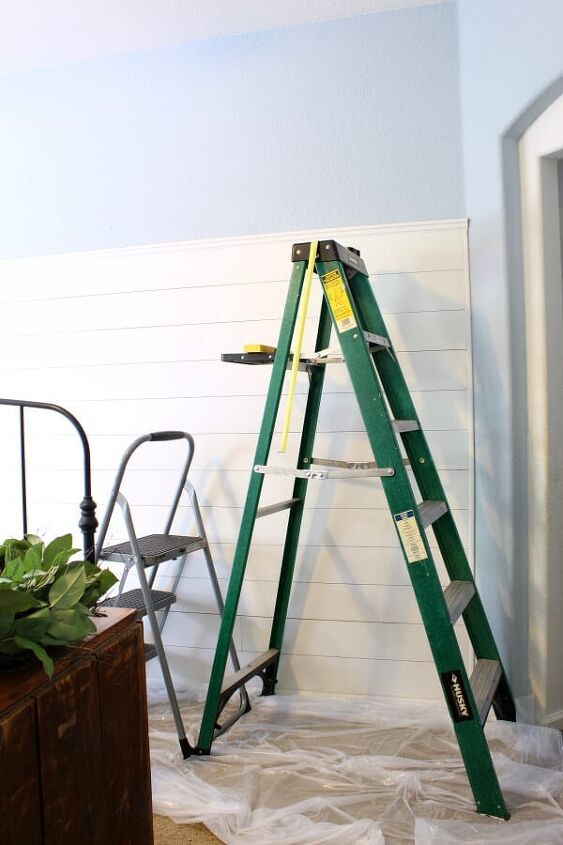
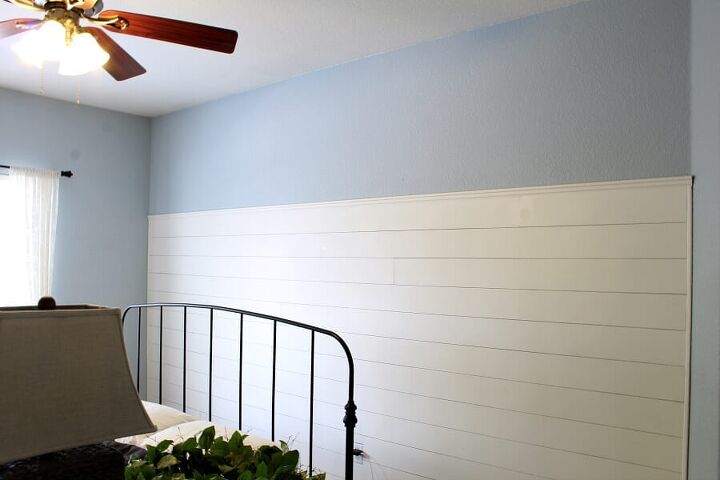
Let’s take a peek back…here is the BEFORE.
And here is the AFTER!
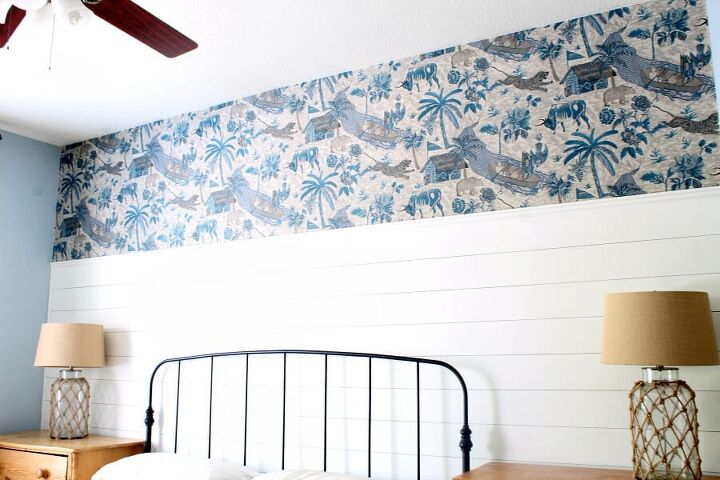
It’s basically just a lot of cutting, pasting, positioning, smoothing and repeating!
A Beginners Guide to Wallpapering
What do you think? Are you ready to give it a go? Let me know if you have any questions. I hope this beginners guide to wallpapering gives you the confidence to try this fun DIY. Next week I will be sharing our entire bedroom makeover so make sure to my blog, The Tattered Pew for more fun DIY projects.
xoxo,
Kelly


Frequently asked questions
Have a question about this project?