


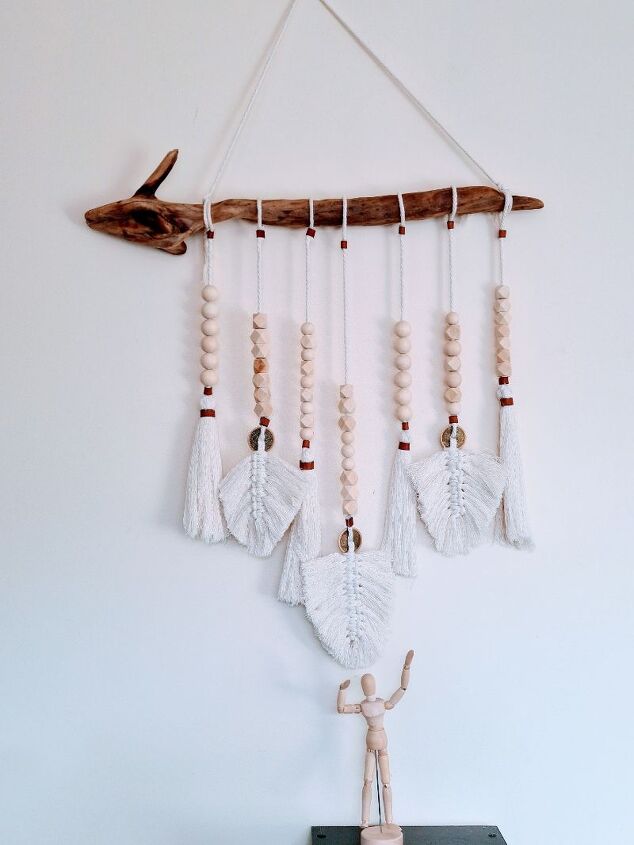
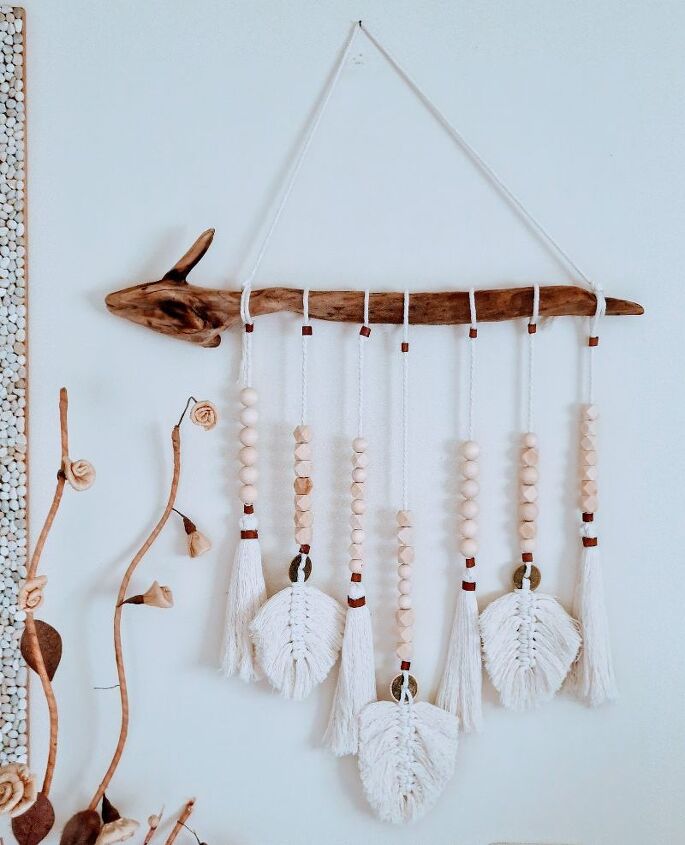
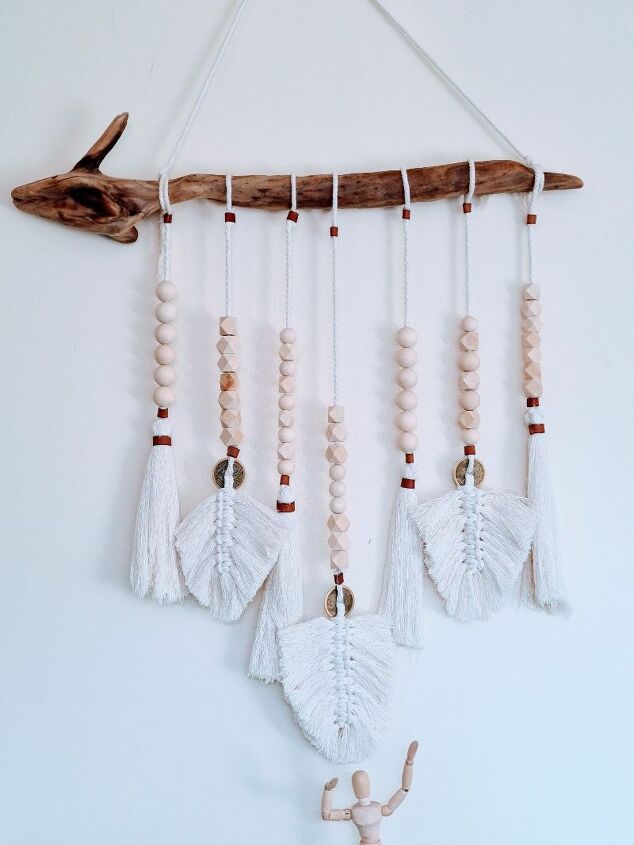
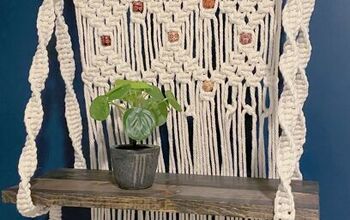
Beaded Wall Hanging
I belong to a group of bloggers that do DIY/ craft challenges every month around a common them. This challenge was to use beads in a project. I wanted to teach myself Macrame but everything went wrong. I still managed to turn out a project and here is how I did it.
I like to try and learn new skills with each project and making a macrame wall hanging was what I had planned for this project. I had this idea in my head that I would add some wooden beads to my rope and learn how to make all the cool knots and designs.
But like all my projects, I jumped in feet first and just bought my beads and my rope without doing some research first. When I finally sat down to do my project I realised that the rope was too thick to go through the hole in the beads. This messed up my whole project. But instead of backing out of the challenge, I tried to come up with a way to use the products I had. I am no expert on macrame but I can show you how I made this beaded wall hanging, the problems I ran into and how I fixed them.
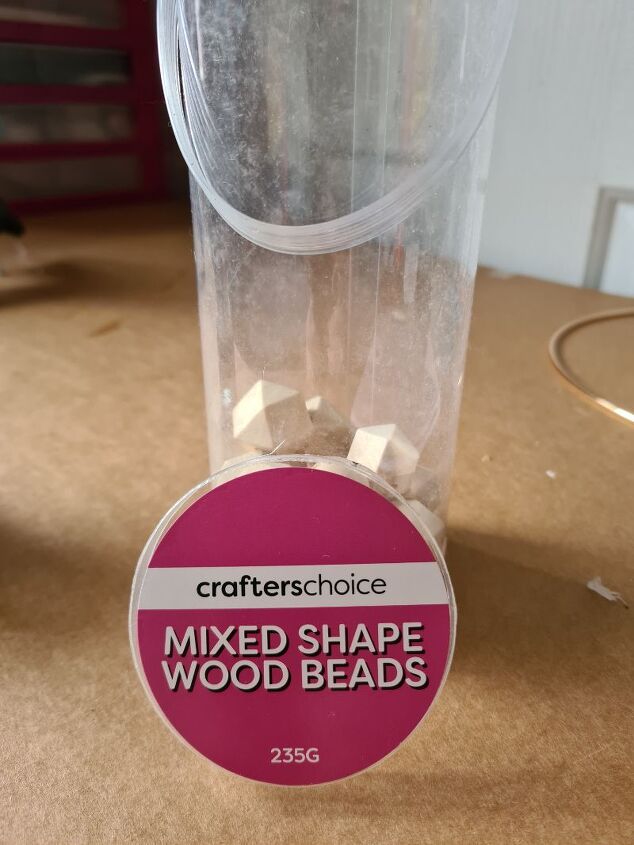
Materials needed
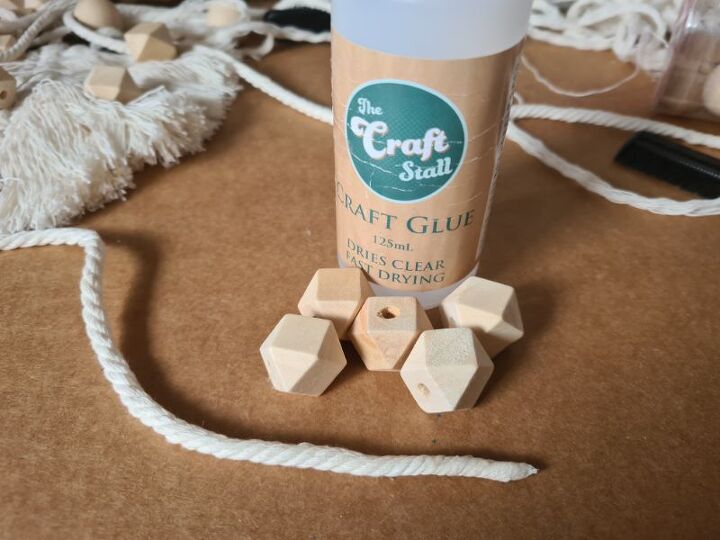
You will need to buy some macrame rope, I ordered 5mm x 90m which was more than enough for this project. The wooden beads I ordered were approximately 25mm in size. You will also need a piece of wood or driftwood. To hide the joints in the rope I used some 1 cm leather strips. And as extra decor, I used some large decorative discs.
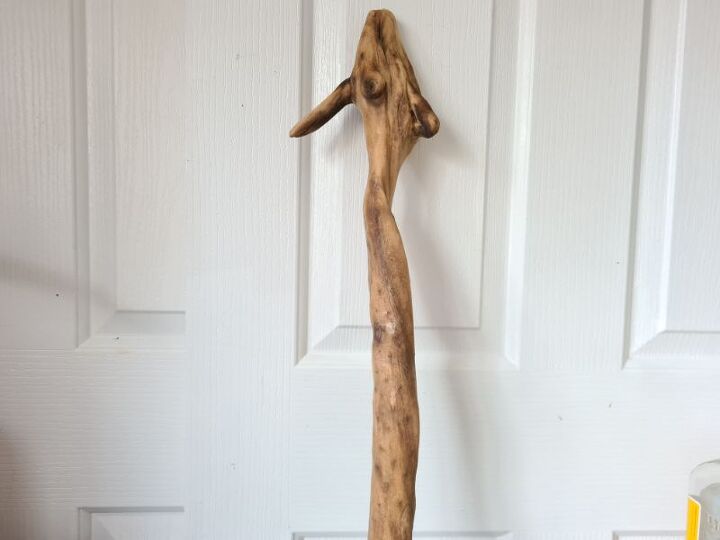
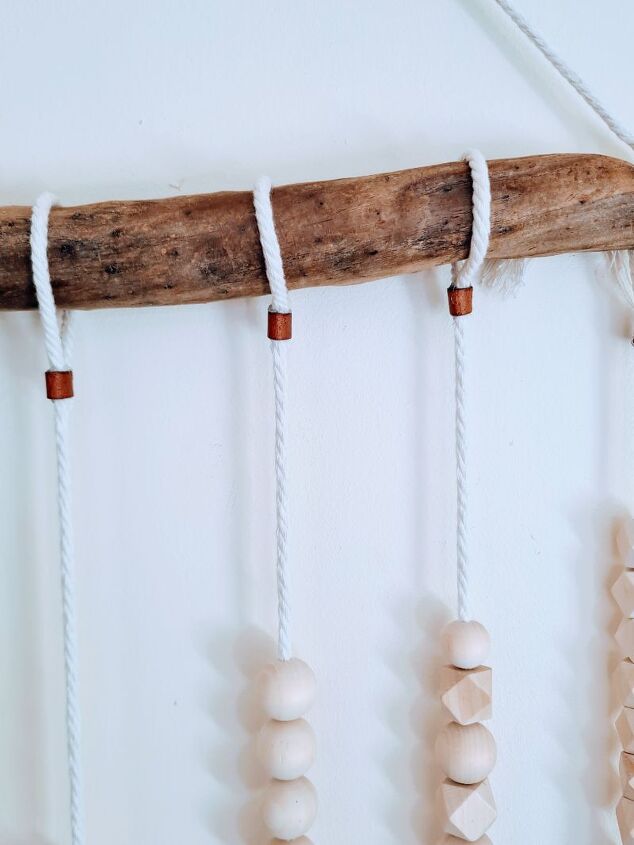
Making the frame
I was walking down by the river a few years back and found this really interesting piece of driftwood. I took it home where it sat for years waiting for a project to come along. It was perfect for this project. You can start by cutting a piece of rope long enough to tie on each side of the stick to start your beaded wall hanging.
Making the macrame leaves
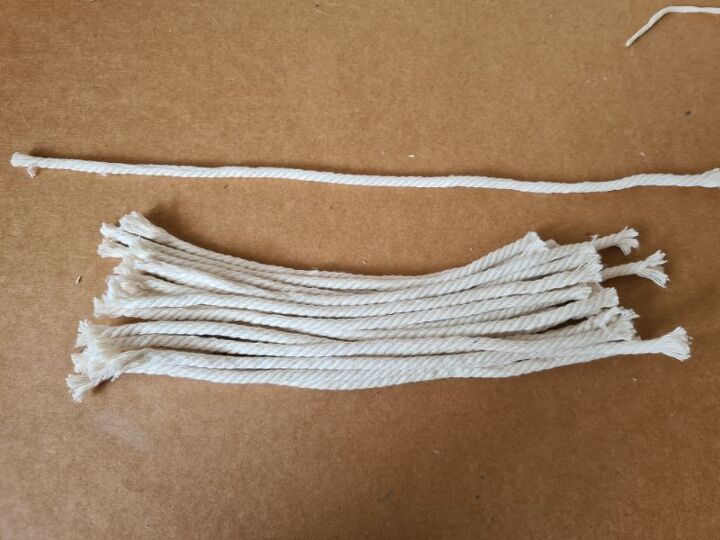
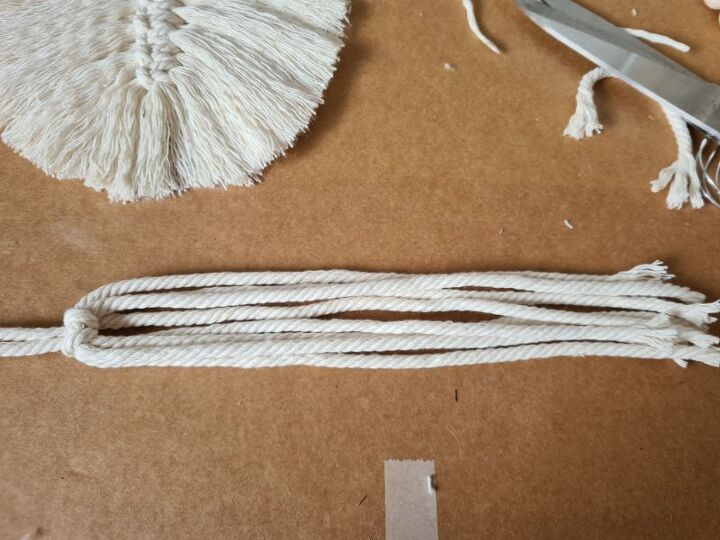
To make the leaves you will need to cut 1 piece of rope 30cm long and 18 pieces at 20cm long.
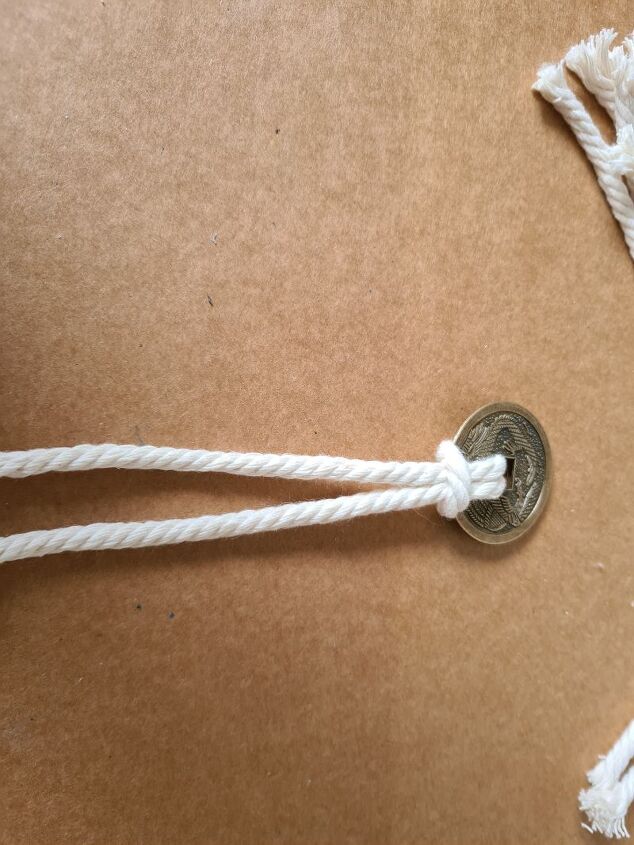
Start by folding the 30cm piece of rope in half and looping it around the middle of the disc, as shown below.
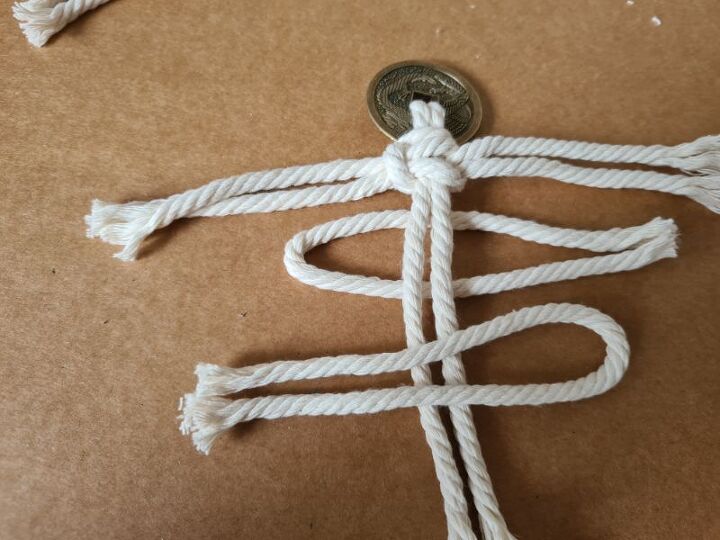
Next using the 20cm pieces of rope fold them in half and put one piece above the and one below the middle piece of rope.
You then feed the loose ends through the hoop on both sides.
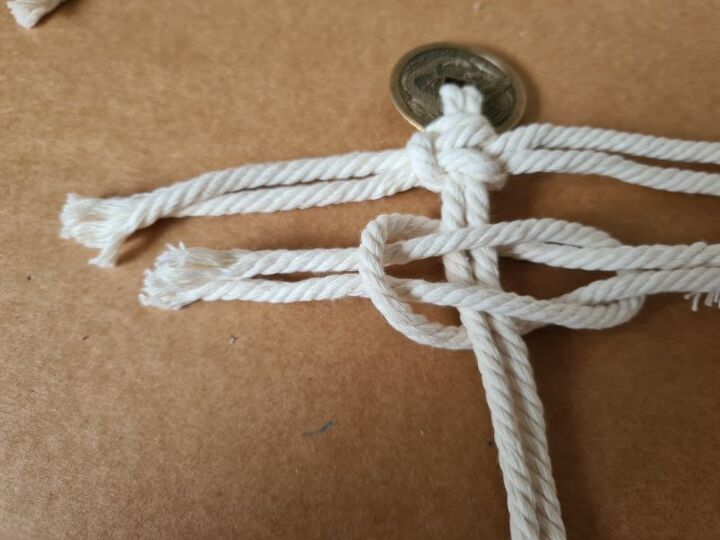
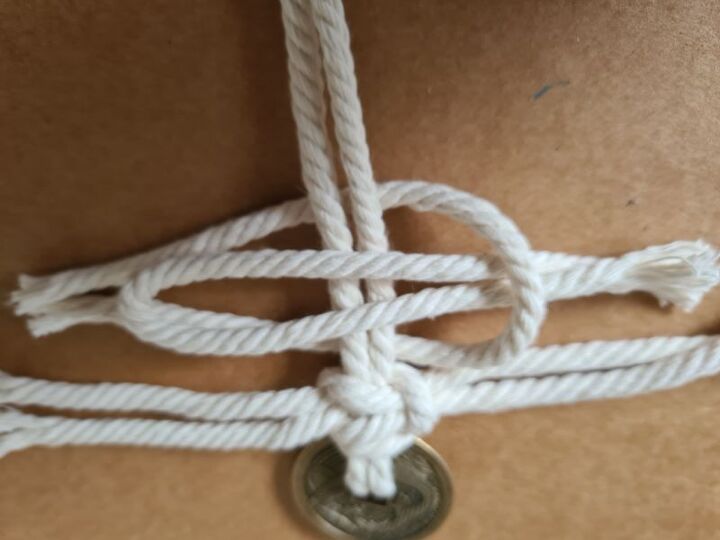
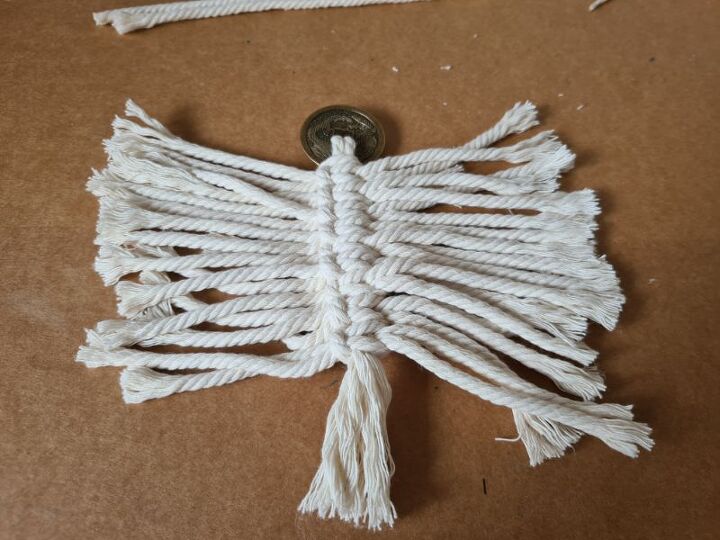
Pull the loose ends on both sides at the same time and it will form a knot in the middle. You can then push the knot up to the top. You repeat this step until you have added all the rope.
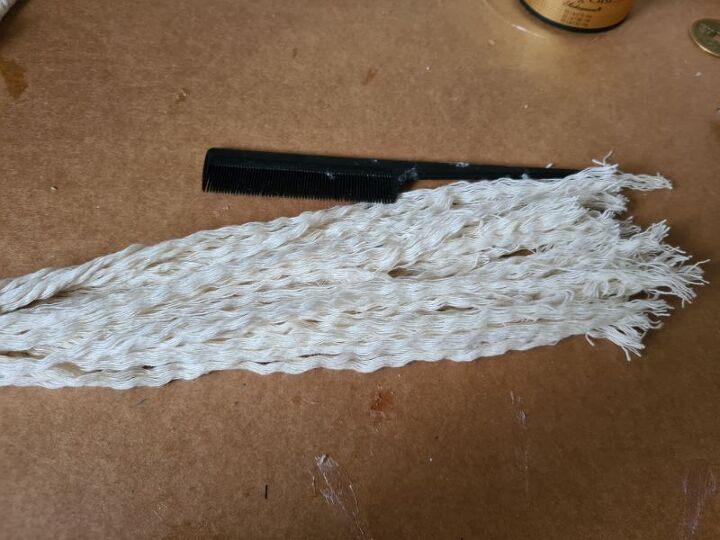
Next, you want to unwind the rope to get a fluffy look. To do this I used the pointy end of a comb and loosened all the spirals in the rope. I found this works better than trying to comb out the rope, it does not seem to knot up as much.
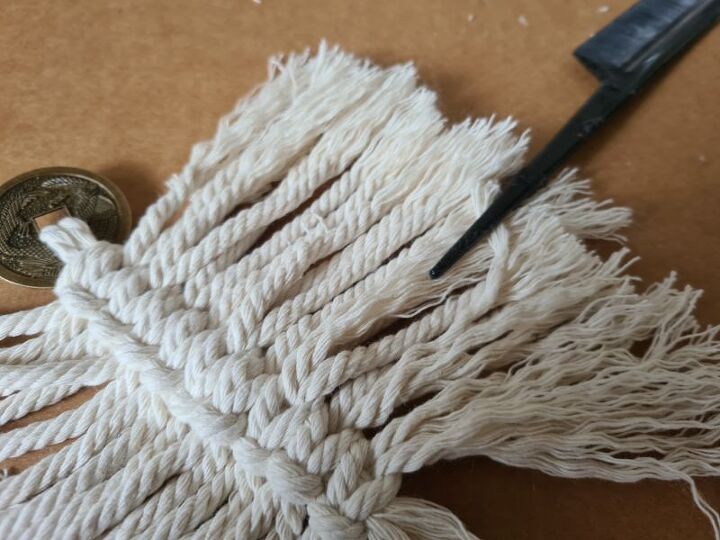
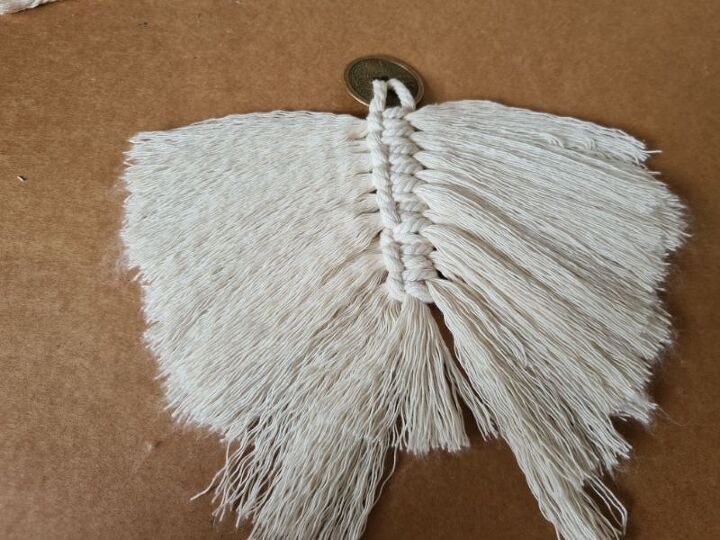
Once the rope is no longer spiralled you can comb out the threads. Using a shape pair of scissors you can then cut the threads into a leaf shape.
Making the tassels
Tassels are very simple to make by cutting lengths of rope to the size you want. I cut mine to 30cm and folded them in half and tied the centre with some rope to hold it in place.
You can use the comb again to unspiral the rope and comb it to create a fluffy look.
Adding the beads to the rope
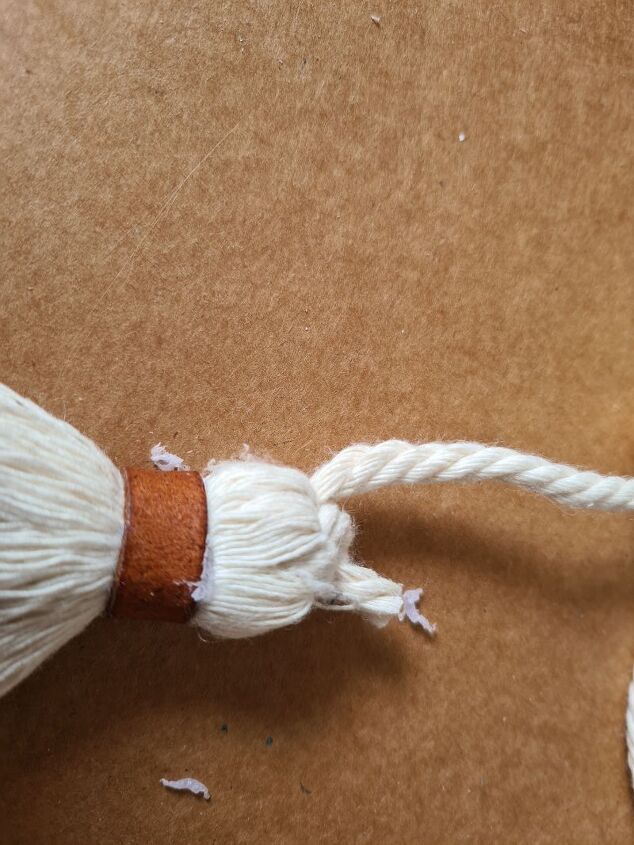
As I mentioned above the rope I bought was too thick to go through the beads that I had. It was too late to get more beads because I live in a little country town in the middle of nowhere. So I had to try and use what I had. I used some craft glue and added a generous amount to the end of the rope and rubbed it into the threads. Next, I twisted the rope as tight as I could and left the glue to dry.
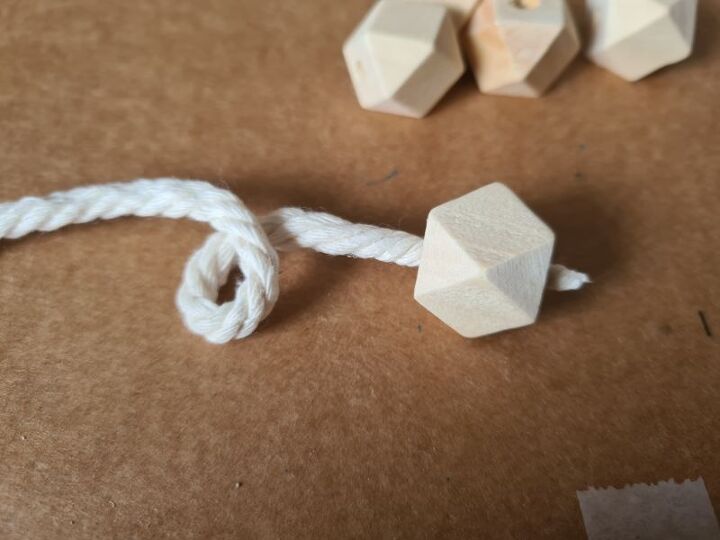
By doing this I was left with a stiff end of the rope that I could twist through the beads without the rope unravelling. This was time-consuming but at least I was able to get the beads onto the rope. I made 7 strands of beads for this wall hanging.
Attaching the beads to the leaves
When I originally planned out this project, I was going to be using a double length of rope to attach the strands of beads to the stick. But because the rope was too thick, I had enough trouble getting one piece of rope through the hole of the bead never mind two. So I had to come up with another way to attach them together. At first, I tried tying the two pieces of rope together. But because the rope was too thick I had this ugly big knot of rope.
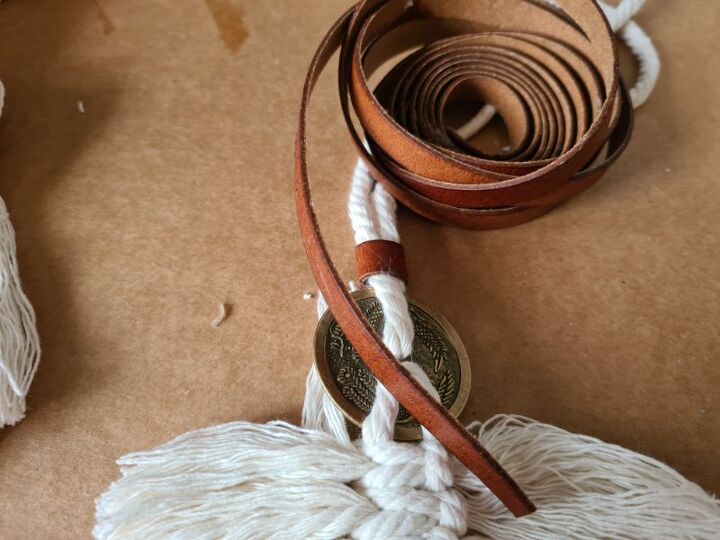
To solve this issue I attached the rope together with strips of 1cm wide leather. I used some hot glue to glue the leather around the rope.
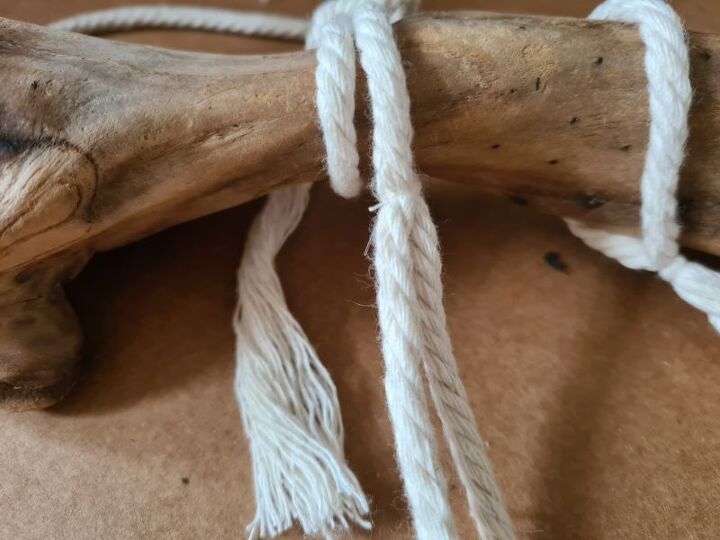
Adding the beaded strands to the stick
I had the same issue here with the ugly big knot. I used some fishing line to secure the two pieces of rope together and then added some leather strips to hide the joints.
While nothing on this project went to plan, I was still happy with the outcome. For my next Macrame project, I will defiantly take more time to plan it out properly.
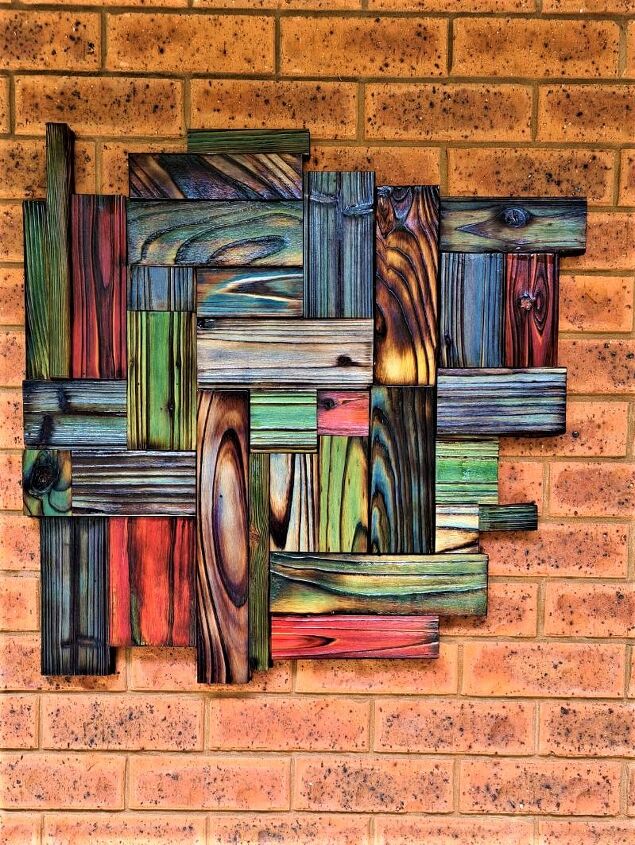
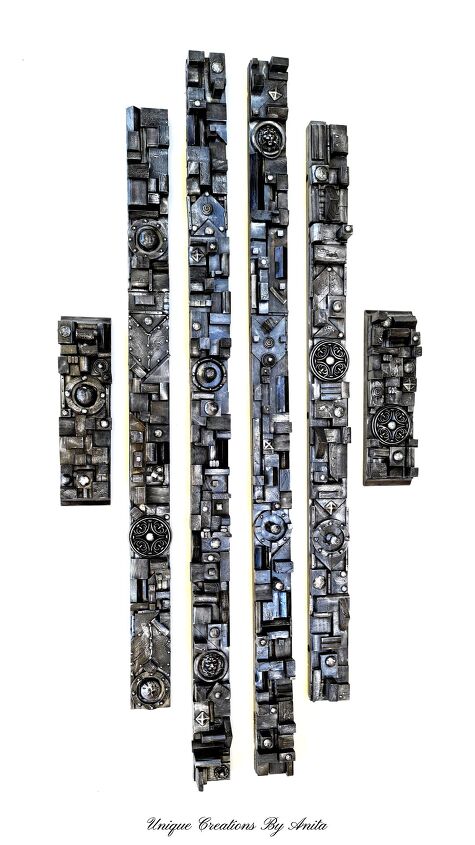
I have added two scrap wood projects, as every DIY fan has some scraps laying around at home. Scrap wood wall hanging
Resources for this project:
See all materials


Comments
Join the conversation
-
This project is so pretty. Not really macrame at all, but so nice. You are very creative.
-
I bought a macrame wall hanging recently similar to yours. The “leaves” have a cellophane backing to keep them from sagging. I’m sure some iron-on interface would work too.


Frequently asked questions
Have a question about this project?
Hi again Anita, I forgot to tell you that if you are using polyester cord and not a cotton cord you can also heat the end with a lighter and again be careful, shape the end the way you want.