


“Big Girl” Room Makeover - Budget Friendly

Over the past few months I have been slowly planning, collecting pieces and working on a few DIY projects for my daughters new “Big Girl” room.
This was such a fun project to work on and I am so pleased with the end result.
The goal here was to keep them room makeover very budget friendly and try to reuse or repurpose as much as I could.
In the end I think everything came together beautifully and what matters the most is that my daughter is completely in love with her new room! Scroll down to see the step-by-step transformation.
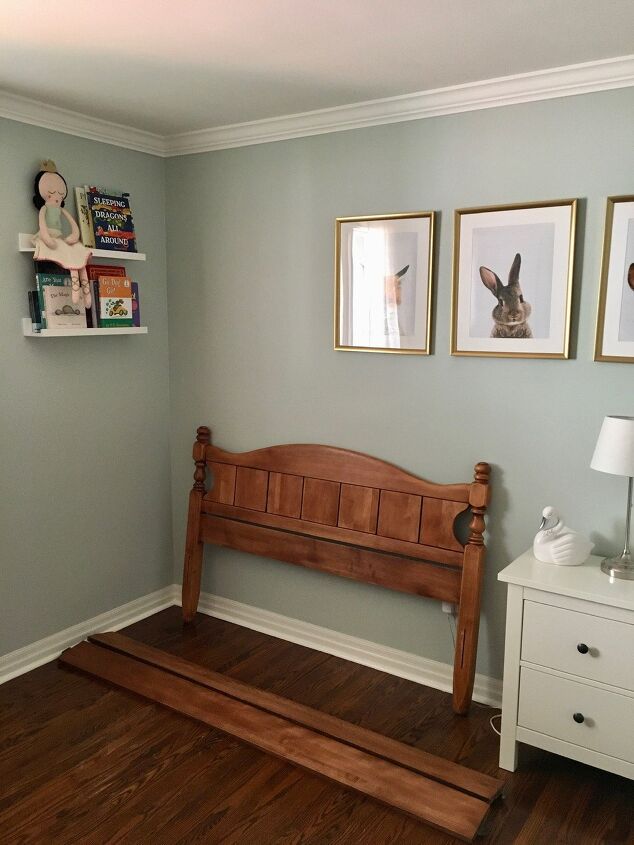
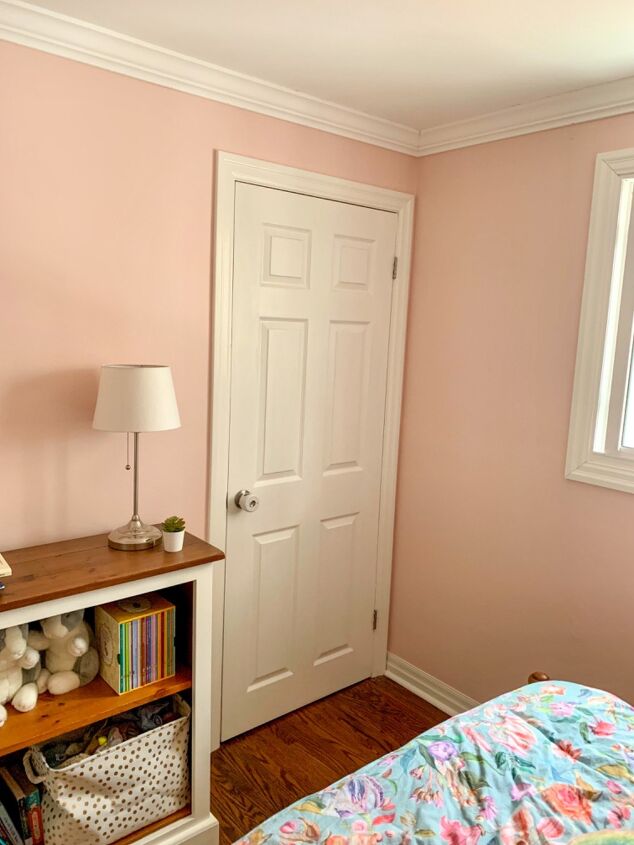
Here is a picture of the room before we got started on it. We had just disassembled the crib and brought in her “new” bed. This bed has been in my family for a few generations and has such sentimental value to me, that I knew it would be a perfect fit for this room.
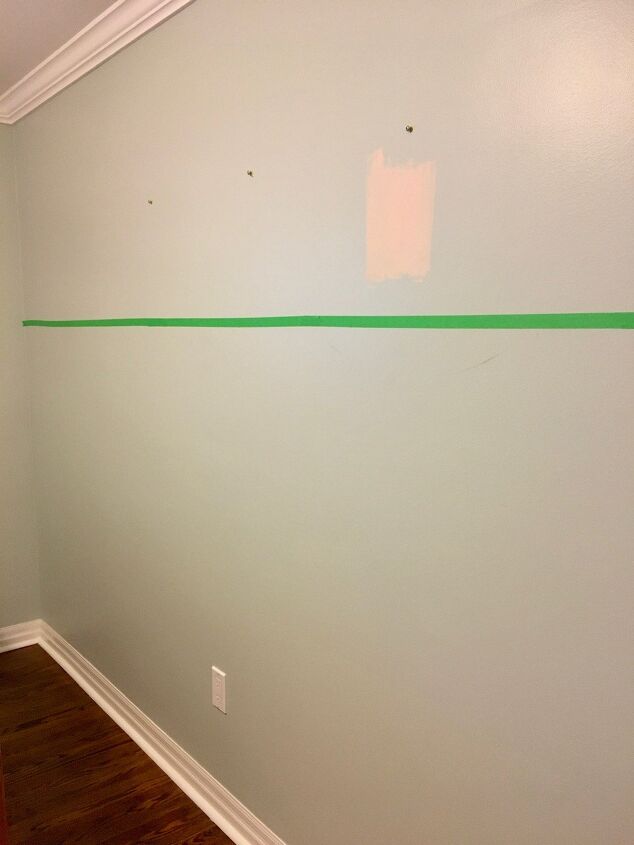
After trying out a few paint samples I decided that I wanted to do an accent wall behind the bed. This is a fairly small room, so I thought that this would add some depth and dimension to the room without making it look to cluttered or busy. The first thing that I did was mark out the height of the accent wall with painters tape so that I could get a good visual of what it would look like.
We have done several board and batten wall treatments in our home, and I absolutely love them, but I wanted something a little different for this room.
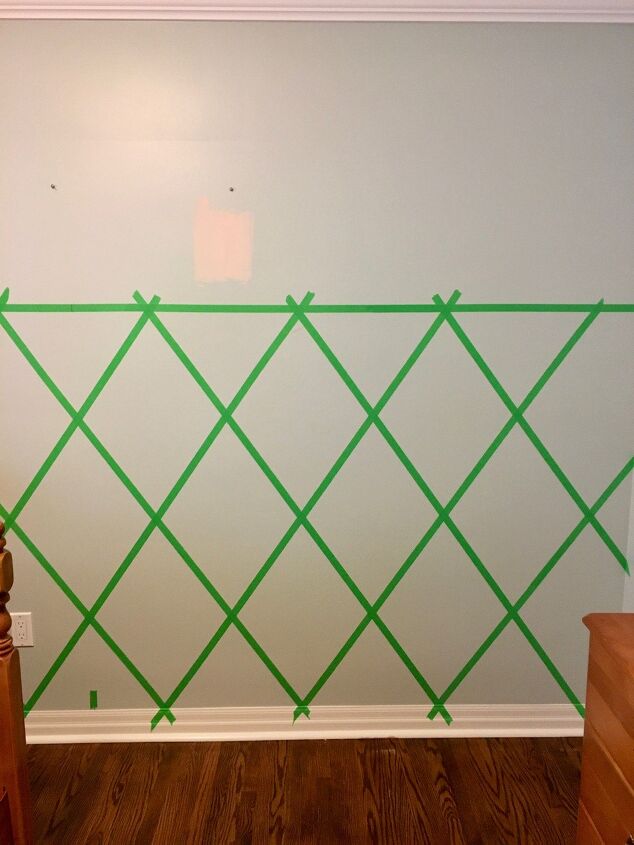
I was going for a whimsical flower garden theme in this room, so I thought that a trellis pattern would be appropriate.
I will not be including any measurements or angles that we used in this tutorial, as this will vary greatly depending on the size and height of the wall. What was helpful for me was to use painters tape as a guide and visual aid for how I wanted the final result to look like.
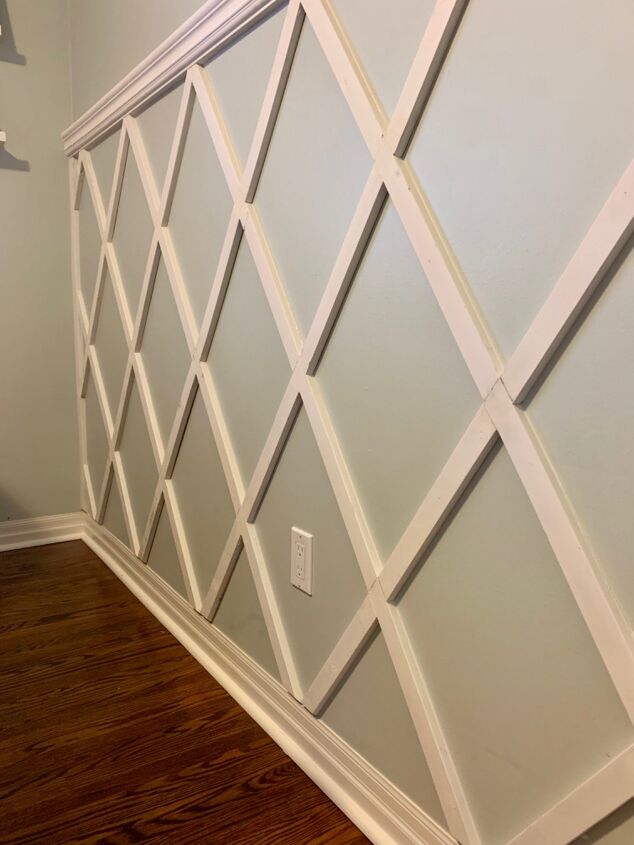
From my tape “guide” my husband was able to cut and install primed mdf boards in the desired pattern. This was slightly challenging but in the end it was worth it and turned out great. To finish off the trim work we added a decorative chair rail piece to the top.
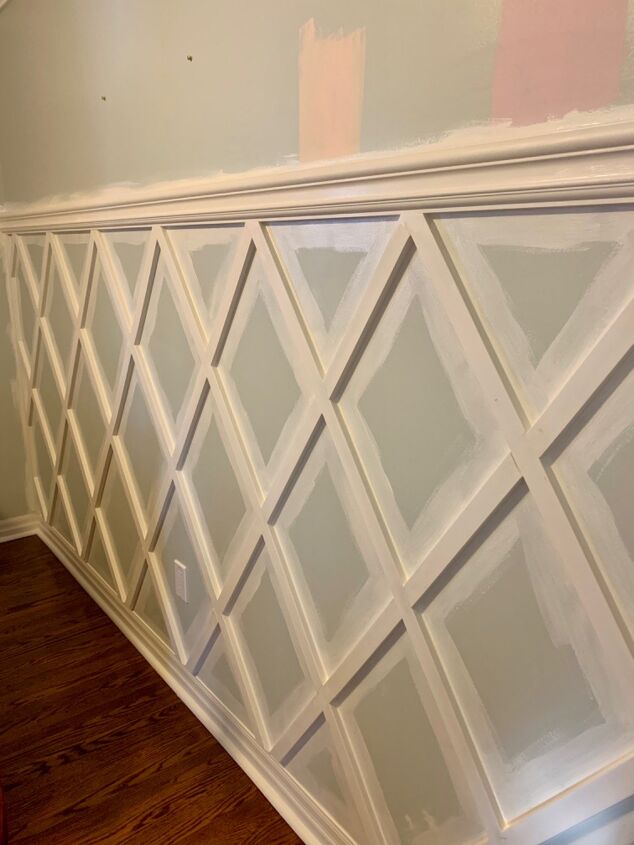
The next step was to fill any nail holes and gaps with wood filler and caulking. I gave everything a good sanding and painted the accent wall white.
The rest of the room also got a fresh coat of this beautiful peachy blush pink color.
Once all of the hard work was done, it was finally time to decorate!
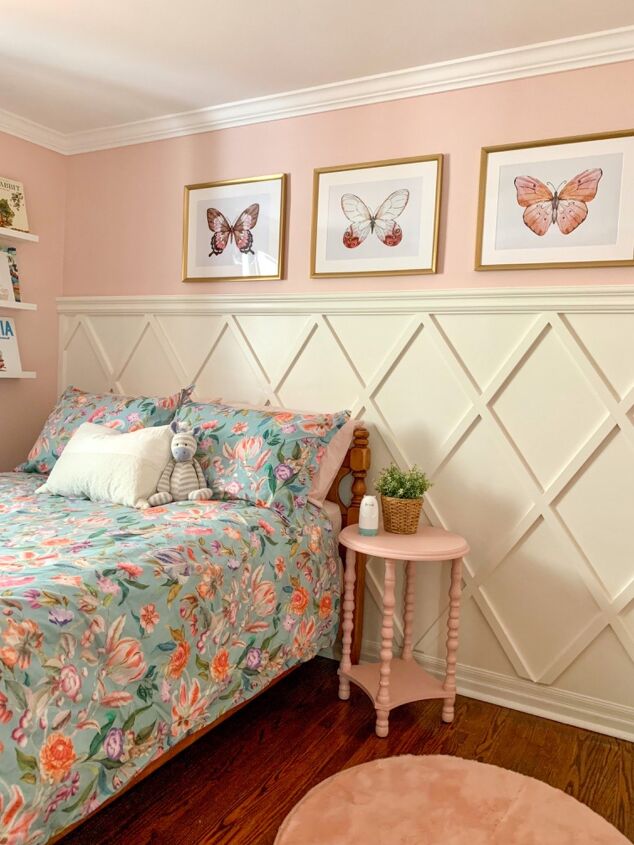
And here is the finished room all decorated! I absolutely love how this turned out. By reusing and repurposing a lot of the items that were previously in this room, I was able to keep costs very low, while still achieving a high end look.
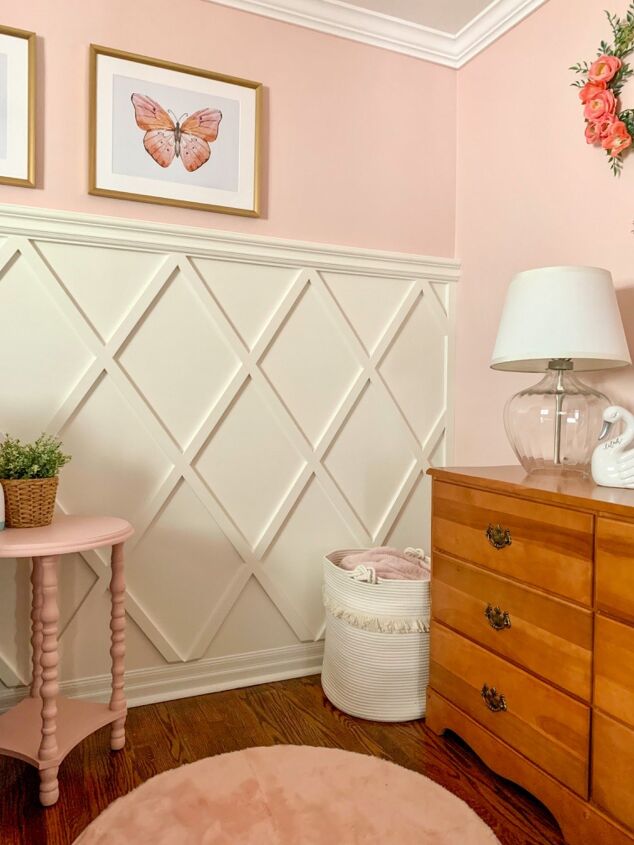
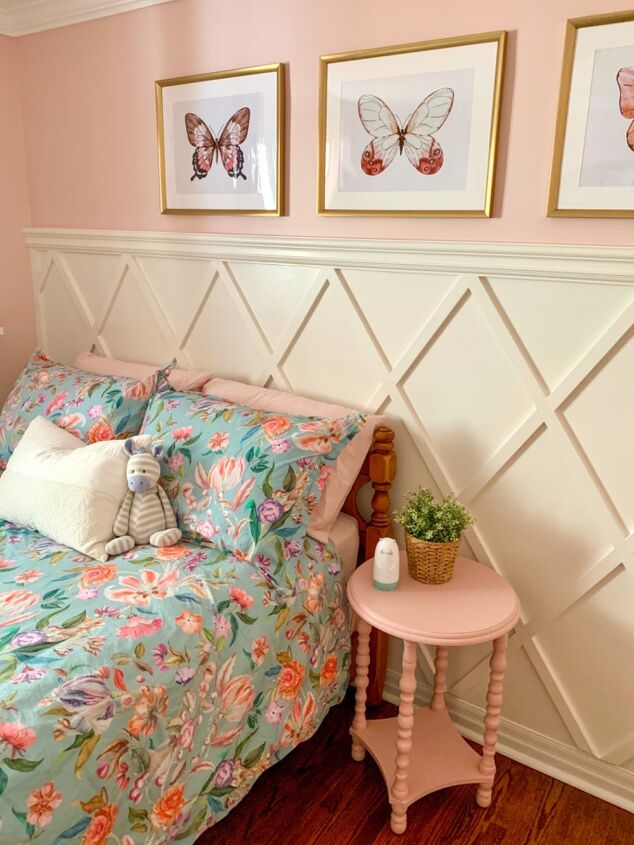
Here is a close up of how the accent wall turned out. I think it suits the room perfectly!

This bookshelf I refinished to suit the room better. If you want to see how I did that check out my other tutorials for a full step-by-step guide.
The mirror was a lucky thrifted find!
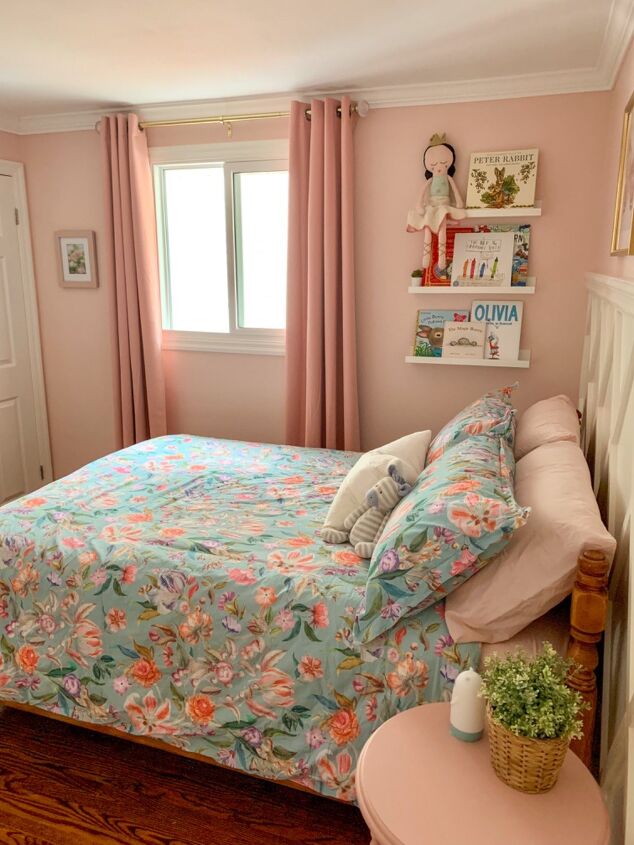
The decor in the room is fairly minimal and neutral, but this bold duvet cover adds a fun whimsical touch to the space.
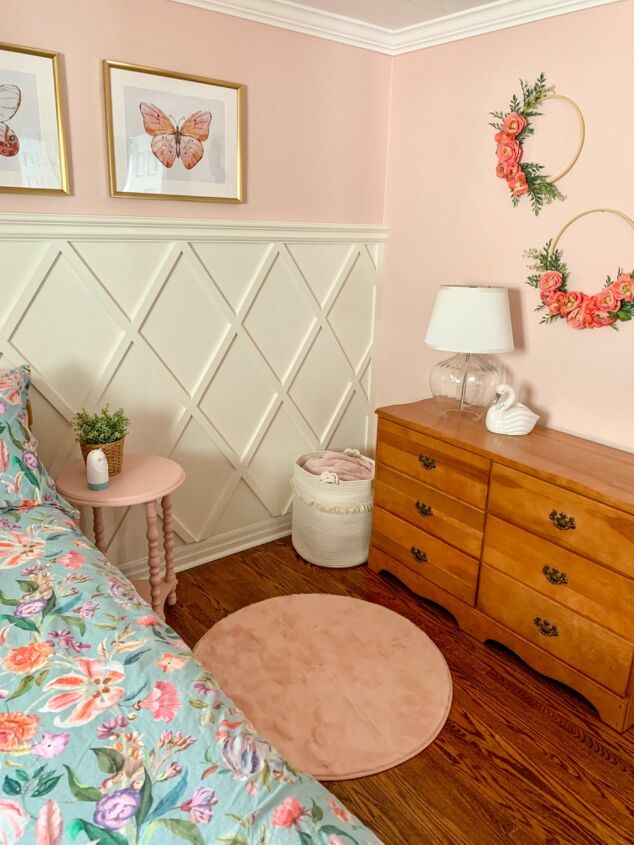
Over on the other side of the room I hung three floral embroidery hoop wreaths to tie the flower garden theme together. I also have a tutorial on how I made those.
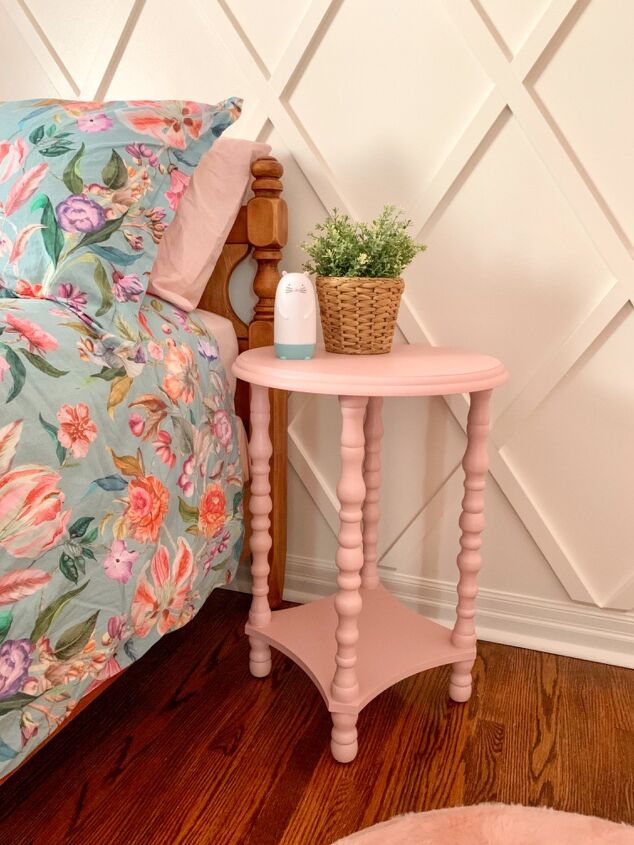
Adding a small pop of colorful with furniture is a fun way to brighten up a space and create a more playful look.
This room turned out better than I ever imagined. It’s the perfect balance of girly and playful, but definitely something my daughter can grow into and enjoy for years to come.
Resources for this project:
See all materials


Comments
Join the conversation
-
Ohh, this is so pretty. Even makes a big girl want it! 😊
-
I thought gross, another paint over the tape. But honestly the criss cross of molding looks fantastic. It’s exactly what that room need. I love it. Thanks for sharing.


Frequently asked questions
Have a question about this project?