


Design A Chalkboard Sign in Six Easy Steps
My drawing skills are on par with that of my 3-year-old. Actually, I think he's better.
I love beautiful chalkboard designs, but I need a lot of help in that department. After a bit of searching, I found a super easy transfer process!
Ready to learn the secret weapon? Wait for it...
Graphite tracing paper.
The great thing about tracing paper is that you don't need to print anything as a mirror image. You don't need to use wax paper. You don't need to rub chalk all over the back of your design. And most importantly, you don't need a printer. PLUS, graphite transfer paper can be used on canvas, pallet wood, poster board and chalkboard.
The possibilities are endless!
Here are just a few of the things I've made using graphite tracing paper.
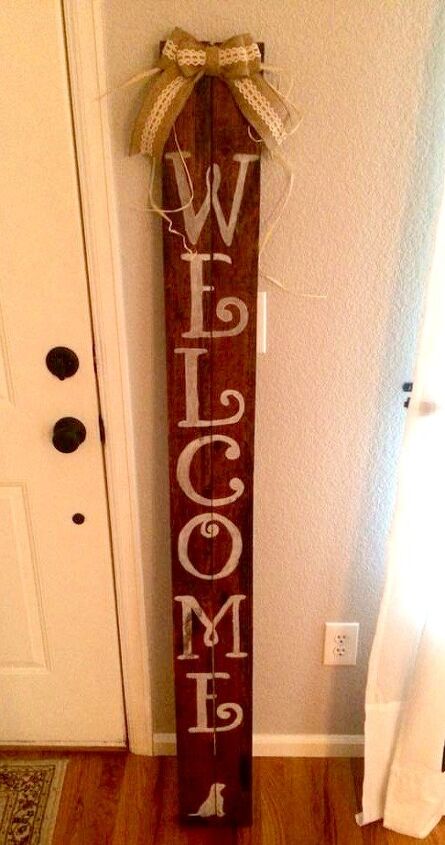
A welcome sign made from pallet wood:
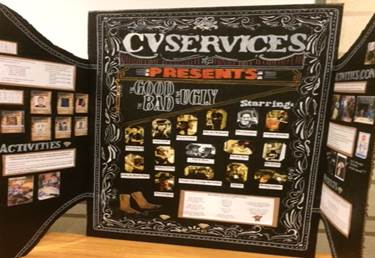
A poster board presentation for work:
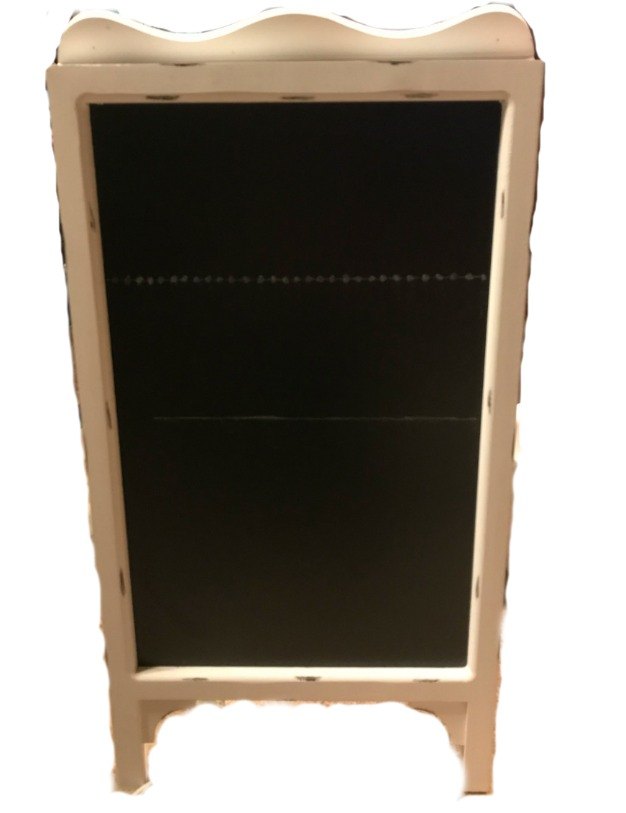
Lastly, a chalkboard sign for this cool wine tasting event. You may have also seen the chalkboard I designed for my DIY Holiday Lamp Post here on Hometalk.

Chalkboard Transfer Process
1. Start by making your design in Microsoft Word or a free online program such as Canva or PicMonkey. You can download the design I used by heading on over to Top Shelf DIY and subscribing to the Printables Library.

2. Using a ruler, divide your chalkboard sign into sections. You can use actual measurements to divide into equal portions or just eyeball it.
3. Next comes the magical transfer part. Figure out how big each part of your design needs to be. Zoom in on your image so that it scales properly to your measurements. Trace the design to your tracing paper in your desired dimensions.
4. Next, cut out a piece of graphite tracing paper to fit the size of your wording. Tape your design to your graphite tracing paper. You'll want the shiny side of the graphite tracing paper face down on your chalkboard. Tape the two layers of tracing paper to your chalkboard in the exact position where you want the letters.
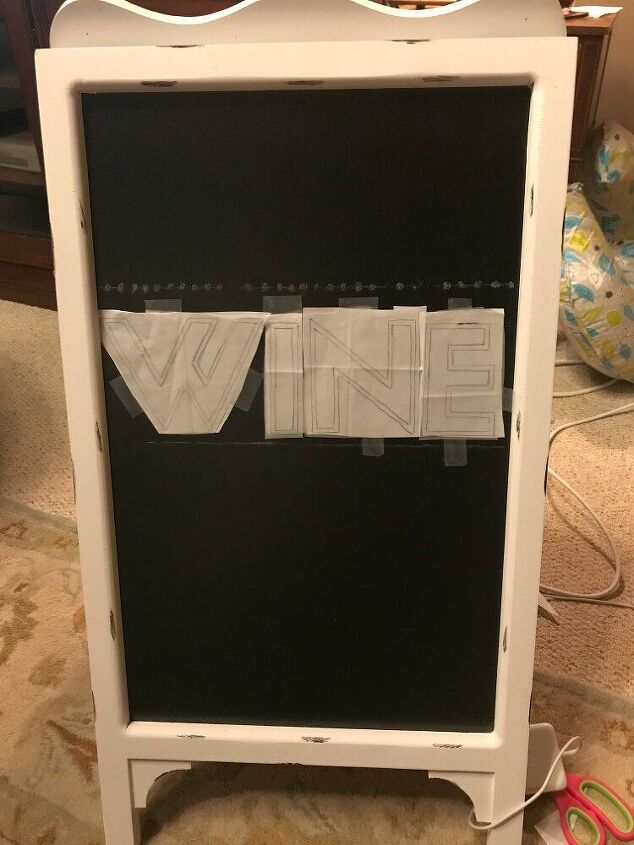
5. Using your sharpened colored pencil, trace the lines of your wording. If you have intricate details to trace, switch to your Micron pen for better accuracy. When you're done, gently lift your layers of tracing paper to reveal the outline of your work.
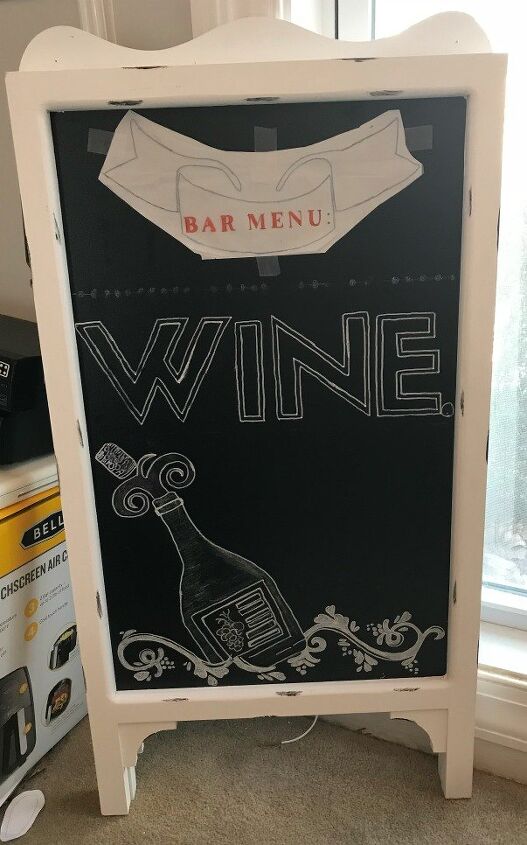
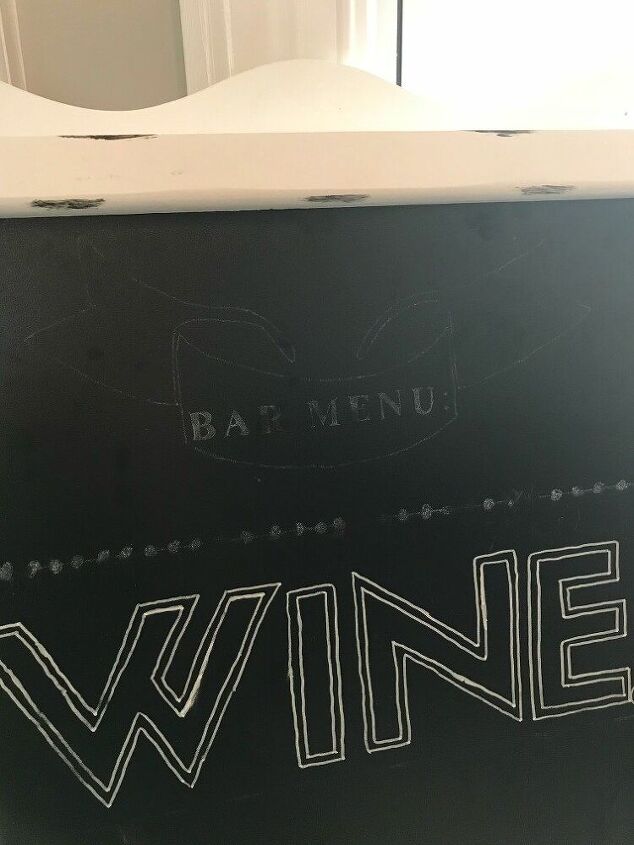
6. Trace the outline of your markings with a chalk marker. Continue steps 1-6 until you've traced every layer of your design. Fill in with color as desired. That's it!
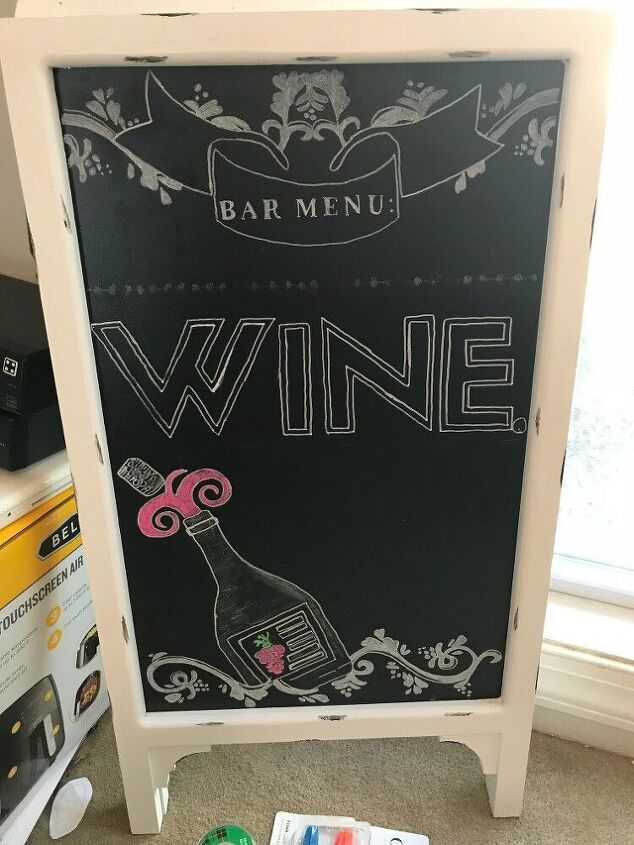
Not counting the chalkboard, it cost me about $20 to make this sign. The chalk marker erases with water so I can reuse and redesign this sign in the future.
It takes a little finesse to get the markings to come through on your chalkboard. If you're ambitious and going for a complicated design, this project will feel tedious at times. But I guarantee your hard work will pay off in the long run!


Frequently asked questions
Have a question about this project?