DIY Beadboard Entryway

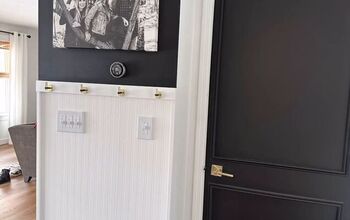
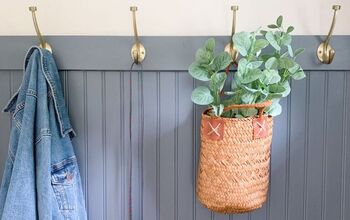
I added some beadboard paneling to my entryway to give the space a fresh look, and it was a simple project that just took a weekend. The entry is bright and welcoming now, and it's a project anyone can do! If you love this project, you can find more easy and affordable DIY ideas on my blog, Love & Renovations.
The first step is to measure your space to determine how big your panels need to be. I only had one section where I could use a full panel, and pre-measuring made it much faster to make the rest of my cuts.
I used my circular saw to cut down each beadboard panel to the appropriate length. If you don't know how to use a circular saw, I have a tutorial right here!
I installed each panel by adding some construction adhesive to the back of the panel and then using my nailer to nail it into place.
Once all of the panels were installed, I added trim along the top and one all of the outer and inner corners. This gives the whole thing a much more polished look, and is a vital step!
Finally, I patched all of the nail holes and painted all of the beadboard. The final result is beautiful, bright and welcoming!
Enjoyed the project?
Resources for this project:
See all materials















Frequently asked questions
Have a question about this project?
Do you like that lithium battery nailer? Is it a Riobi