


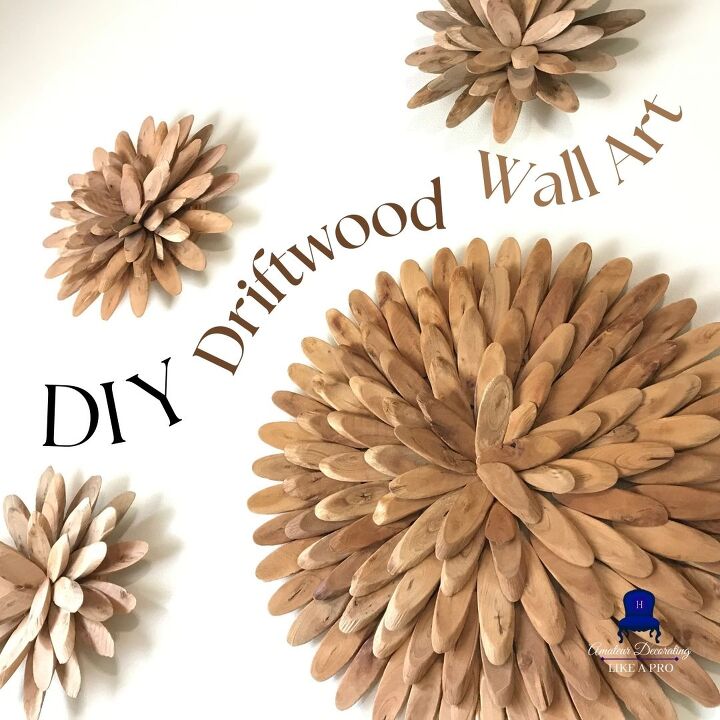
DIY Driftwood Wall Art

This is the first DIY of the Summer. And I just realized that I have been collecting driftwood pieces for quite some time. So, let's drift right into it.
Here are the supplies you will need.
Hot Glue Gun
Driftwood pieces
Wooden Circles
Drill (optional)
Hammer (optional)
I purchased my small driftwood pieces from the Hobby Lobby store and you cannot order them online.
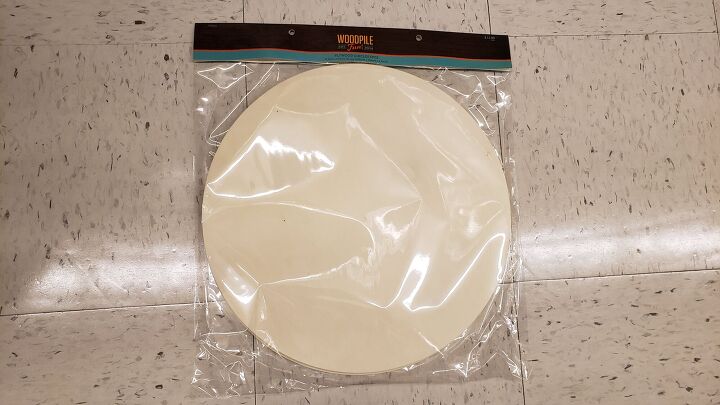
There are 12" and 14" rounds. There are 6 circles in a pack. I found these circles to be very thin so instead I decided to purchase the wooden round baseballs. If you agree with me, just glue two of the thin circles together.
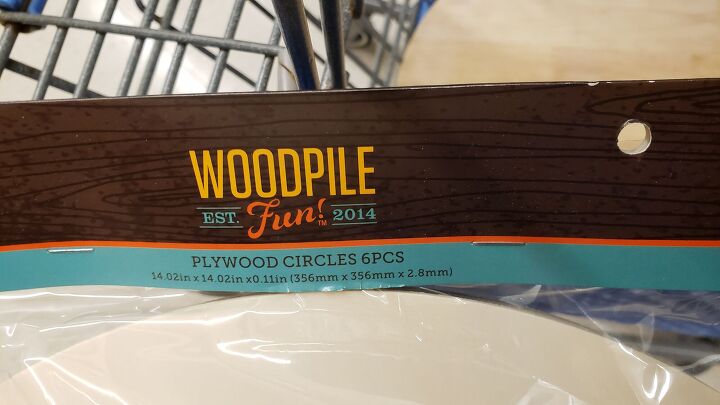
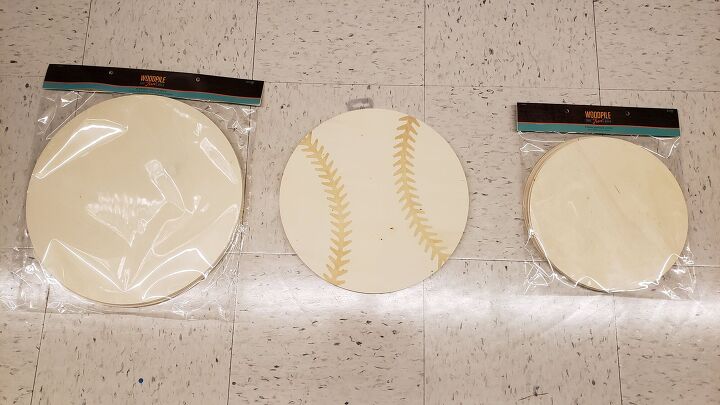
The Wooden Circles were also found at Hobby Lobby in the Woodpile section of the store.
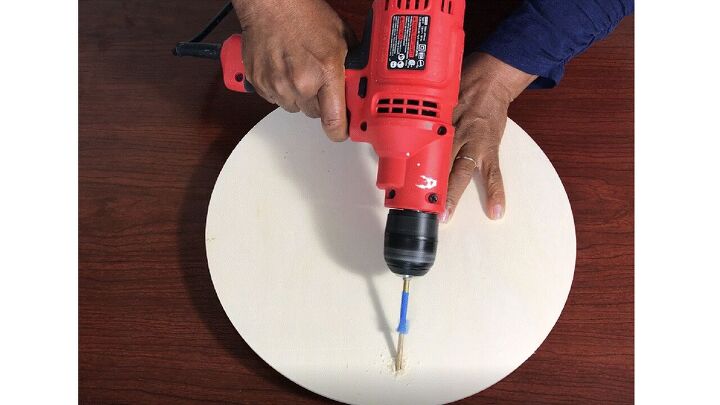
The next step is to decide how you want to hang the wall art. I prefer to drill a hole at an angle in the back of the wooden plaques and circle.
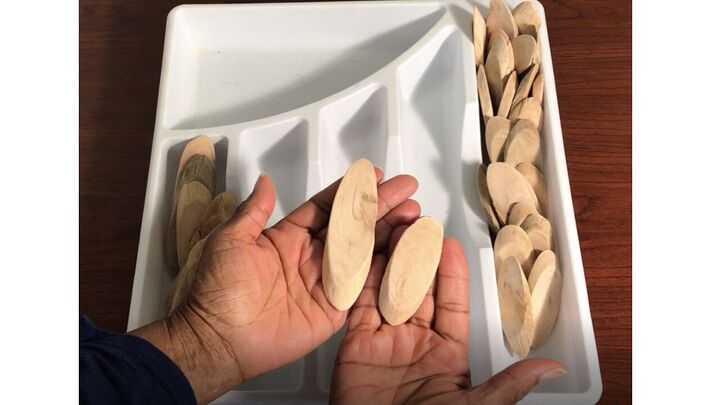
The next step is to separate your pieces so you can easily pick them up to apply them to the circles or plaque. You might prefer to use all large pieces, all small pieces or mix them together.

To ensure that I spaced my driftwood pieces evenly apart around the circles, I drew multiple circles on to the wooden circles. These freestyled drawn lines were about 1.25" apart.
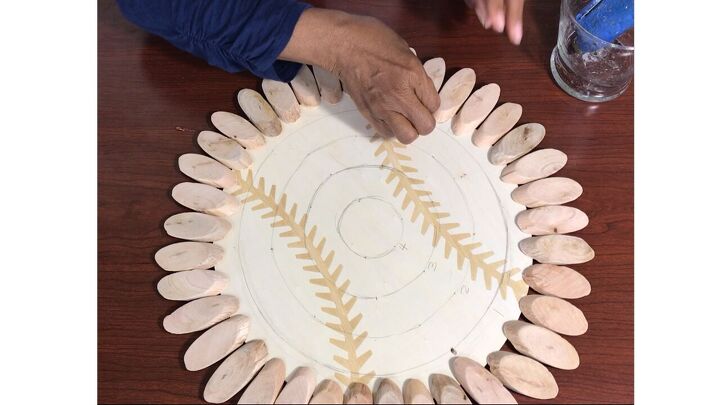
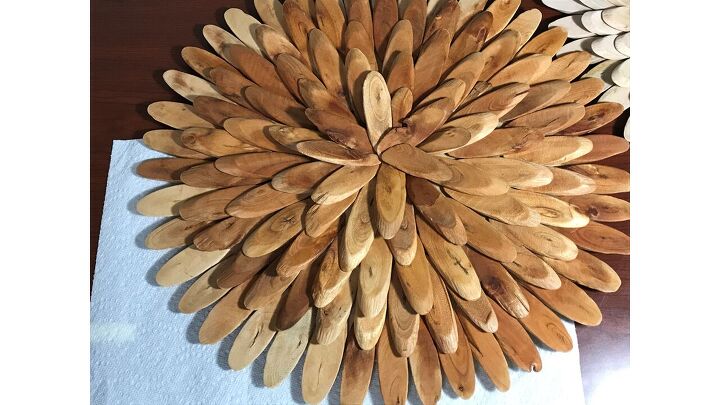
I placed the driftwood pieces around the circle so I could quickly apply them with a hot glue gun.

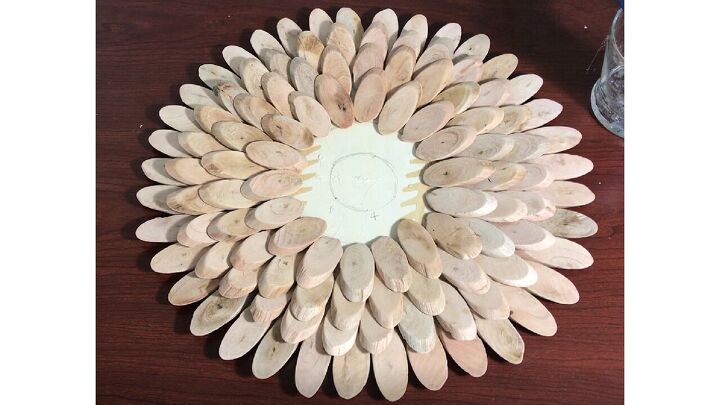
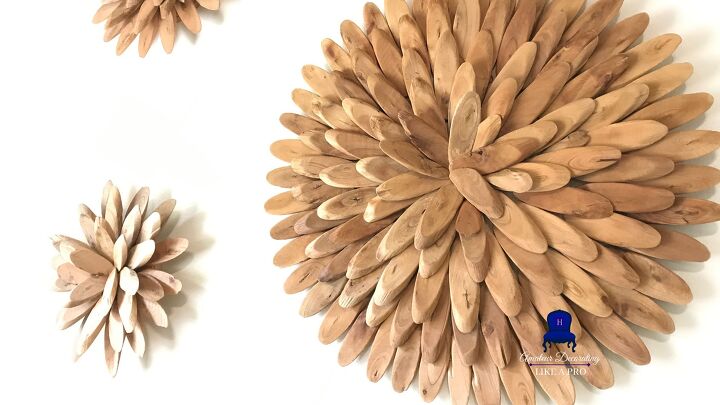
The first row of pieces appears to be placed upside down. That placement is intentional. The sloped side of the pieces is facing inward toward the circle. That way the next row of pieces will rest on the sloped part of the previous pieces causing them to naturally angle upward as they are drying in the hot glue underneath.
Here at look at the regular driftwood pieces. I later stained them.
When I finished the application, I applied a stain. This step is optional. We painted our walls SW 7012 Creamy, and I wanted these pieces to stand out. Apply the stain sparingly. Each piece will absorb the stain quickly and differently. By the way none of the pieces will match after they are stained. And it only took an hour for the stain to dry.
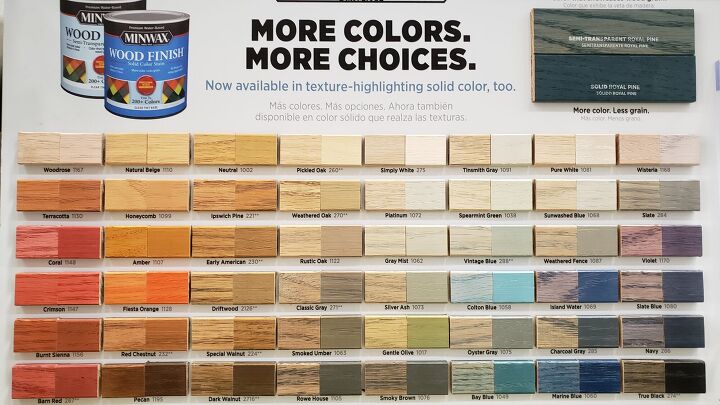
Yes, you can paint this project. But there are some beautiful stains out there.
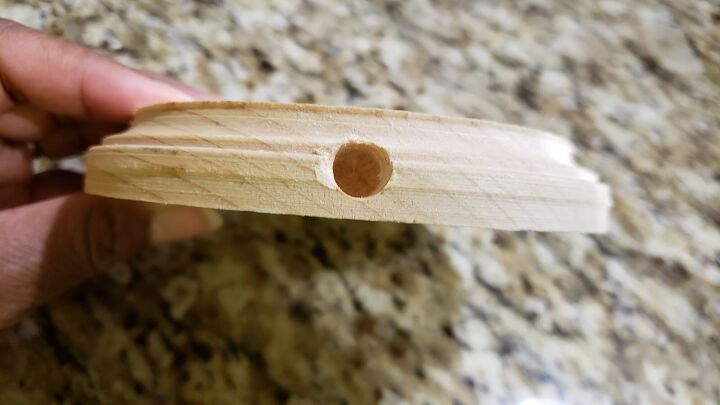
DIY's should be versatile. I also drilled a 3/4" hole on the side plaque before I added the driftwood pieces.
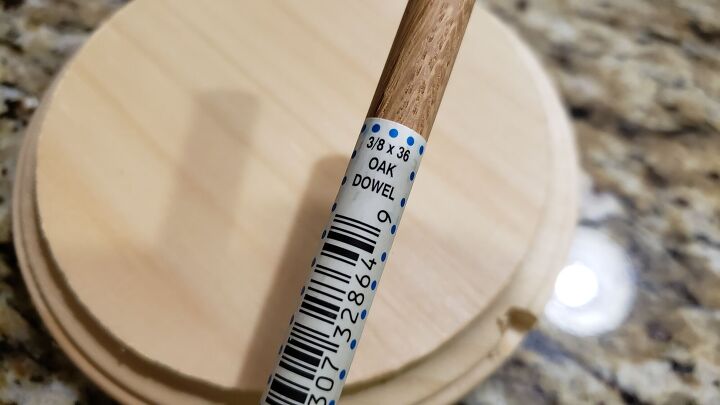
This is a 3/8" dowel. I cut the dowel 10" long. I did not use any hot glue. The dowel fits snuggly into the holes.
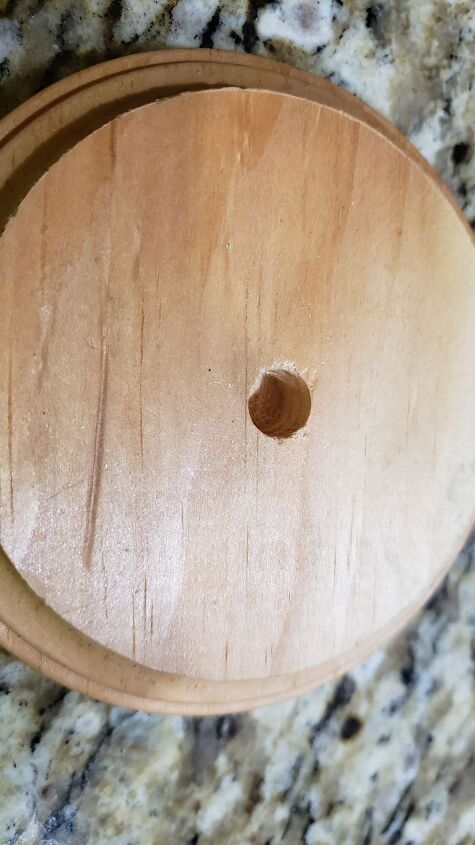
This is the base of the flower. It is a 4" round plaque.
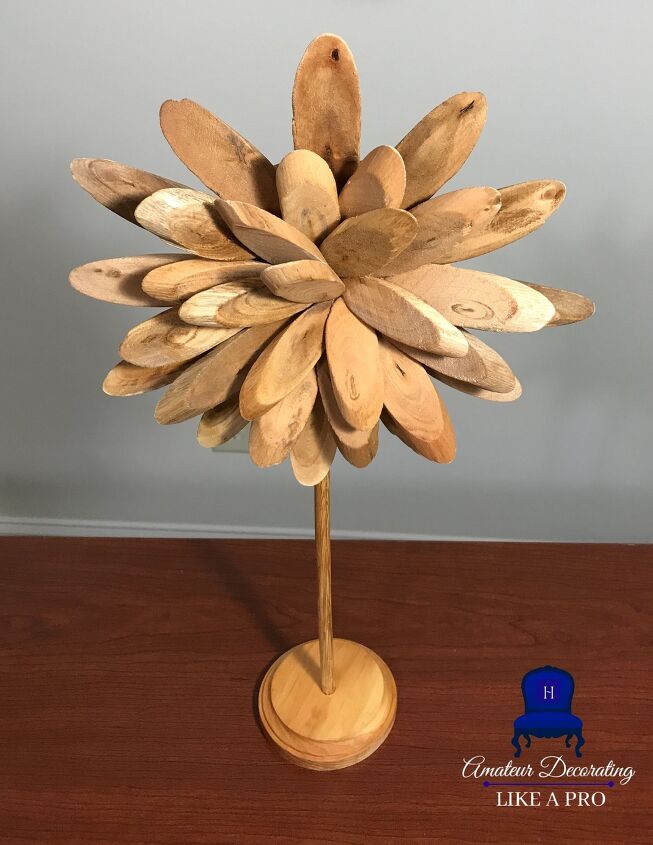
Now I have the option of using a driftwood flower on a bookshelf, mantle or console.
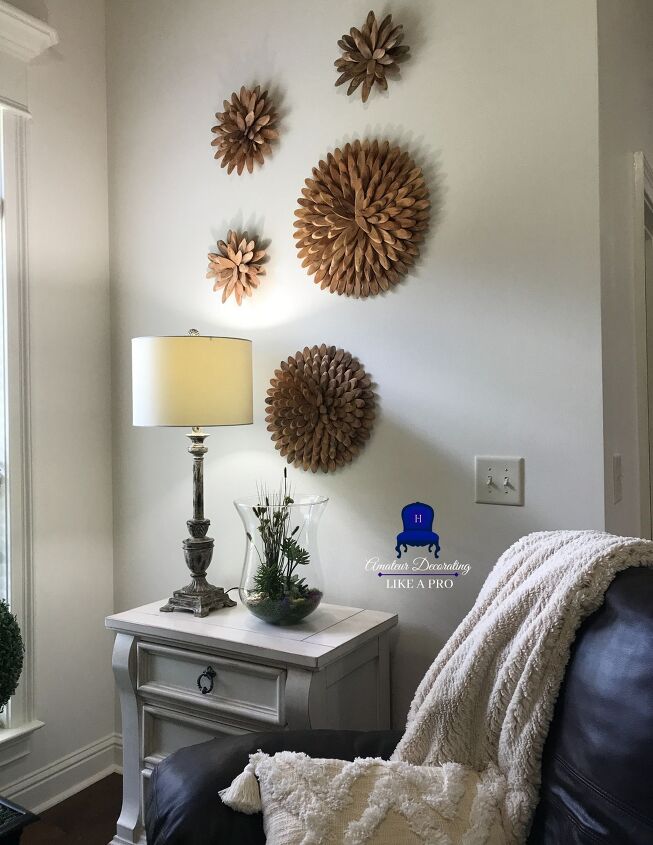
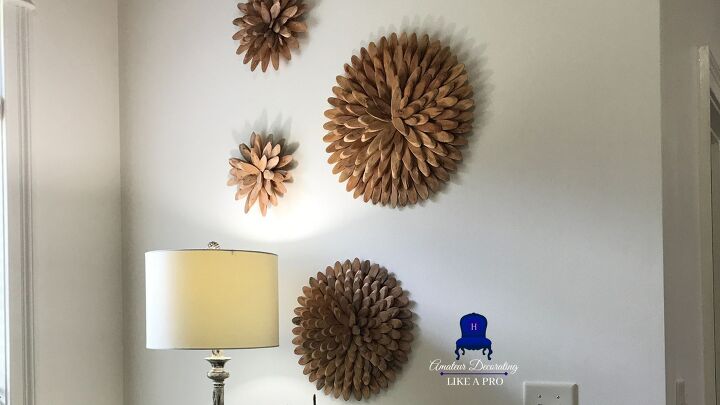
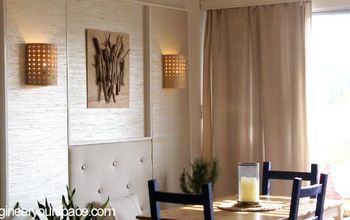
This is a beautiful display. Here is the full tutorial video. My blog will have links to the products available on Amazon.
This DIY Large Driftwood Home Decor Wall Art For a Summer Fall Coastal or Eclectic Vibe is just what a narrow wall needed in our family room. It was so easy to make this project.
Resources for this project:
See all materials


Comments
Join the conversation
-
Different too! Love the texture you created on the plan wall!
some people never read for details are there most of the time...
-
Thanks. I try to be thorough. I appreciate the support. Cathryn


Frequently asked questions
Have a question about this project?
Did you purchase your driftwood pieces precut or did you cut them from driftwood sticks?
Where did you get the drift wood? Did you cut it? I absolutely love these! Thanks, Sunny
About how many slices did you use? This's gorgous! I want to make at least 1, but I'm not sure how many to order. Thank you!