


DIY Spackle Art

I've had these photo canvases for a while now. I used to have them hung up, but they were never my favorite so they've just been sitting in my storage closet for a while. I decided to grab some spackle and make them into a piece I actually enjoy!

Hometalk Recommends!
Materials Needed -
Spackle
Spreader tool
Canvas
Drop cloth
Gloss Spray (optional)
Links -
spackle - https://www.amazon.com/dp/B000BQPYJ0?ref=ppx_yo2ov_dt_b_product_details&th=1
spreader tool -
https://www.amazon.com/dp/B00A8GRZOK?psc=1&ref=ppx_yo2ov_dt_b_product_details
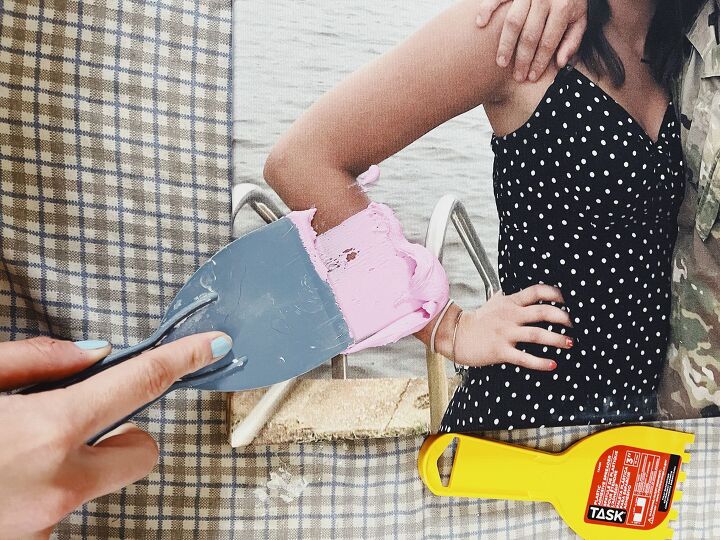
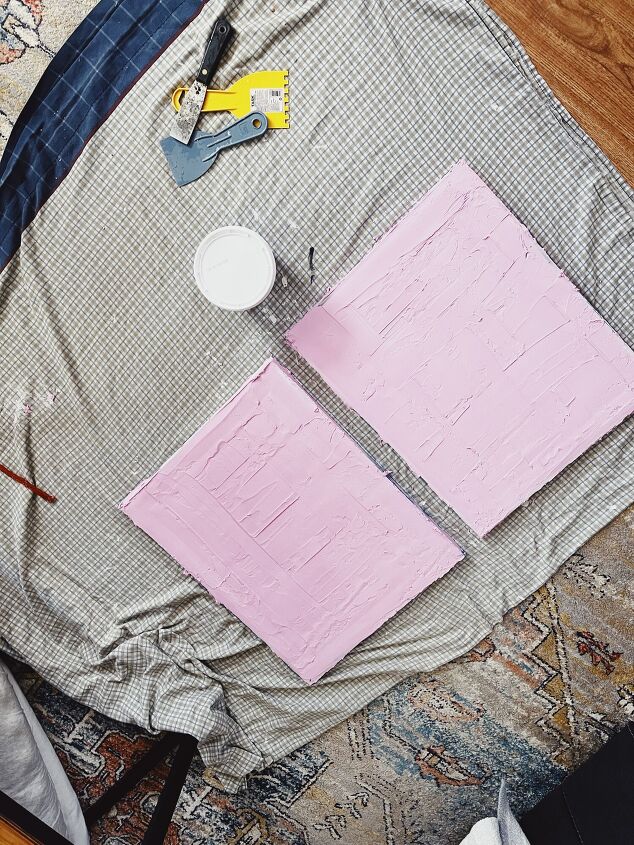
Step One - Cover entire canvas with spackle
There's no rhyme or reason to this step, you just want to cover the entire canvas with spackle.
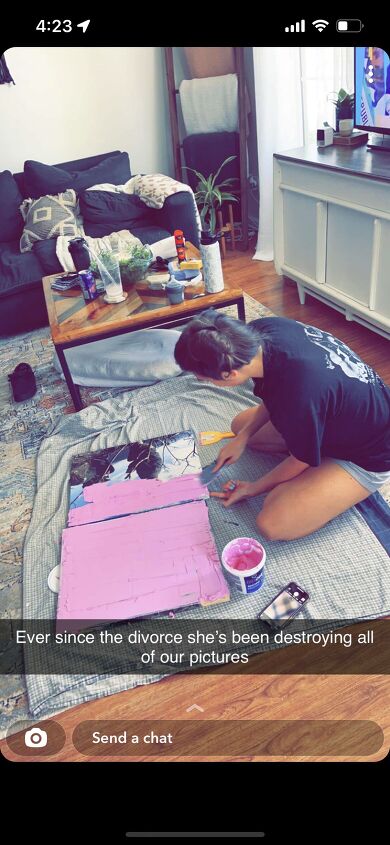
My husband was making jokes while I was doing this project. We are very happily married, I just am not a fan of these photos anymore lol
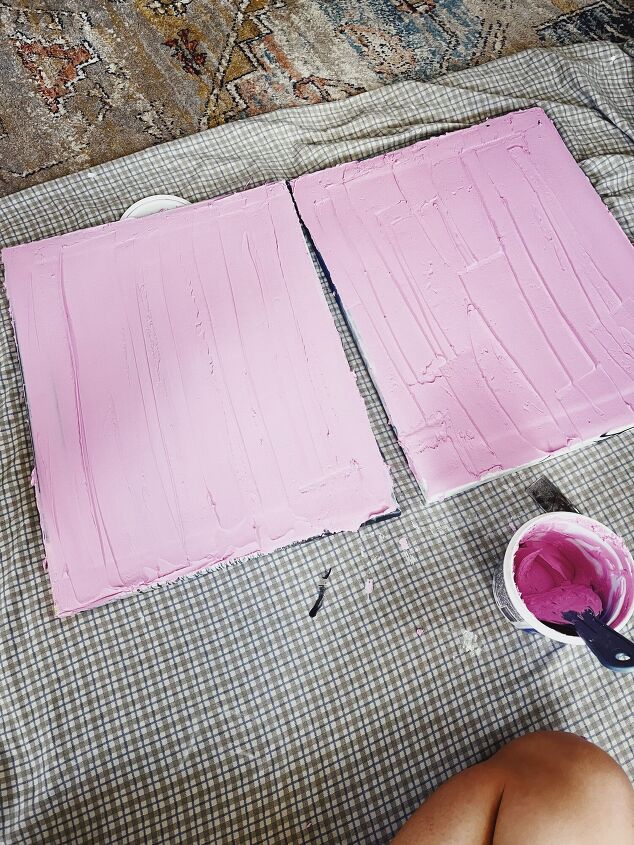
All covered!
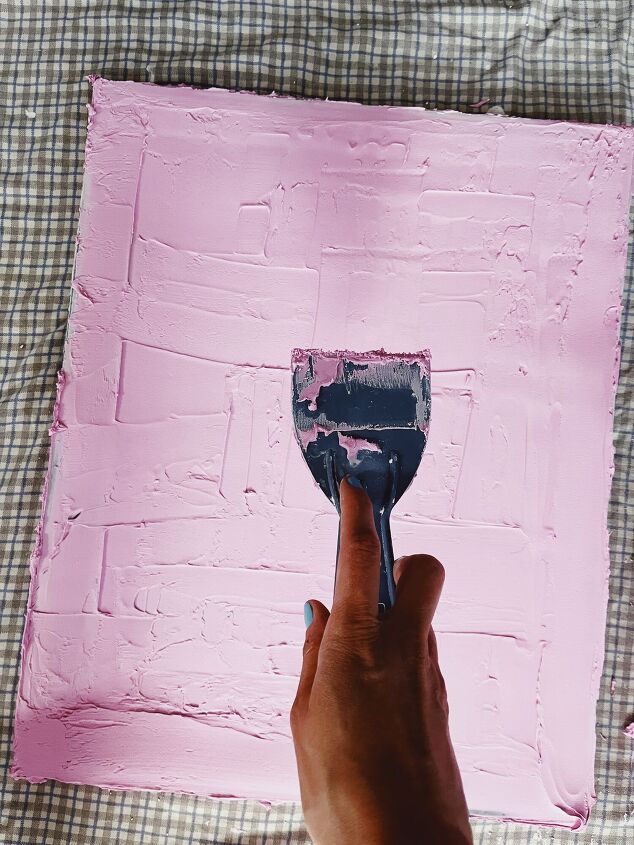
Step Two - Make texture
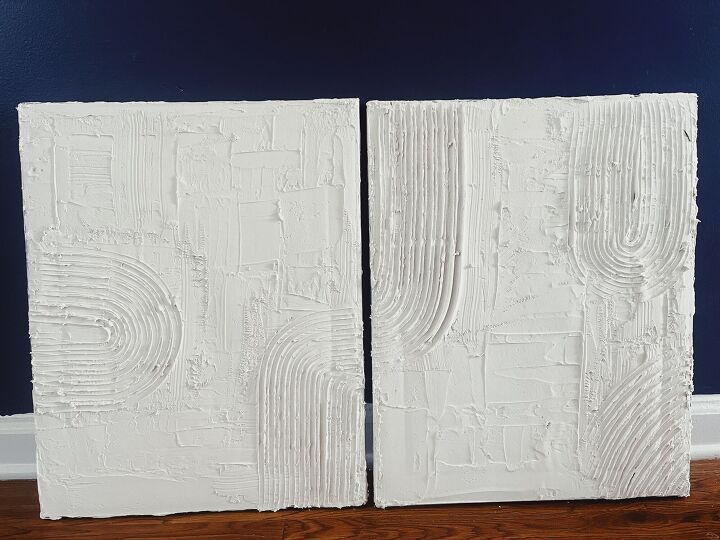
Once the entire canvas was completely covered it was time to make it look nicer. I did a top to bottom, then side to side motion to achieve the textured look I wanted.
All done with the texture!
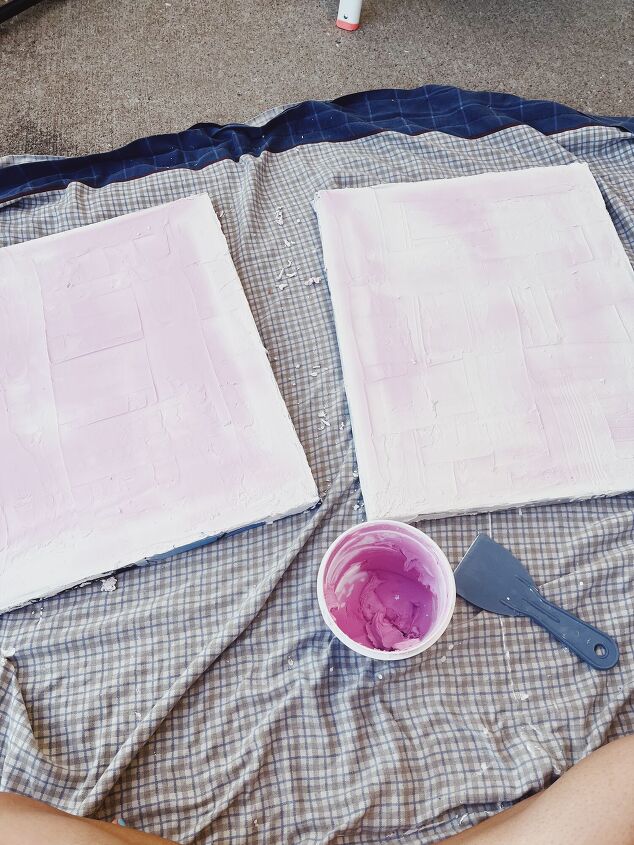
I knew I wanted to add some rainbow looking texture to this piece but when I tired to do it after adding the initial texture, the tool I was using was rubbing too much of the spackle off and it was showing the original canvas with the photo. So I decided to just do two layers of spackle. If my original canvas was just a plain white canvas I might have been able to do this all at once.
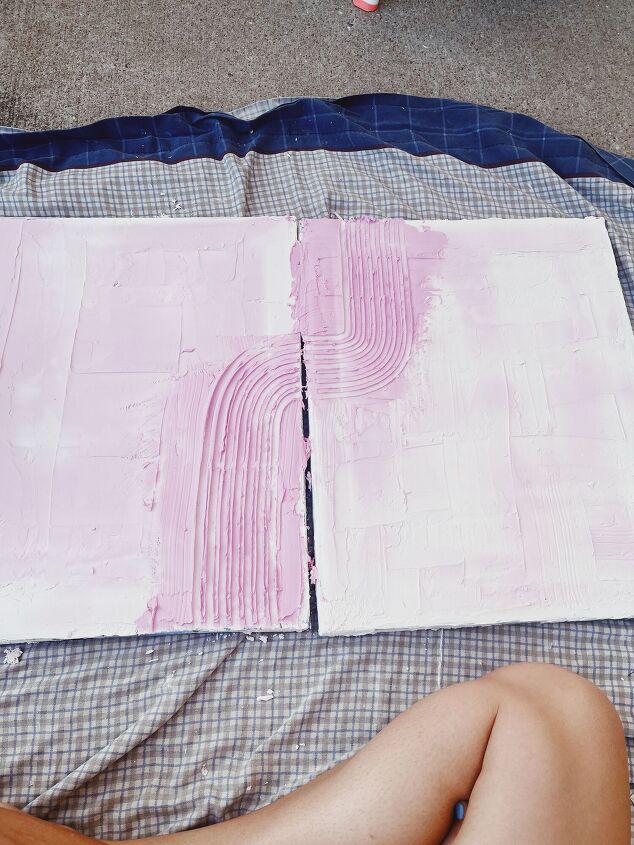
Step Three - Add rainbow texture
After my first layer of spackle was dry I added another thin layer only in the areas where I was adding the rainbow texture.
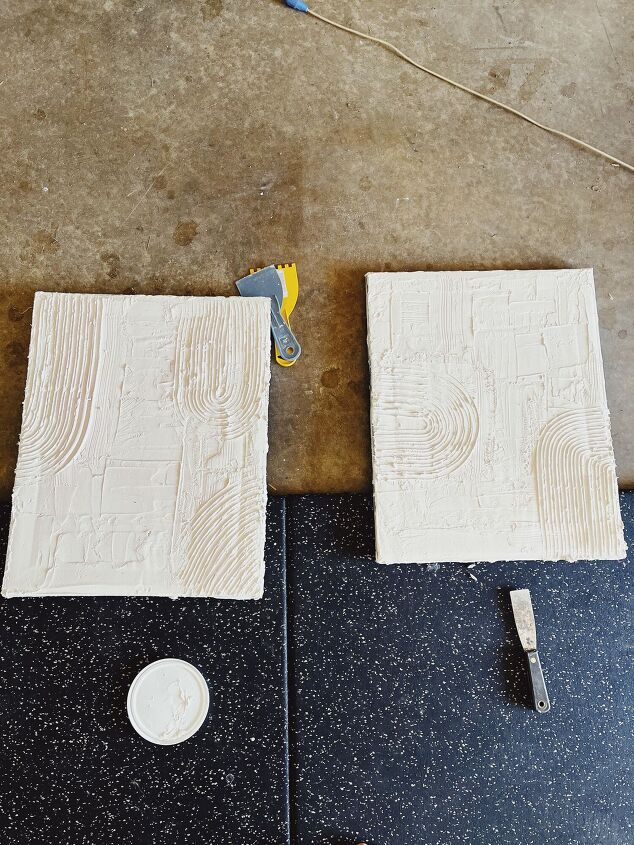
Here's how everything looks after it's all dry!
I thought I was done at that step, but decided to just see if I had anything on hand that would add a bit more dimension to the piece. I ended up finding exactly what I was looking for and went for it!

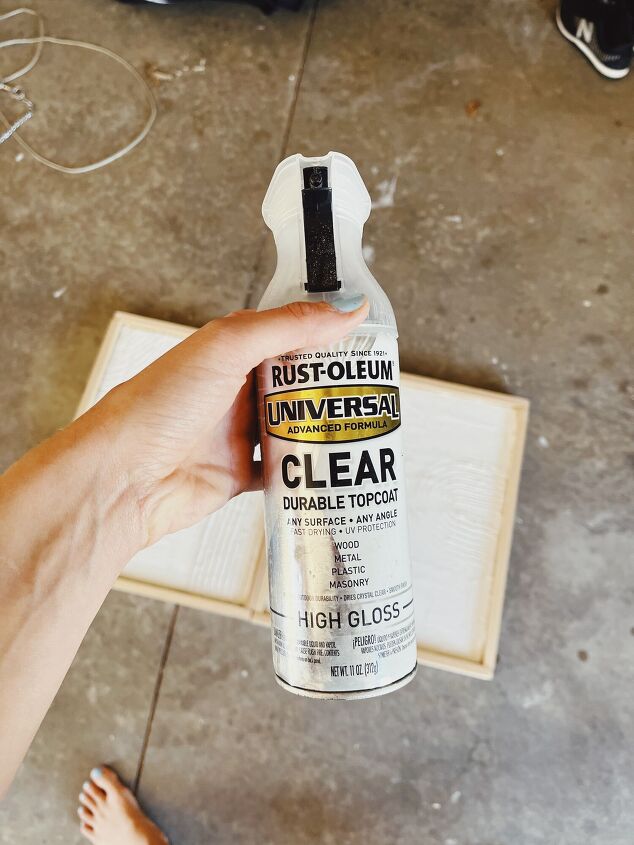
Step Four - Add Gloss Spray Paint
I blocked off where I had added the rainbow looking texture and gave it a good coat of the gloss spray paint.

And that's it! Super simple way to make some organic looking art!
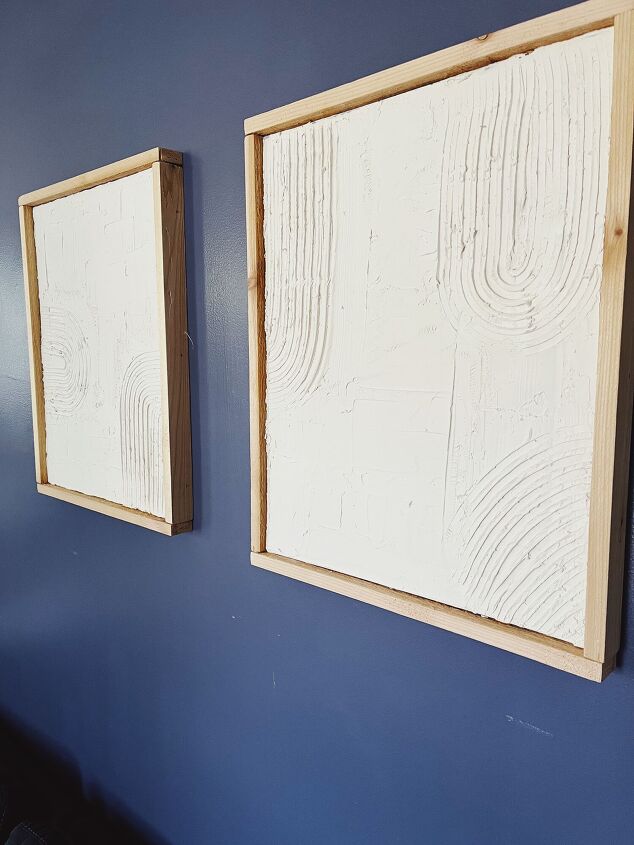
Here is the final, final look. The gloss parts are very subtle which is what I wanted. I love the way this looks, much better than collecting dust in storage!
and yes, if you notice these are framed, check out my post on how to do that!


Comments
Join the conversation
-
I love to paint and this is another beautiful option to paint 🎨 on I use acrylic paint and then sealer. Ruthie Vazquez
-
You MUST tell us about the pictures you covered since you let the cat out of the bag with your husband’s comment!


Frequently asked questions
Have a question about this project?